Unforgettable Seattle to Glacier National Park Road Trip: Camping, Hiking, and Scenic Views

Glacier National Park in Montana is a dream destination for nature lovers, and for those based in Seattle, WA like myself, it makes for a thrilling road trip. This adventure includes scenic drives, camping under the stars, and unforgettable hikes that showcase the natural beauty of the Rocky Mountains. Whether you’re planning a summer visit or seeking a serene winter adventure, here’s a detailed guide based on my journey during Labor Day weekend, packed with all the tips you’ll need for a smooth and enjoyable Glacier National Parks adventure.
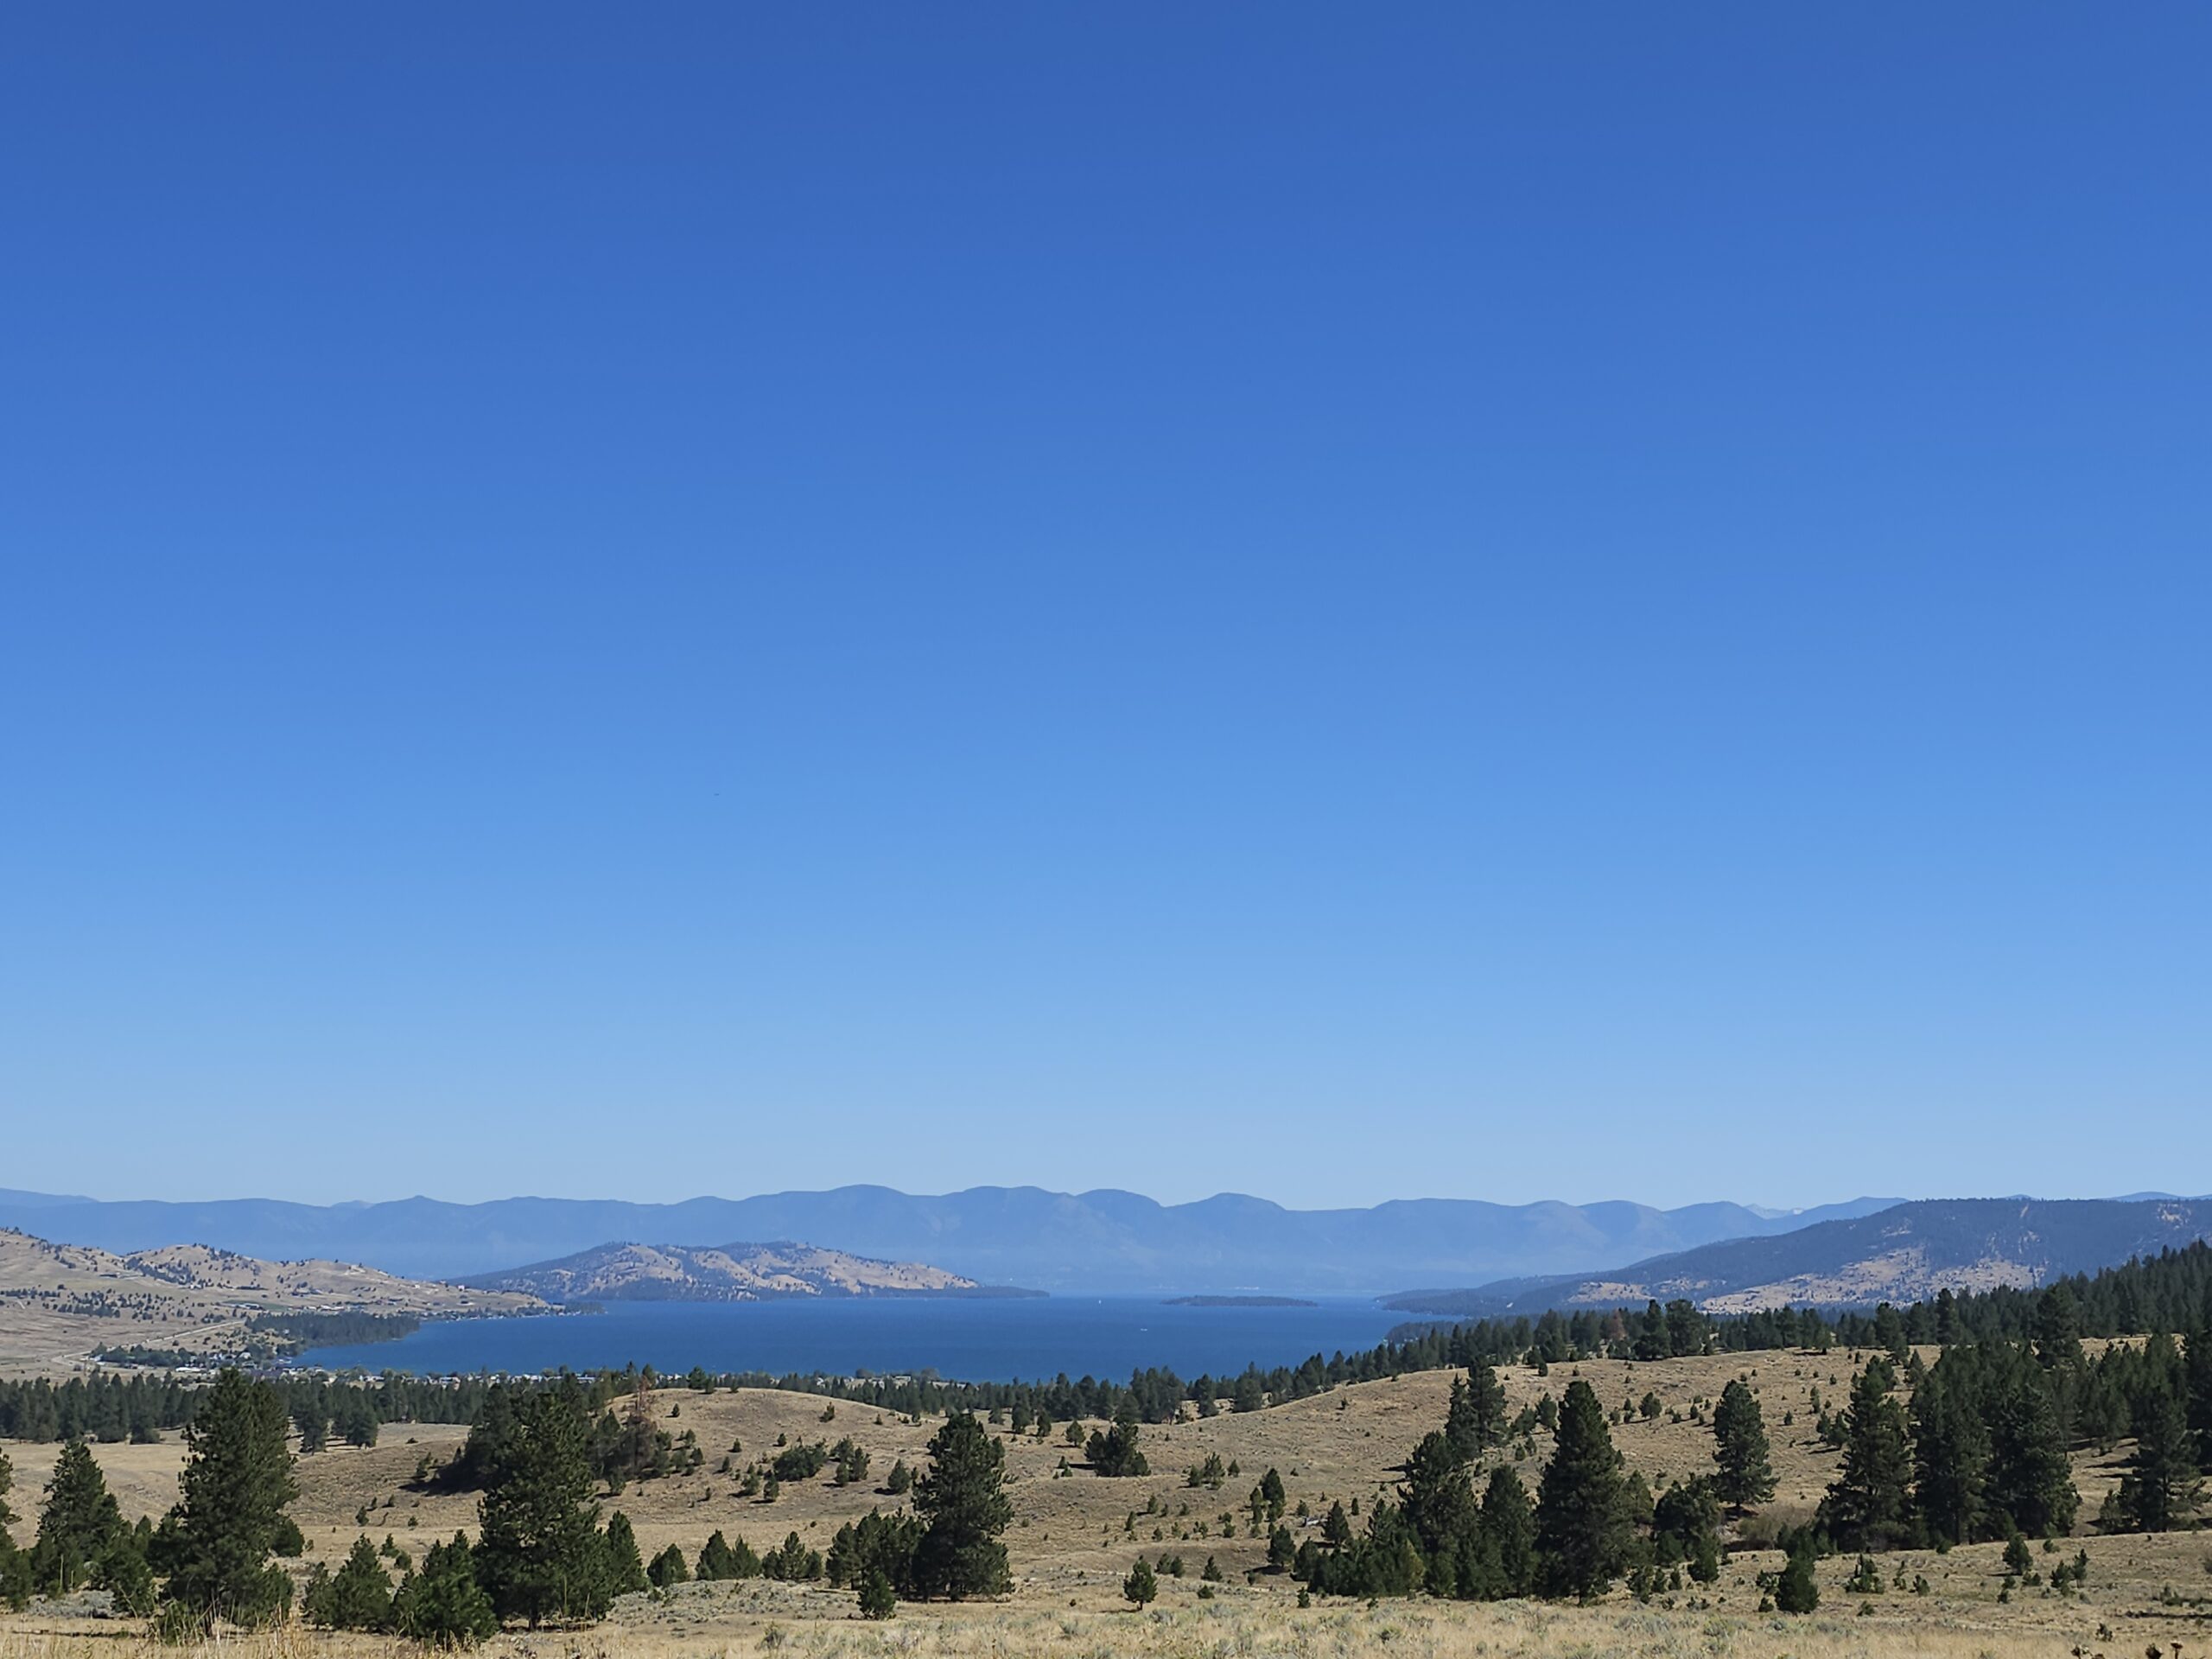
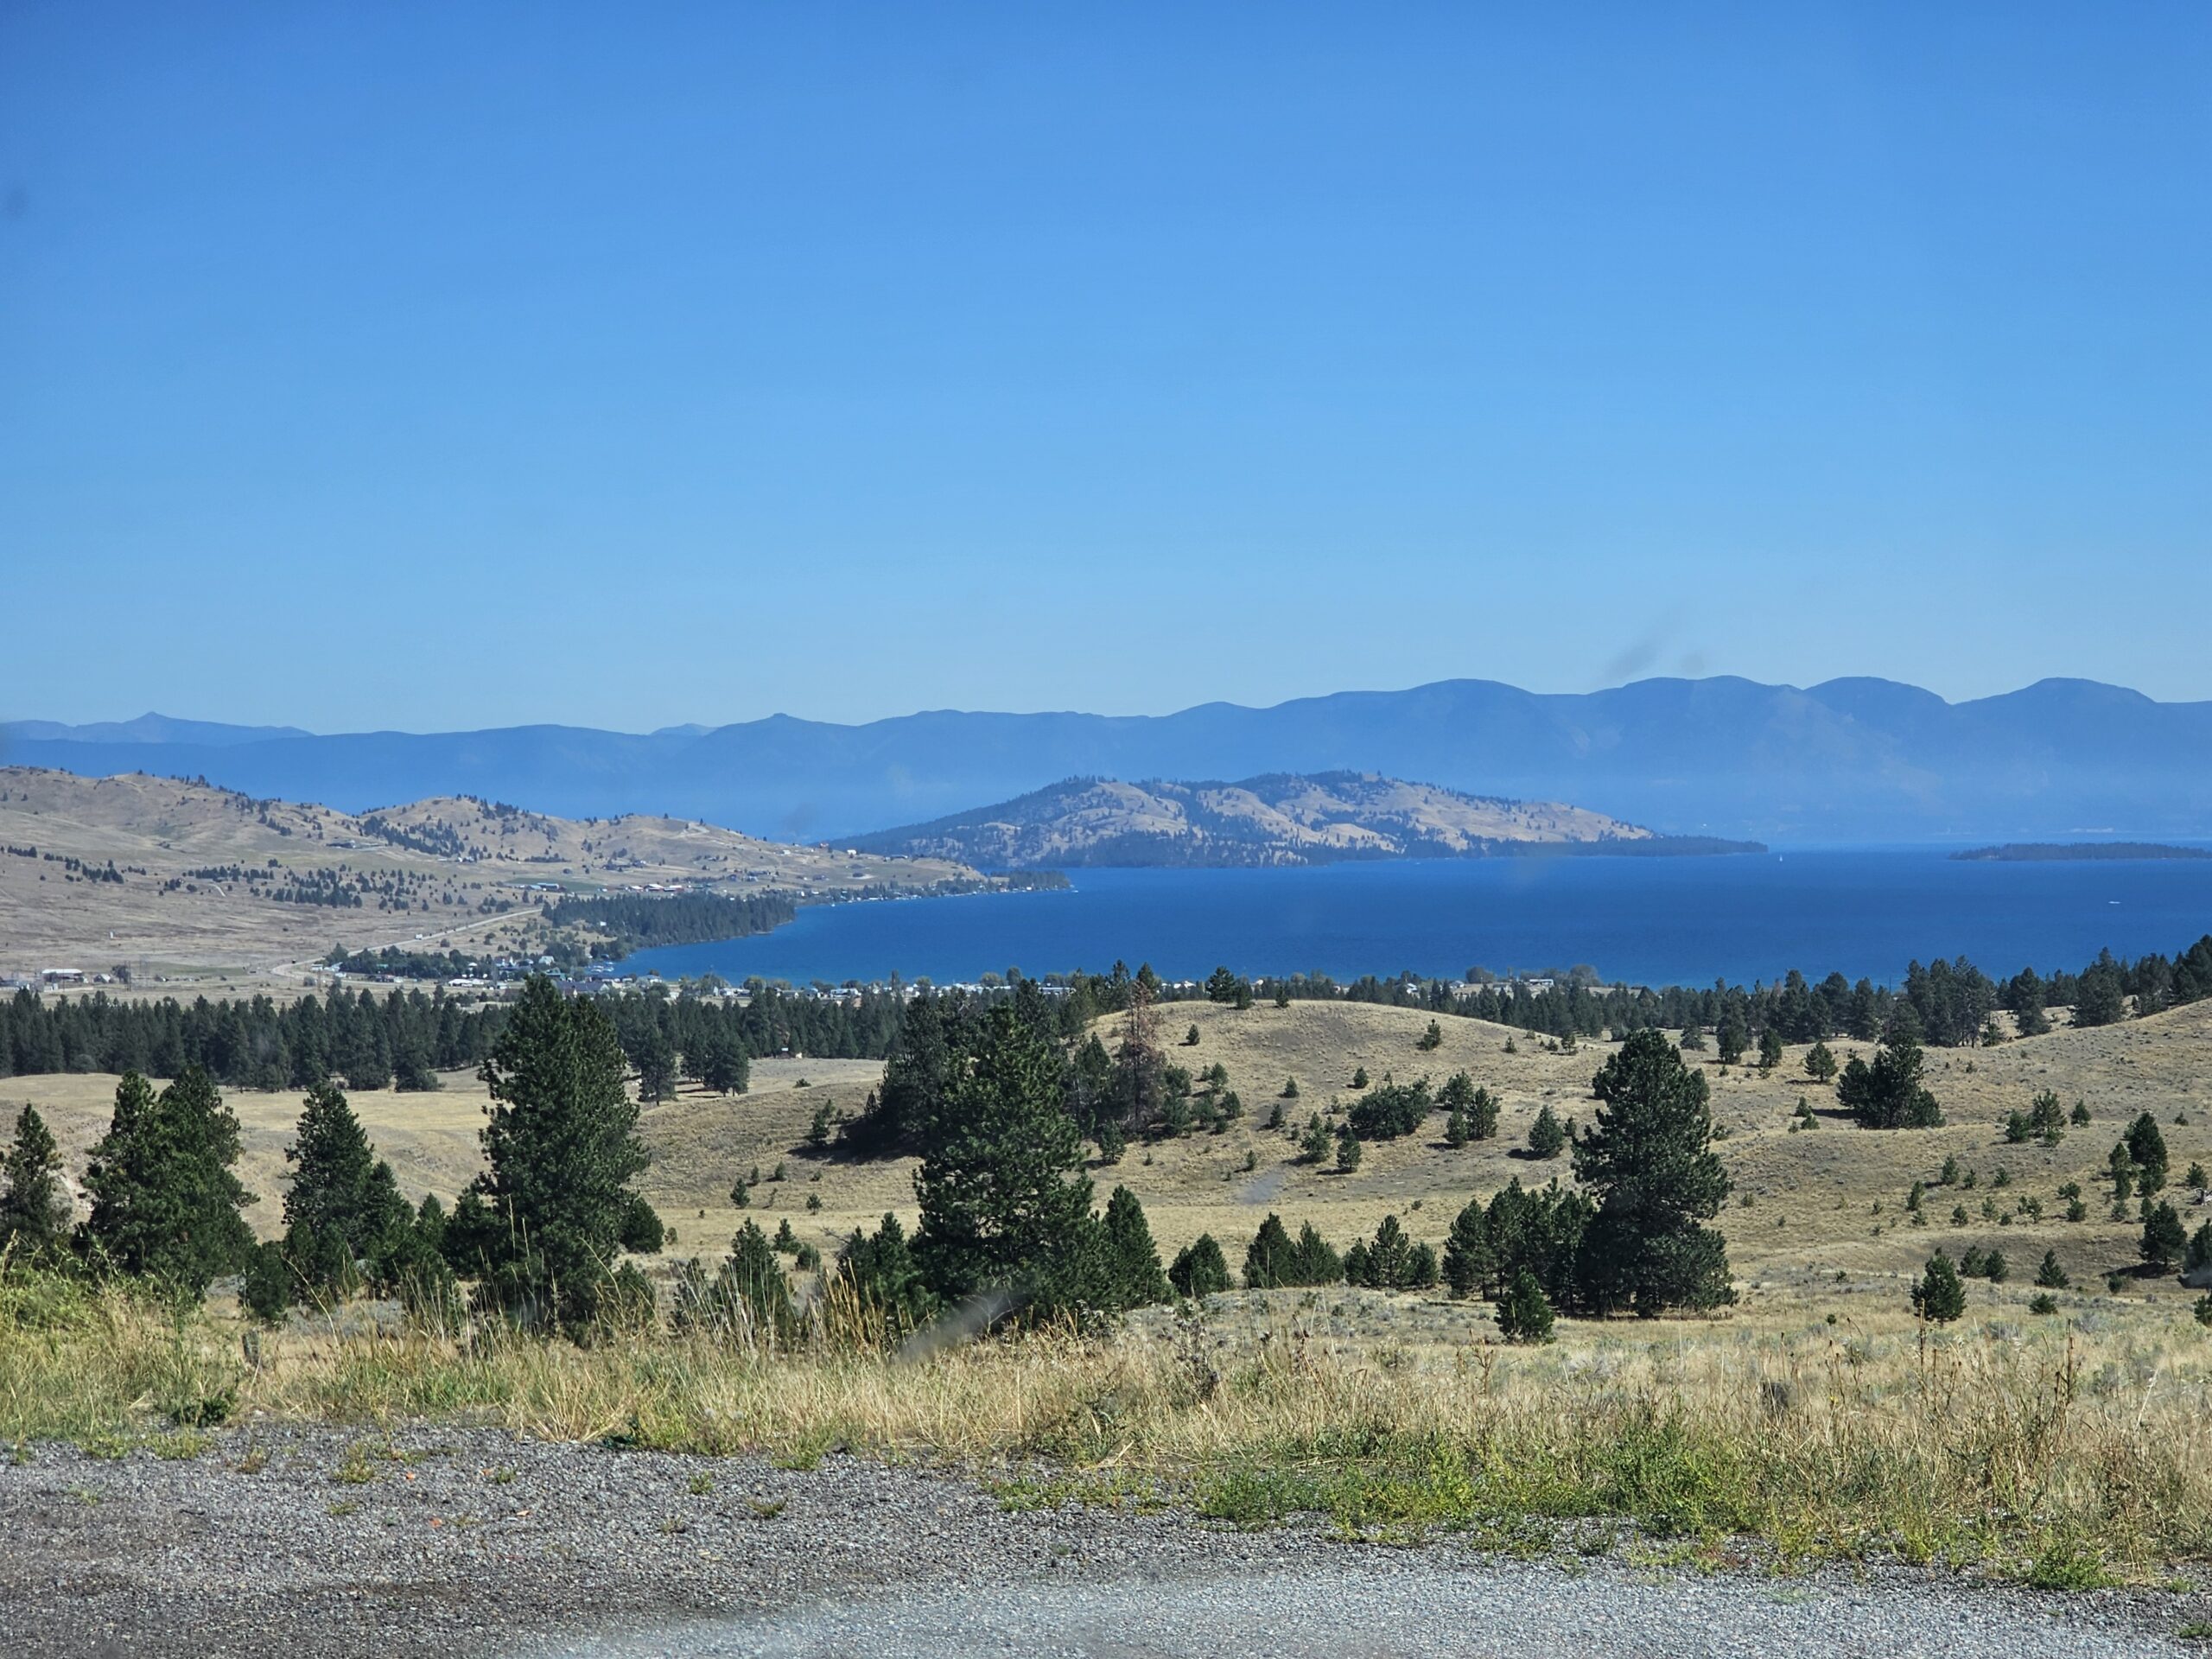
Table of Contents
2
3
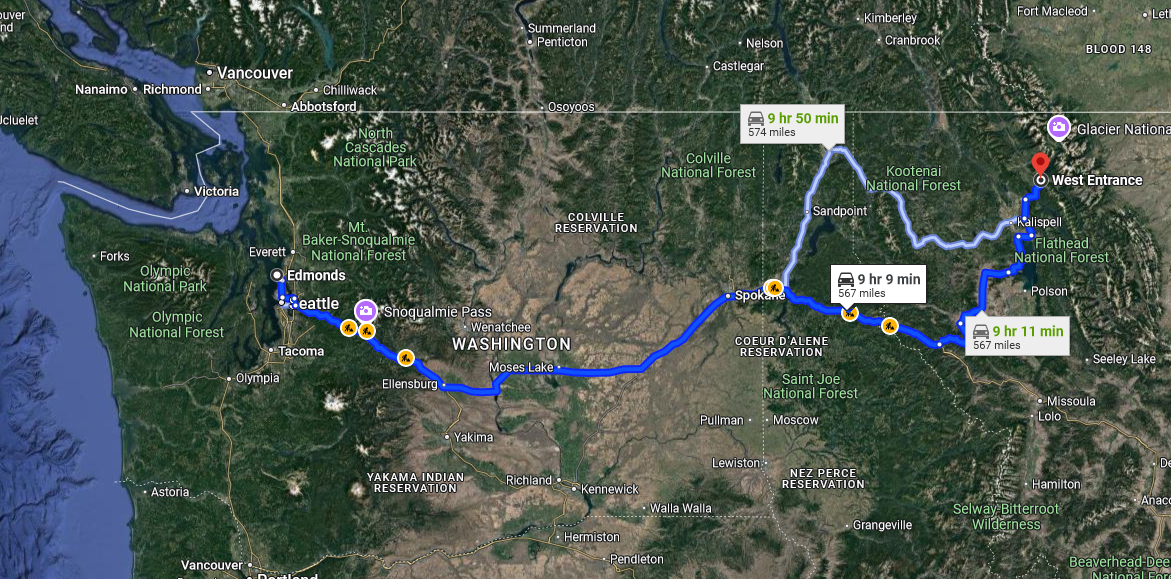
Google Maps route from Seattle to Glacier National Park

Driving from Seattle to Glacier National Park

The drive from Seattle to Glacier National Park is about 9.5 hours and covers 550 miles. Along the way, you’ll pass through scenic landscapes, making the journey from Seattle to Glacier National Park enjoyable and full of adventure.


Route Overview and Time

The drive from Seattle to Glacier National Park covers approximately 550 miles, primarily via Interstate 90 (I-90) eastbound. After passing through Spokane, WA, you’ll cross into Idaho and continue on I-90 until reaching Montana, where you’ll merge onto US-93 North and eventually take US-2 East to the park’s West Entrance. The drive typically takes around 9.5 hours under good conditions, though traffic and stops along the way can extend the time. We stopped a few times to use the restroom or to grab a coffee.

It’s recommended to leave early in the morning, particularly if traveling during peak season (June to September) when road traffic can be higher, especially near major cities like Spokane. We left at around 4am Friday morning and this allowed us to pass through with almost no traffic along the route.


Scenic Stops Along the Way

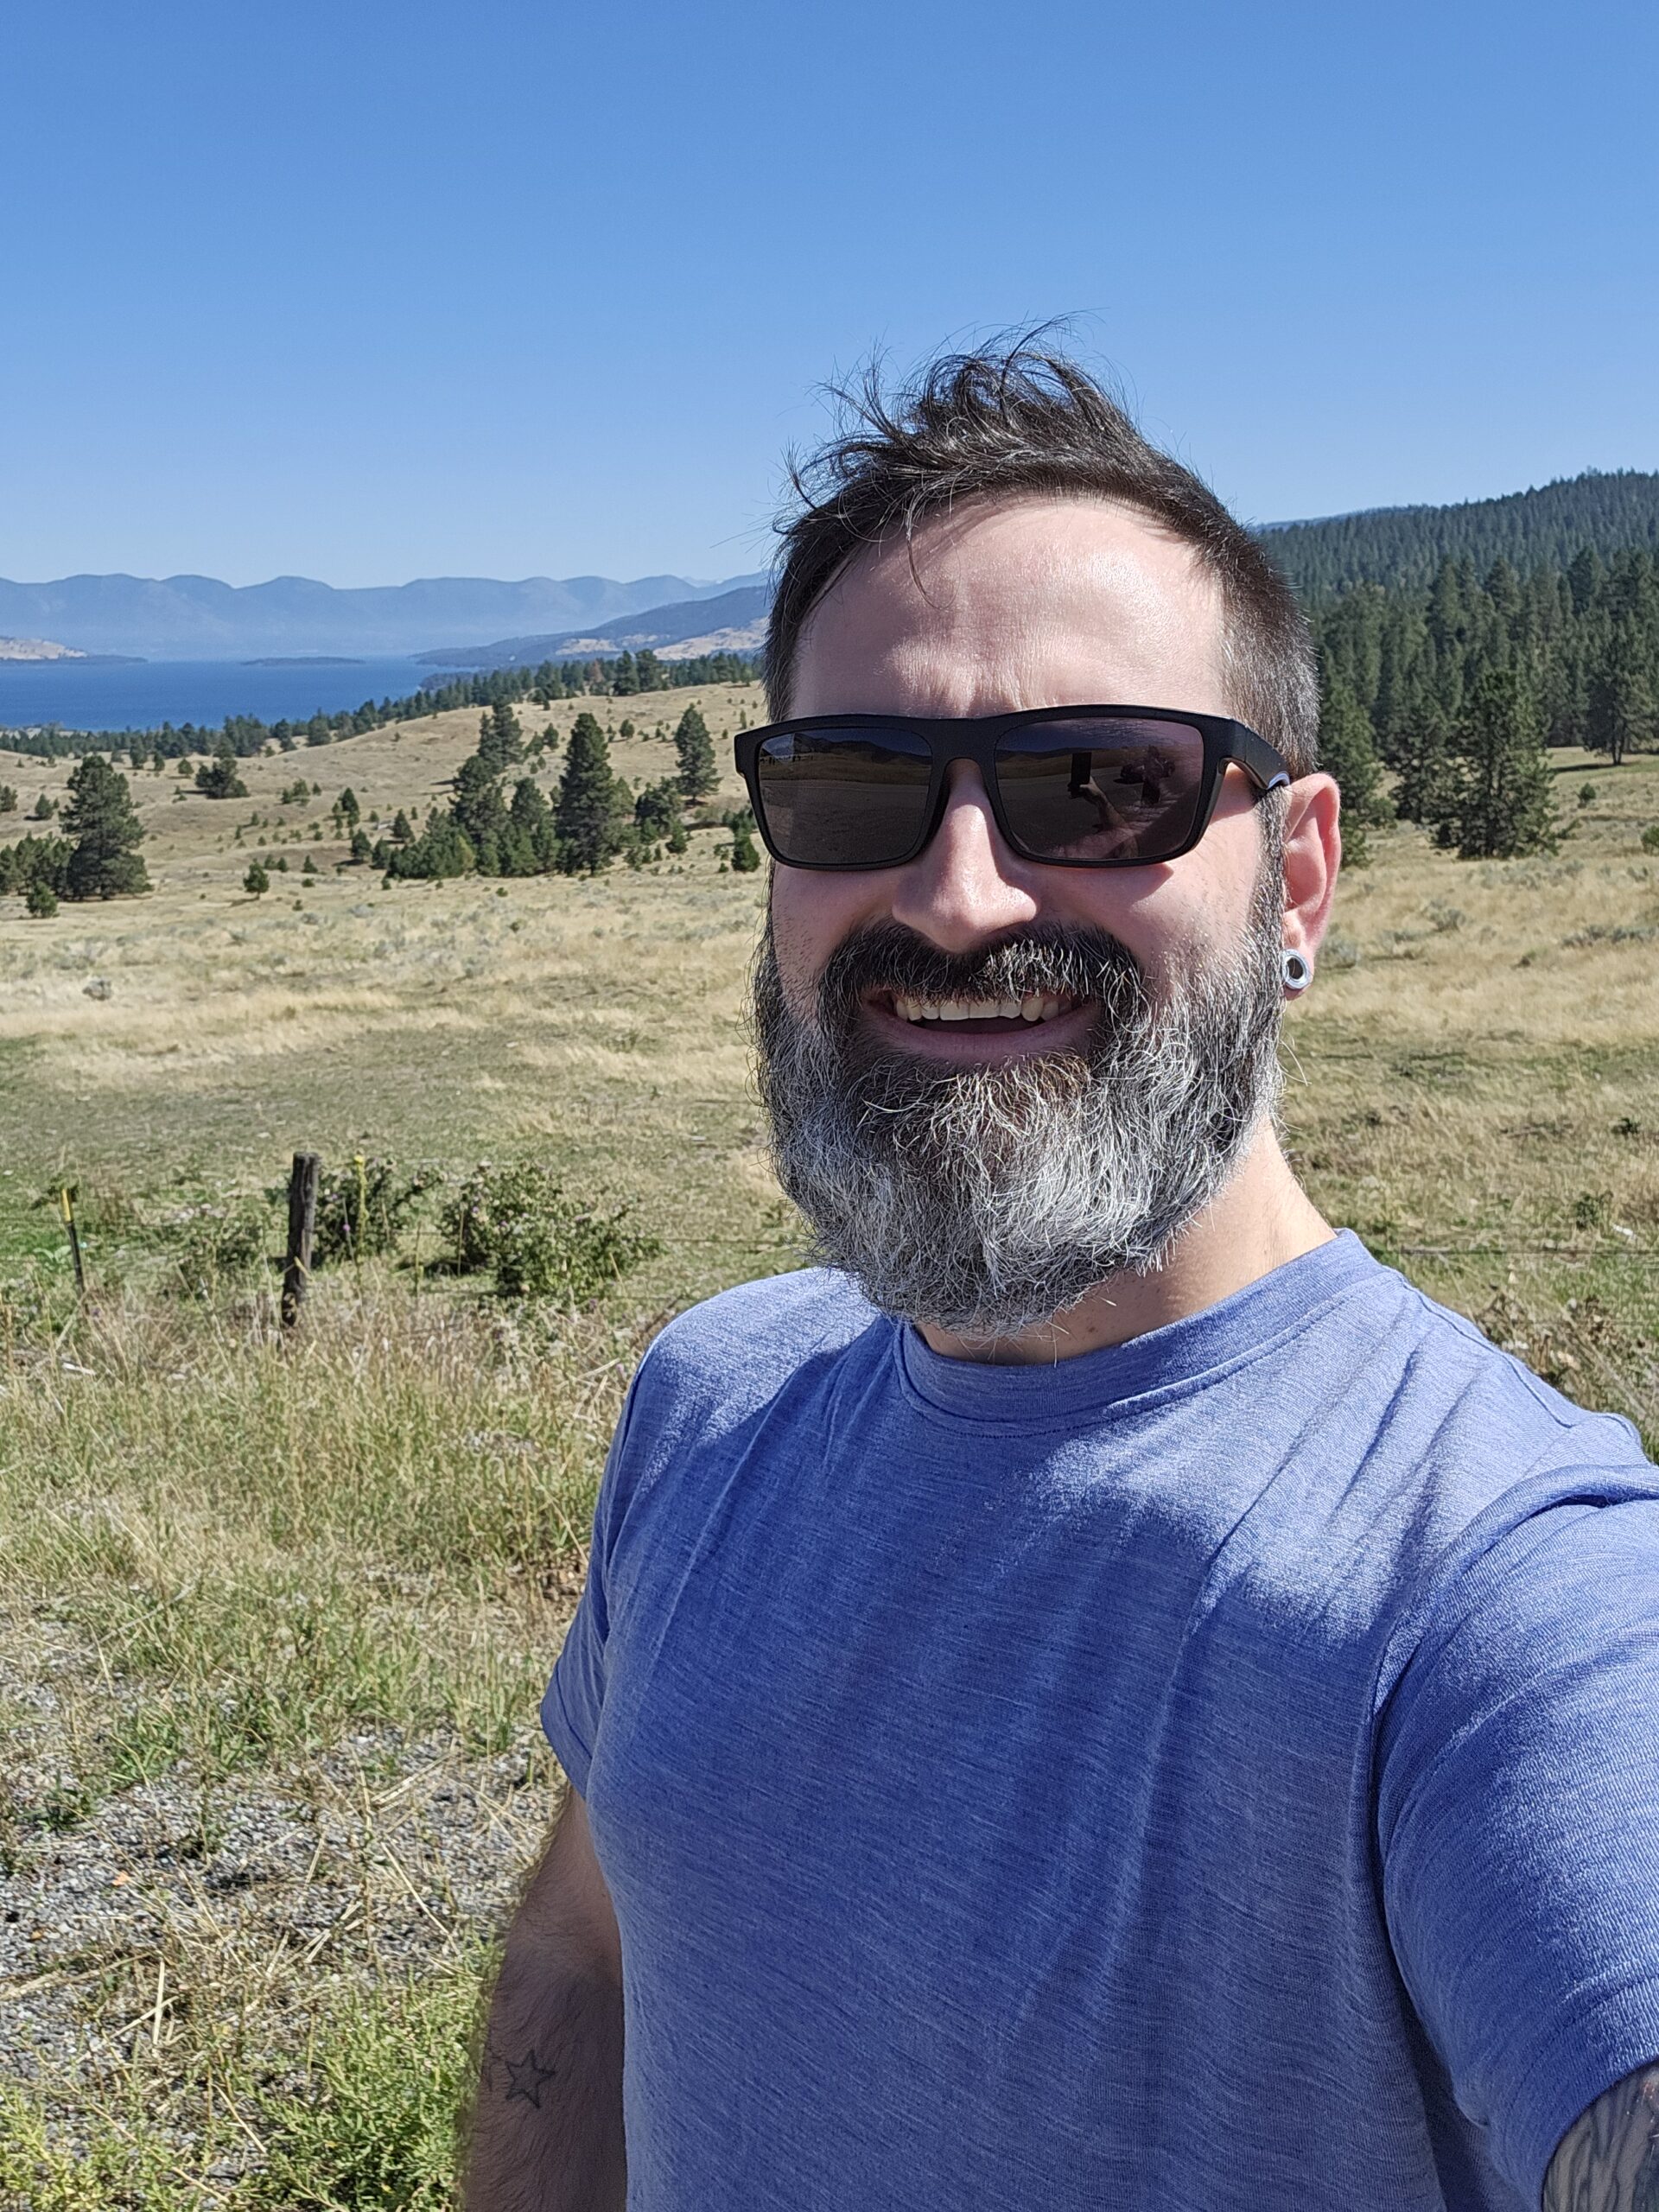
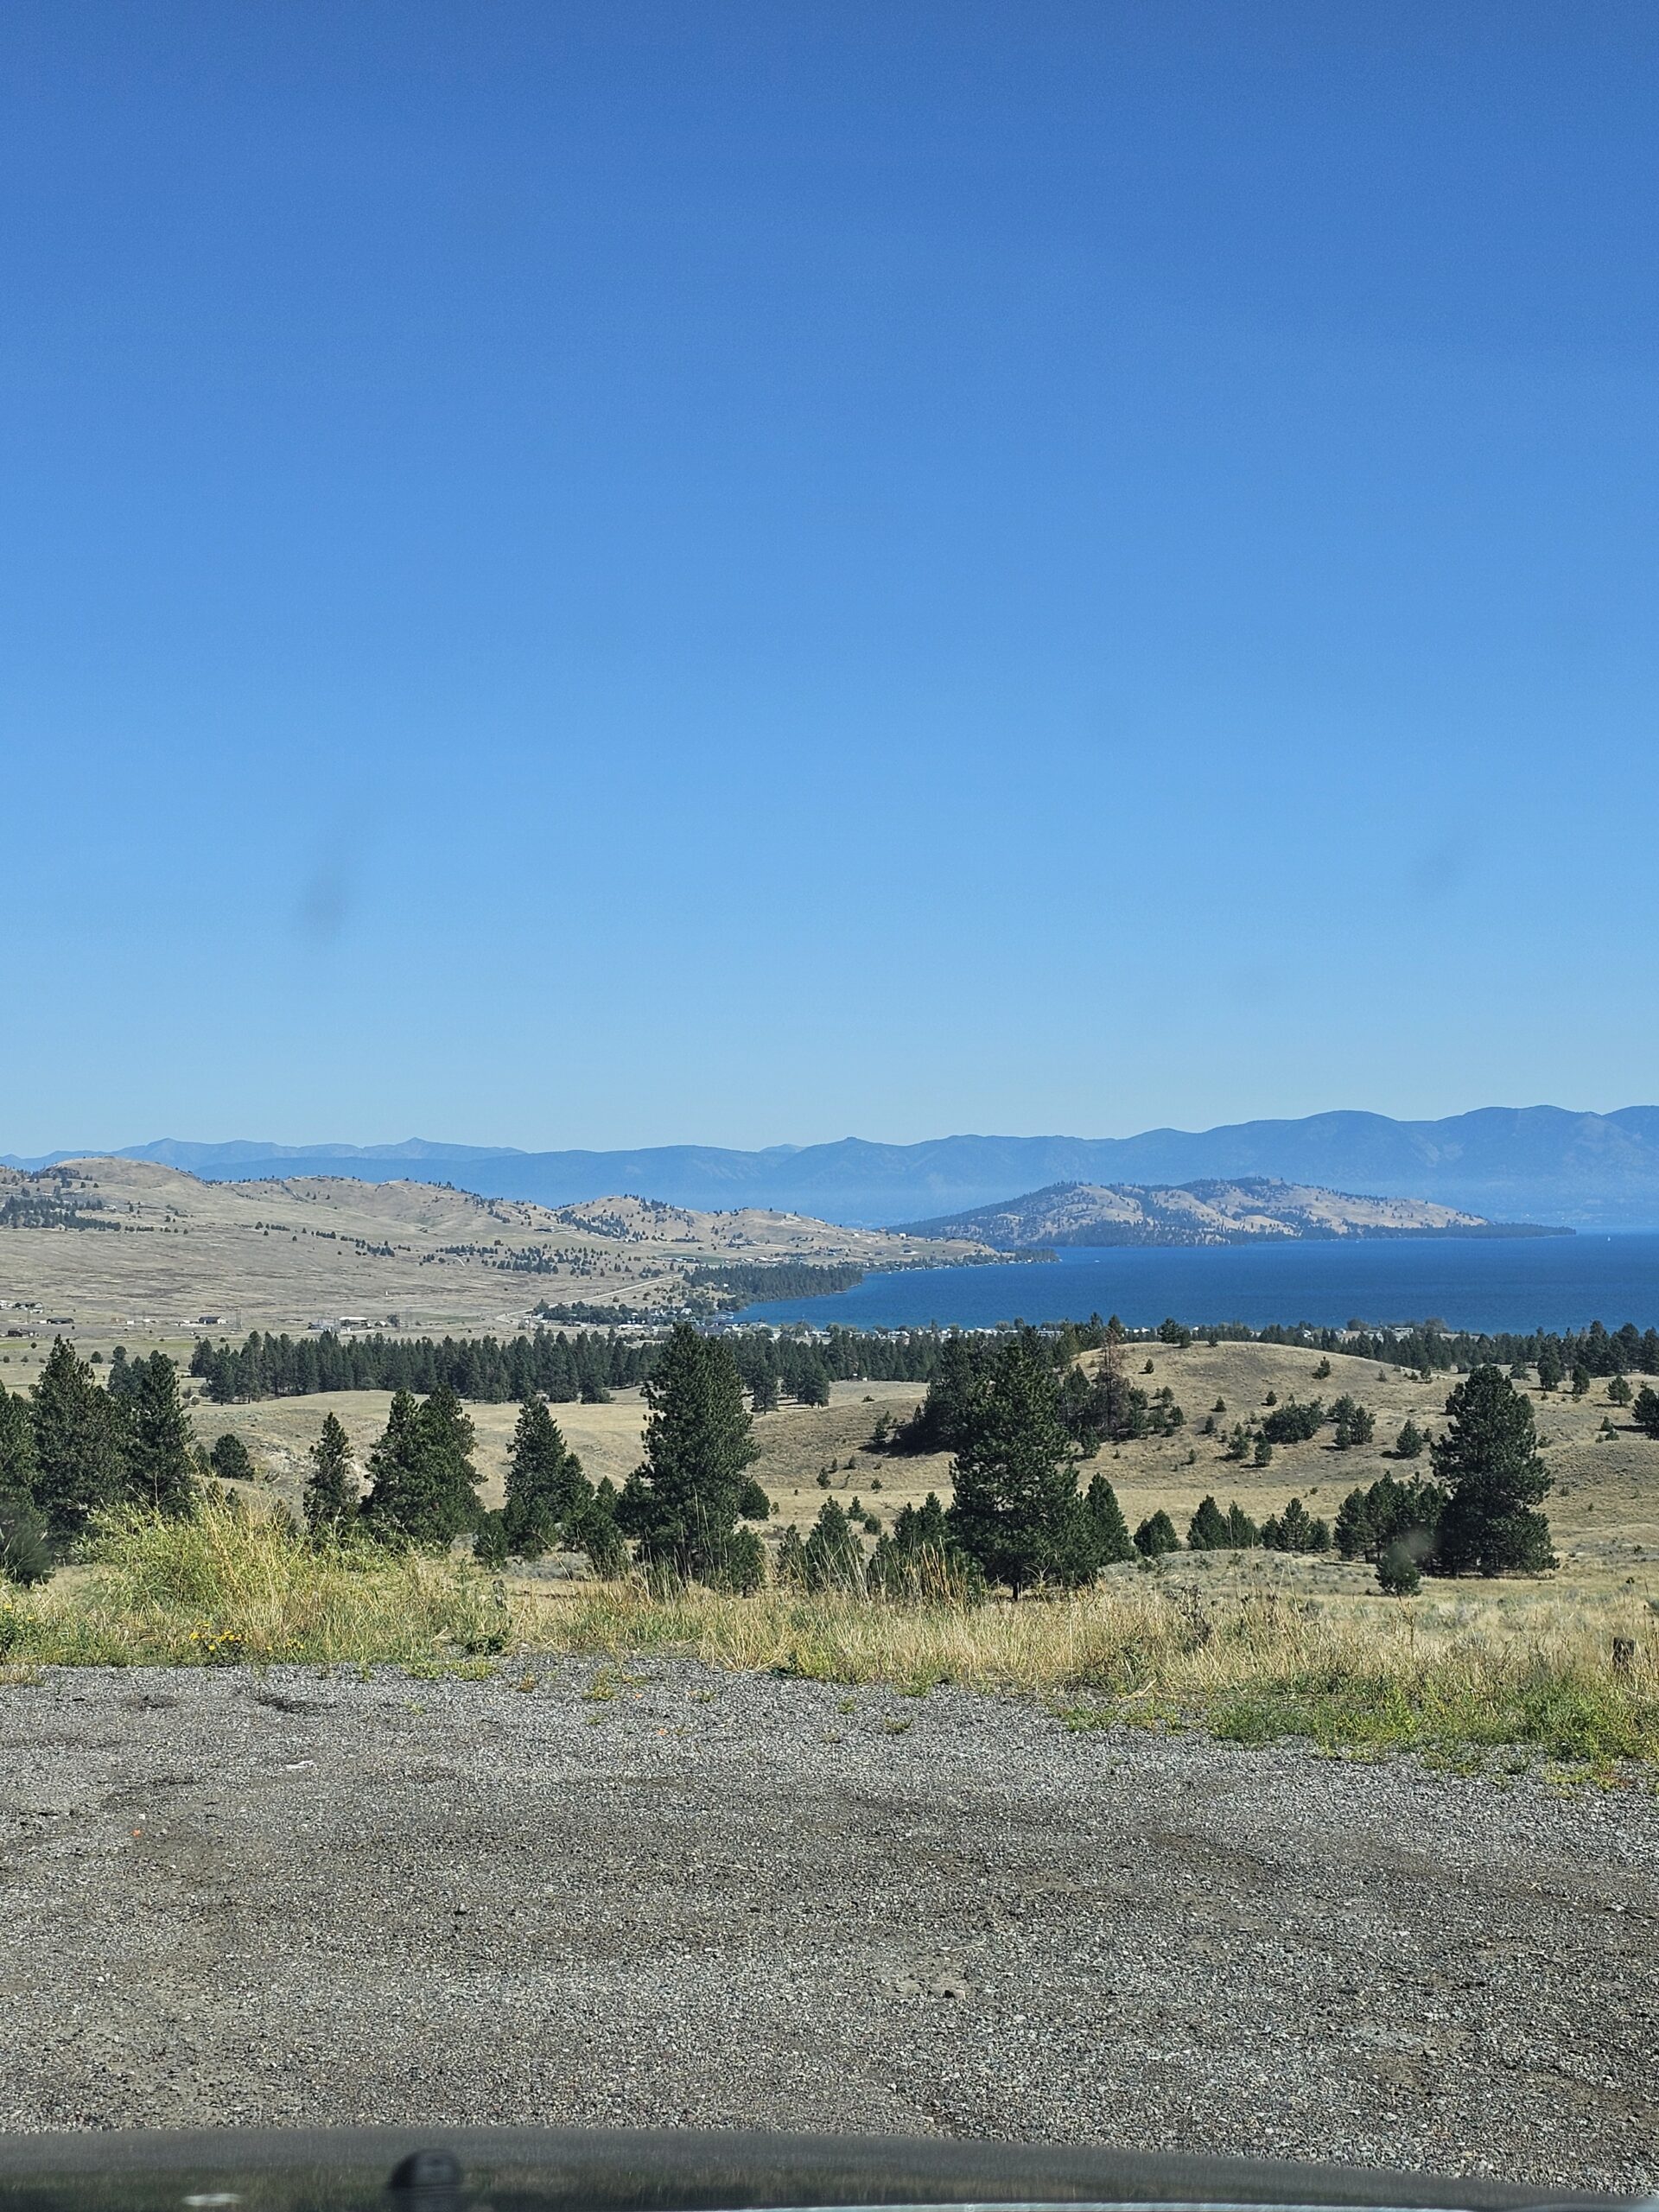
As you travel along I-90, you’ll pass through Couer d’Alene, Idaho, a small city known for its picturesque Lake Coeur d’Alene. This is a popular spot for a break, especially if you want to enjoy scenic waterfront views or grab a meal at one of the many lakefront restaurants. There is an awesome pull off that gives you an incredible opportunity for some pictures and to just take in the majesty of the lake. We took full advantage of it!

Another great spot to stop is Lookout Pass at the Idaho-Montana border, which sits at an elevation of 4,710 feet and offers stunning mountain views.

Once in Montana, the journey becomes even more scenic. Following the beautiful Flathead River you’ll approach Kalispell and then the West Gate of Glacier National Park. We stopped in Kalispell to load up on supplies. There are not many grocery stores near the park (that offer items at a decent price), so this is a great opportunity to load up on food, ice, and anything else you may have forgotten.

Beautiful scenic overlook in Lake Coeur d’Alene with mountain peaks and clear water reflections

Driving Tips for the Journey

  • Fuel Stops: It’s best to fill up in larger cities like Spokane, WA or Coeur d’Alene, ID since the number of gas stations becomes more sparse in Montana. Major gas stops in Montana include Missoula and Kalispell. For those traveling from Seattle, you’ll be excited to see the price of fuel dropping dramatically as you enter Montana. I stopped and fueled up at every half tank just to make sure I would be okay once I was closer to the campgrounds and the park.
  • Weather Considerations: Weather can change quickly in the mountains, particularly in the fall and winter. Be sure to check weather forecasts and be prepared for rain or snow in Montana, especially at higher elevations. We started tracking the weather a week and a half in advance of our Seattle to Glacier National Park roadtrip making sure to check for updates every day. You can track the current weather at Lake McDonald by checking out the Glacier National Park Weather.
  • Rest Areas: Washington and Idaho have multiple rest areas along I-90, providing clean bathrooms, picnic tables, and vending machines, ideal for breaks. Do not hesitate to use these. They are well maintained and it’s best to not hold it if you have to go!
  • Driving Time: It’s totally possible to make the drive in one day which we did, but if you prefer a more relaxed trip, you can split the drive and stay overnight in Spokane or Coeur d’Alene.

By the time you enter Montana, you’ll be surrounded by towering peaks and lush forests, signaling your getting close to Glacier National Park. The last stretch of the drive is especially rewarding, as the vast wilderness unfolds before you.

Montana Road Trip
Montana Road Trip

Camping at Lid Creek Campground on Hungry Horse Reservoir

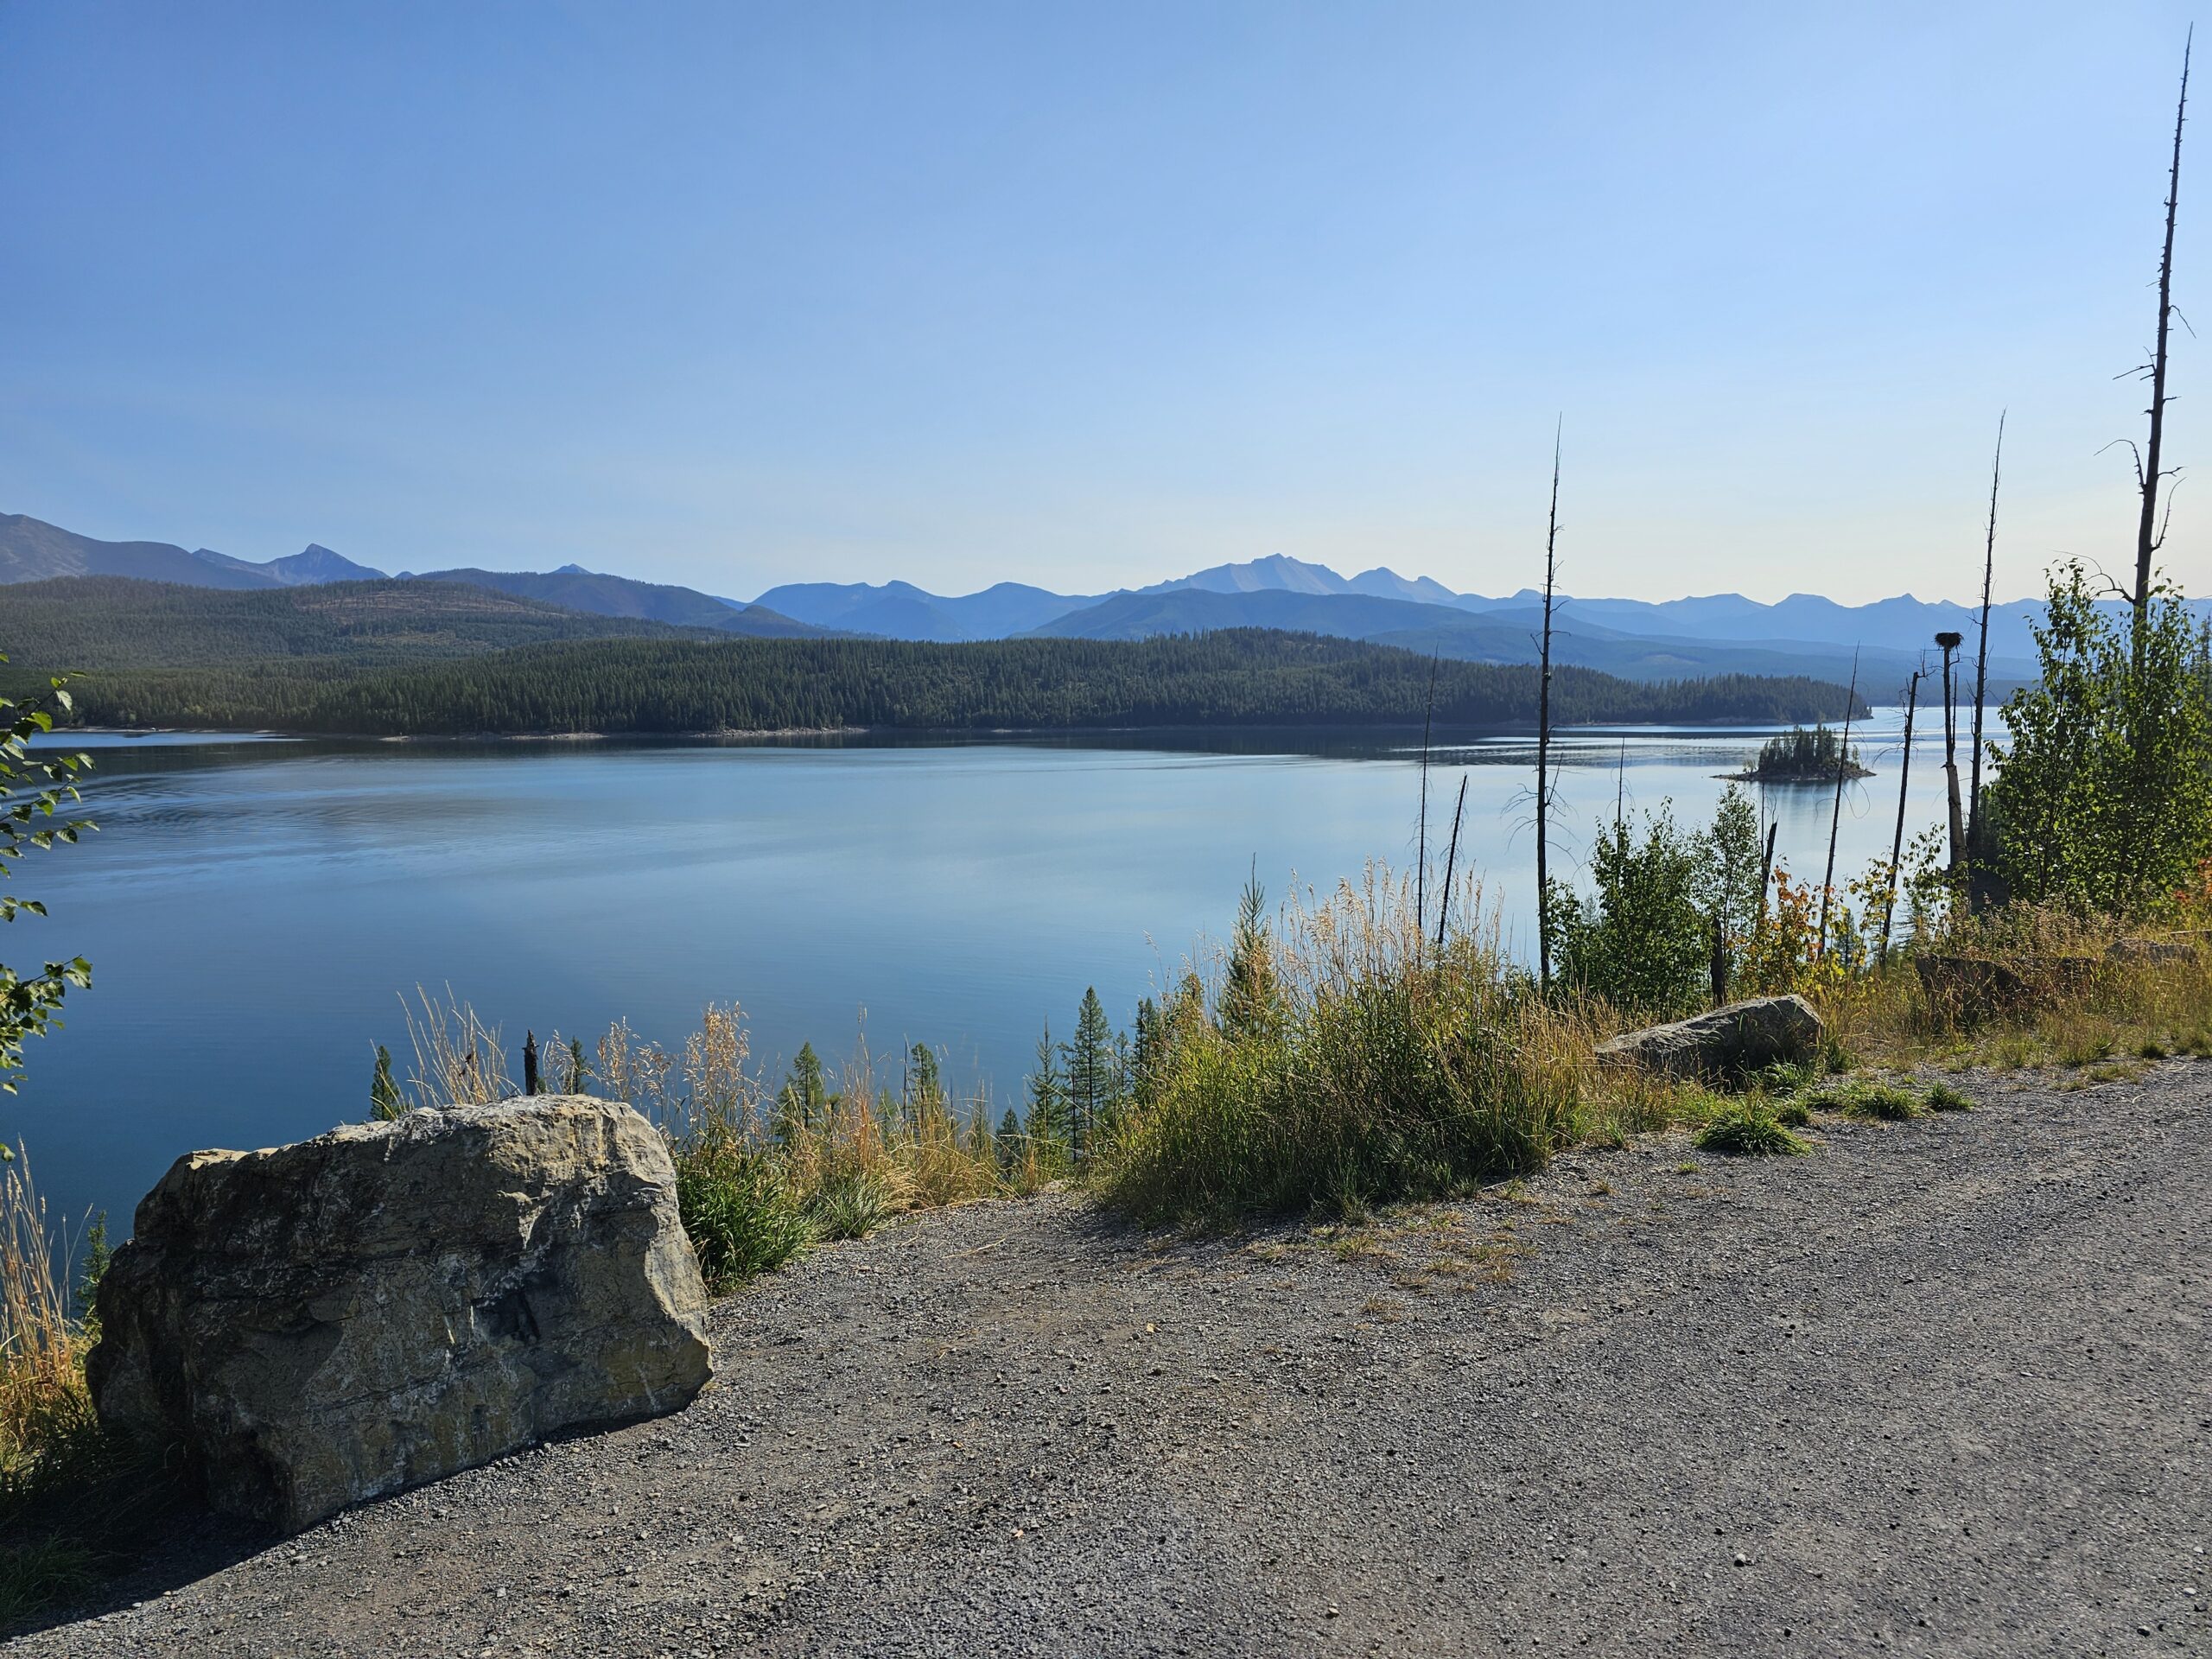
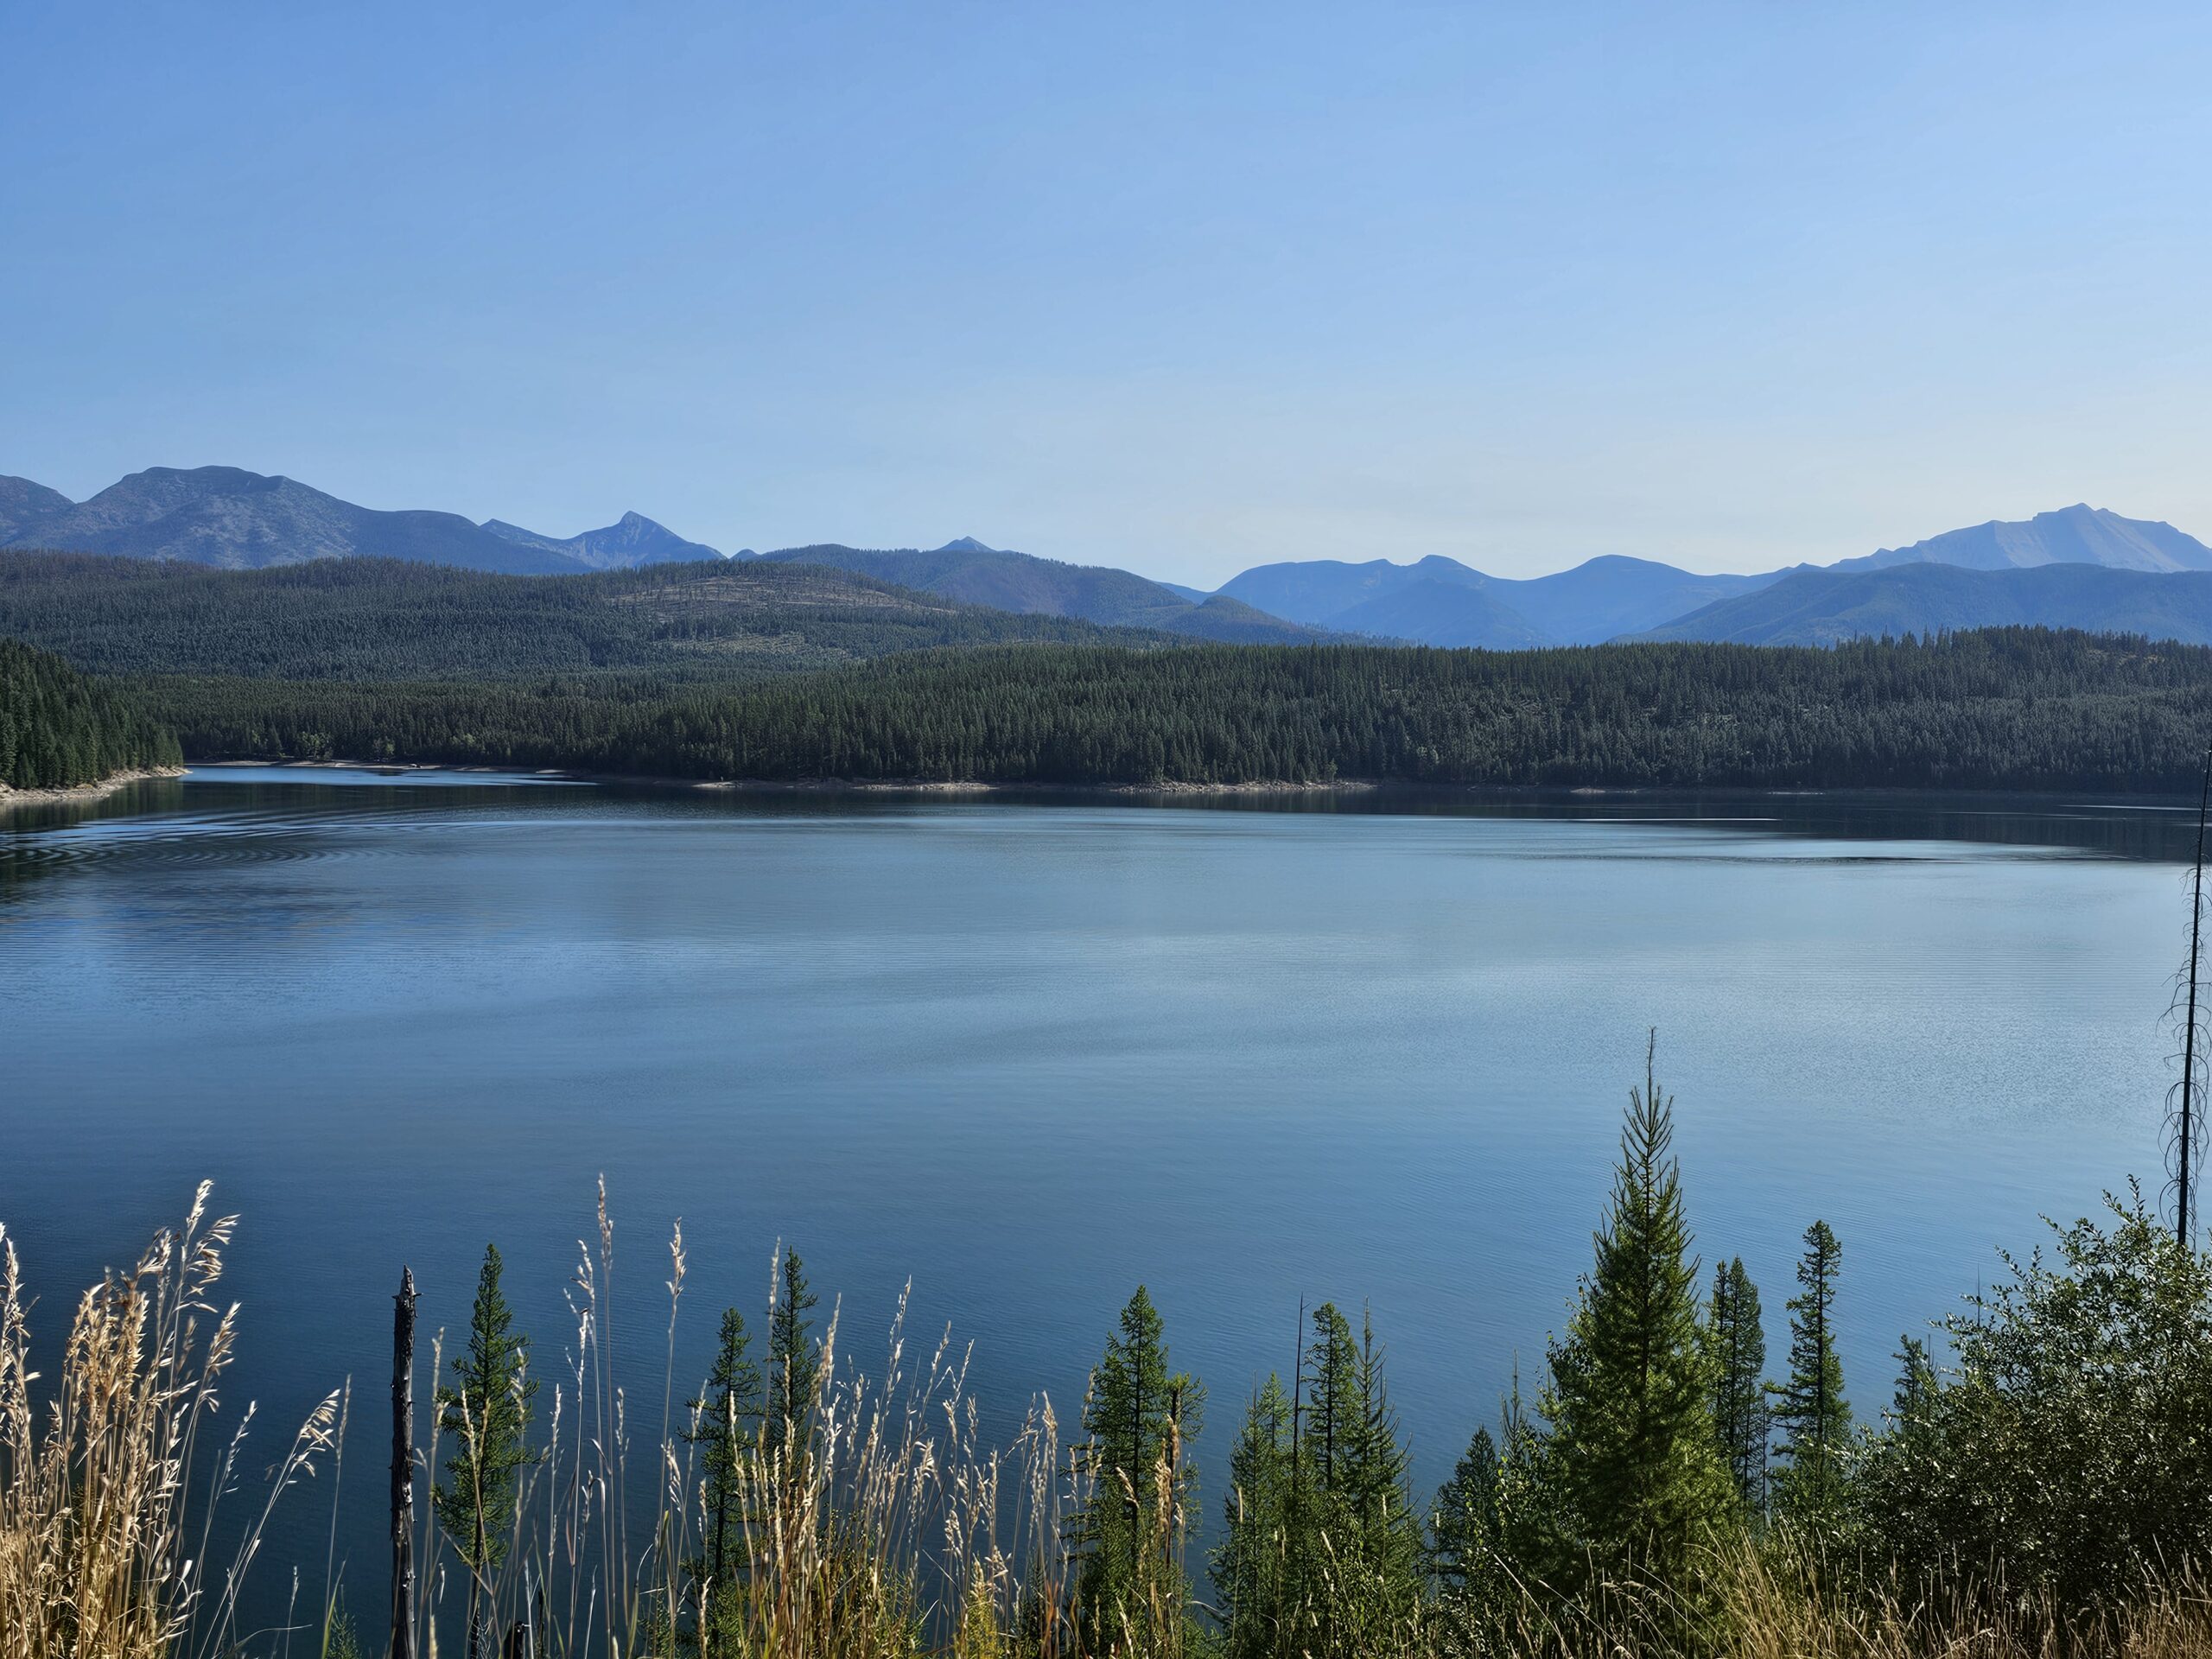
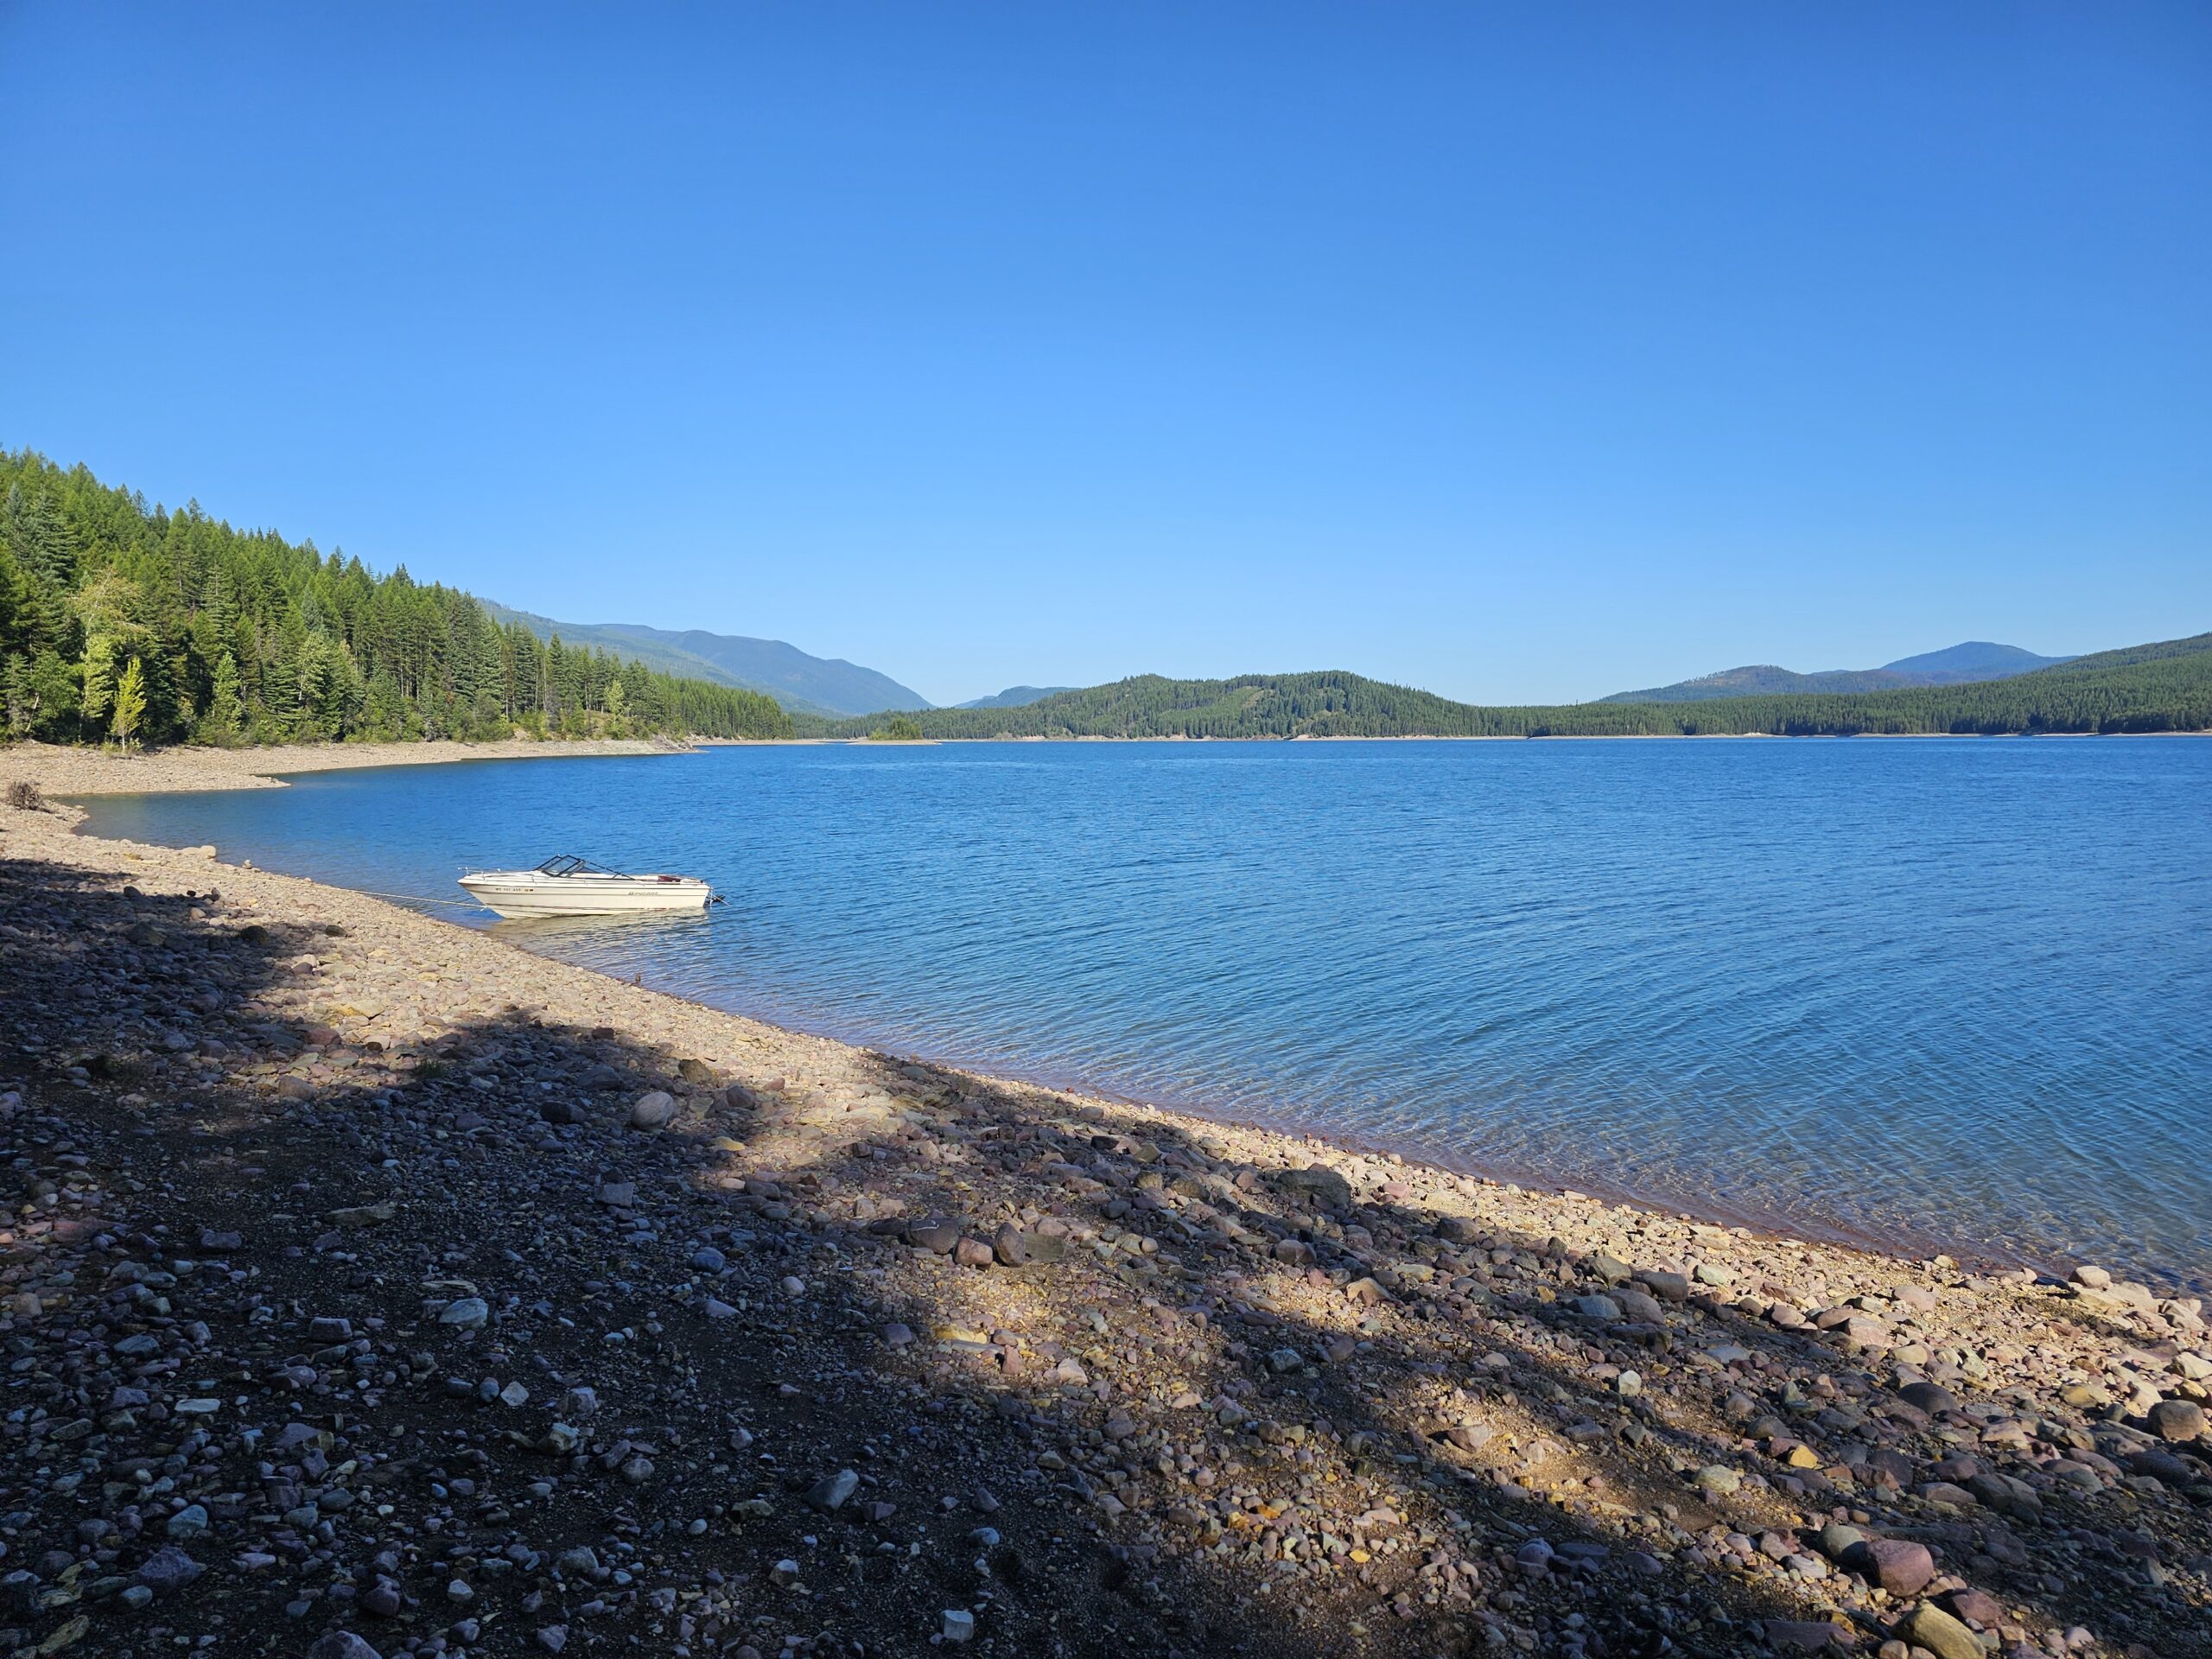
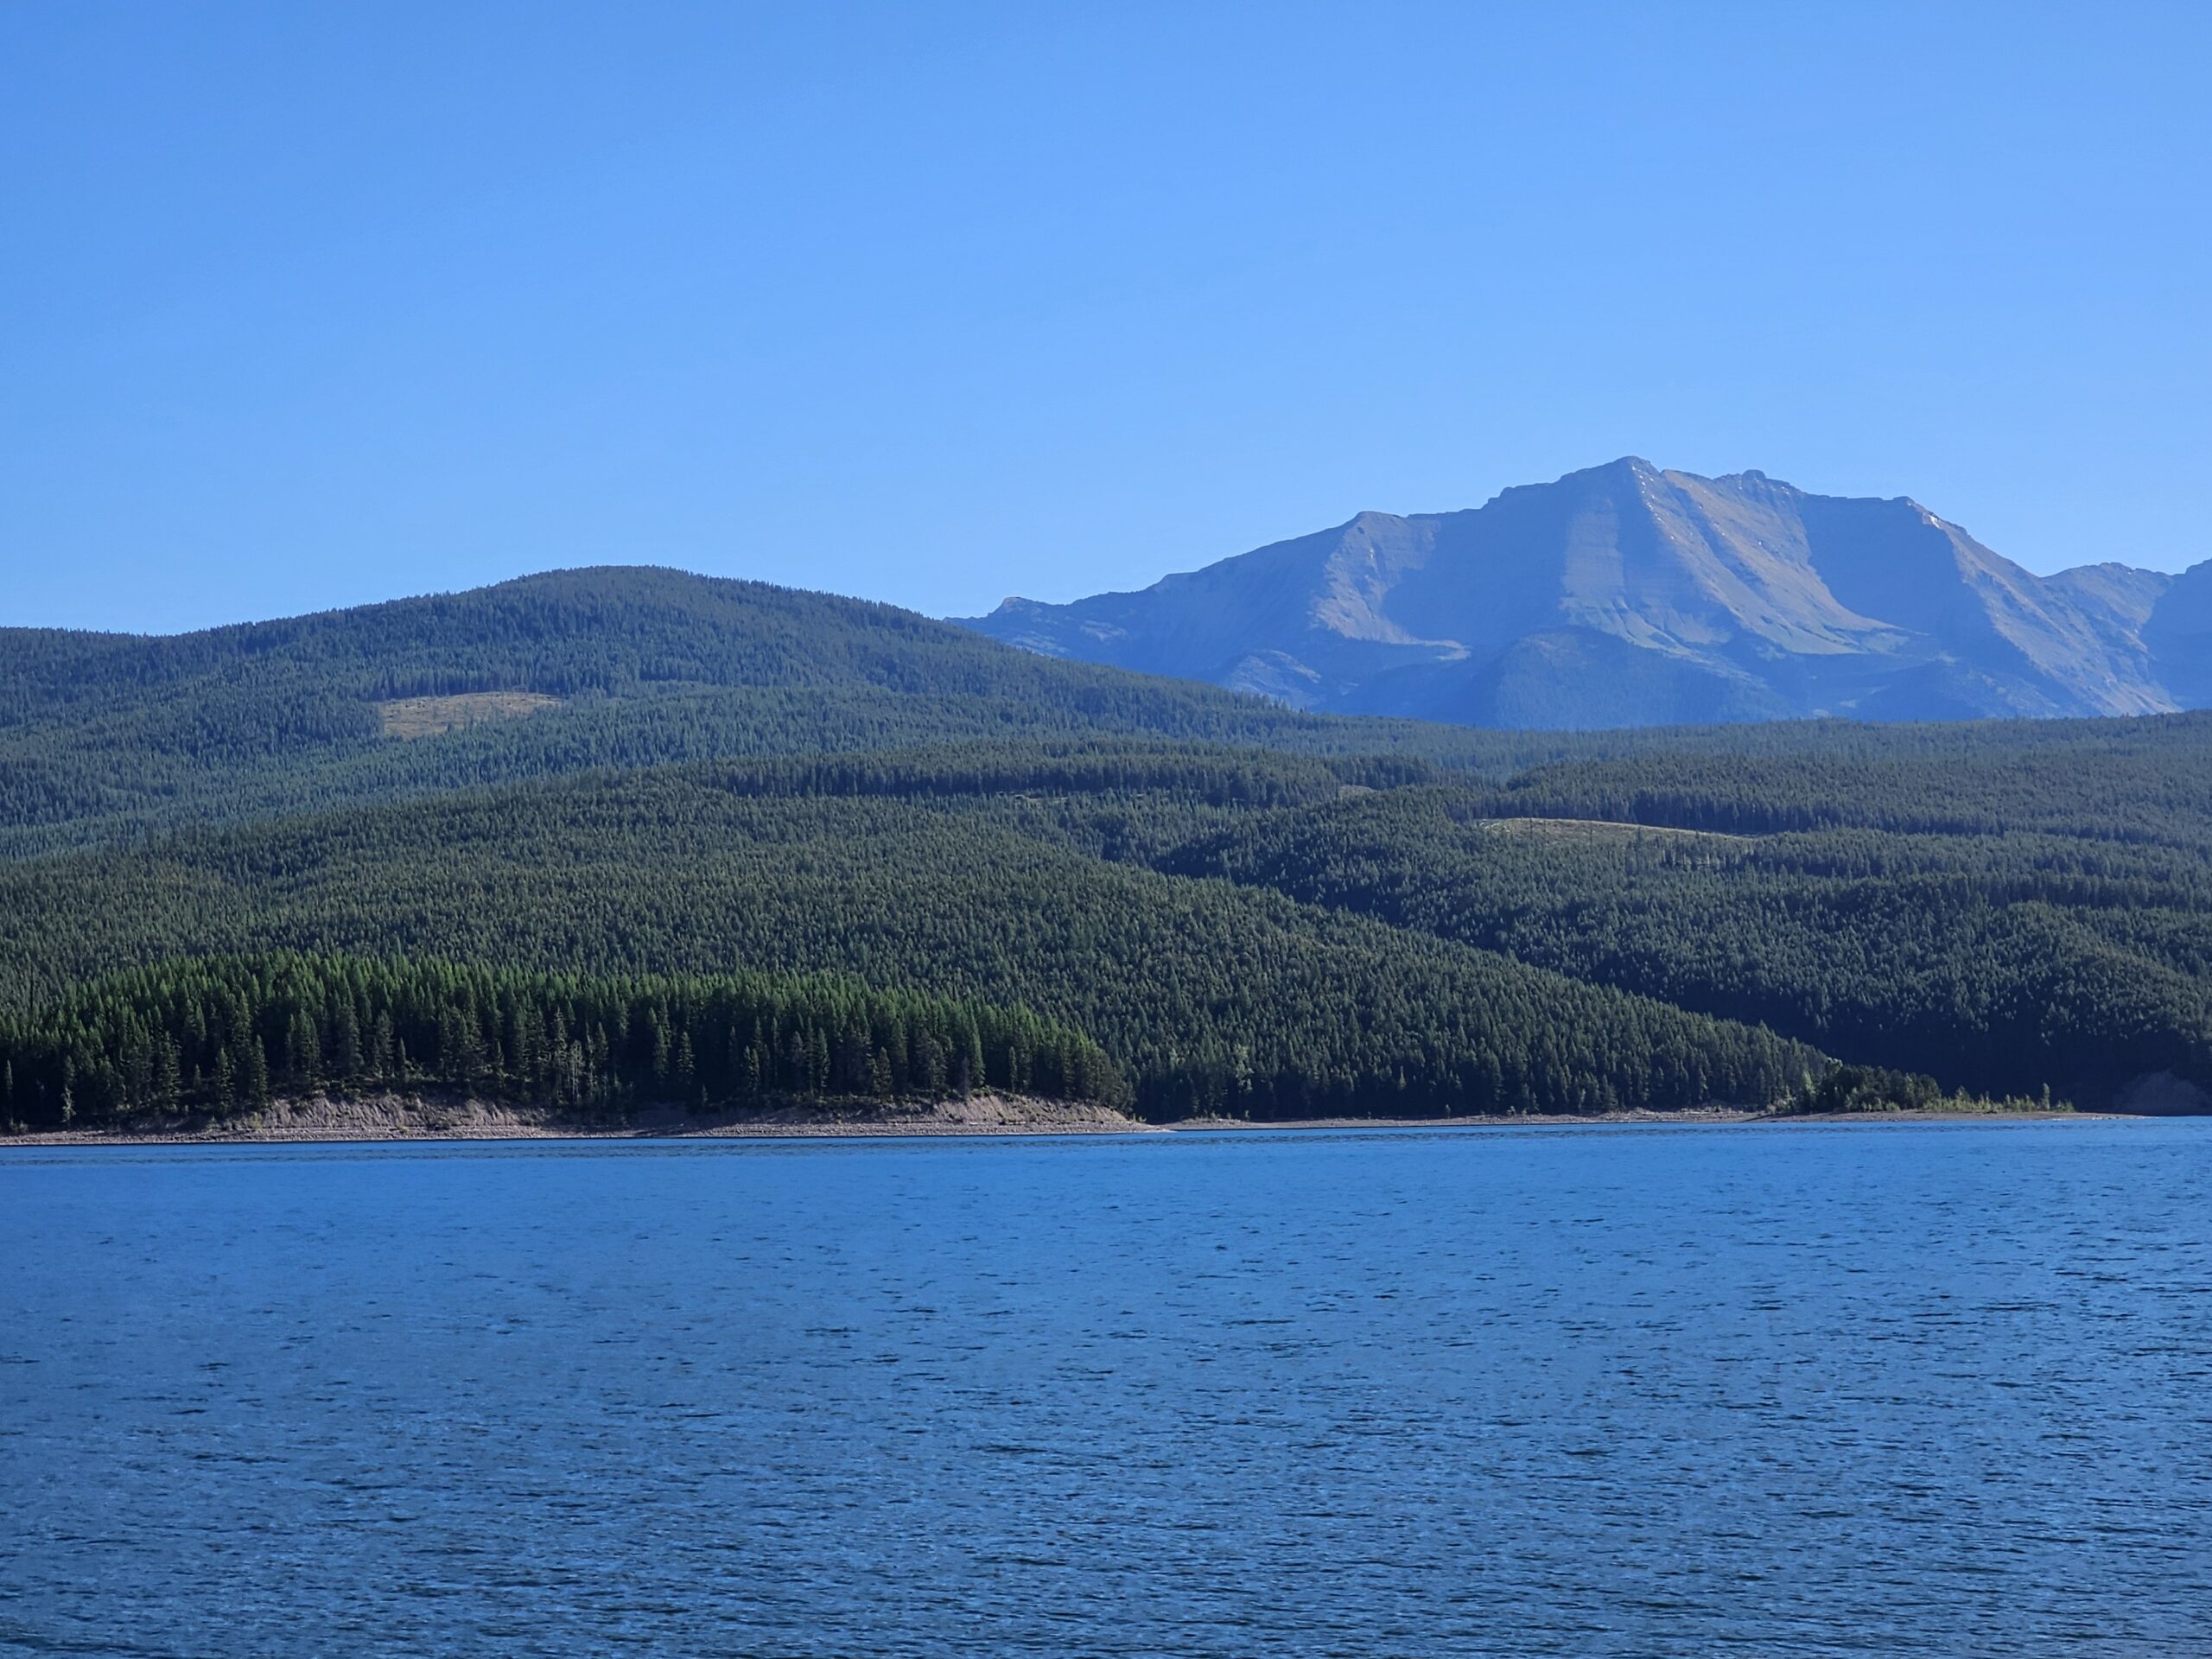
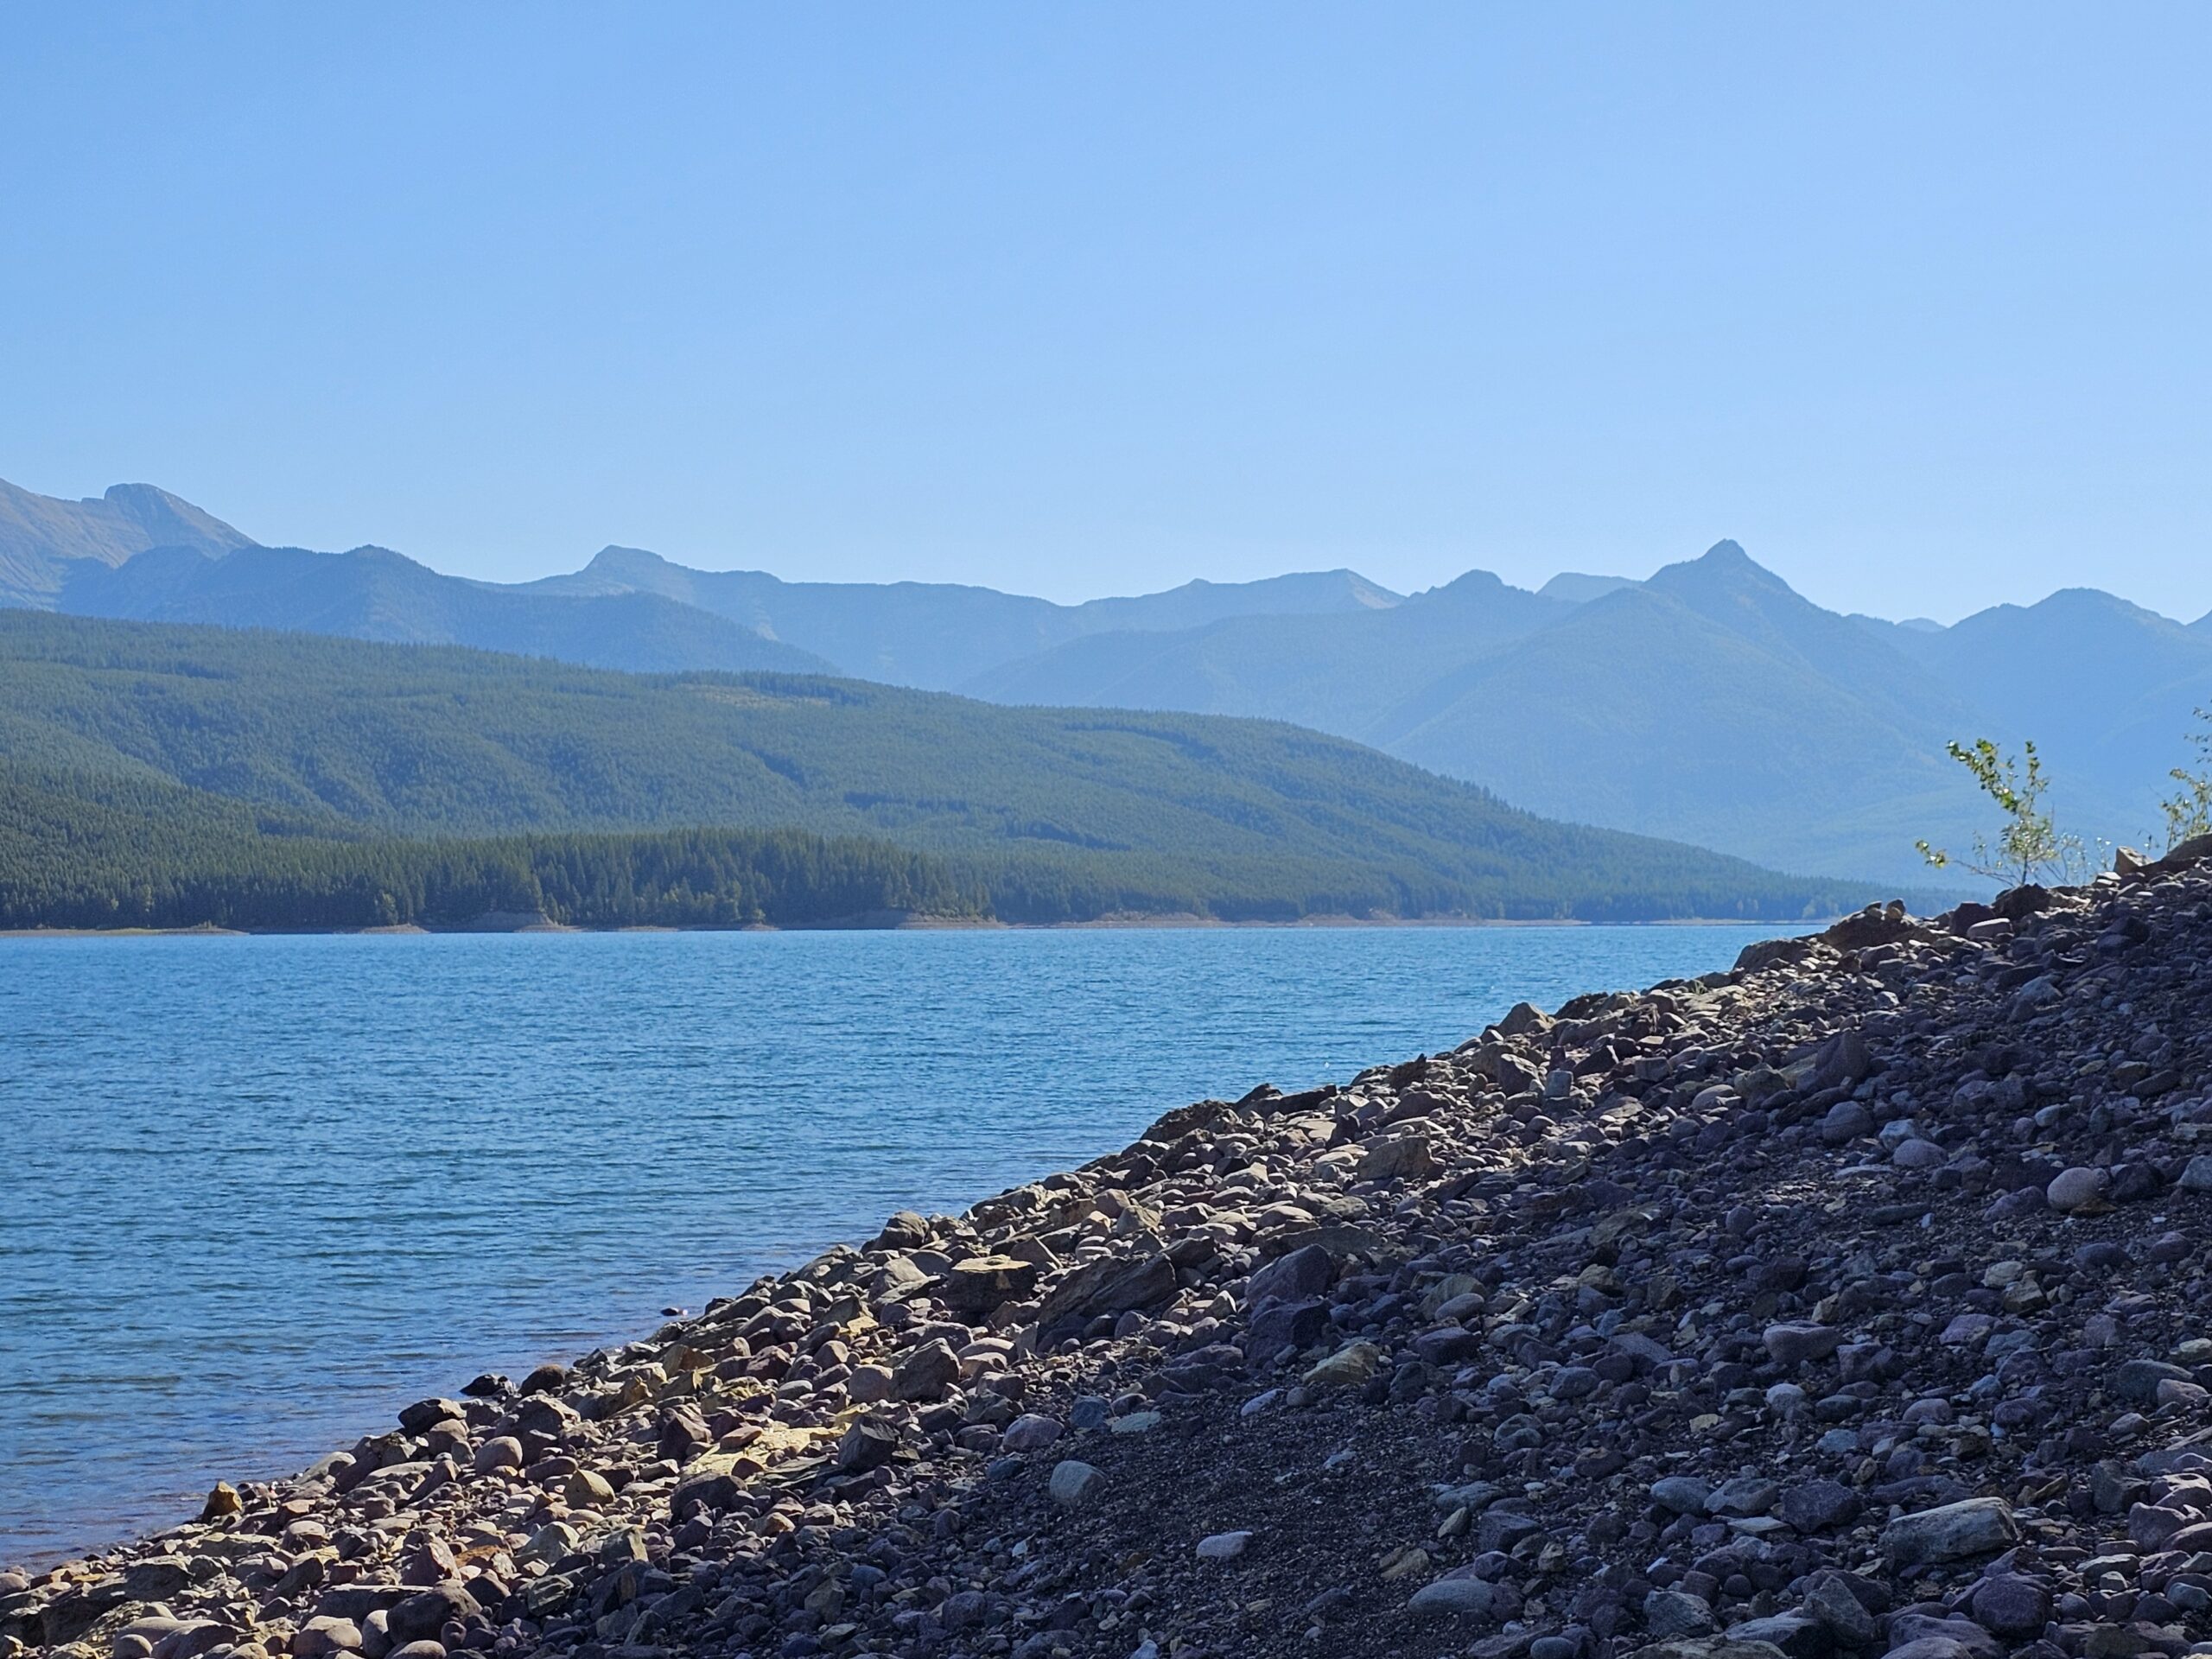
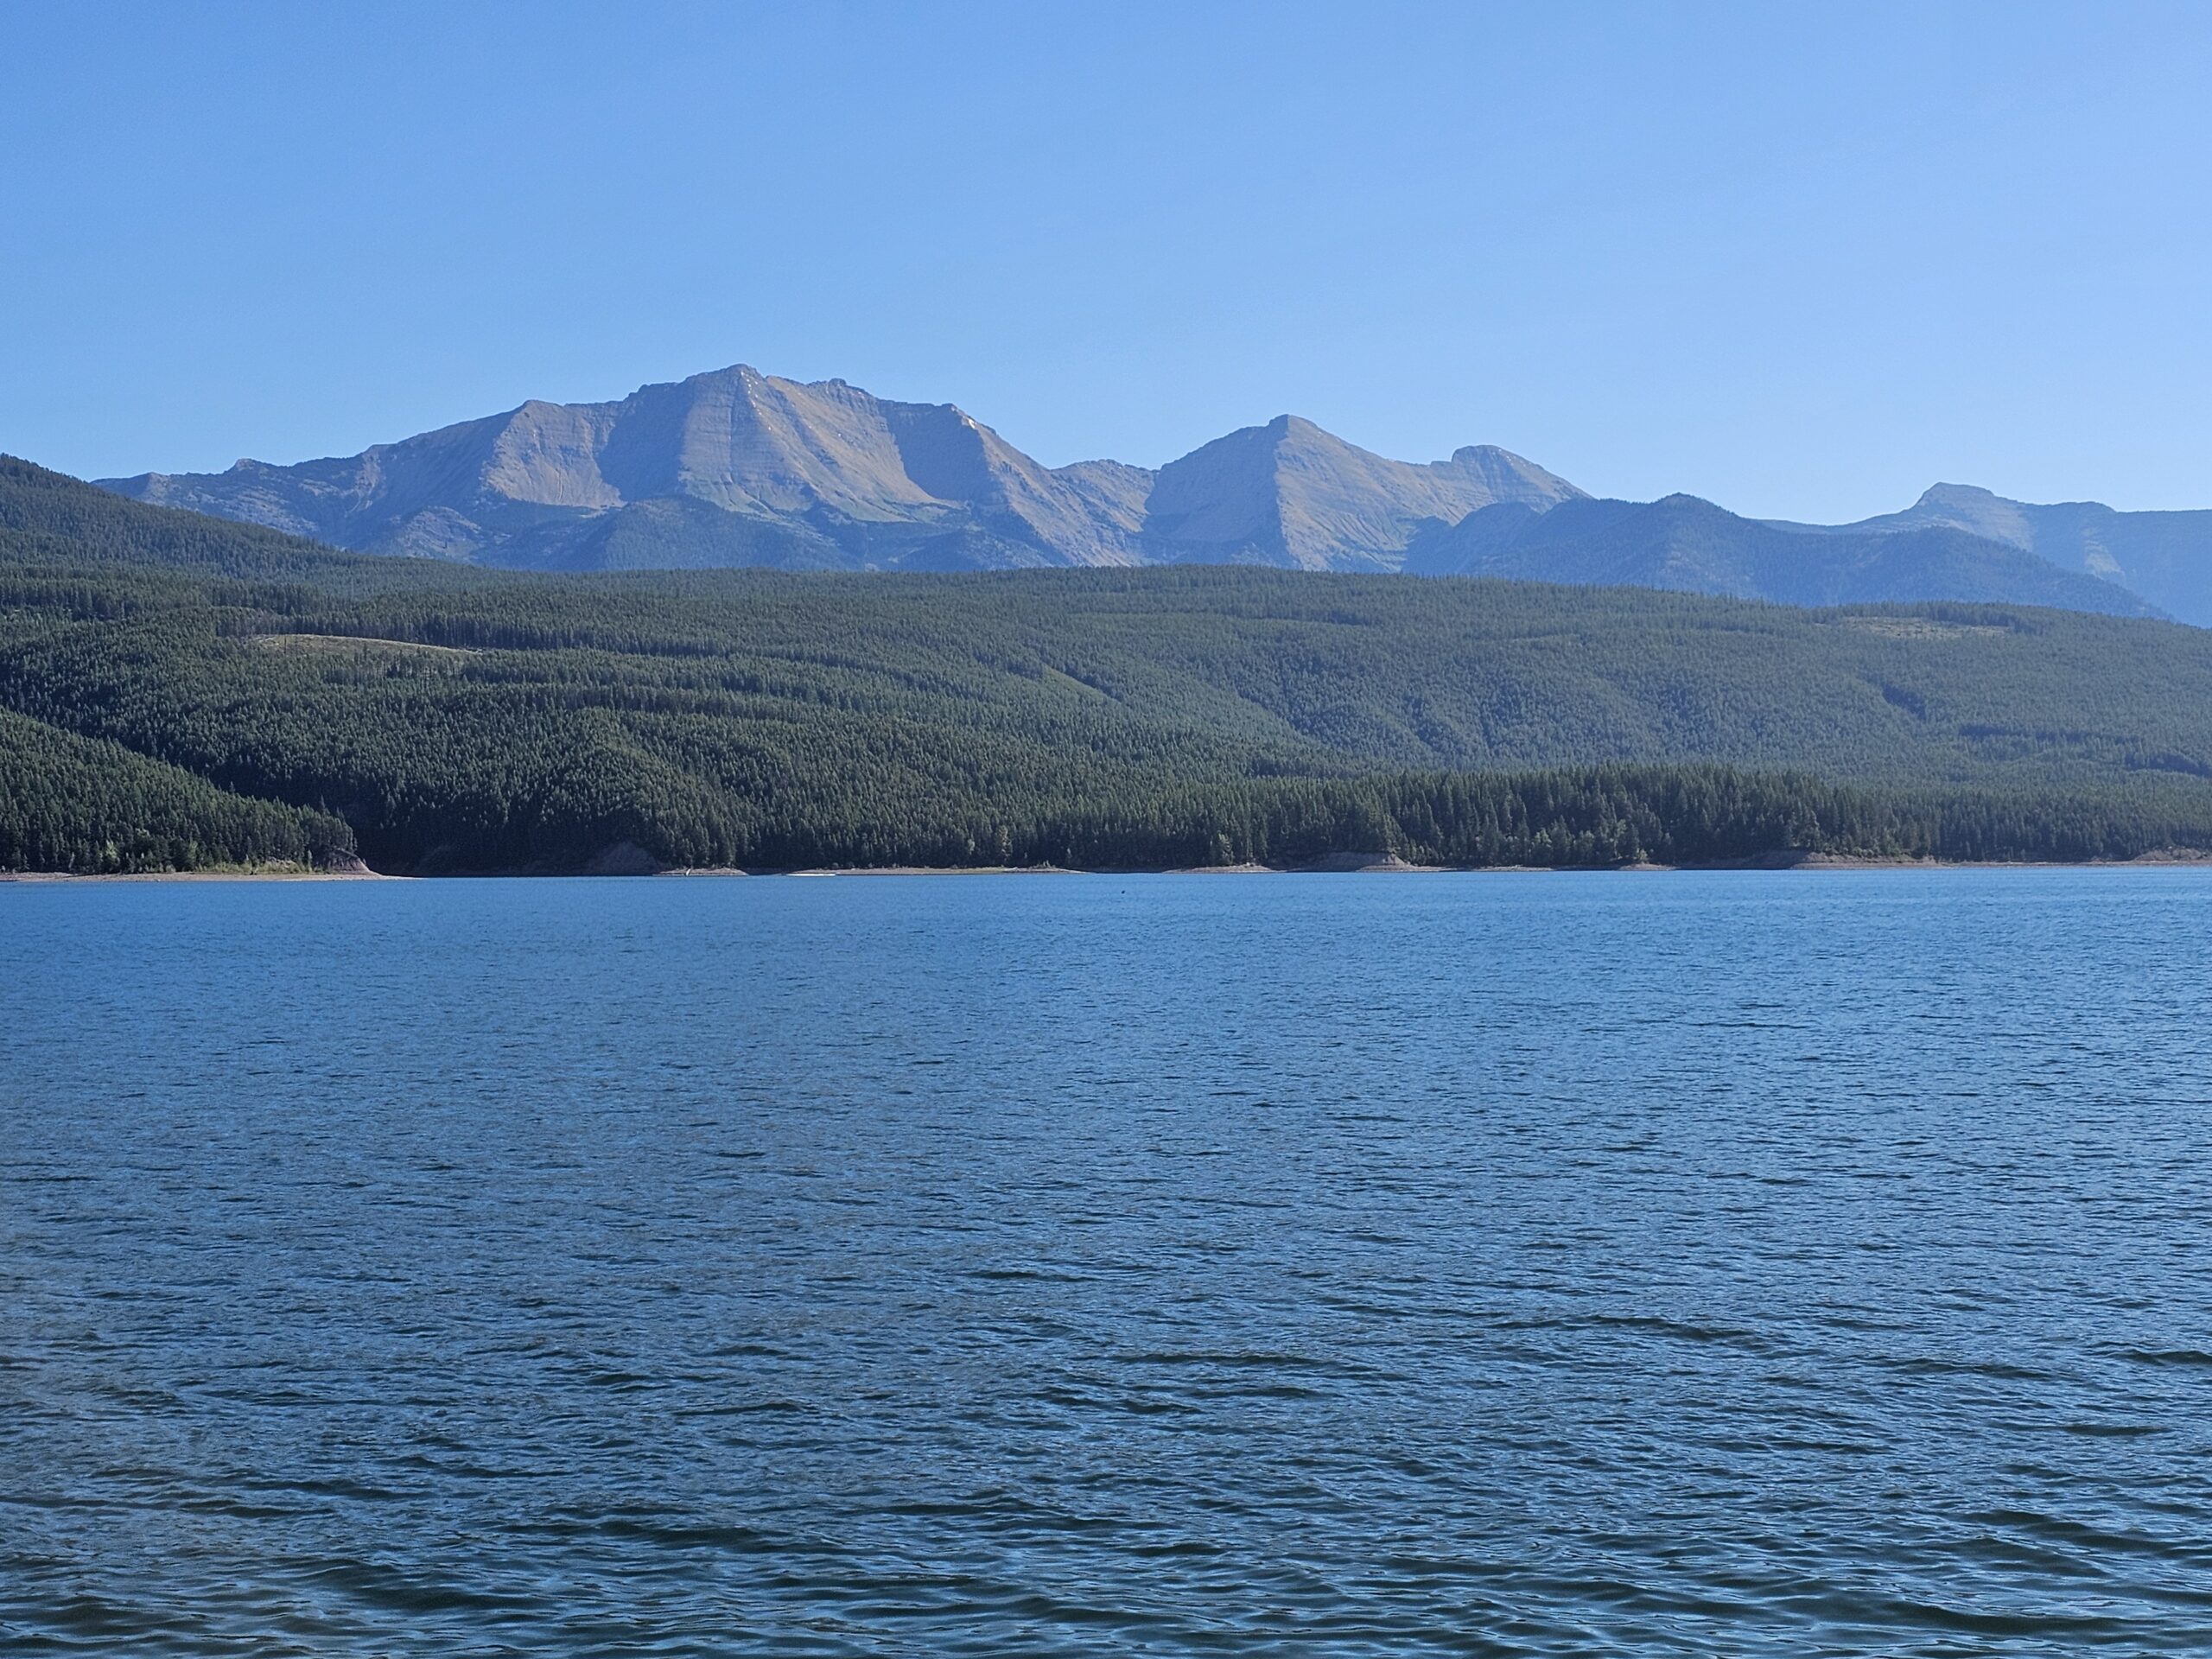
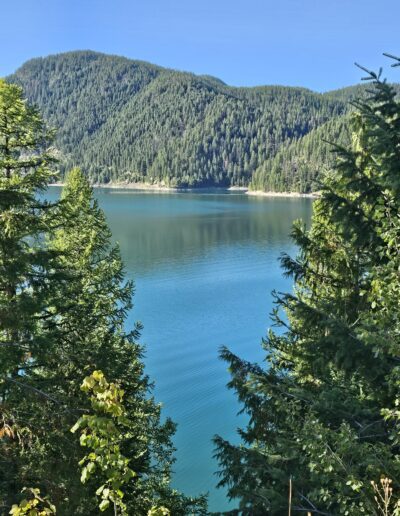
Our choice to camp at Lid Creek Campground on Hungry Horse Reservoir proved to be one of the highlights of our Glacier National Park adventure. This campground offered everything we needed for a comfortable and memorable stay during Labor Day weekend. Hungry Horse Reservoir is a fantastic, lesser-known spot for camping and outdoor activities near Glacier National Park.

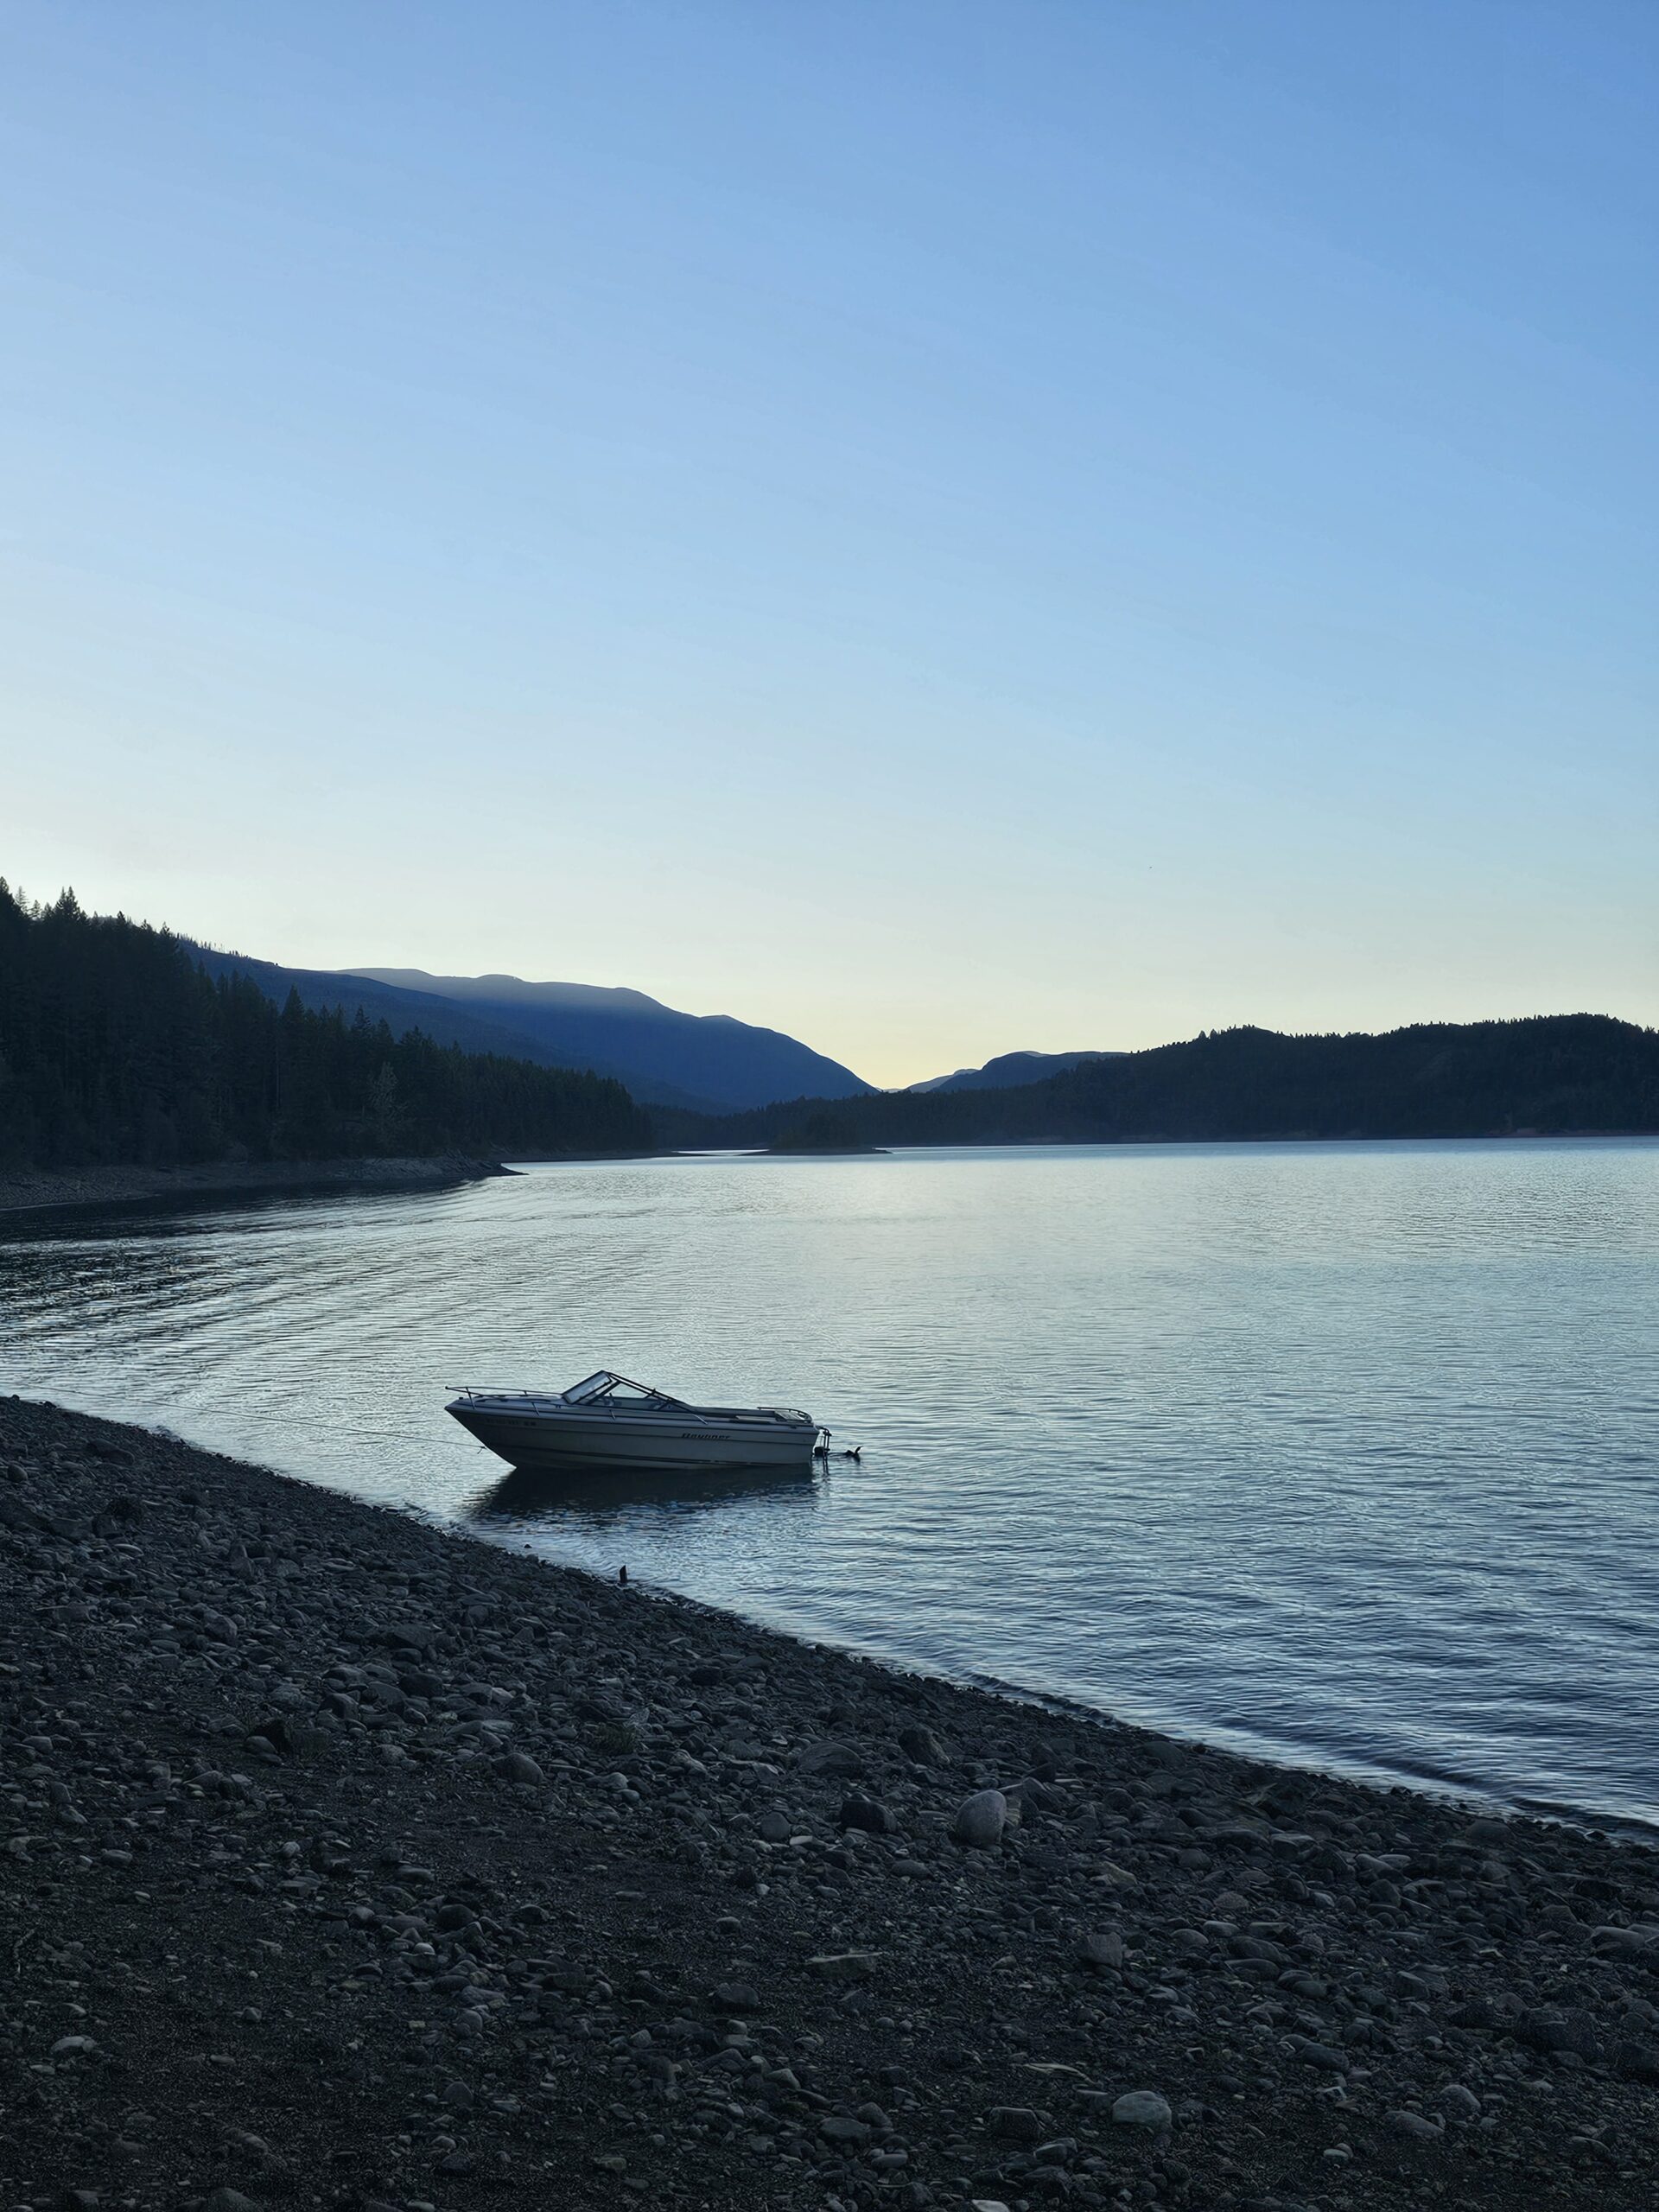
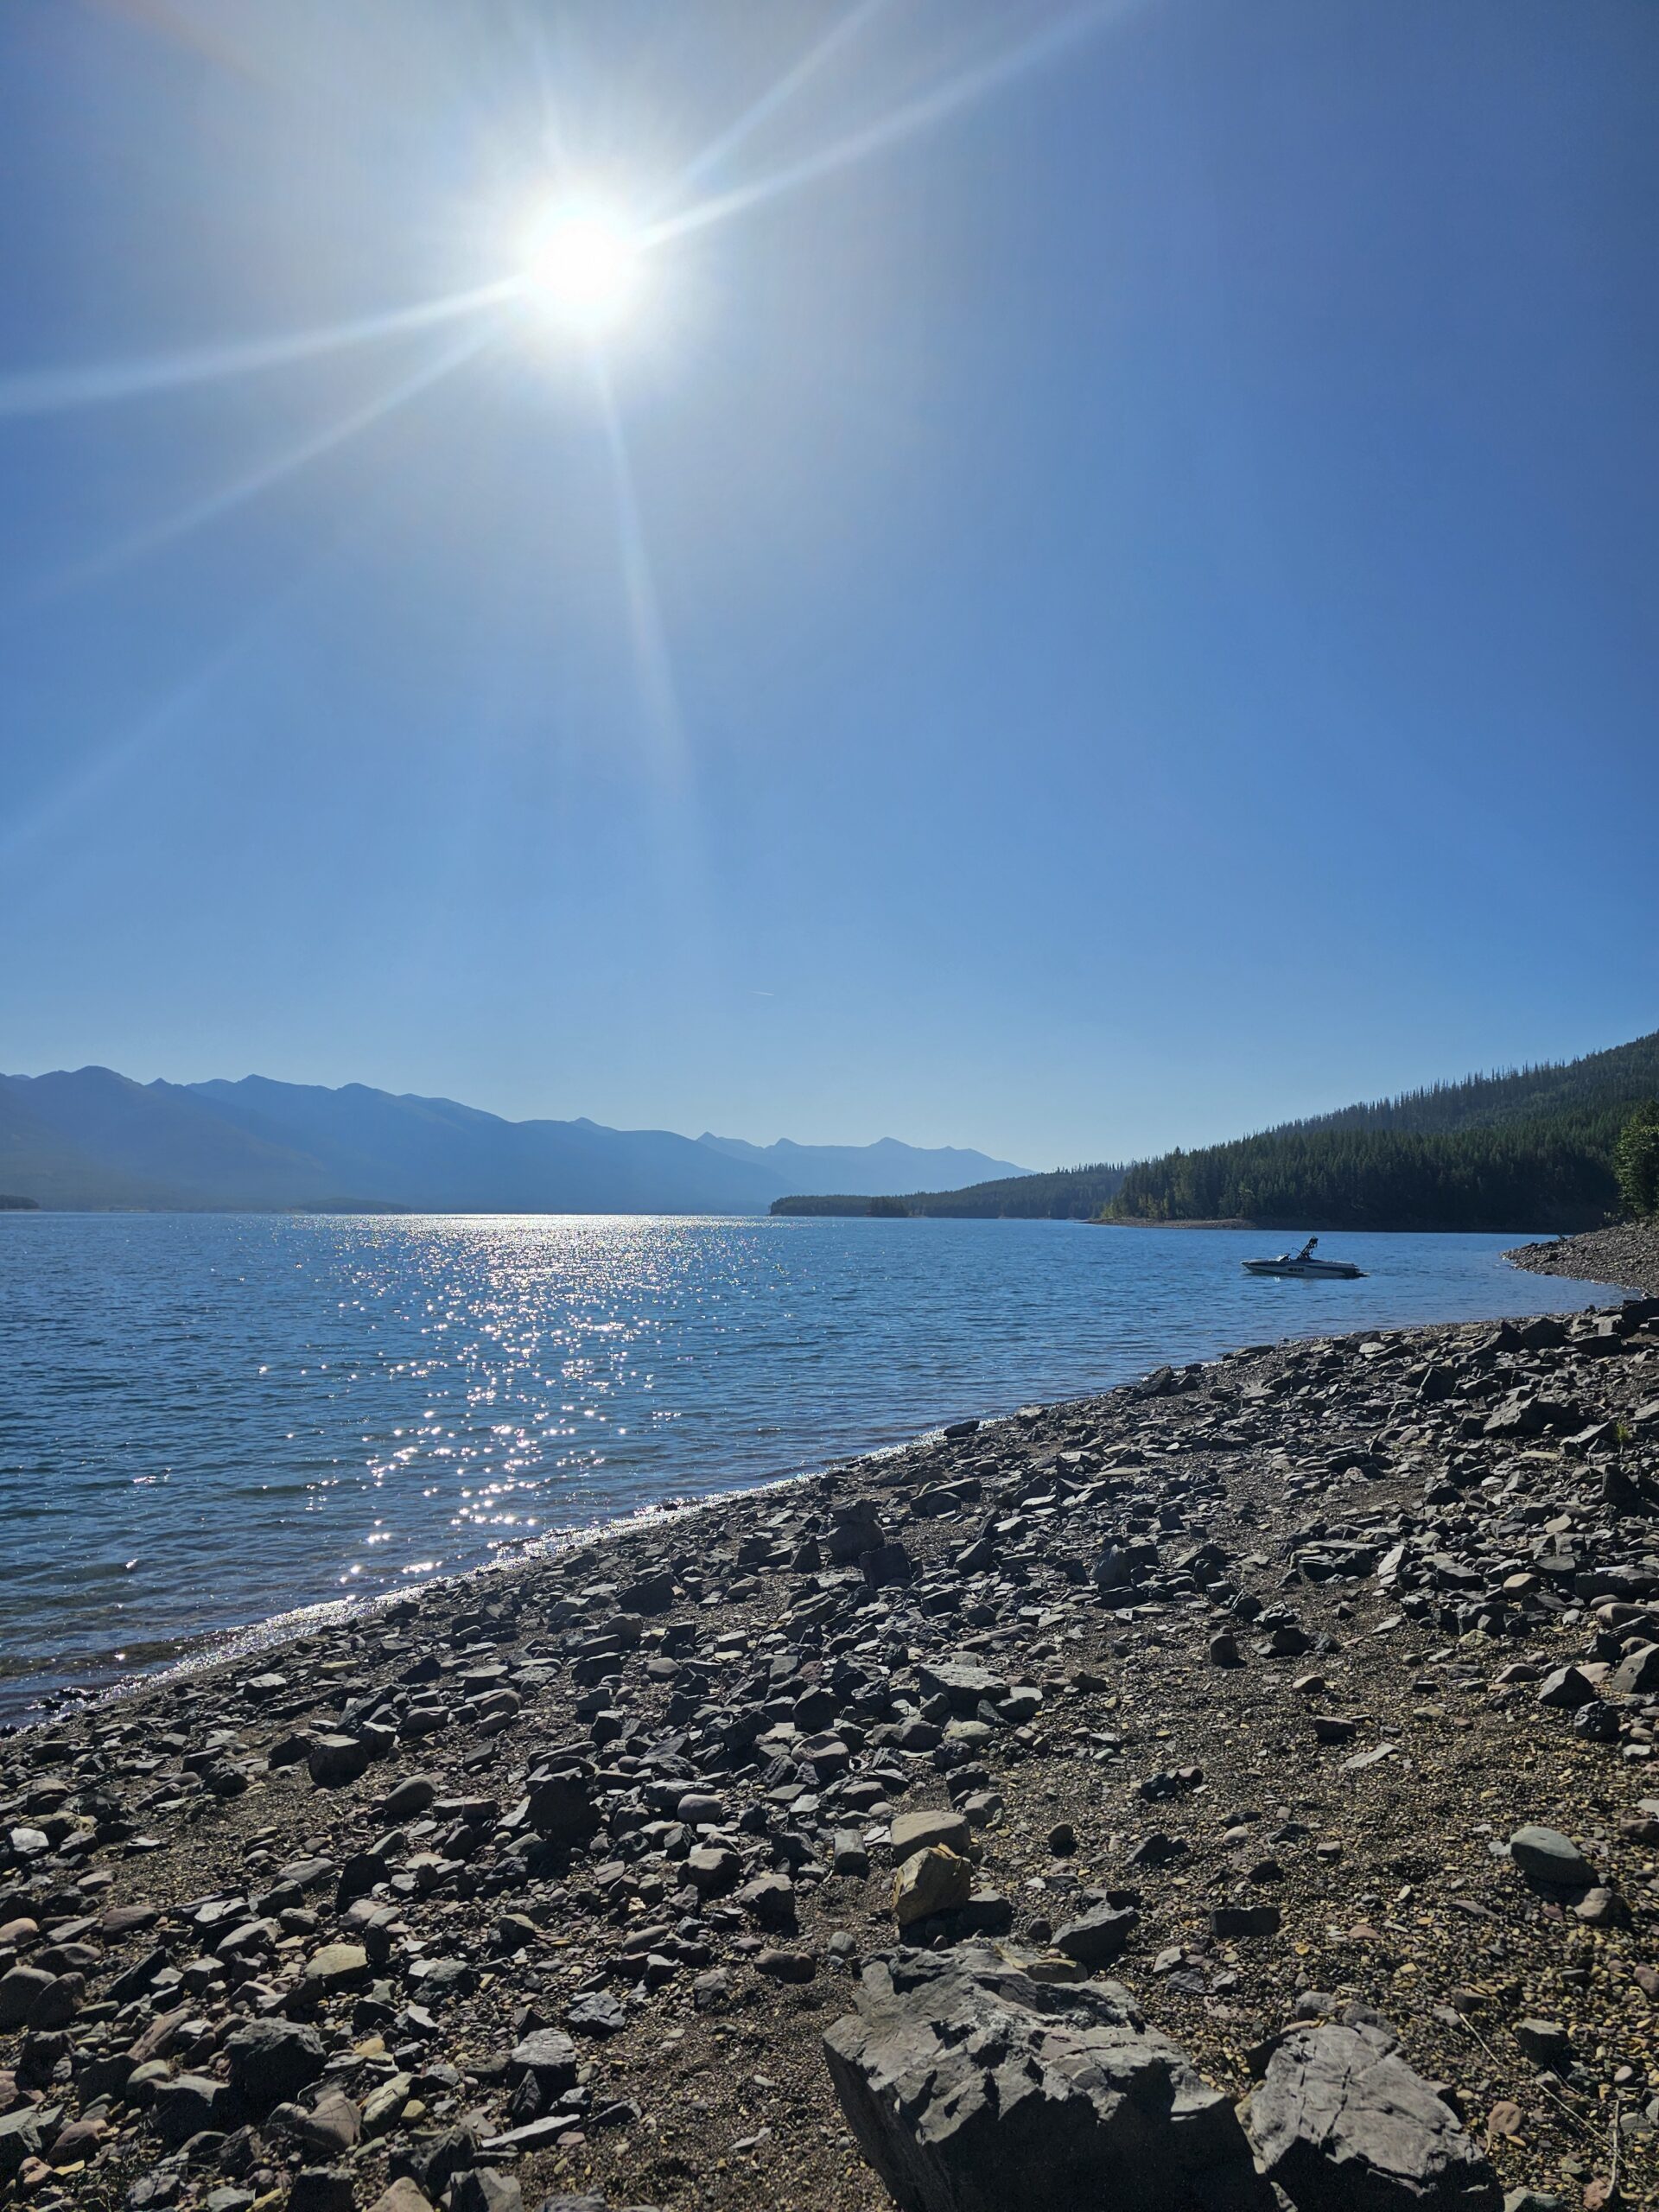
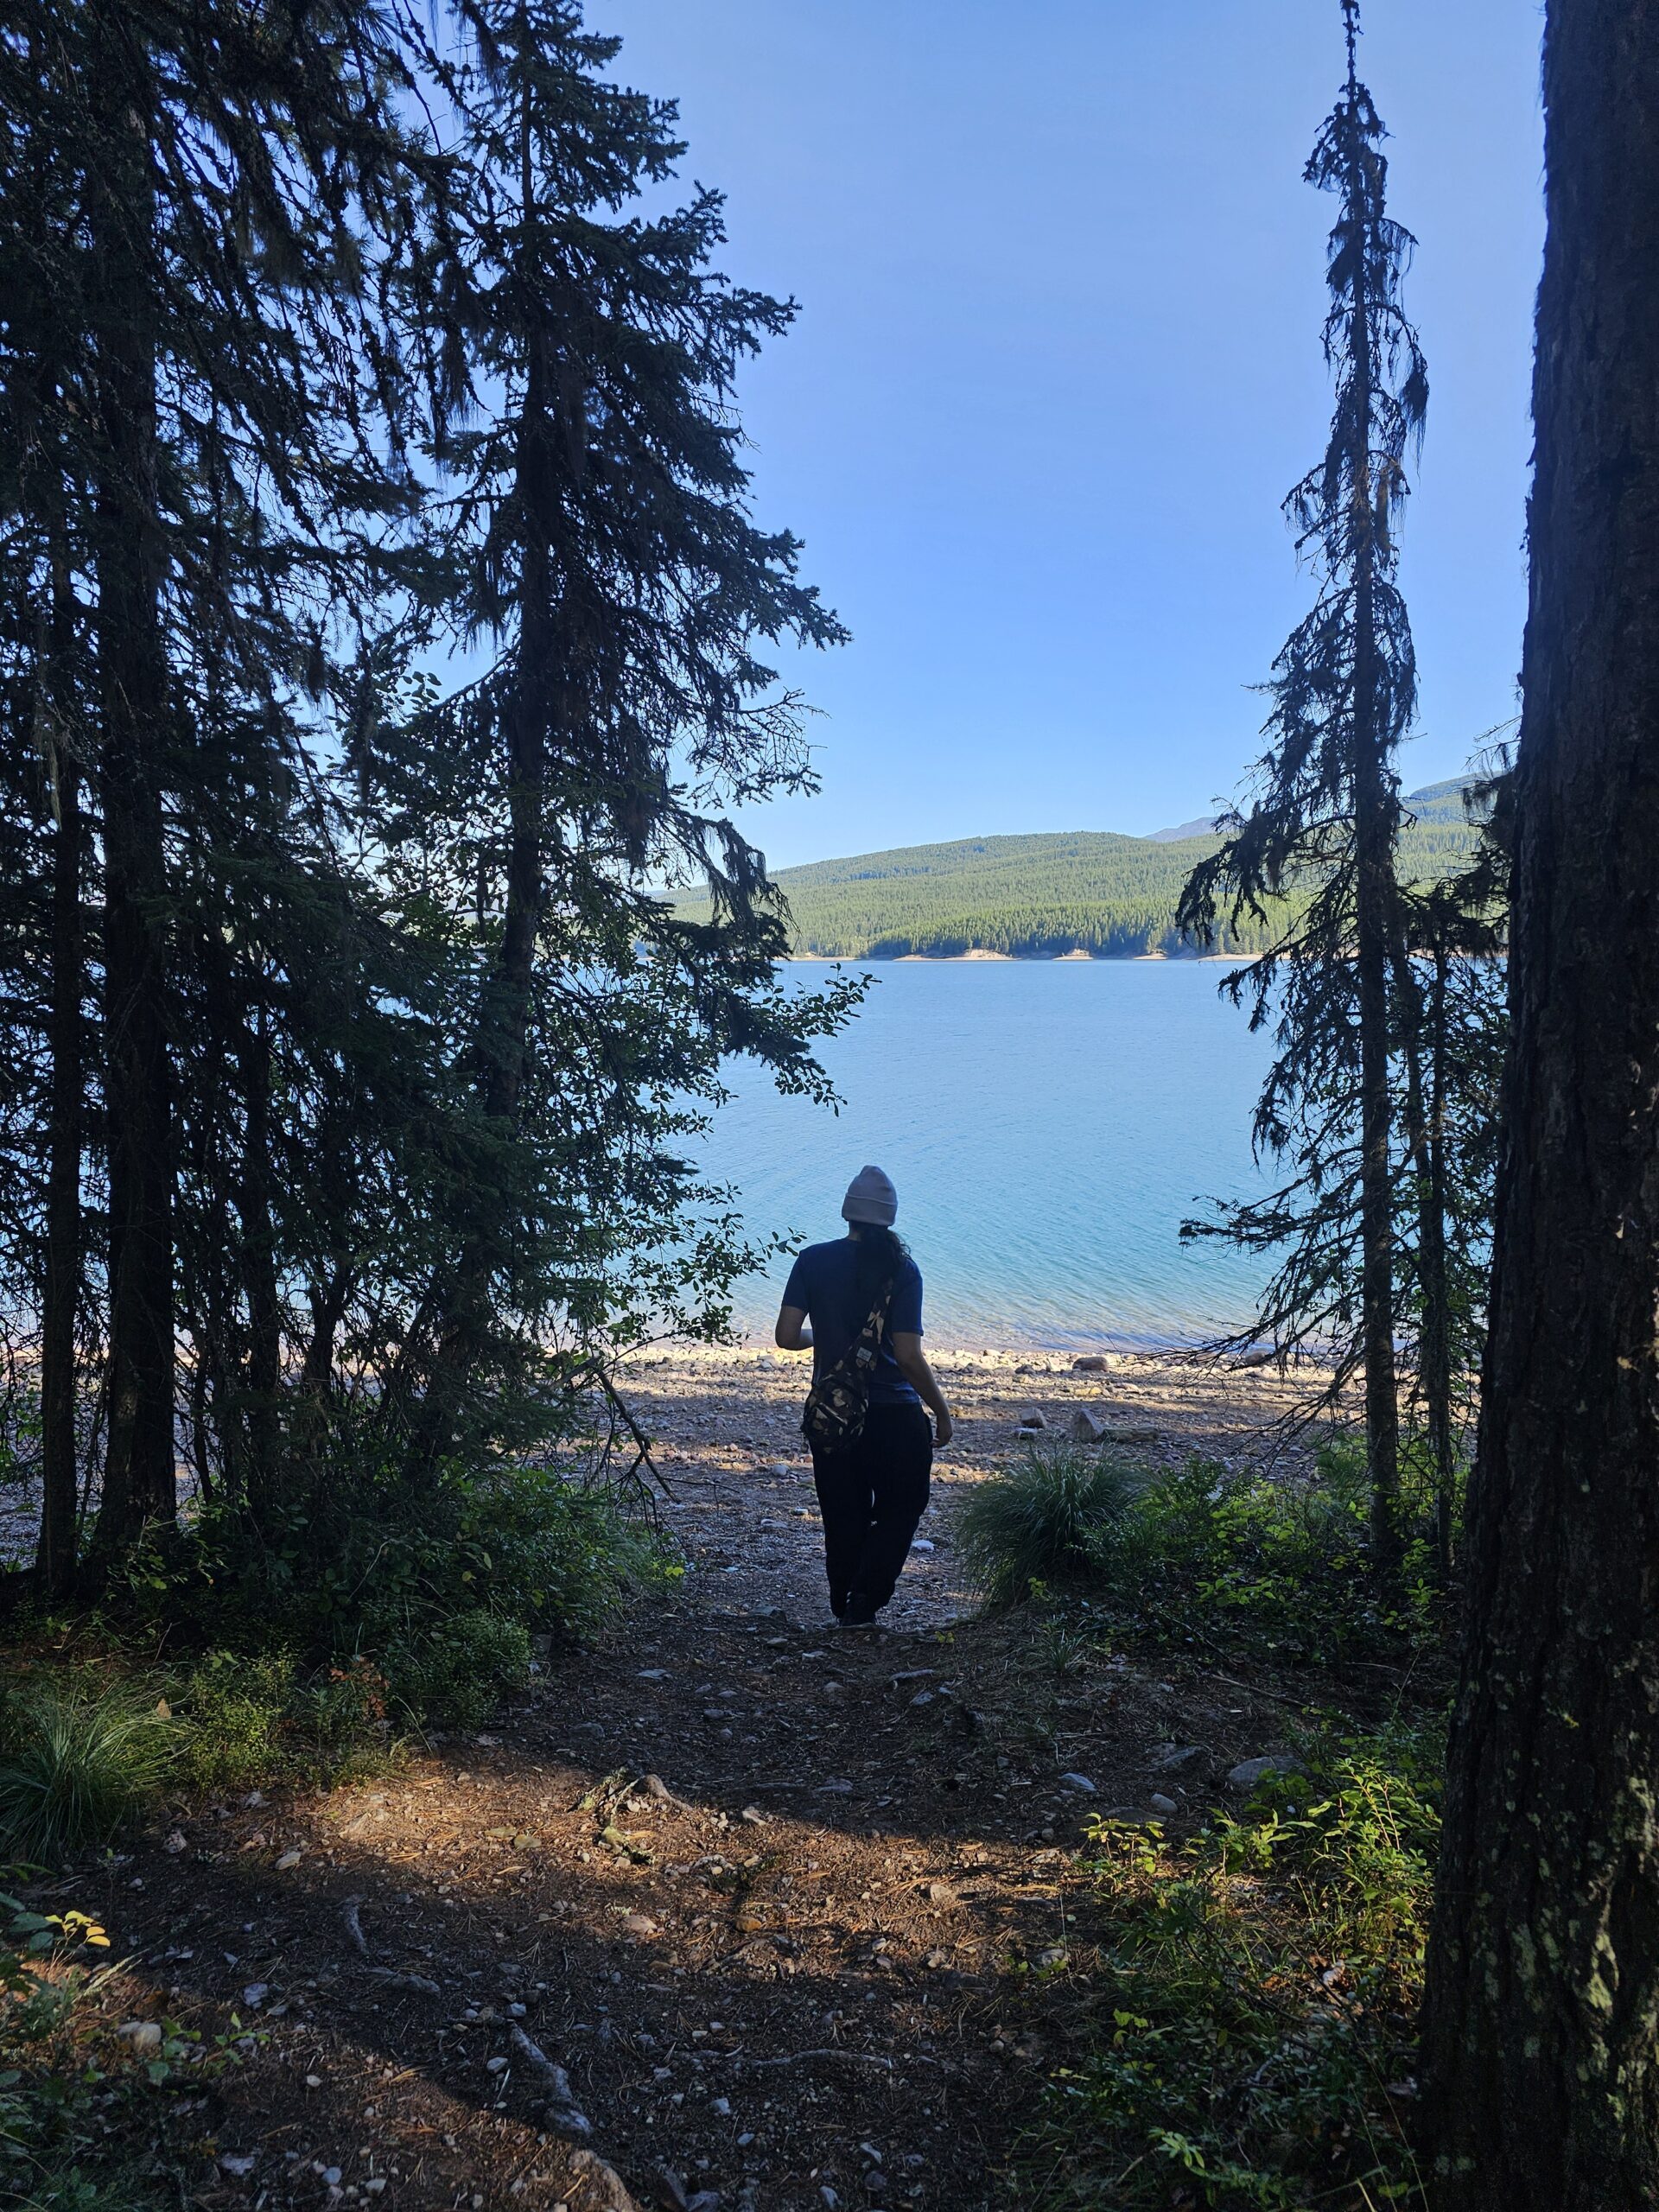
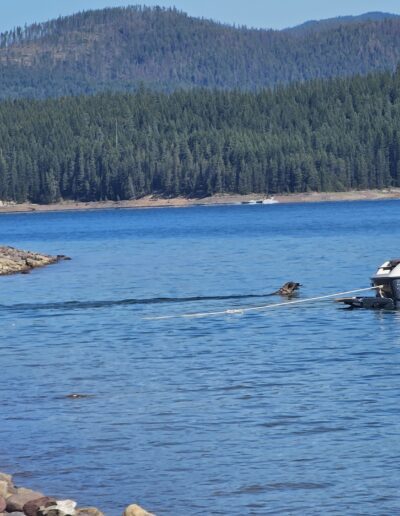
Surrounded by mountains, the reservoir offers incredible views and provides an excellent alternative to the crowded campgrounds inside the park. There are clear paths that lead down to the water. The lot we chose had a direct path down to the area where the beach gave access for boats and kayaks.


Lid Creek Amenities

Lid Creek Campground is strategically located on the shores of Hungry Horse Reservoir, providing campers with direct access to a multitude of outdoor activities. We secured Spot #18 for our 2-night, 3-day stay through Recreation.gov for a reasonable $40, ensuring our spot during the busy Labor Day weekend. Recreation.gov will open most reservations 4 days before they are available, so keep an eye open if its more than 4 days out for additional open spots! If you find one now but want to refund it for another spot later, you can do so but with a penalty. See the website for more details around that!

The campground’s on-site host was always available to assist campers, selling firewood for cozy campfires and ensuring that the restrooms were regularly cleaned and stocked with toilet paper. The campground also offers boat access to the reservoir, making it perfect for kayaking, fishing, or simply relaxing by the tranquil waters. Bear bins are provided at each site and are clearly marked to stow your belongings. Bears are a natural and common sighting in the Glacier National Park, so make sure to take advantage of that! I used paracord to tie it off each night for added protection.

Despite it being a holiday weekend, the campground remained quiet, with only minor background noise from fellow campers. It was the ideal place to unwind after a day of exploring Glacier National Park.


Starry Nights and Aurora Borealis

One of the most magical aspects of our stay at Lid Creek Campground was the night sky experience. Far away from city lights, the campground offered an unobstructed view of the Milky Way, allowing us to gaze up at countless stars twinkling above. The clarity of the night sky made it an ideal spot for stargazing enthusiasts and photographers alike. Being able to stargaze without the light pollution of the city was something I had not been able to do for some time now!

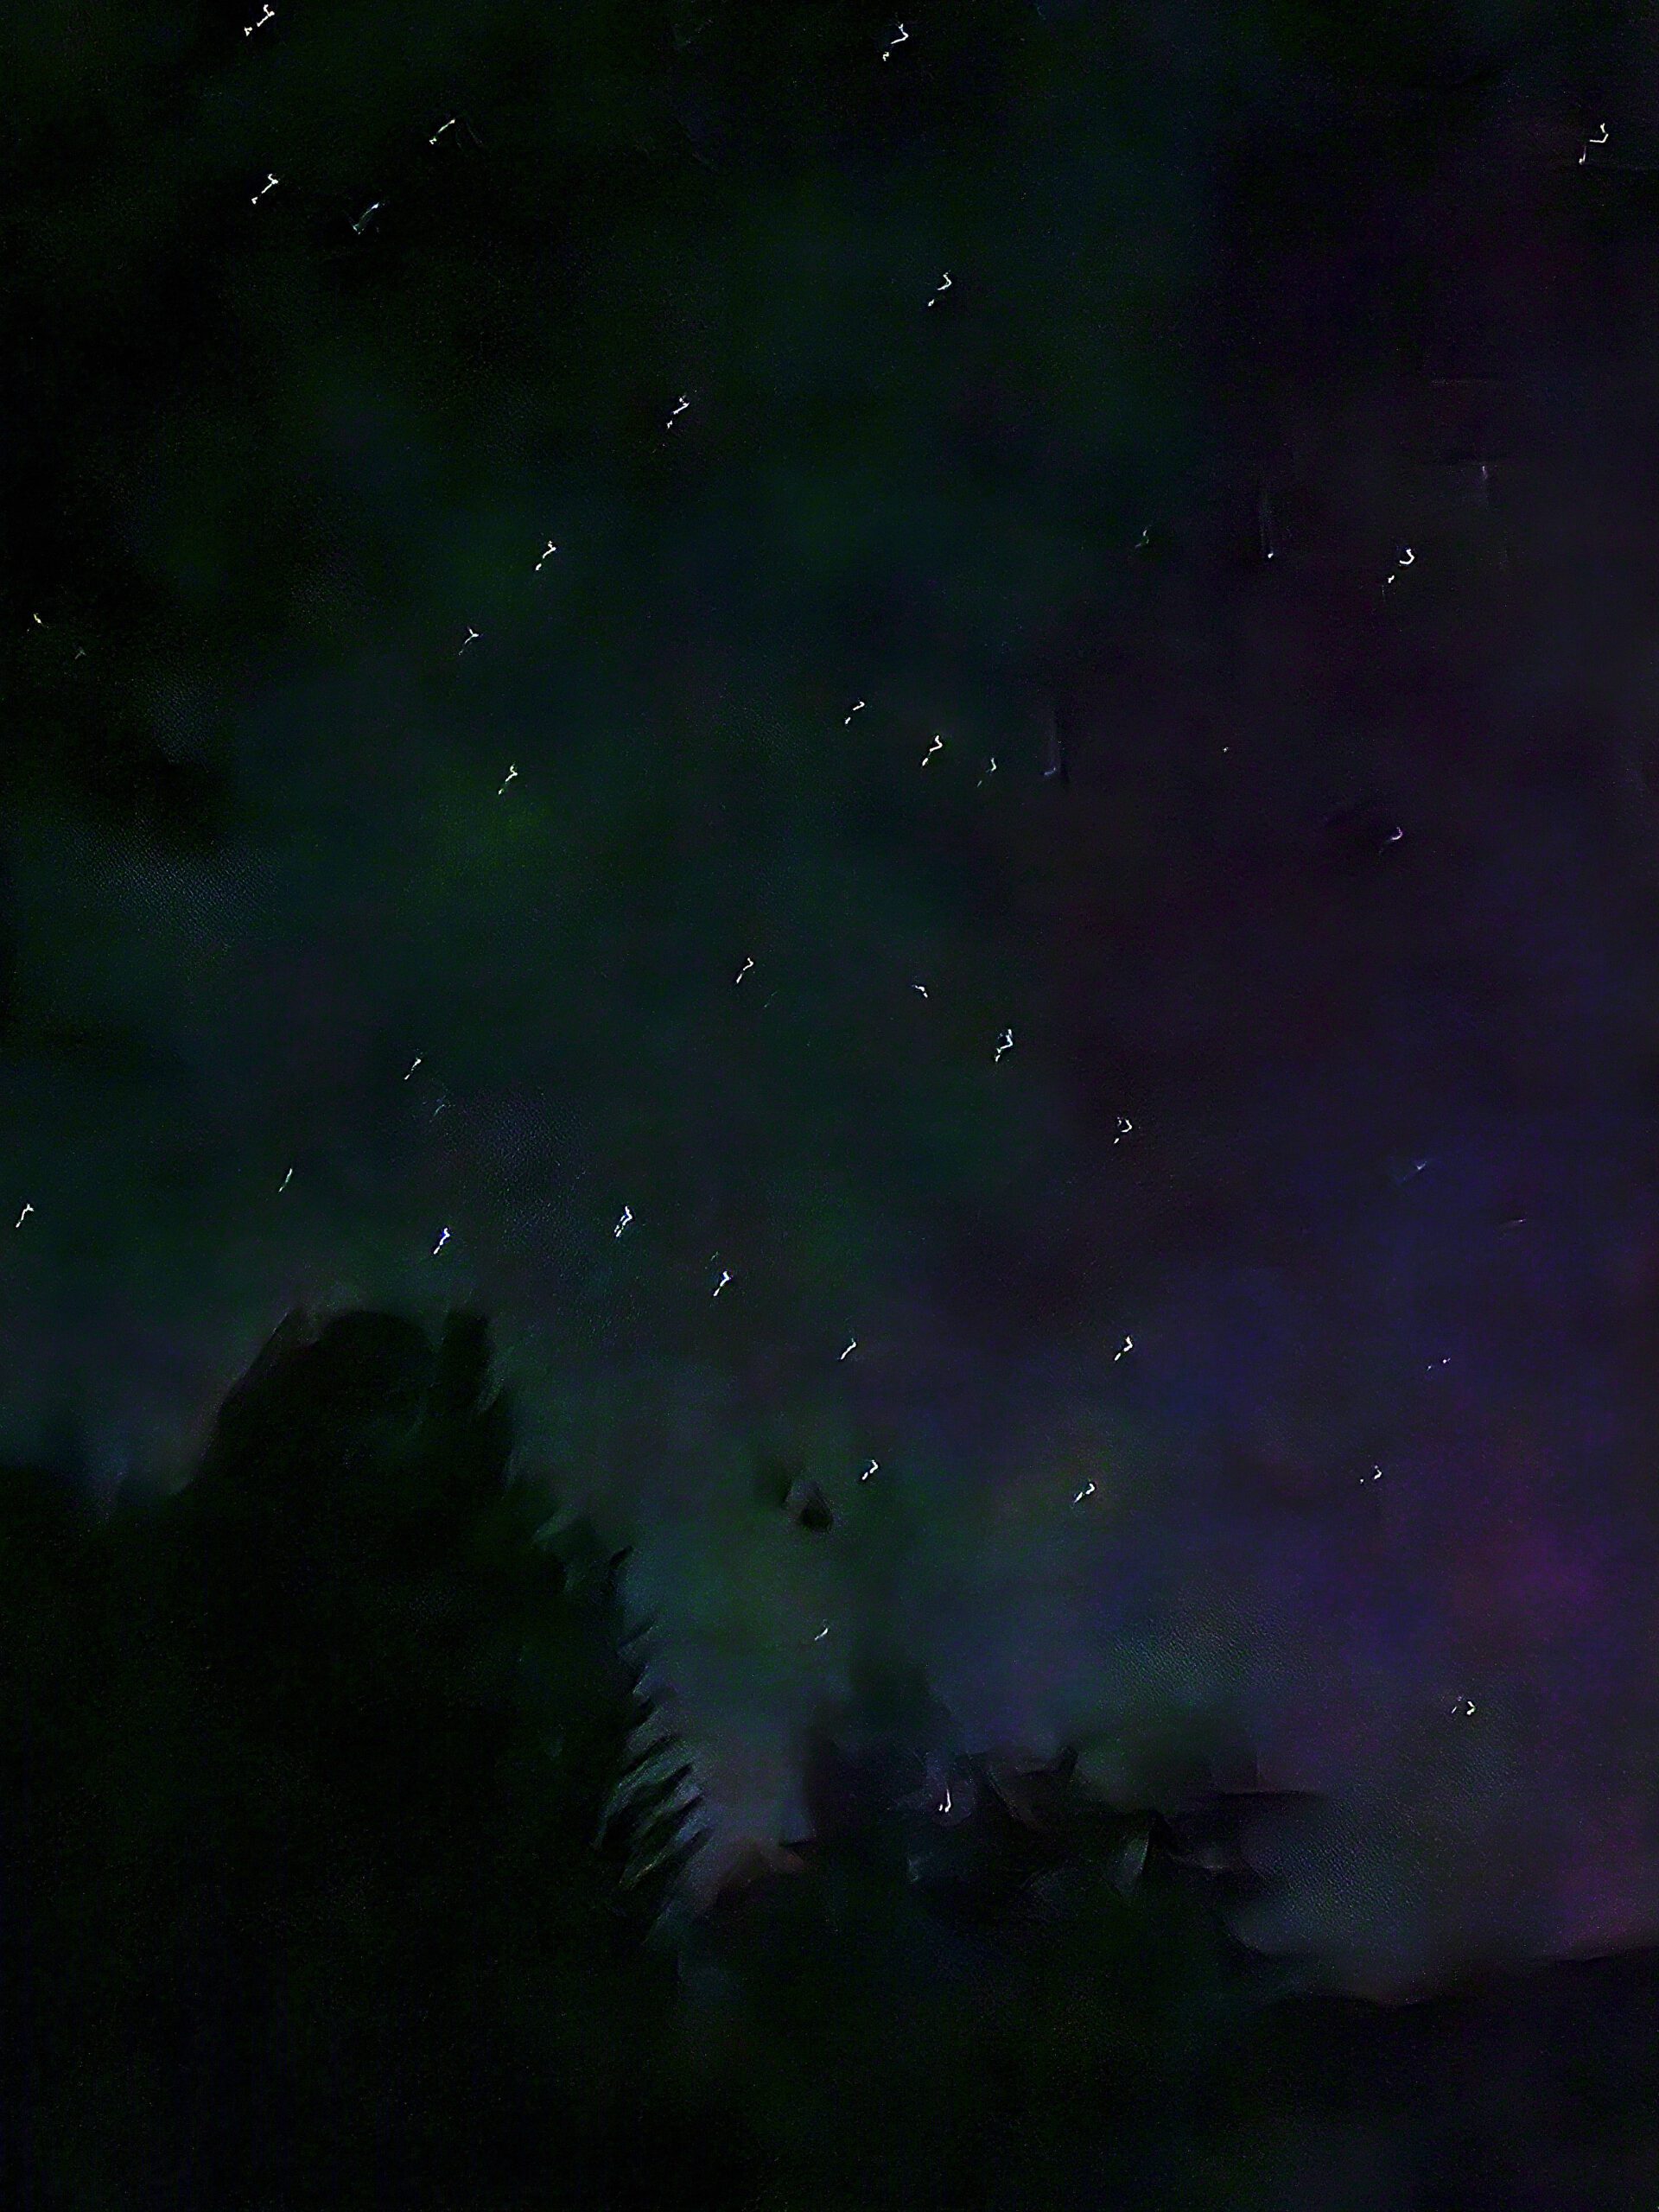
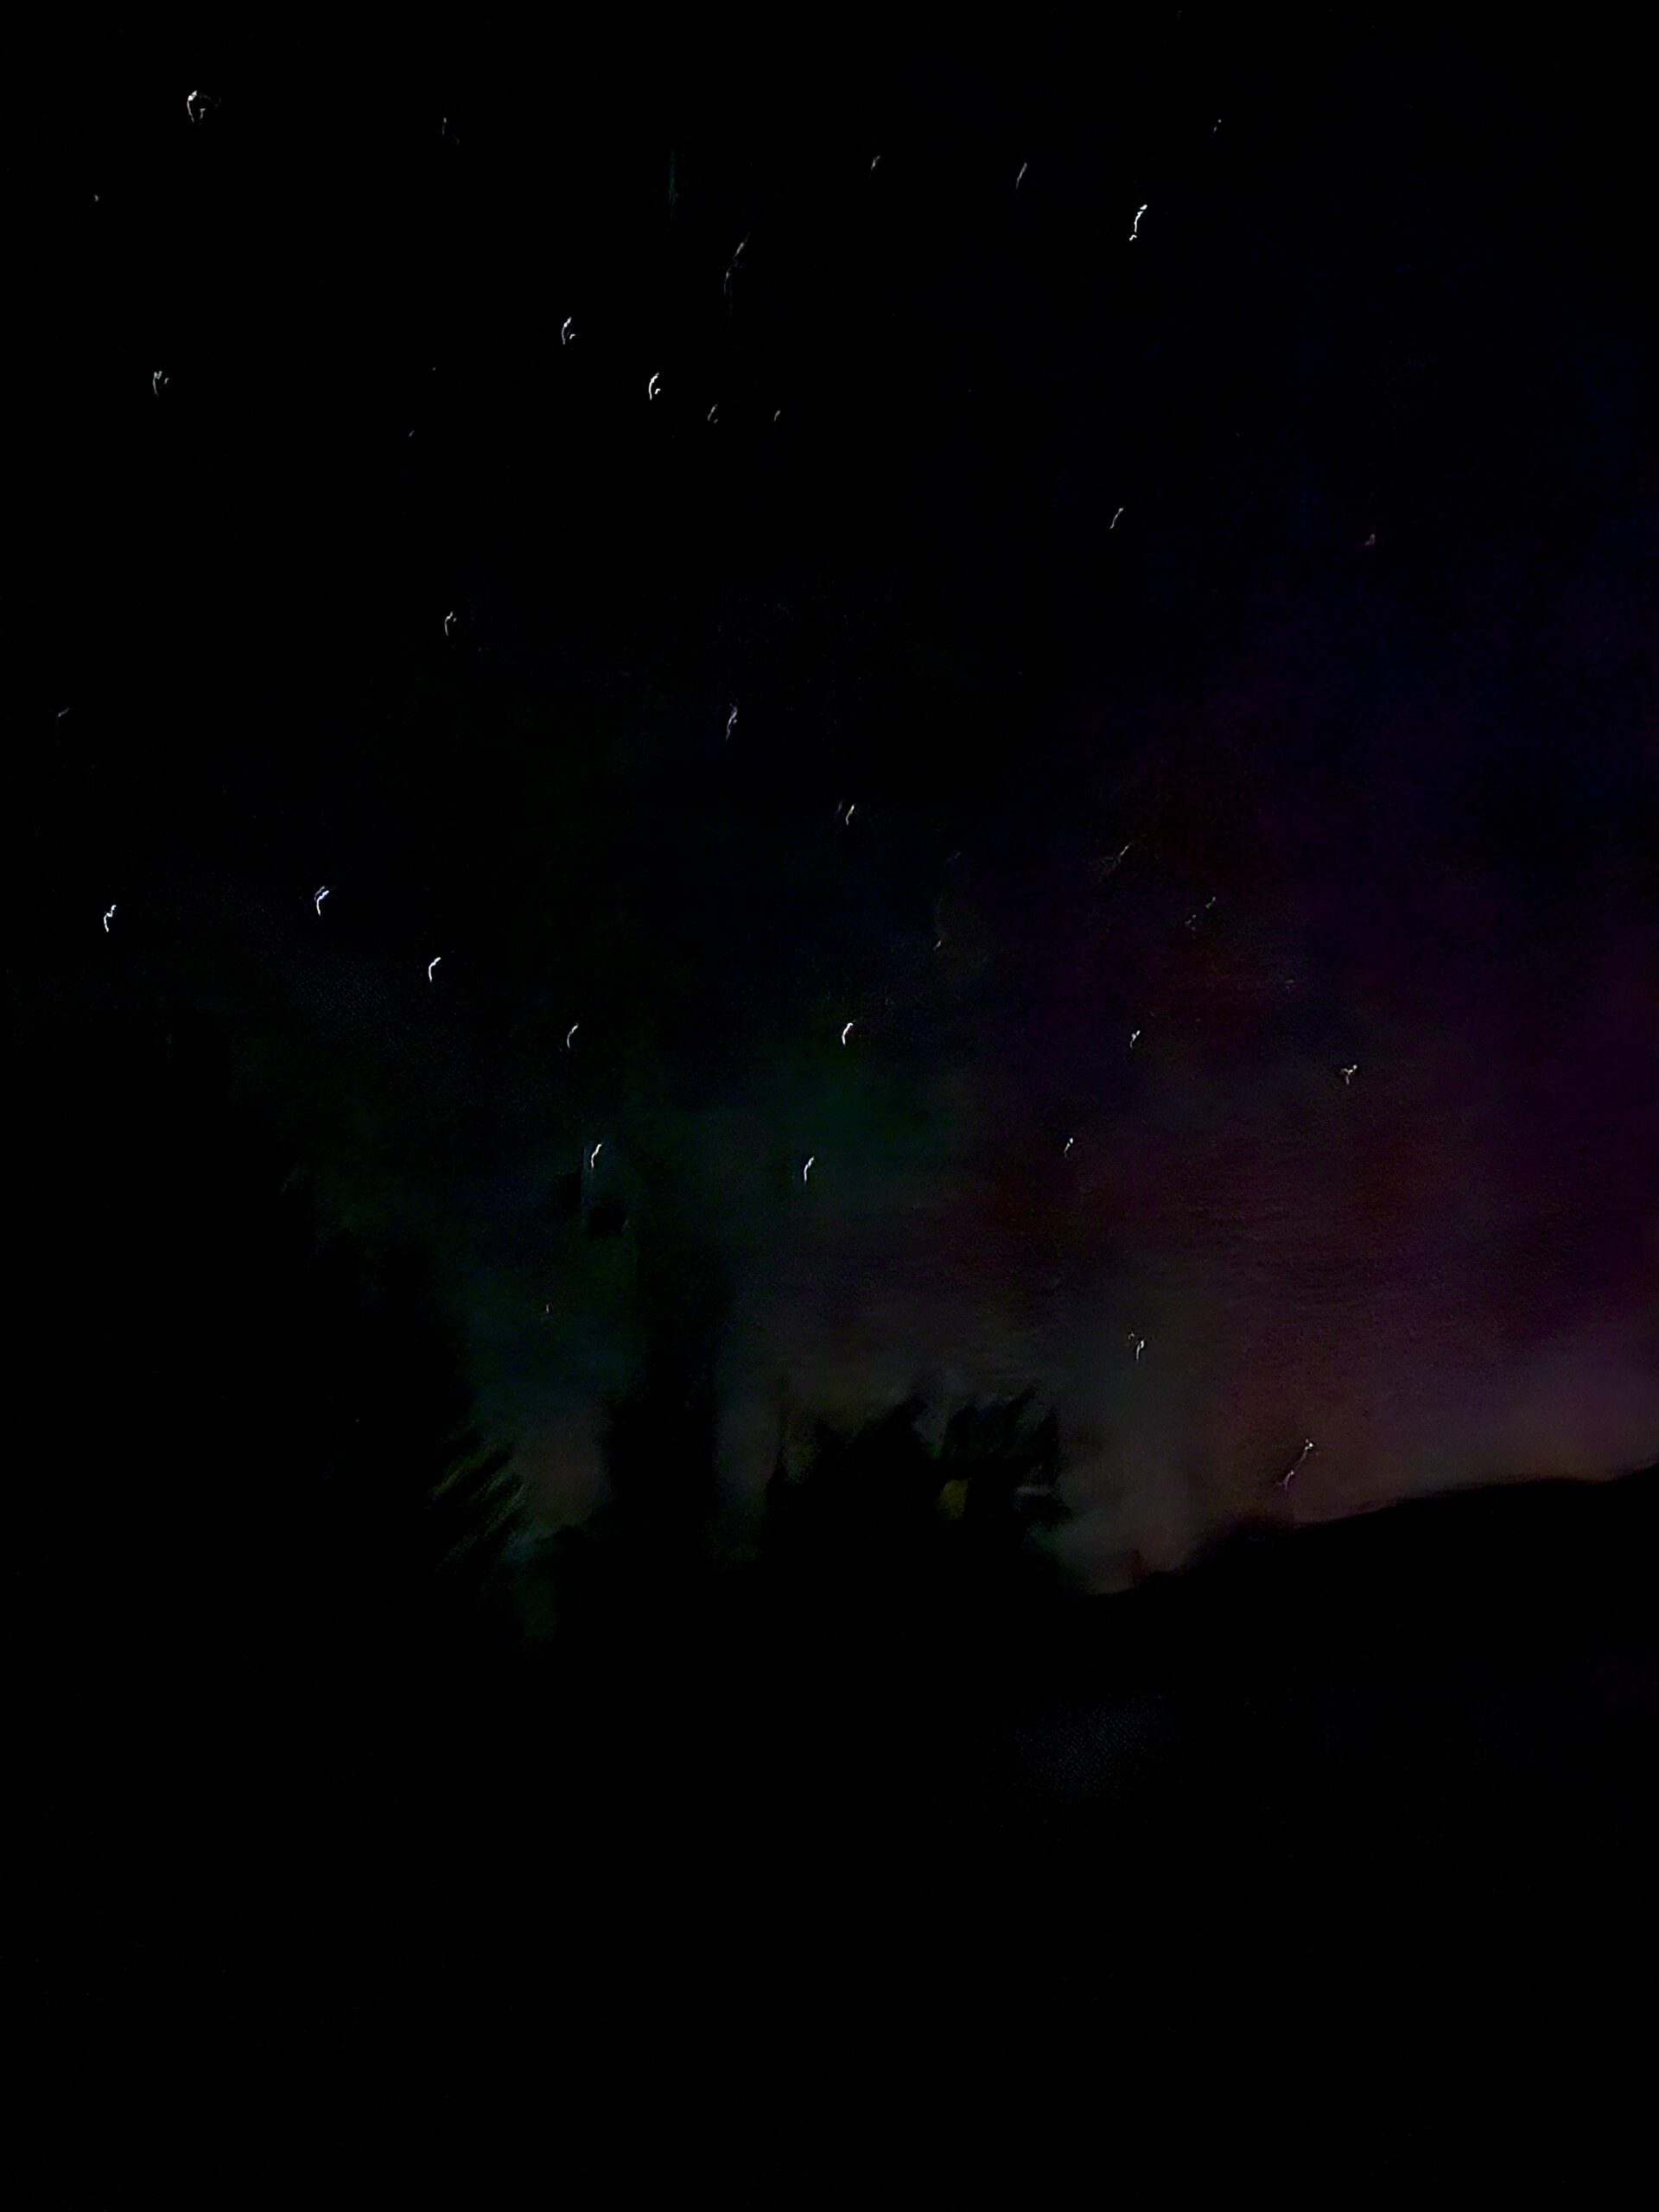
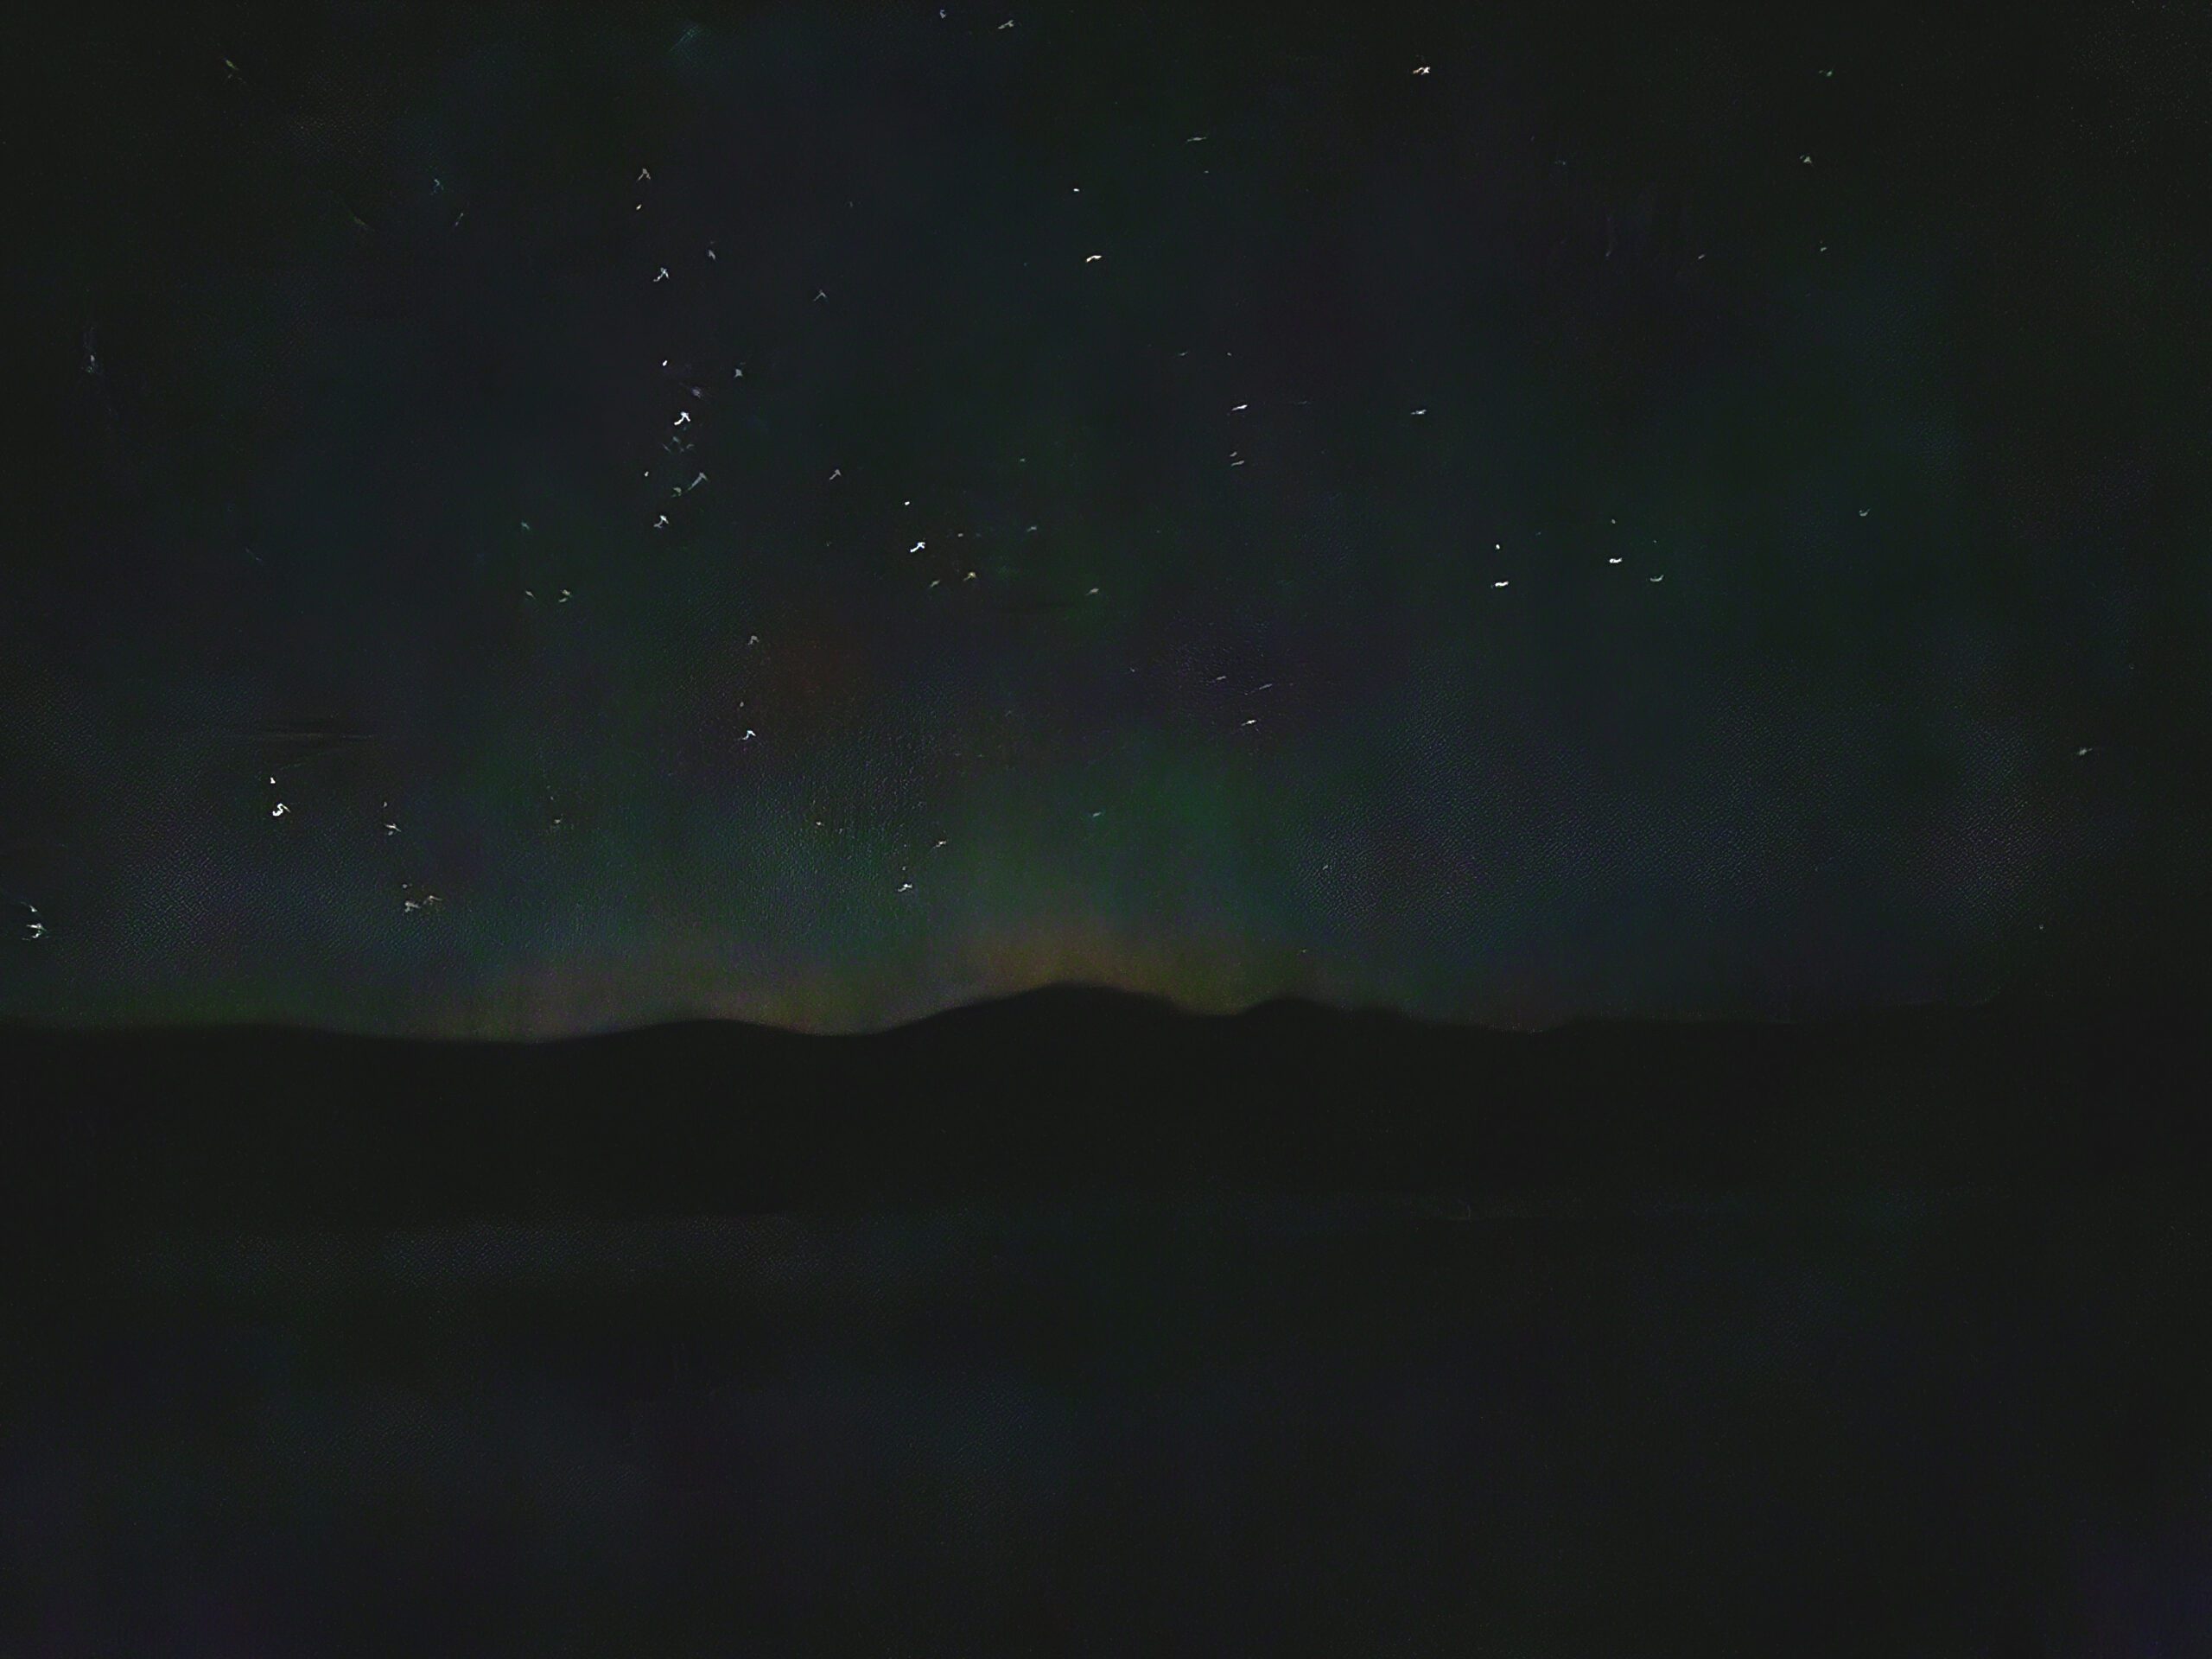
On each night of our visit, we were fortunate enough to witness the aurora borealis, with vibrant green and purple hues lighting up the sky. Capturing photos of this natural phenomenon was a thrilling experience, and the serene surroundings made it even more special. I wish I had brought a better lense with me! I was not expecting the aurora to be out!

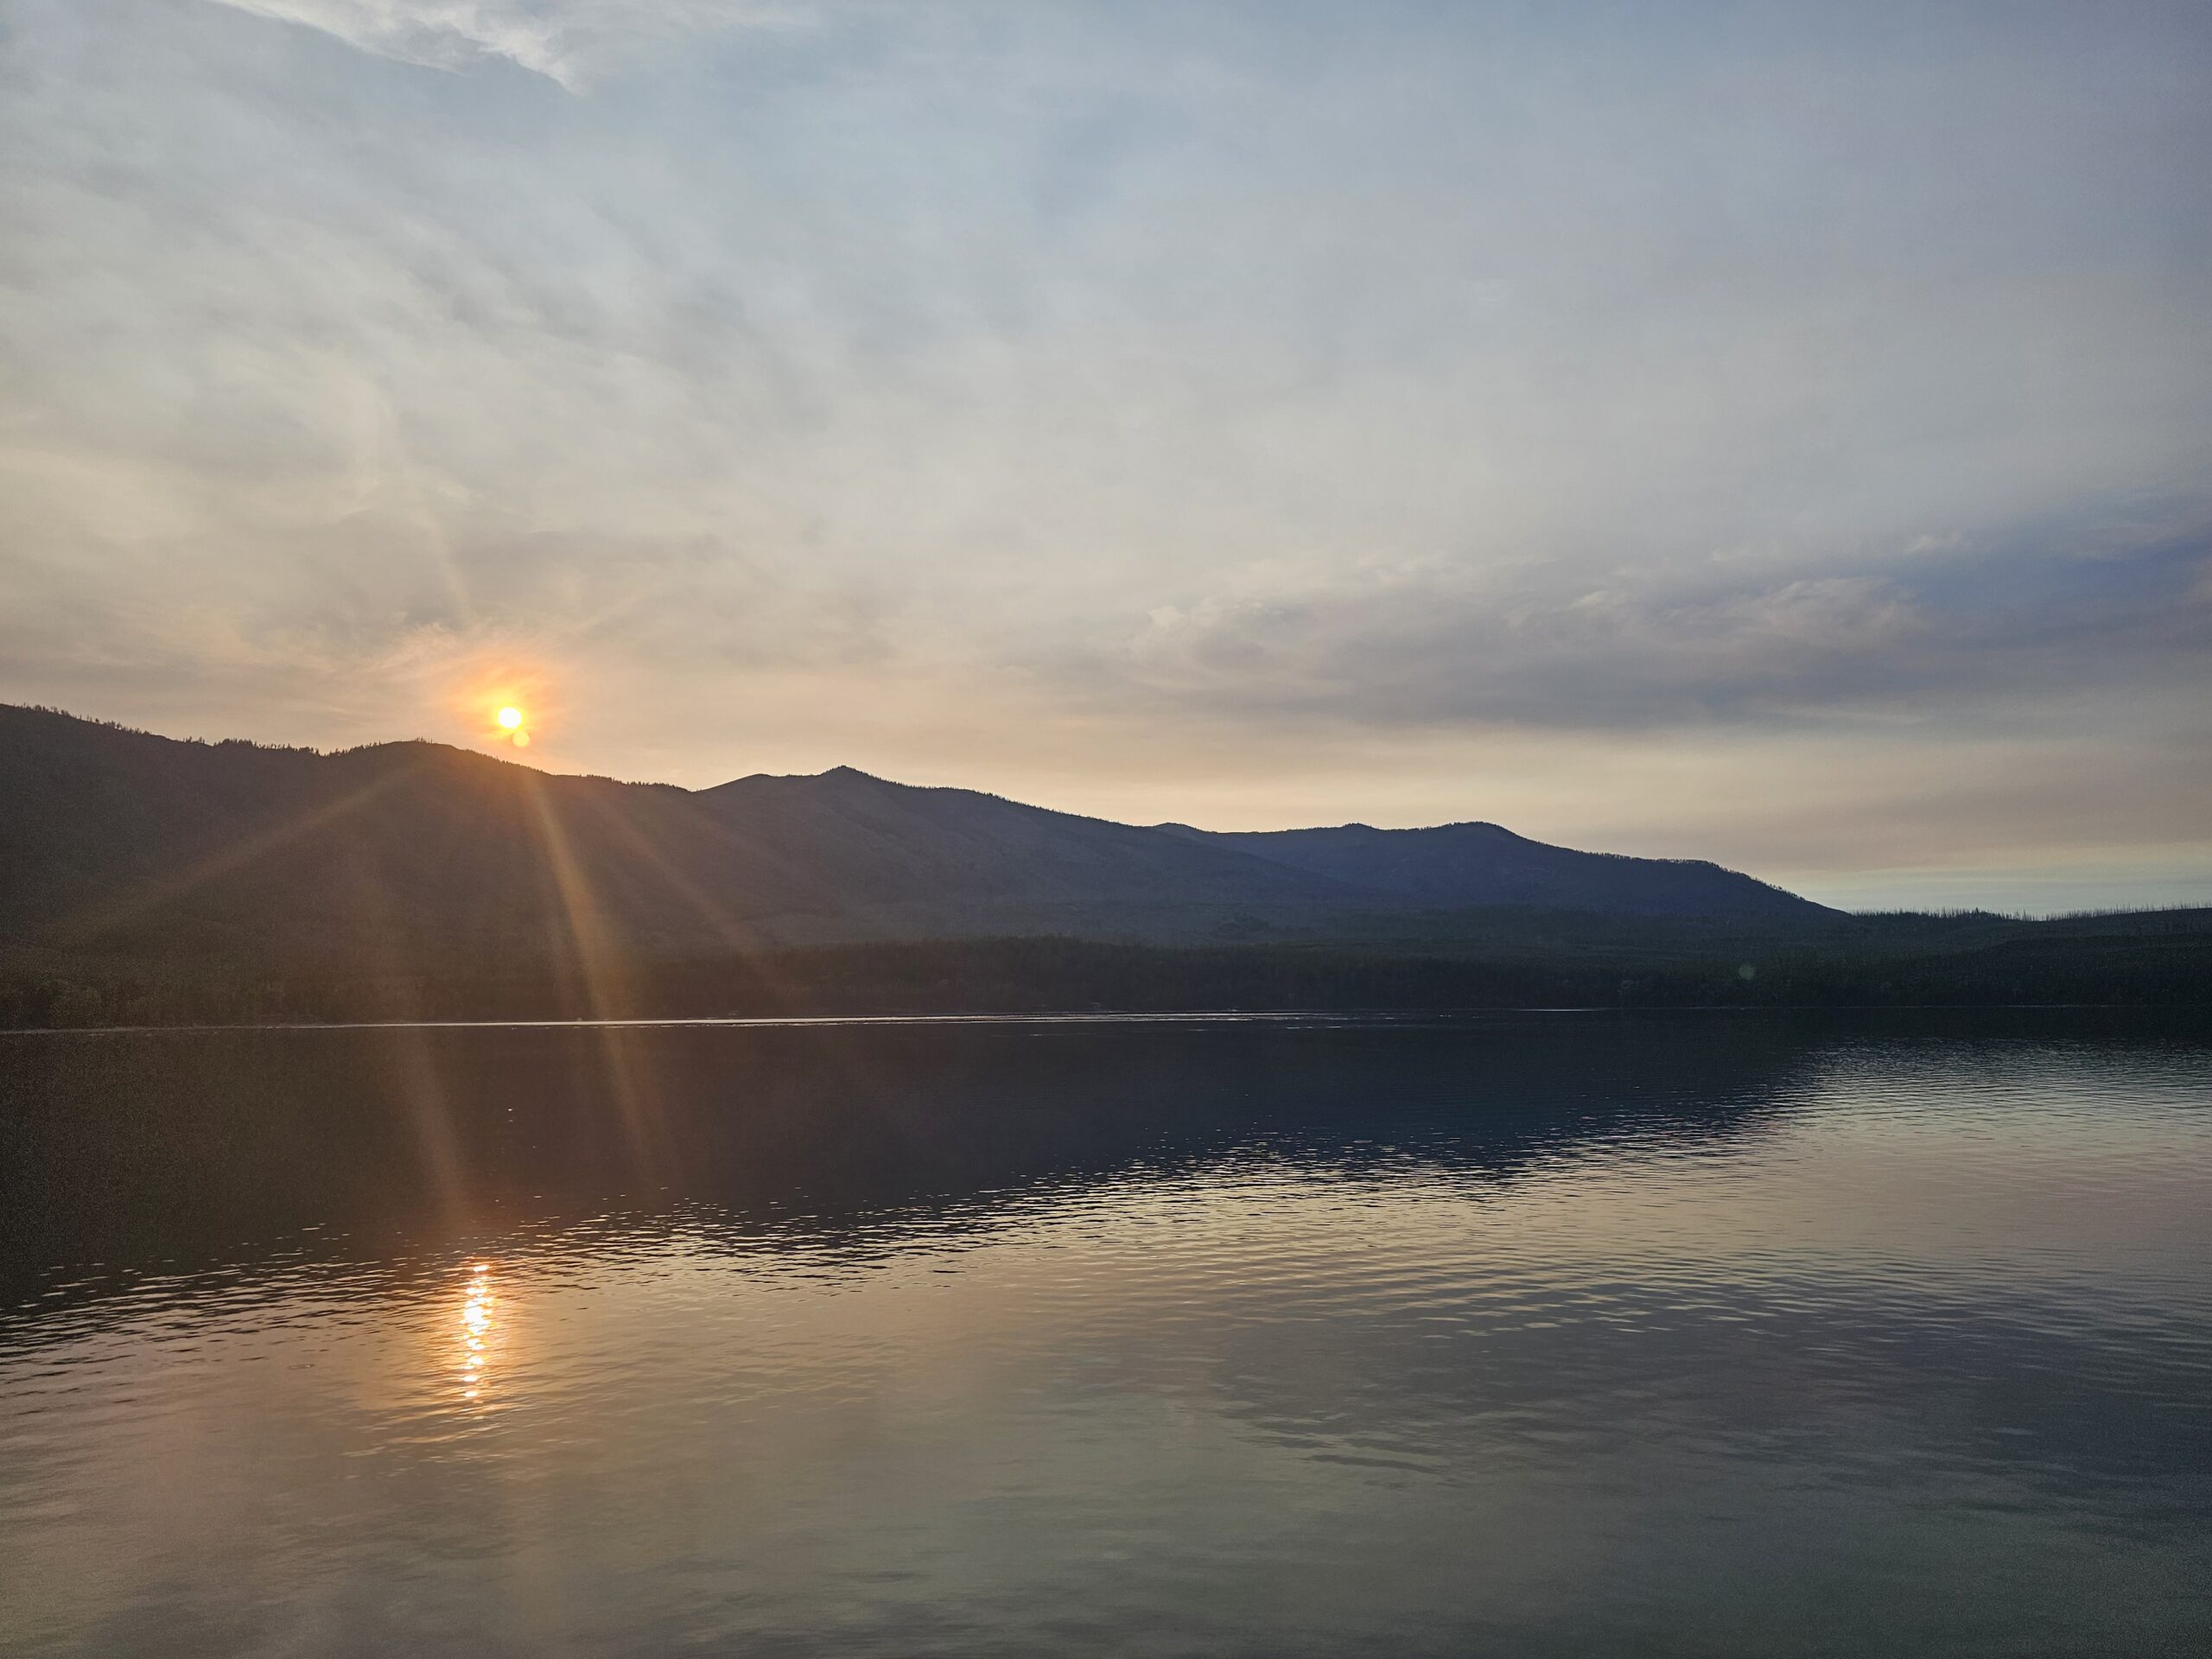
Mornings at Lid Creek were equally breathtaking. We woke early to watch the sunrise over Hungry Horse Reservoir, with the first light illuminating the Great Northern Mountain. The calm waters reflected the sunrise, creating a perfect scene for photography or simply soaking in the beauty of nature.

The West Gate Entrance to Glacier National Park is one of the most popular entry points, offering convenient access to many of the park’s highlights. For us, it was just an hour’s drive from Lid Creek Campground, making it the perfect gateway into the park.

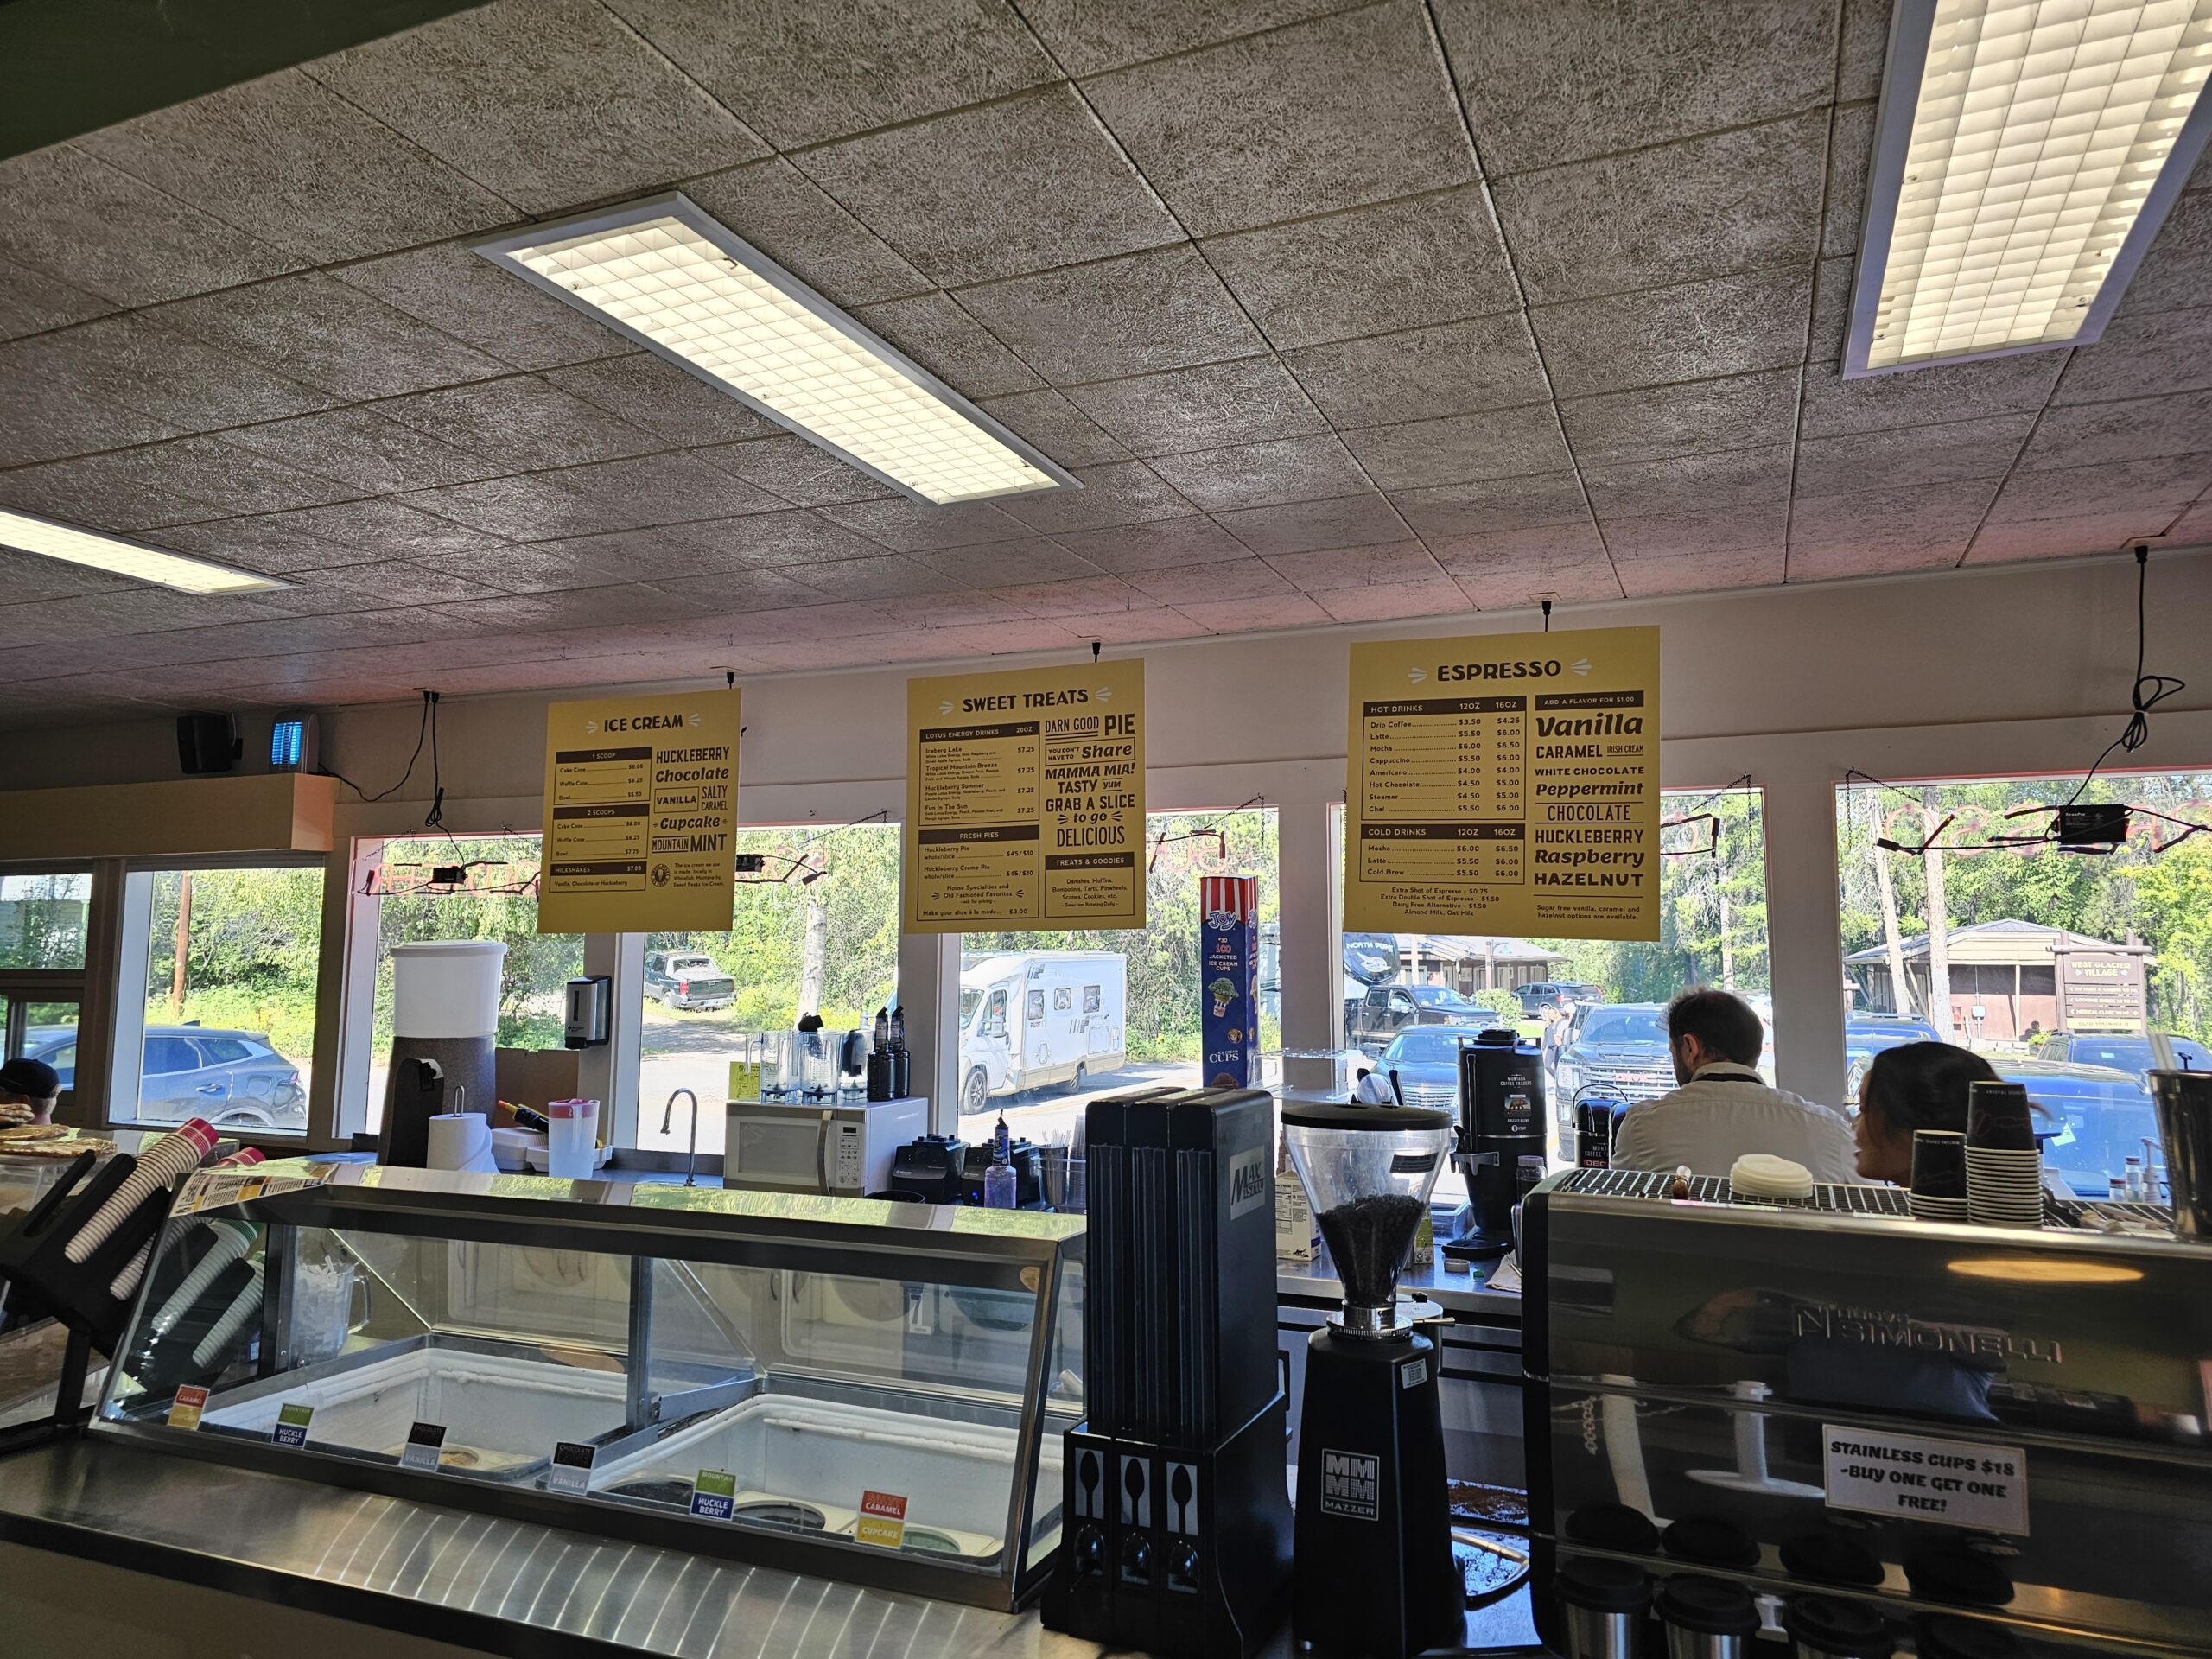
Before entering, we stopped at West Glacier Village, a small but bustling outpost that provides plenty of resources for visitors. Here, you can find souvenir shops offering everything from t-shirts and mugs to outdoor gear. If you’re like us and want a bite before heading into the park, Freda’s is a great place for a hearty breakfast or lunch. For pizza lovers, Glacier Highland across the street offers a variety of casual dining options.

There’s also a gas station, which we recommend using since services inside the park are limited. This is likely your last chance to refuel and stock up on essentials like snacks and drinks. It’s small, though. Keep that in mind on busy days.

If you need information on current park conditions or closures, the West Glacier Village Visitor Center is a helpful stop before entering. This is particularly useful during busy months when weather or road conditions might affect your plans.


Ticketing and Reservations for Glacier National Park

To enter Glacier National Park, you will need to purchase a park pass. The entry fee is $35 per vehicle, which covers everyone inside the car and is good for 7 days of entry. Alternatively, if you’re planning to visit multiple national parks within a year, the America the Beautiful Annual Pass is a great option at $80, granting access to all U.S. national parks.


Going-to-the-Sun Road Reservations

One of the most important things to know before visiting Glacier is that, to drive the iconic Going-to-the-Sun Road during peak hours yourself, you’ll need an additional $2 reservation. This reservation is required between 6 AM and 3 PM from mid-May to mid-September. If you haven’t booked this in advance, you won’t be able to drive on the road during these hours. However, after 3 PM or before 6 AM, the road is accessible without a reservation. It’s important to remember that it needs to be booked in advance. They will not allow same-day reservations.

We found that getting into the park before 6 AM was the best way to avoid both the crowds and the reservation requirement. Many visitors take advantage of this by arriving early, parking their cars, and even taking a quick nap before continuing their adventure. However, we took the shuttle which was it’s own fun experience!


Apgar Village – Your First Stop Inside Glacier National Park

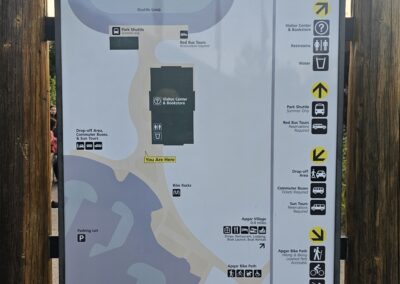
After passing through the West Gate, our first stop was the Apgar Village visit center parking lot, located just a short drive from the entrance and near the southern shore of Lake McDonald. Apgar is a perfect basecamp for visitors exploring the park, offering a mix of amenities and activities.


Visitor Center and Helpful Resources

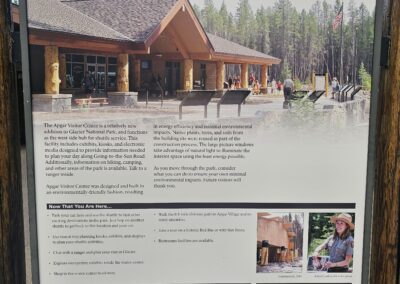
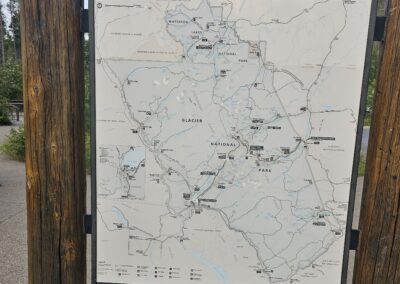
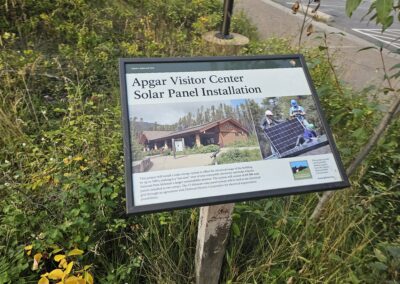
The first thing we did was stop by the Apgar Visitor Center, which is one of the main information hubs for the park. It’s a great place to grab a map, check for any updates on trail closures, and ask the rangers for advice on hikes or weather conditions. The staff was incredibly helpful, offering tips about the best times to visit certain spots to avoid crowds. They had several rangers active all throughout the day standing by to assist.

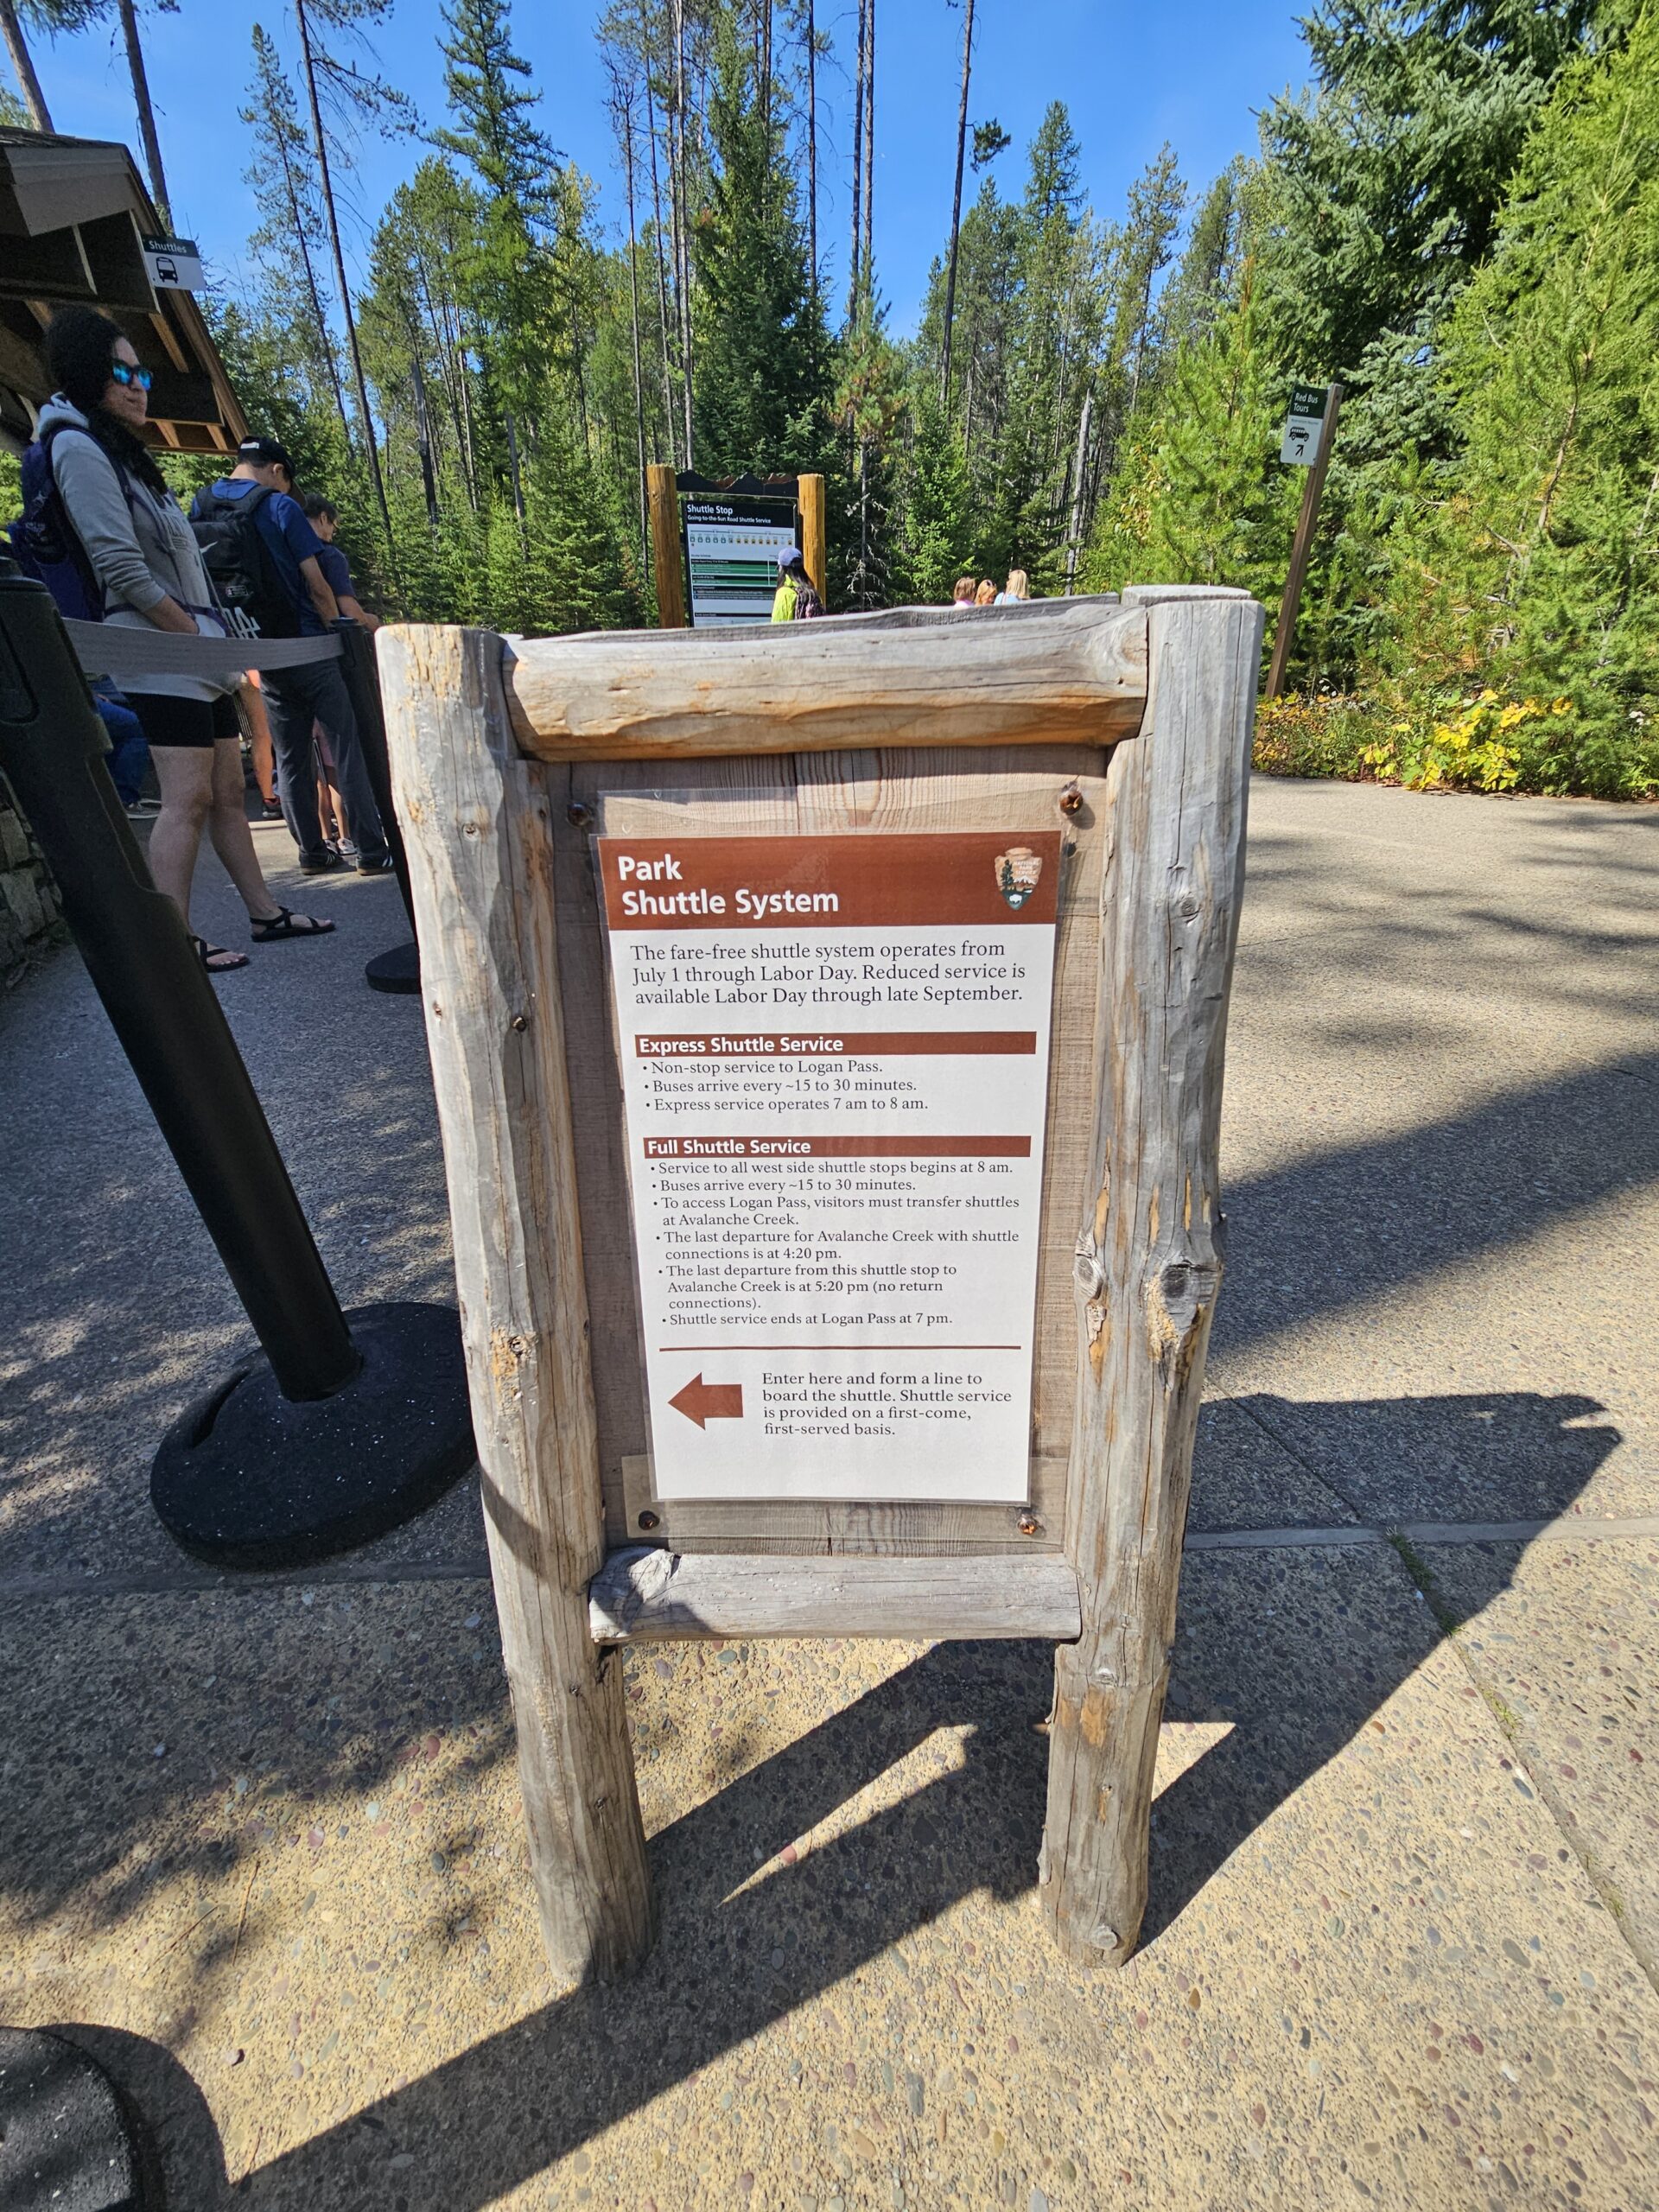
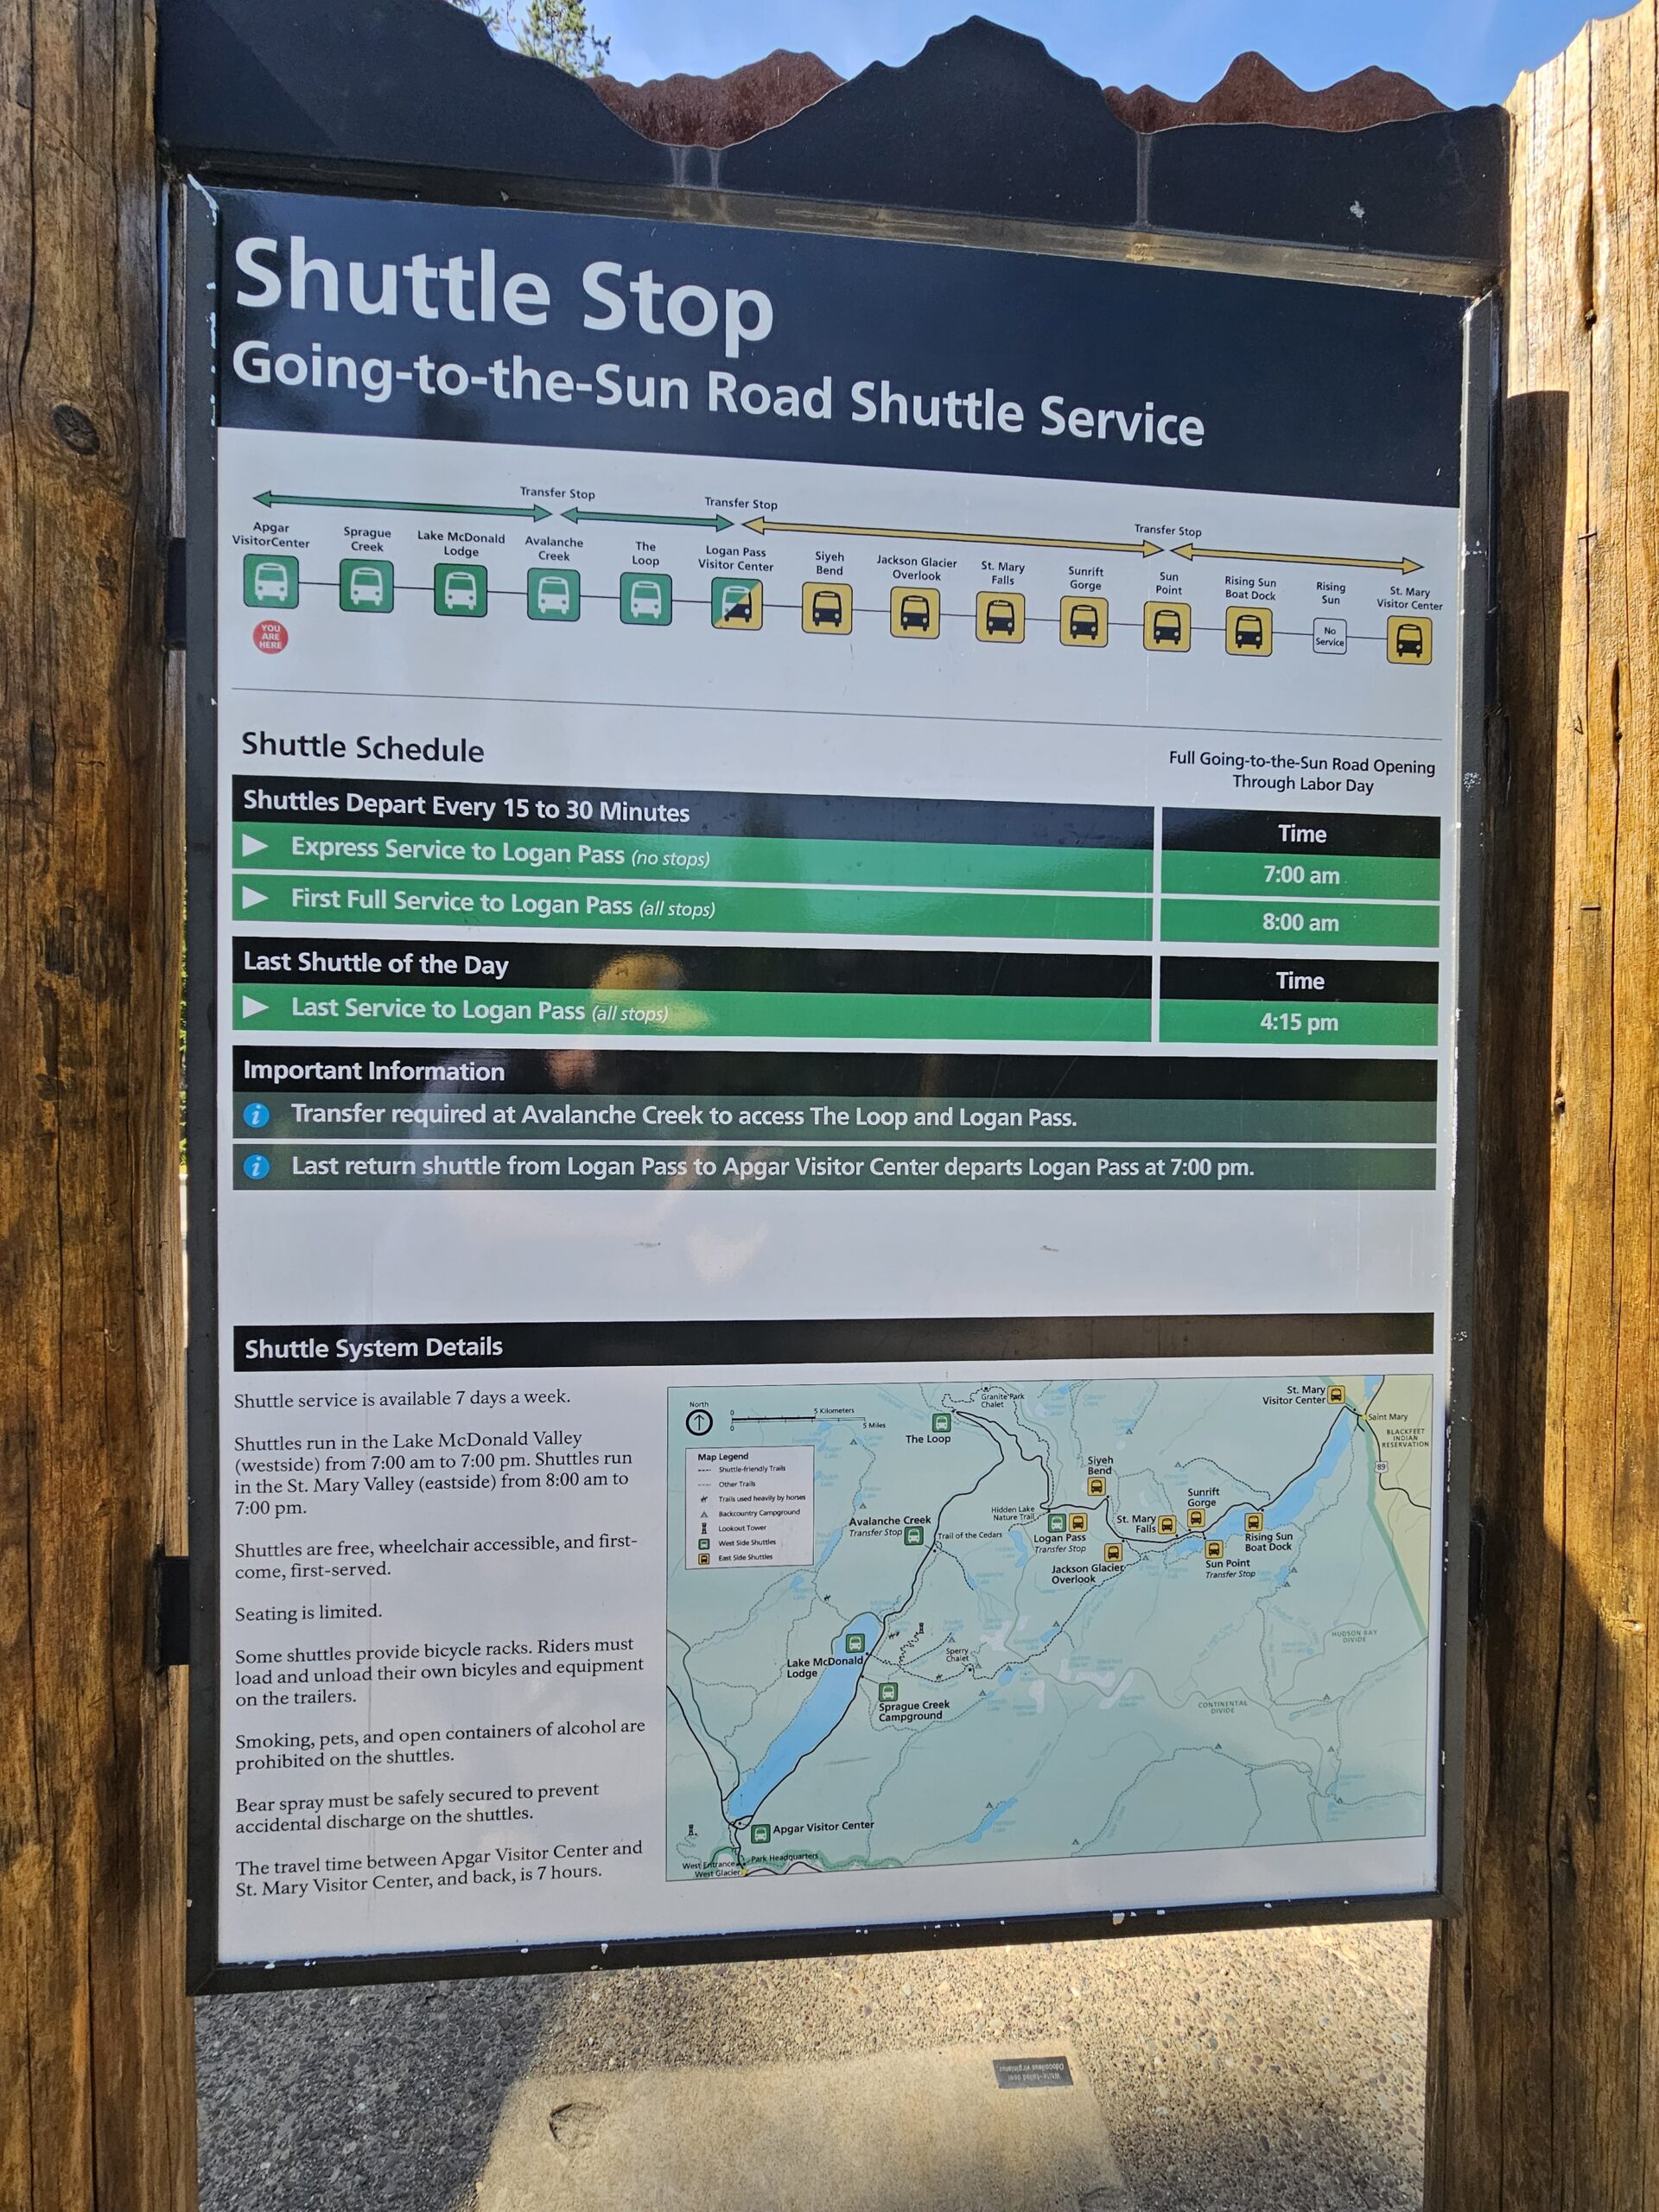
They also informed us about the free shuttle service, which runs throughout the park. If you’re not planning to drive on the Going-to-the-Sun Road, this shuttle system is a lifesaver—it’s reliable and gives you access to many of the park’s most popular locations without the stress of parking. The best part is that it’s FREE!

The shuttle departs regularly from the village every 15-30 minutes and makes stops at key spots like Logan Pass and St. Mary. You can take the shuttle service all the way from one end of the park to the other if you wanted to! The last shuttle back to Apgar is 7pm though, so plan accordingly. I recommend trying to start your journey back by 5pm if you intend on returning to your camp or car as the lines will start filling up quickly! First though, we decided to do the short 0.4 mile walk through the forest into Apgar Village for a bison burger and to see Lake McDonald.

Apgar Village Shops and Rentals

After getting our bearings, we took some time to explore the small cluster of shops and facilities in Apgar Village. The shops here offer everything from souvenirs and outdoor gear to simple snacks and drinks. We grabbed a couple of souvenirs for family back home—a carved wooden bear and a Glacier National Park hoodie from the Eddie’s Mercantile gift shop, which has plenty of unique, locally made items.

If you’re in need of outdoor gear, like hiking poles or bear spray, the shops here have you covered, though prices can be a bit steep compared to stores outside the park. You can also find bike rentals here, and I noticed several visitors hopping on mountain bikes to explore the nearby trails.

Those who are planning to spend the day on the lake will have the opportunity to rent kayaks and paddleboards from the Glacier Outfitters shop, located just a few steps from Lake McDonald’s shoreline. If you’re feeling adventurous, it’s well worth the rental fee. Paddling out onto the lake with its crystal-clear waters is a serene experience, offering a unique perspective of the surrounding mountains.

Dining at Eddie’s Café

After hearing about the infamous bison burger and after a morning of driving and exploring, we decided to have a bite at Eddie’s Café, the main restaurant in Apgar Village. It’s a casual spot, offering a mix of American-style food, including burgers, salads, and sandwiches. The vibe was positive and the service was great. We were very satisfied with the meal! They also have an assortment of local Montana draft beer to try if that is your interest!

The café also has a small outdoor seating area, which allowed us to enjoy the fresh mountain air while we ate. After a morning of adventuring, it sure hit the spot!

Relaxing by Lake McDonald

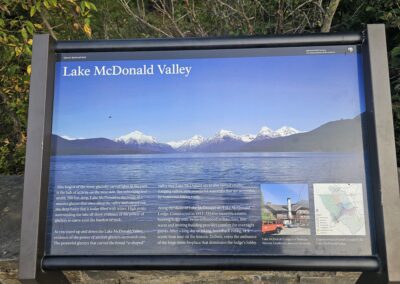
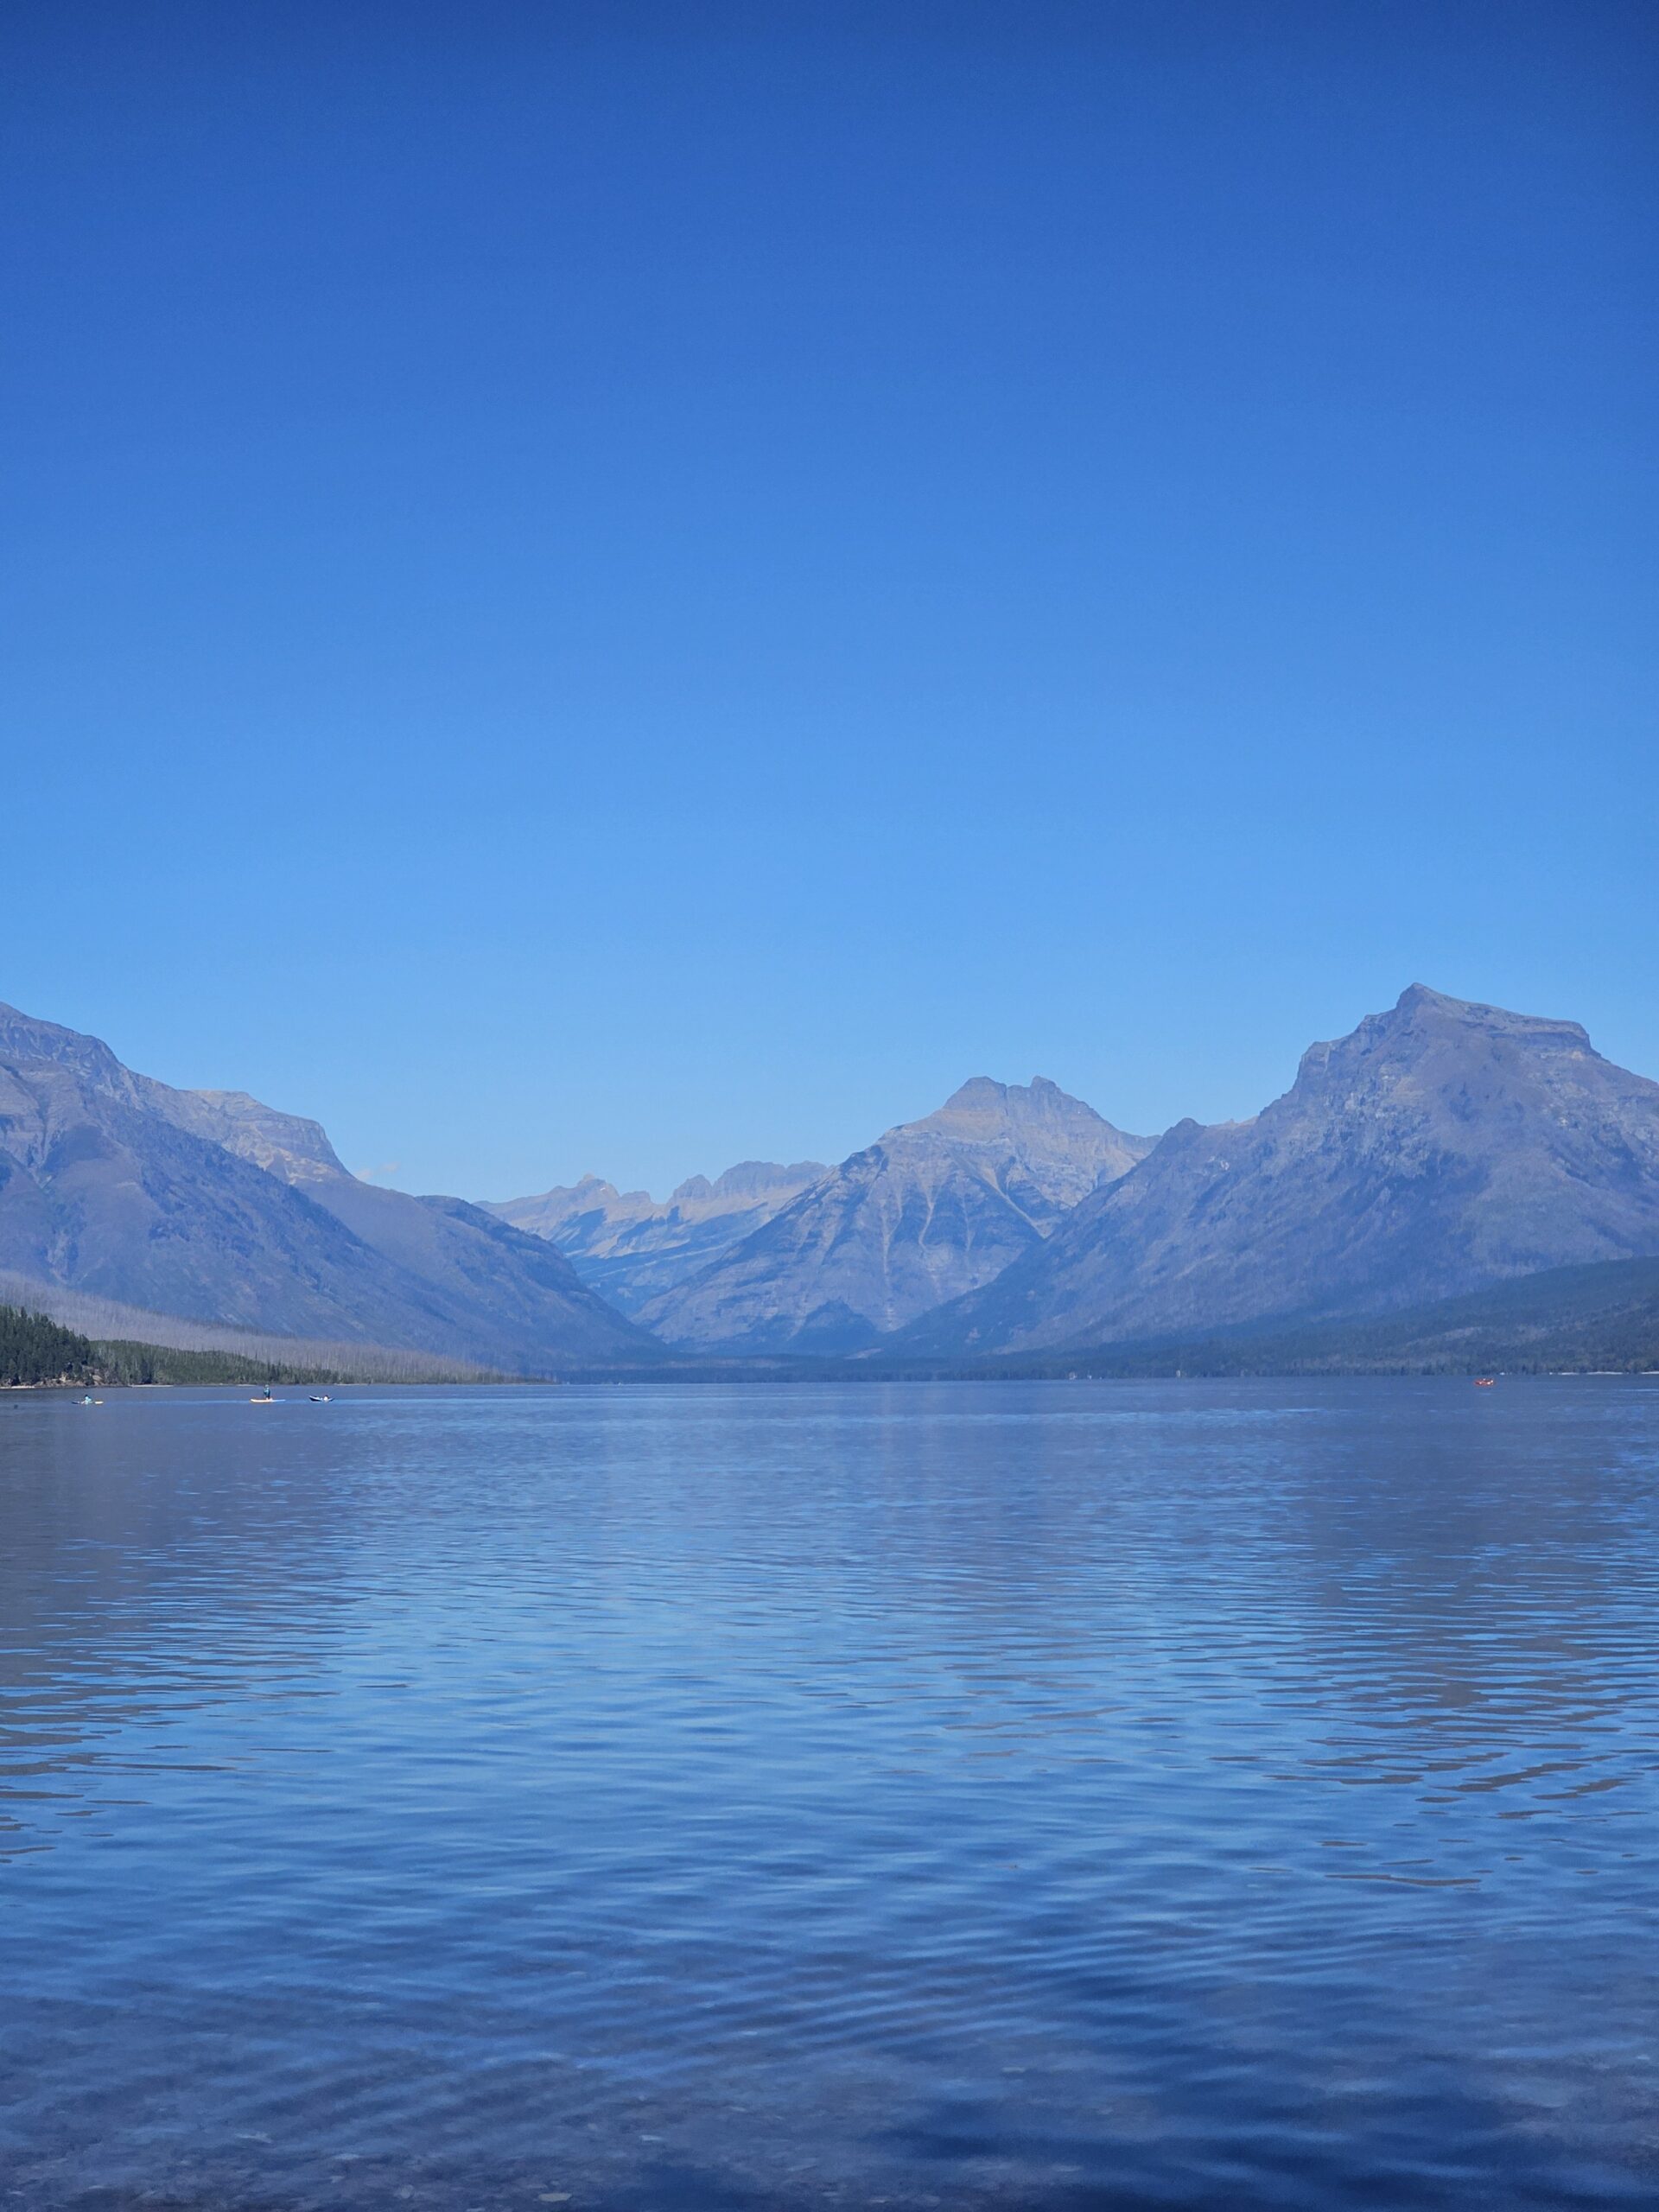
After exploring the village, we made our way down to the shores of Lake McDonald, the largest lake in the park. The lake’s shimmering blue waters and the towering mountains in the background make it one of the most picturesque spots in Glacier. There’s a small beach area where families were relaxing, some dipping their feet in the cool water while others sat on the pebbled shore enjoying the view.

We found a spot near the water and spent some time simply soaking in the scenery. The lake is breathtaking—its water is so clear you can see the colorful stones beneath the surface. The Great Northern Mountain looms in the distance, its snowcapped peaks perfectly reflected in the water. If you have the time, this is a great place to just sit back and unwind, especially after a long day of driving or hiking.
Taking the Shuttle from Apgar to Logan Pass: A Scenic Journey

After spending some time exploring Apgar Village, we decided to take the park’s convenient shuttle system all the way to Logan Pass, one of the most iconic spots in Glacier National Park. The shuttle service is free and makes it easy to explore the park without having to worry about parking or navigating the narrow, winding roads. It runs from camp to camp, stopping at major points along the Going-to-the-Sun Road.
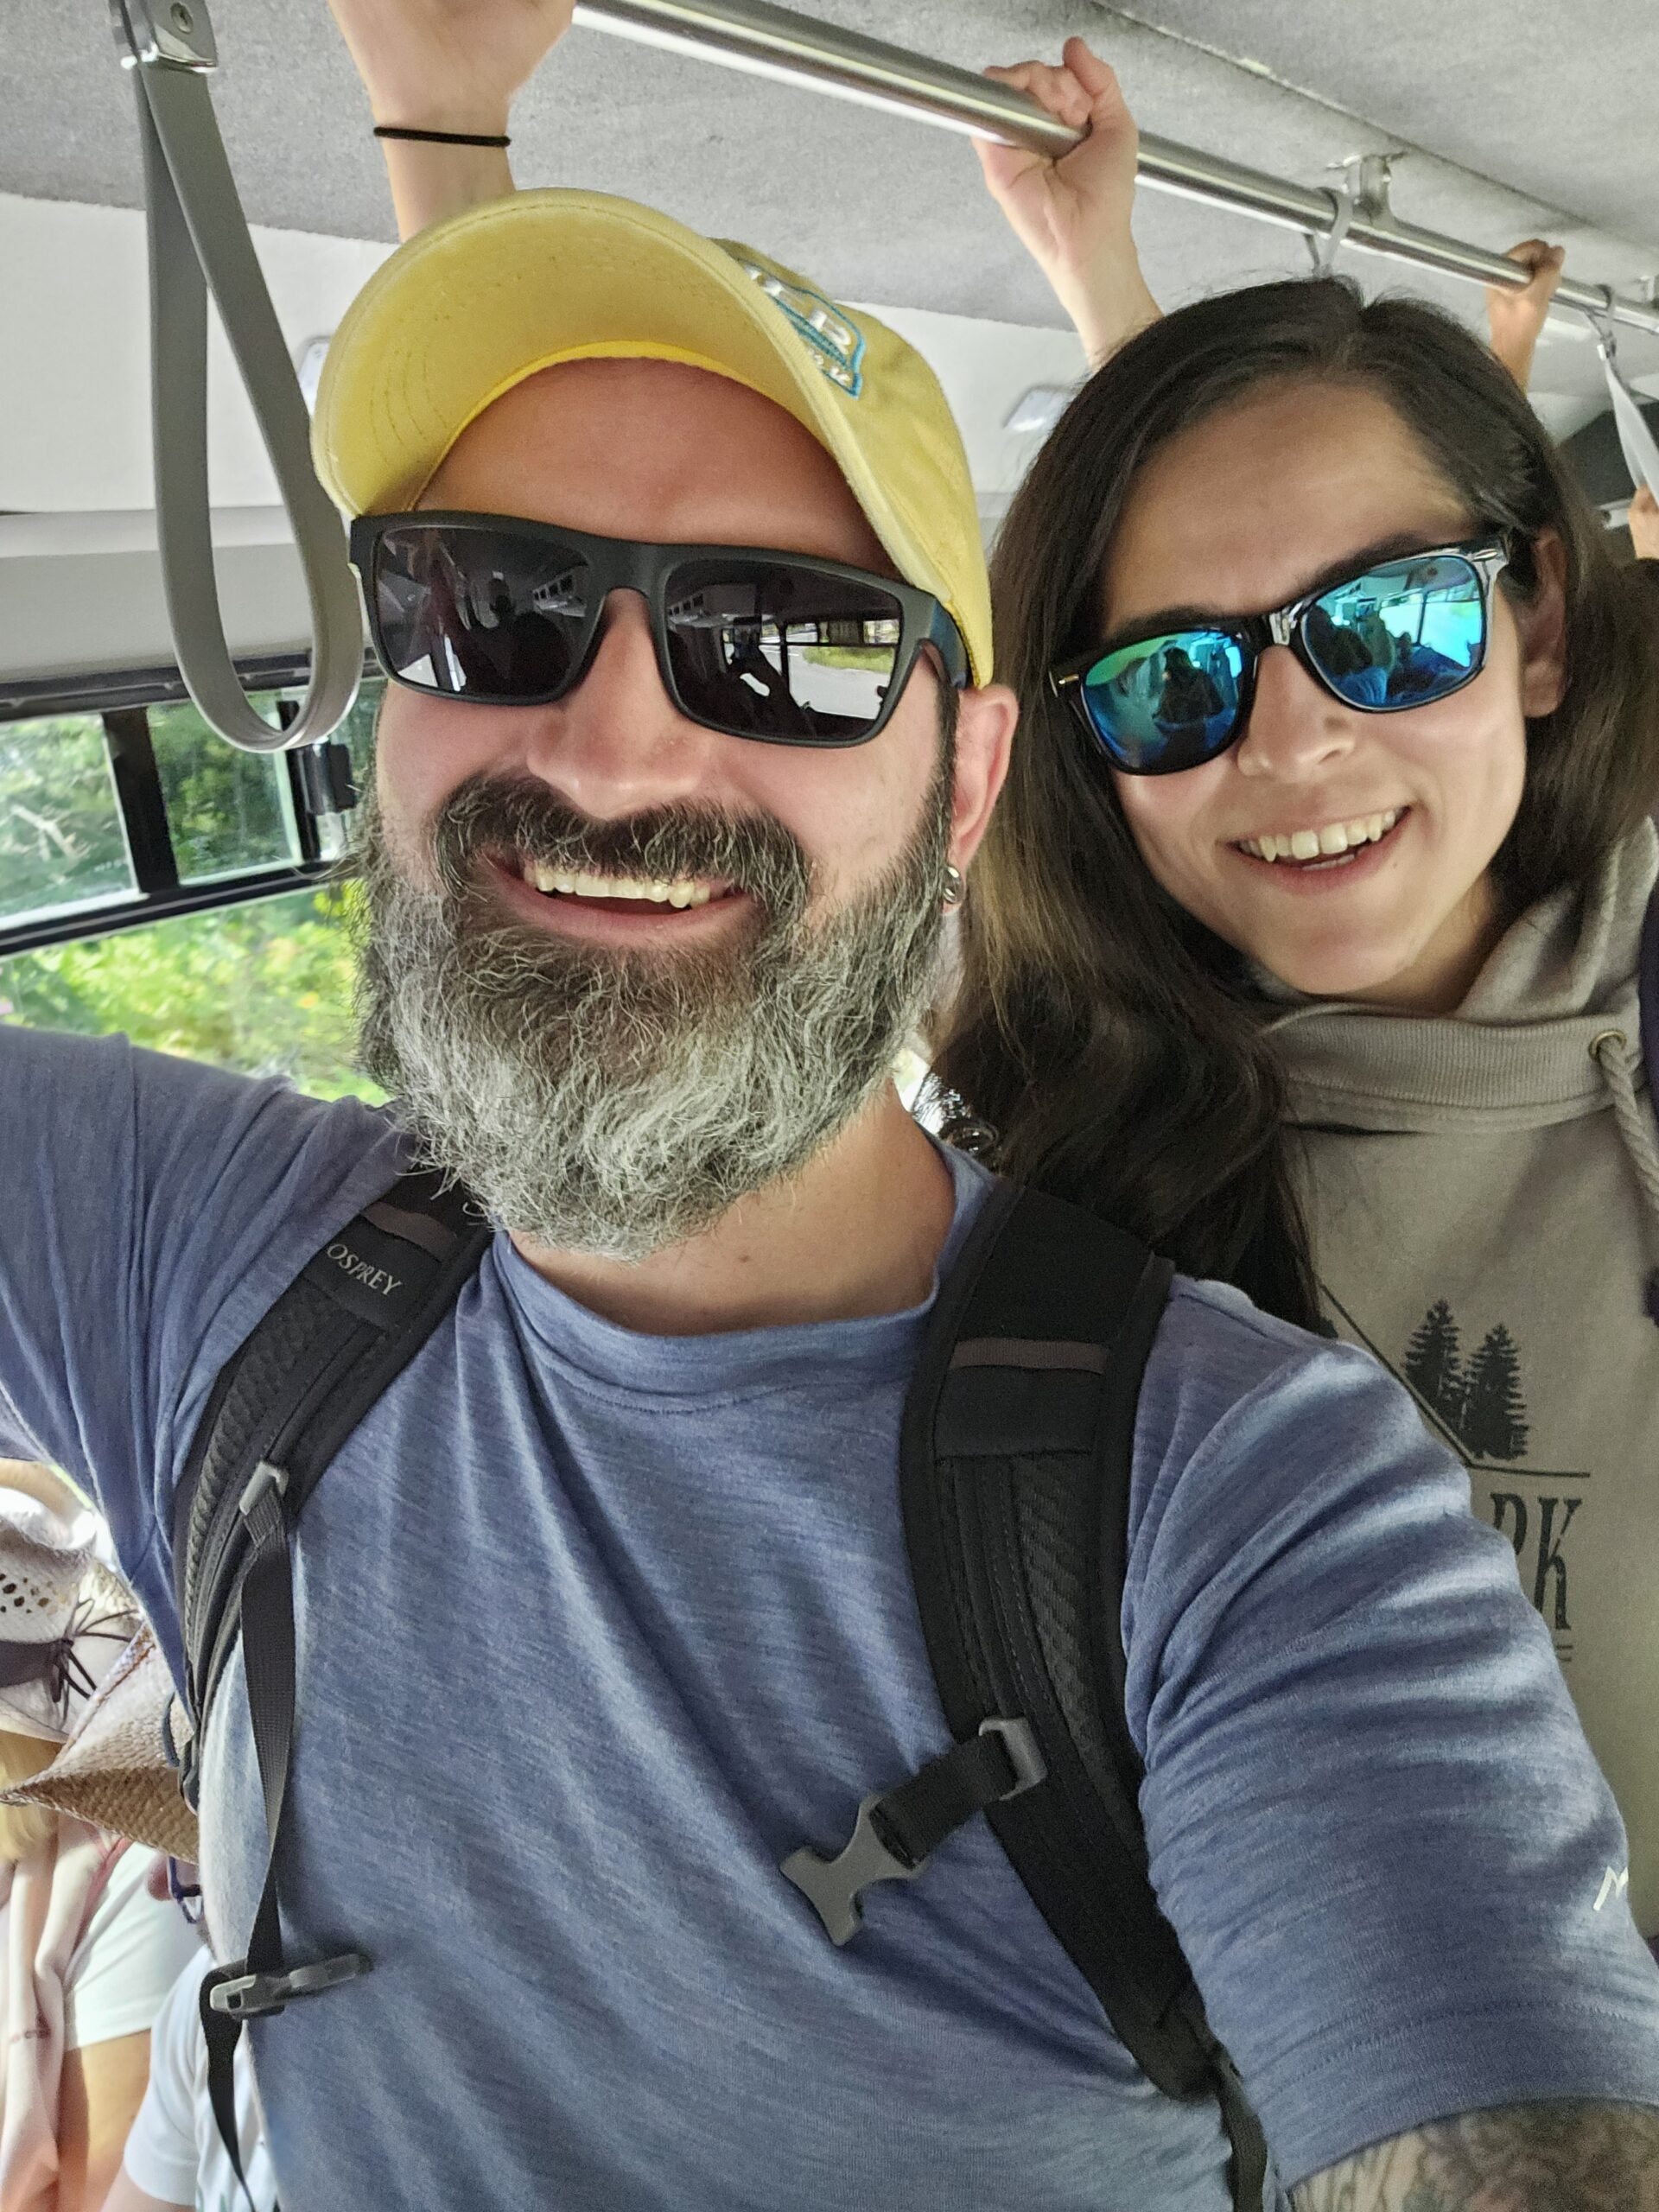
We arrived at the Apgar Visitor Center shuttle stop early in the morning to catch one of the first rides to Logan Pass. While the shuttle schedule promises departures every 15 to 30 minutes, it’s a good idea to get there early, especially during the peak season, to make sure you get a spot. Unfortunately for us, the shuttle filled up quickly, and we ended up standing for the hour-long journey—a bit tiring, but totally worth it for the views.

Initial Checkpoint and the Reservation Test

The longest part of our shuttle experience was right at the beginning. Just outside of Apgar, the shuttle stopped at a checkpoint where park rangers were conducting a test by checking the Going-to-the-Sun Road reservations for each vehicle entering the area. It caused a bit of a delay as they verified everyone’s permits. It was interesting to see the level of control they’re testing to manage the heavy flow of traffic, but the wait did slow things down a bit.

Once we cleared the checkpoint, the shuttle began its slow climb along the Going-to-the-Sun Road, which is known for its jaw-dropping views and dramatic mountain landscapes. Despite standing, we had a great vantage point, as the shuttle’s large windows allowed us to take in the scenery on both sides.

Experiencing the Camps Along the Way

As we made our way along the route, the shuttle stopped at various points, offering glimpses of the park’s different campgrounds and areas that you can explore if you choose. While we were headed to Logan Pass, it was nice to know that the shuttle lets visitors hop off and back on at any of these stops to check out places like Sprague Creek, Lake McDonald Lodge, and Avalanche Creek.

Each campground has its own character. At Sprague Creek, you’ll find a small, lakeside campground perfect for campers who want a quieter, more intimate setting near Lake McDonald. Lake McDonald Lodge is another popular stop, offering historic charm and easy access to activities like boat tours or relaxing by the lake. However, these spots were still just a warm-up for what lay ahead.

Transfer at Avalanche Creek

One of the main transfer points is at Avalanche Creek, where all passengers bound for Logan Pass must switch to another shuttle. The stop itself is scenic, nestled in the forest, with towering trees and easy access to the Trail of the Cedars and Avalanche Lake Trail for those wanting to hike. The transfer wait was brief, just about 10 to 15 minutes, and luckily, restrooms were available—a much-appreciated break before continuing the climb.

At this point, it’s important to note that there are no restaurants at Avalanche Creek, nor will you find any food options beyond this point aside from a few snacks the top at Logan Pass. So, if you haven’t packed a snack or eaten at Apgar, this is your last chance to fuel up for the journey ahead. They no longer allow standing due to the conditions of the road, so we were able to finally sit once it was our turn to board the transfer shuttle.

Climbing to Logan Pass – The Scenic Ascent

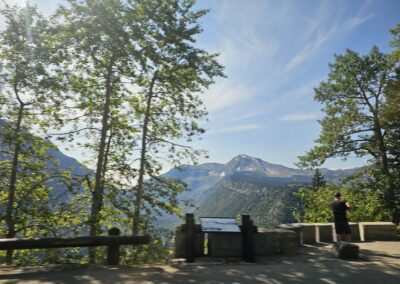
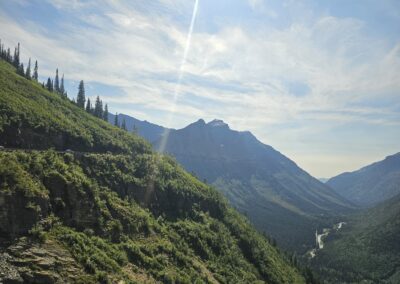
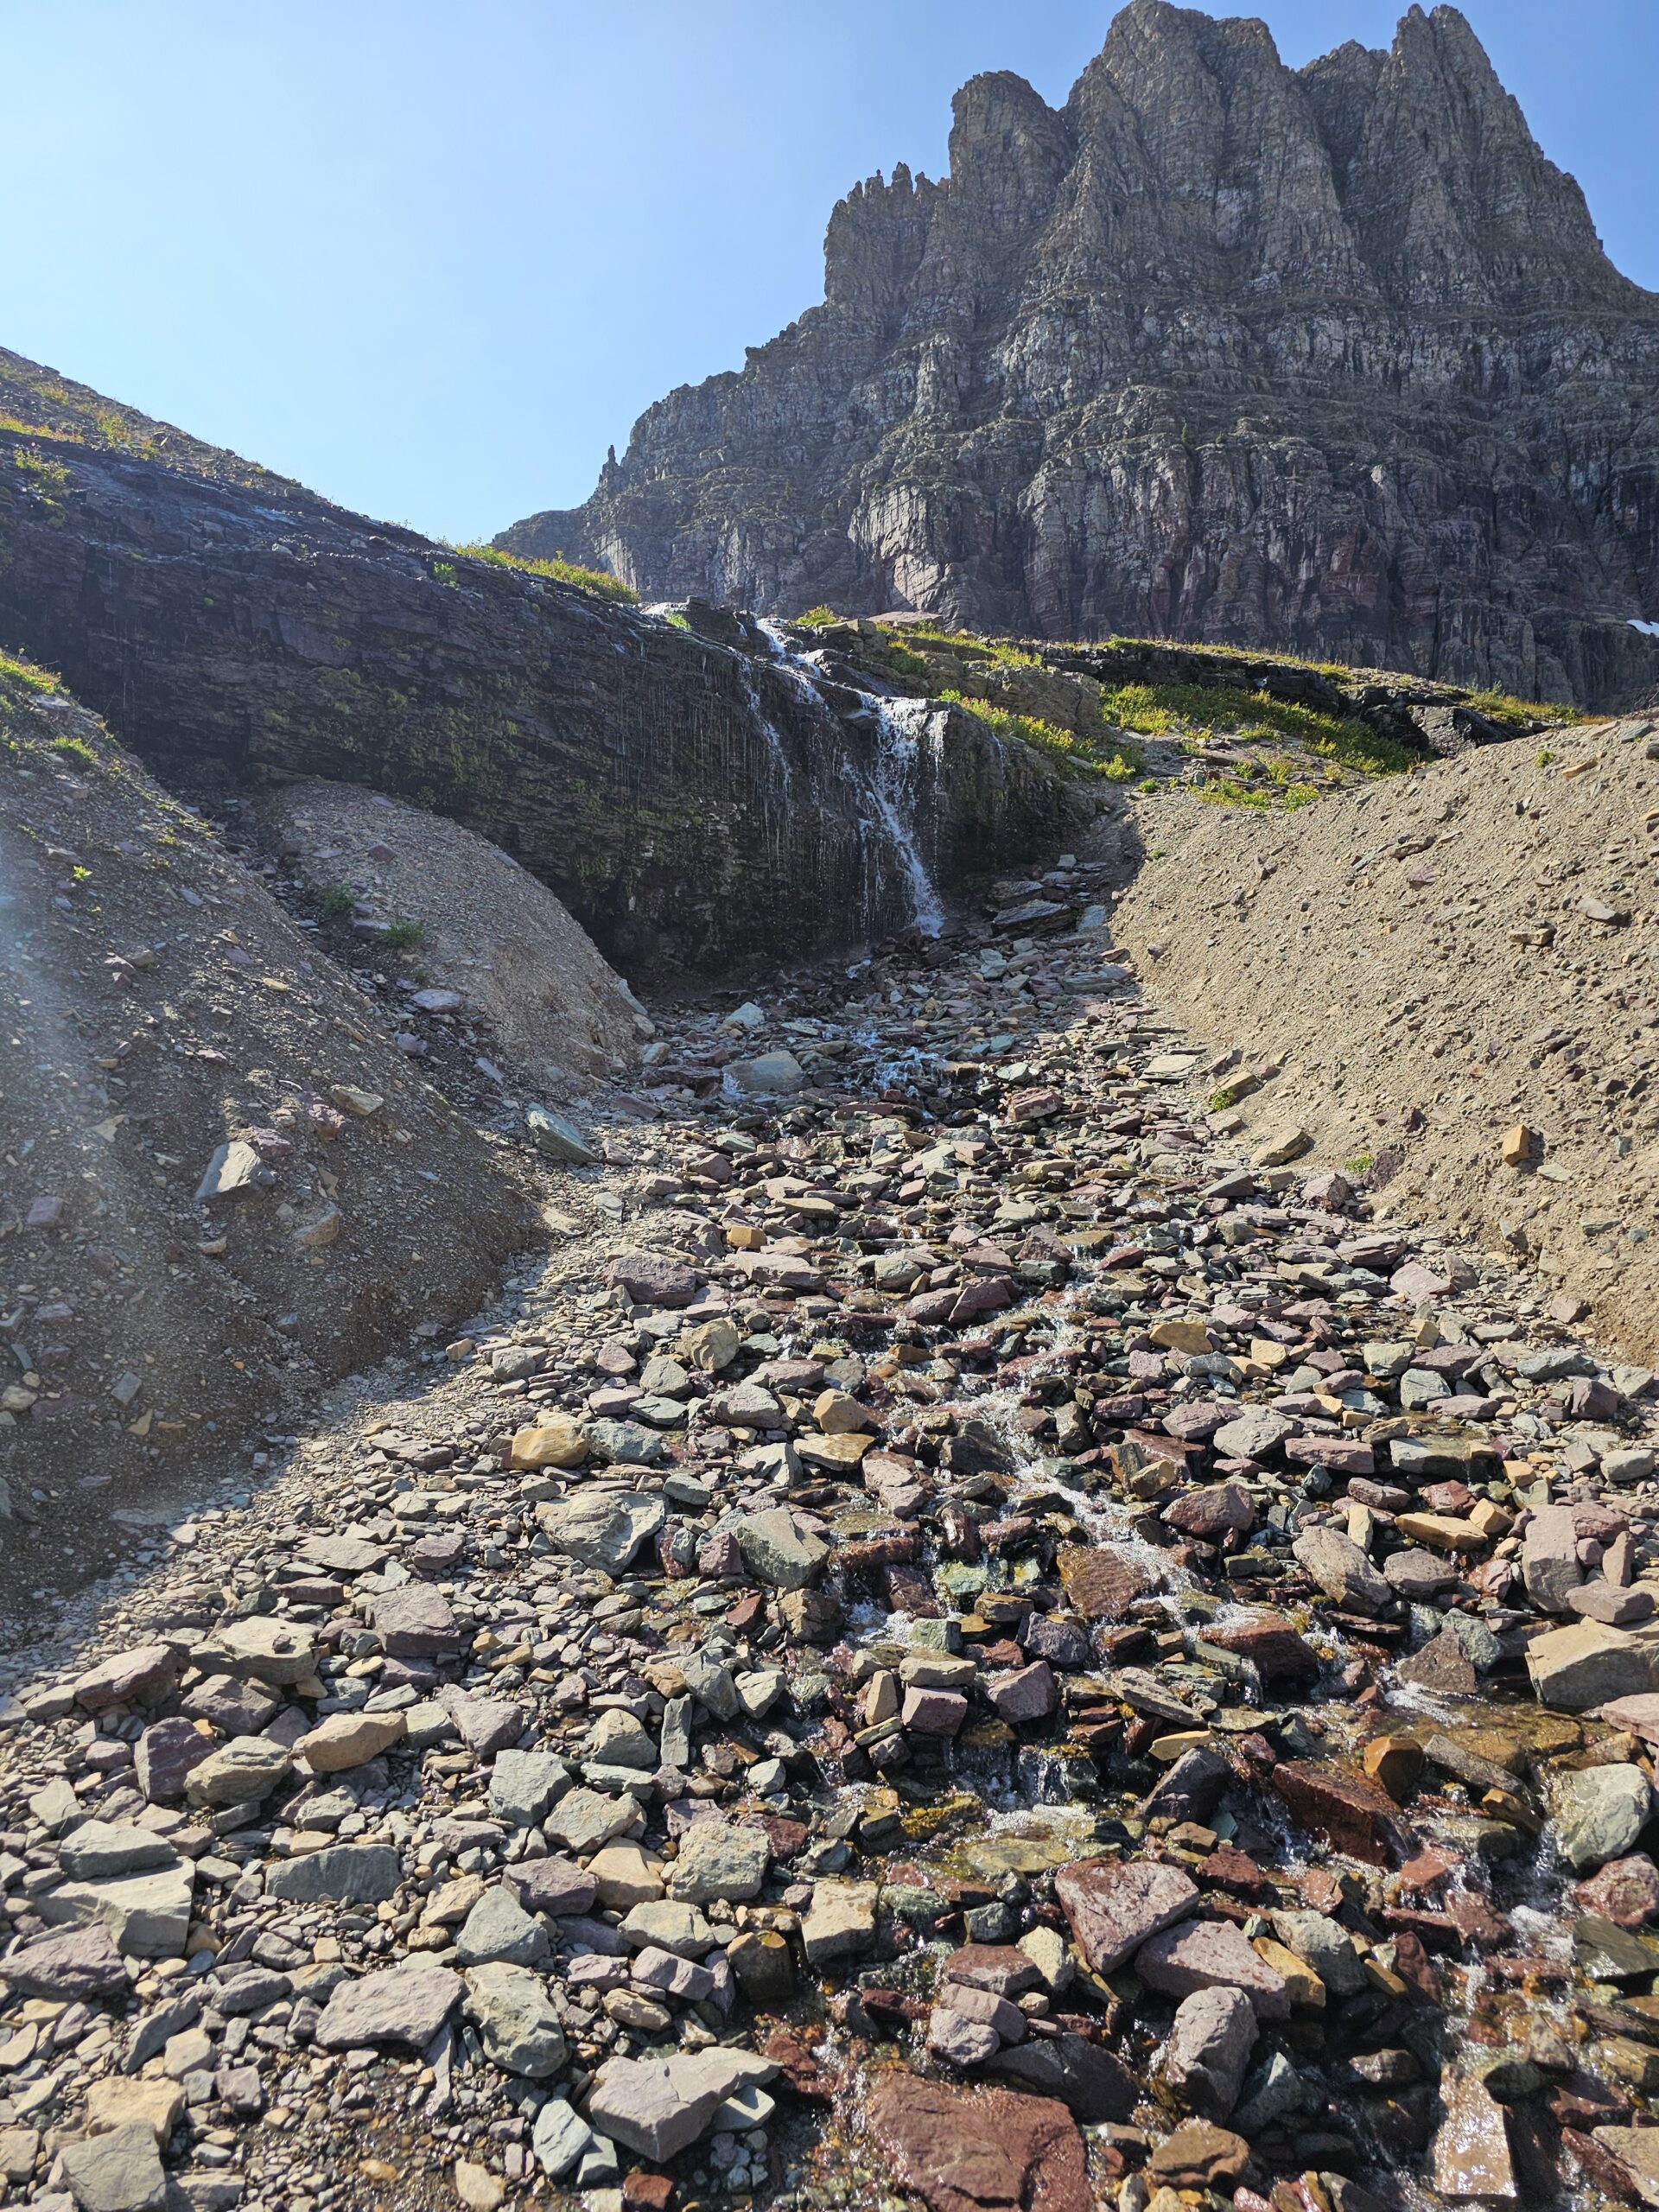
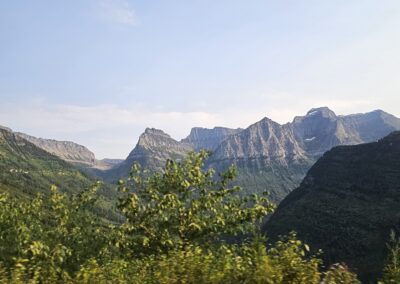
The next part of the journey is where the true magic of the Going-to-the-Sun Road comes to life. As the shuttle began its climb, the landscape outside became more dramatic with each passing minute. The road hugged the mountainside, offering panoramic views of deep valleys, jagged peaks, and waterfalls cascading down the cliffs. Even standing, we found ourselves completely captivated by the scenery, craning our necks to take in the breathtaking sights.

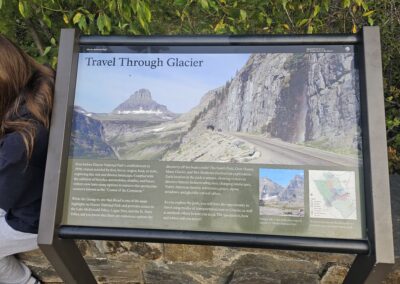
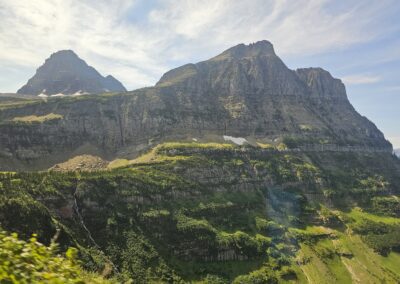
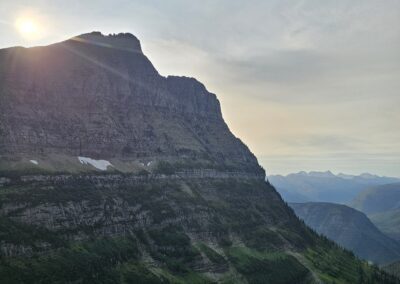
The towering Garden Wall stood out in the distance, a rocky ridge with glacial remnants clinging to its face. As we climbed higher, we passed by the famous Weeping Wall, where water flows directly over the road in a mesmerizing curtain of mist. The closer we got to Logan Pass, the more we saw sweeping alpine meadows, where wildflowers blanketed the mountainside in bursts of color.

Throughout the ride, we spotted several points where the road felt incredibly narrow, with steep drop-offs right beside the shuttle. If you’re not fond of heights, it can be a bit nerve-wracking, but for us, it was thrilling. The sense of adventure builds with every turn, and despite the tight fit of standing room, there was an unspoken camaraderie among the passengers as we all marveled at the sights together.


Arrival at Logan Pass

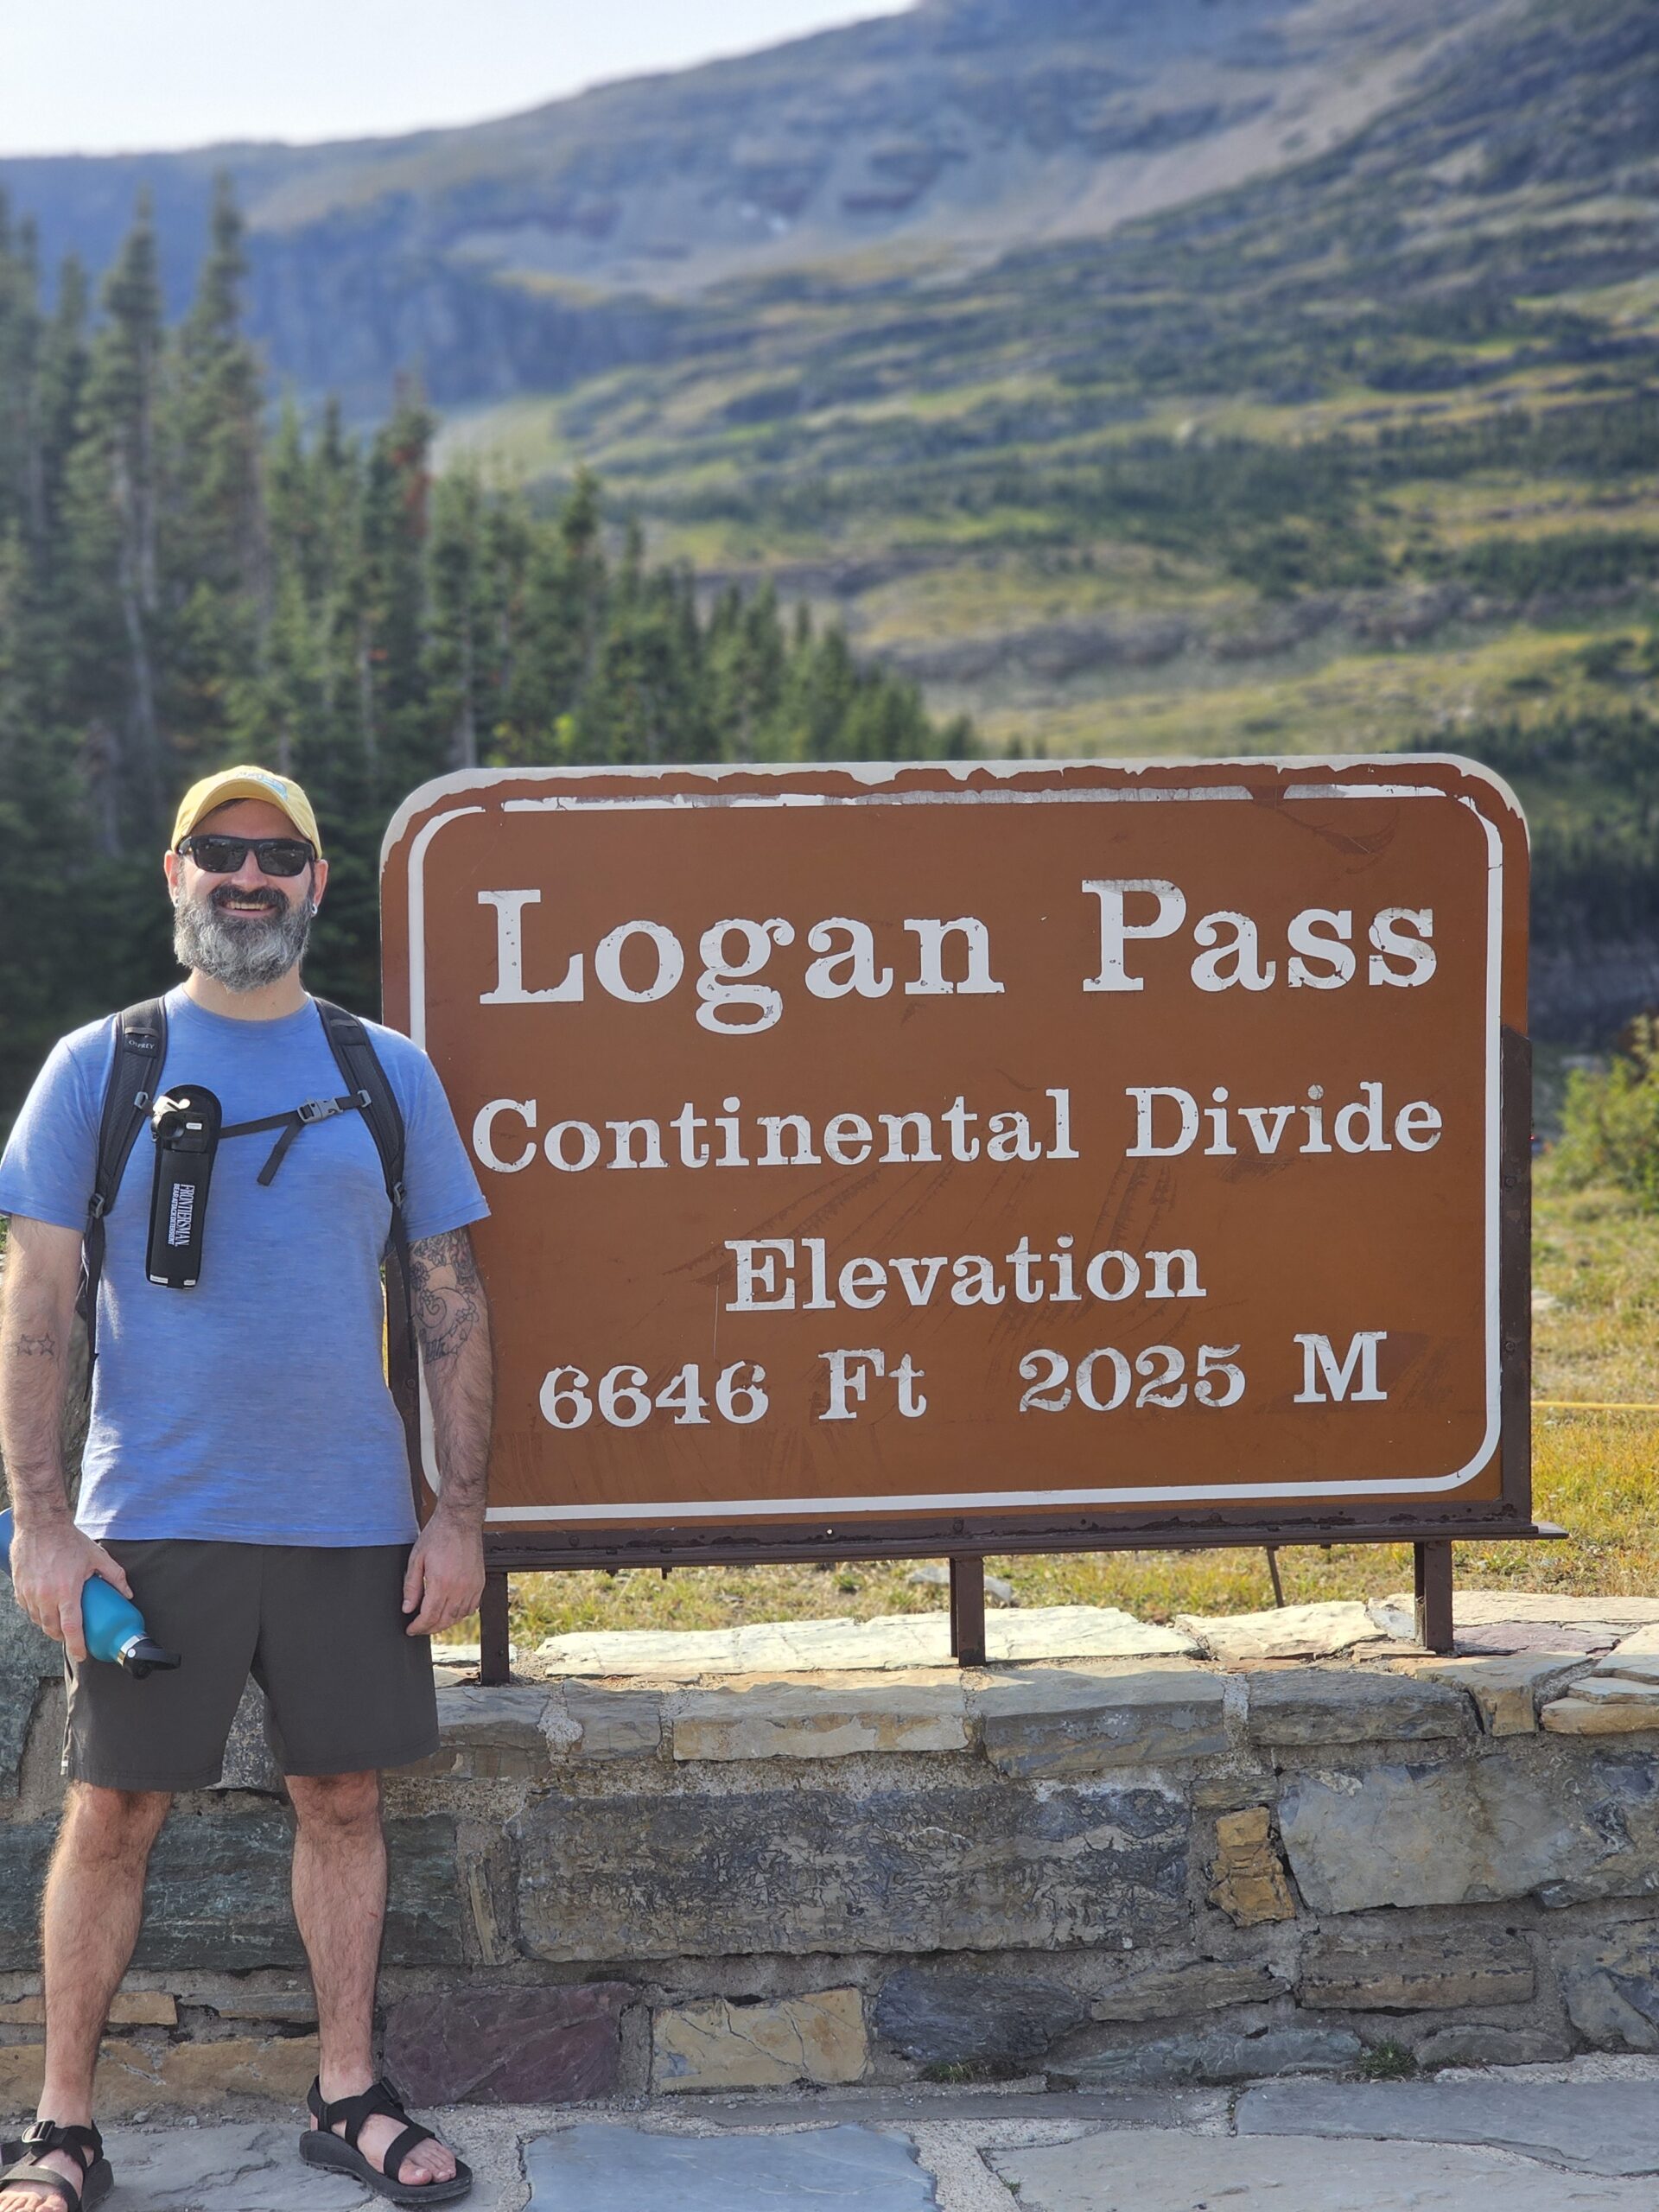
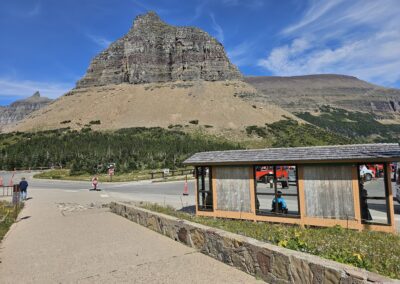
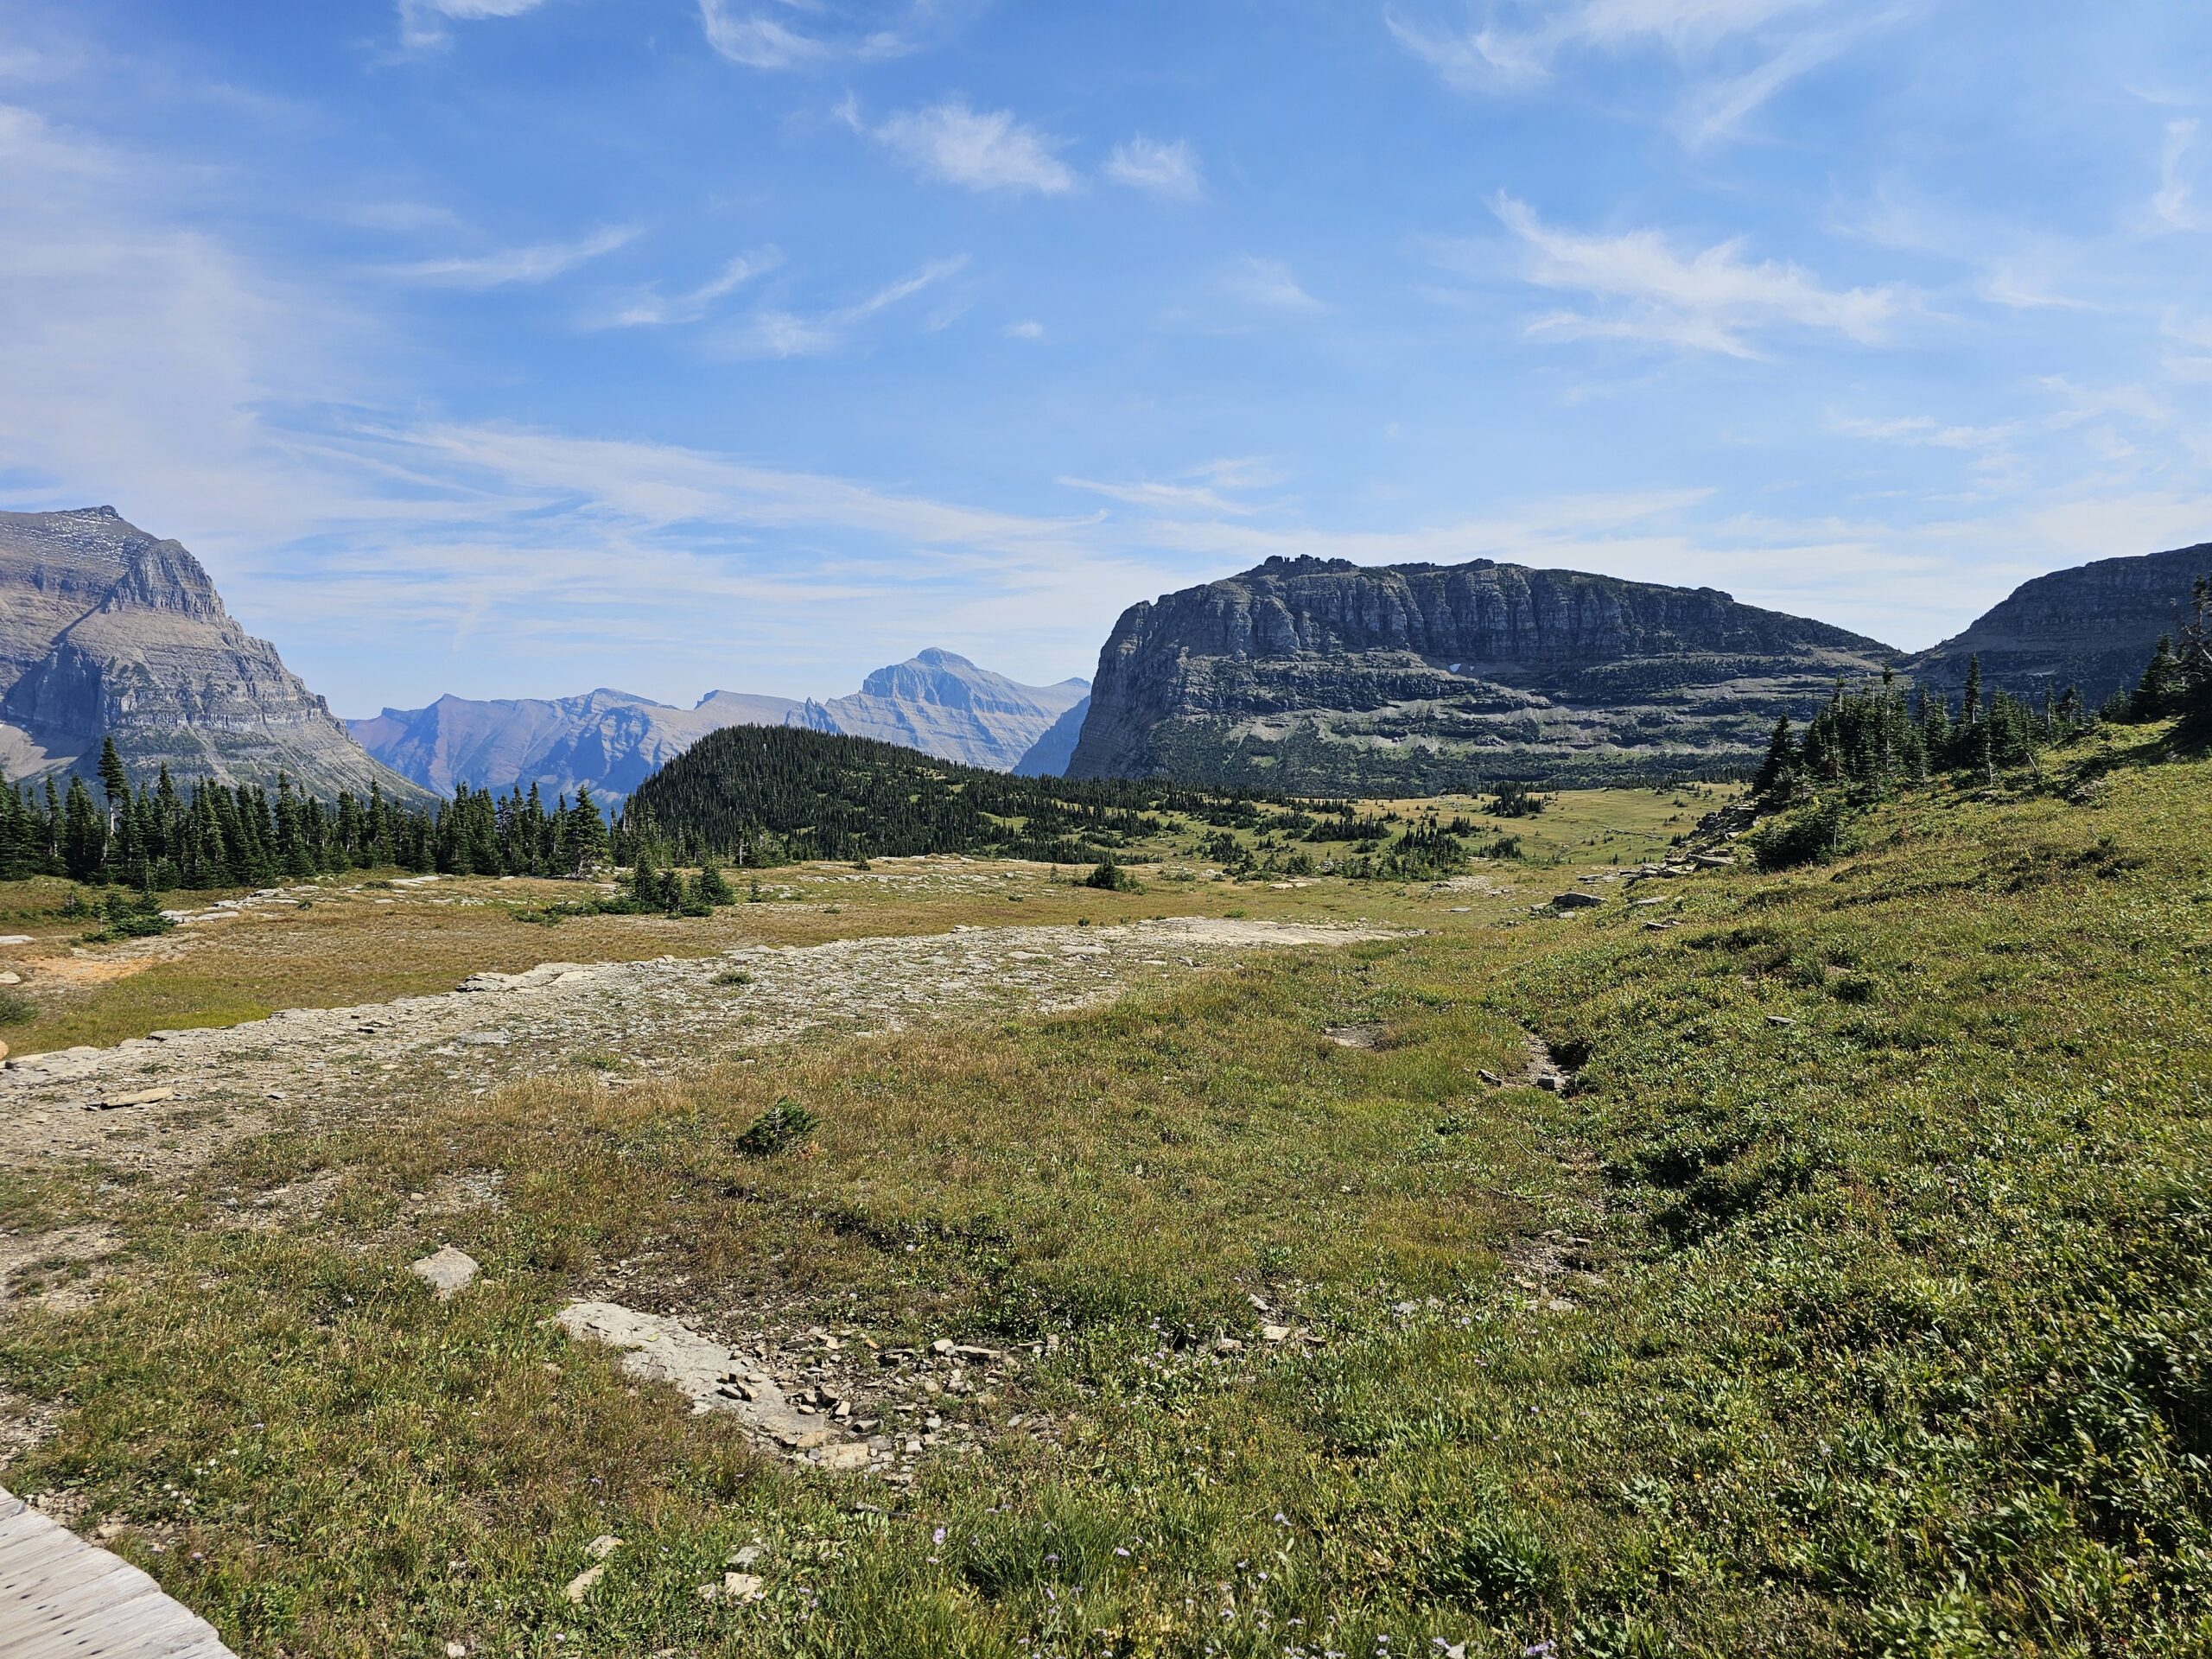
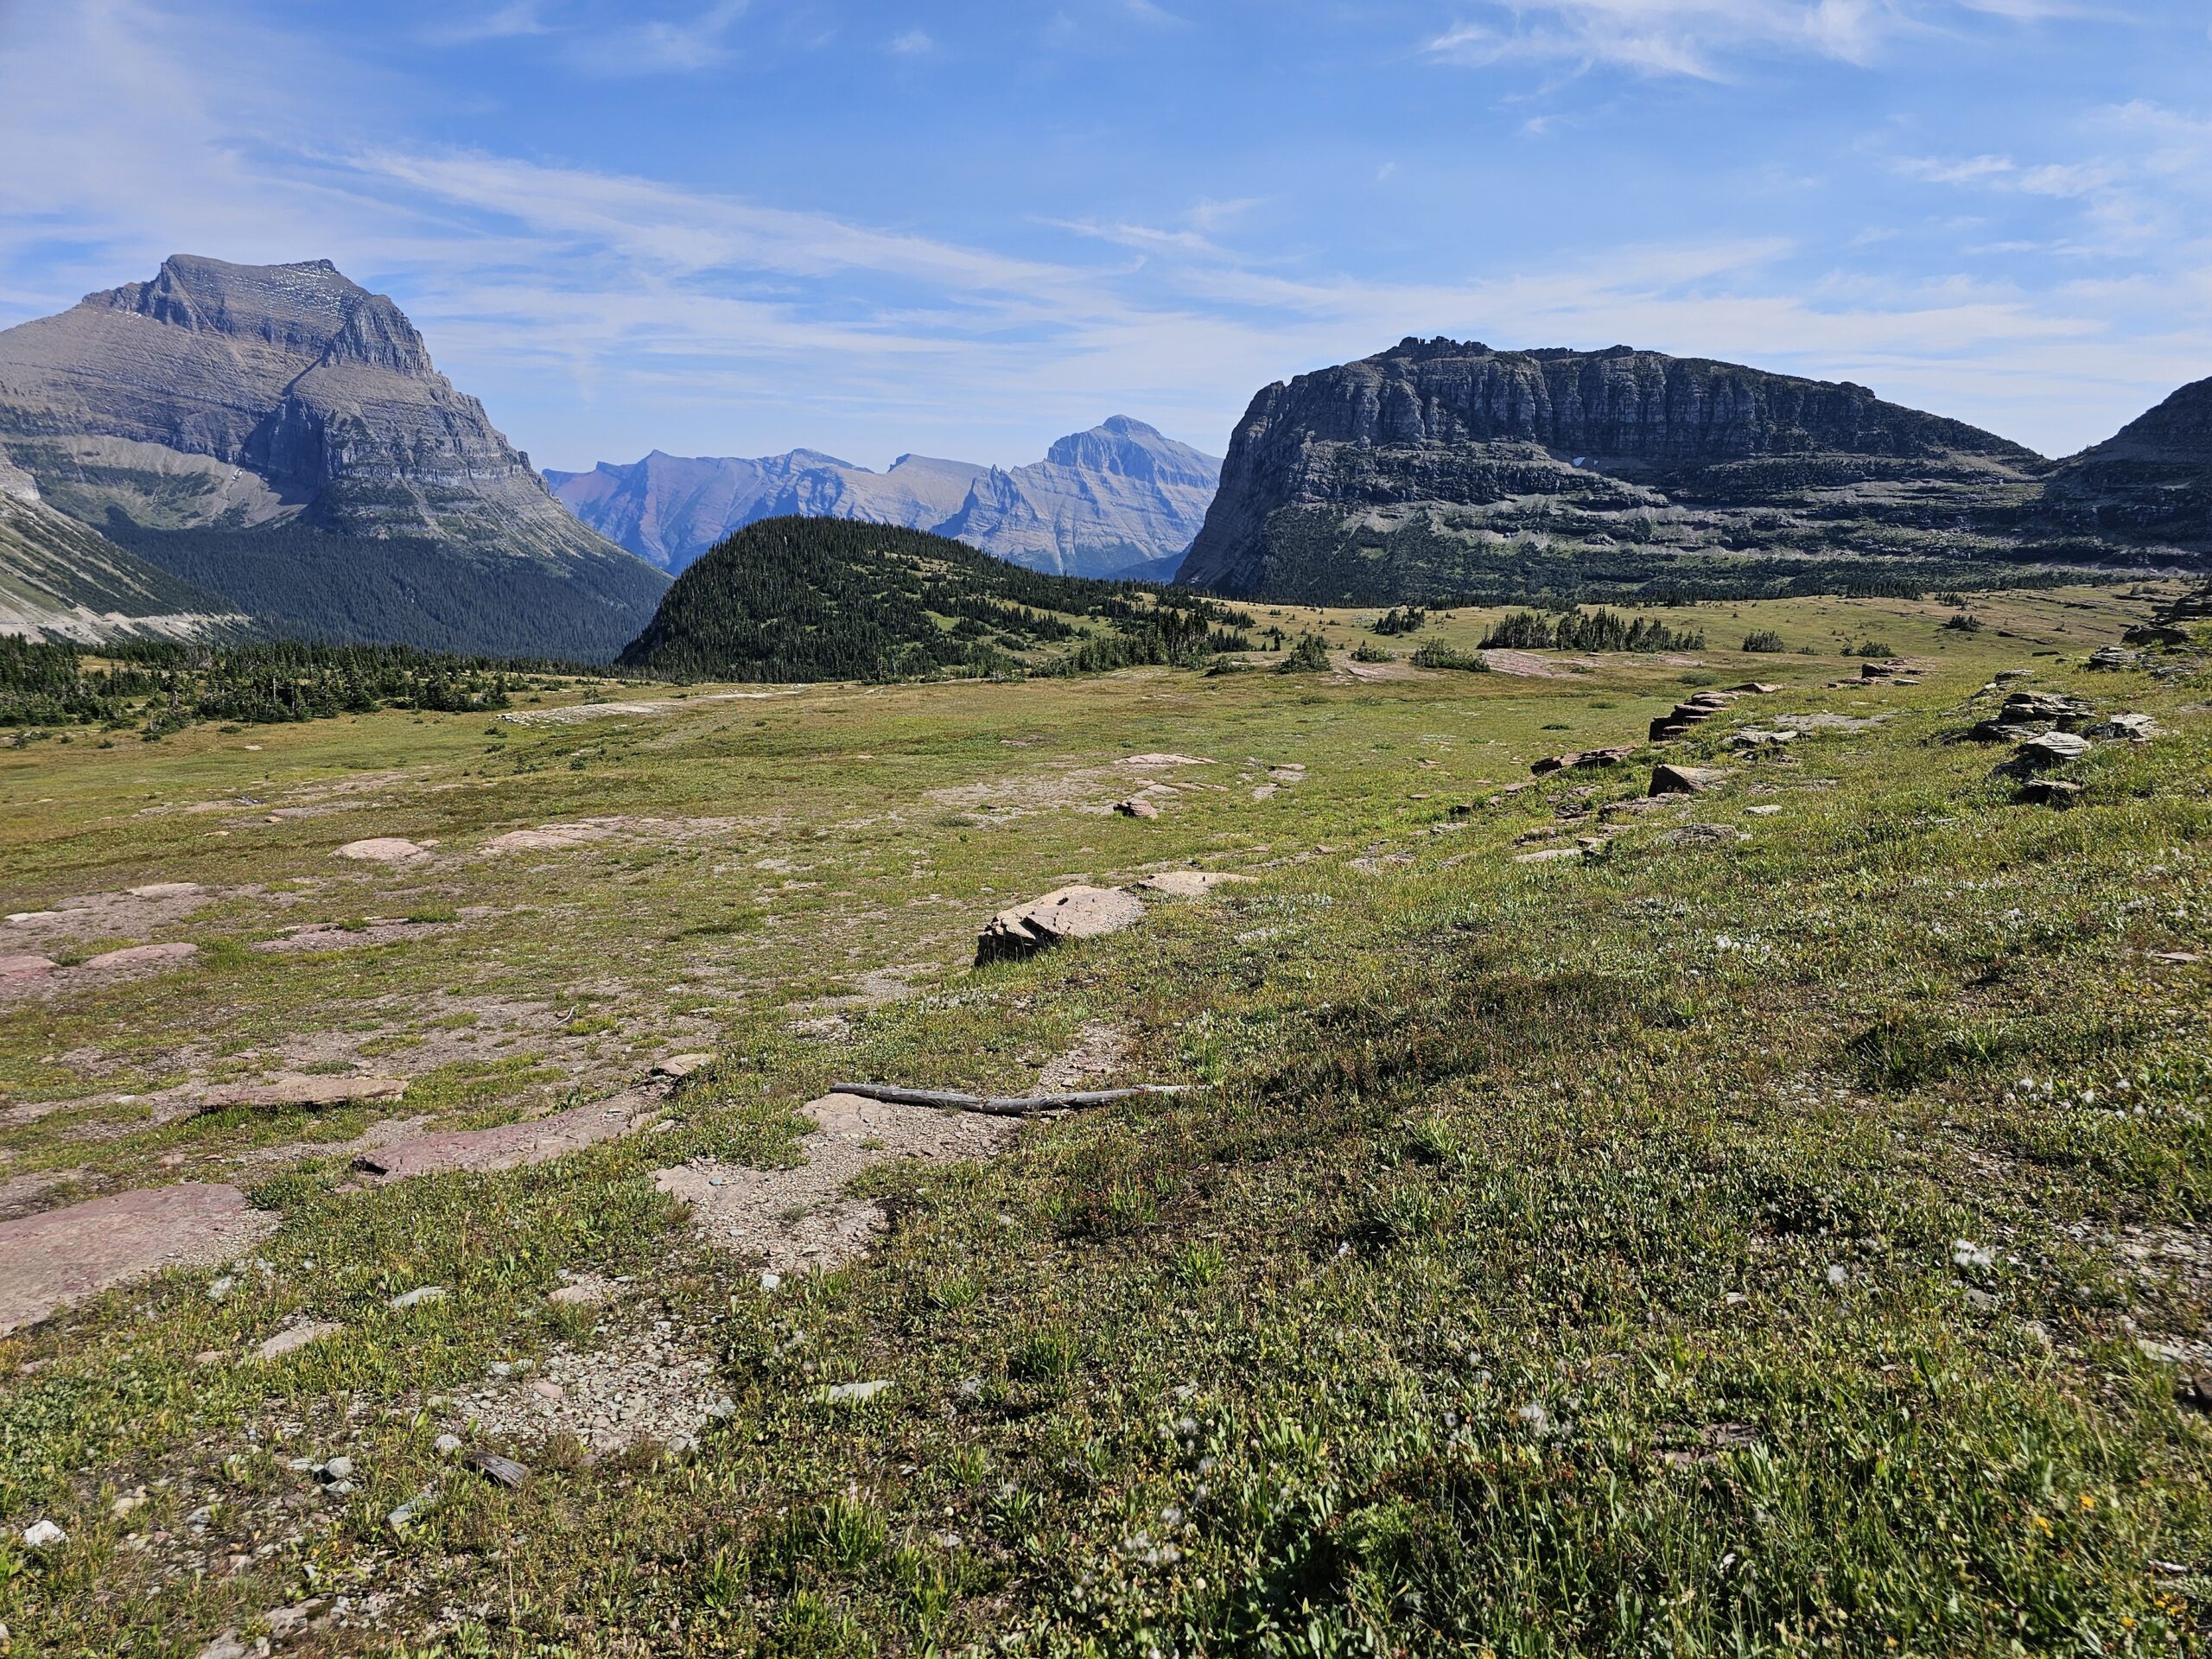
After the climb, we finally reached Logan Pass, the highest point on the Going-to-the-Sun Road at an elevation of 6,646 feet. The moment we stepped off the shuttle, the cool mountain air hit us, and we were immediately greeted by expansive views of the rugged mountains and alpine terrain. Logan Pass is known for its vast, open meadows and incredible hiking opportunities, including the Hidden Lake Trail and the Highline Trail—both of which offer jaw-dropping views and a chance to encounter wildlife like mountain goats and bighorn sheep.

The journey up the Going-to-the-Sun Road is an experience in itself—one that offers unmatched views of Glacier’s raw beauty. Standing a portion of the way was a small price to pay for the privilege of witnessing the park’s dramatic landscapes from the comfort of the shuttle. And now that we had arrived at Logan Pass, we were eager to explore the trails and take in all the beauty the park had to offer.


Logan Pass: The Ultimate Glacier Experience

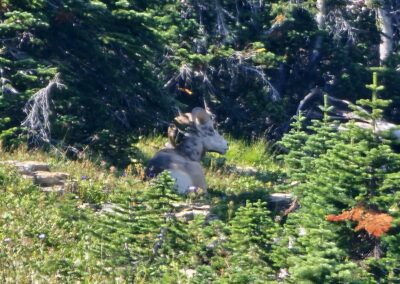
The highlight of our Glacier National Park trip was undoubtedly Logan Pass. The journey to get there was an experience in itself, with the shuttle winding along the Going-to-the-Sun Road, hugging the cliffs, and offering breathtaking views of towering mountains, waterfalls, and even wildlife like Big Horn grazing on the steep slopes. I’d heard about the narrow roads, but seeing them up close made the ride even more thrilling. For those afraid of heights, be prepared—the road clings to the edge of cliffs for a significant part of the trip, offering both stunning vistas and a touch of adrenaline.

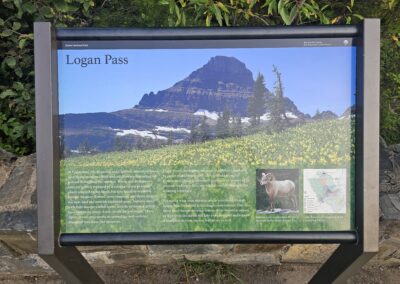
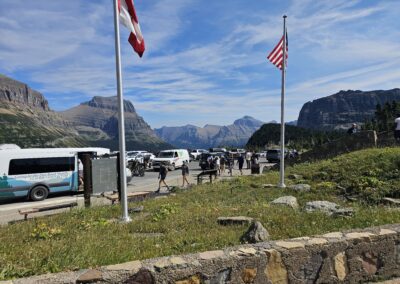
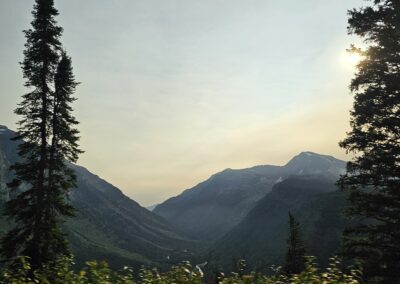
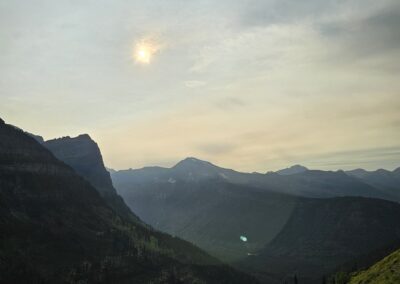
As soon as we arrived at Logan Pass (elevation 6,646 feet), it became clear why it’s such a popular destination. The panoramic views from the visitor area are jaw-dropping. The towering peaks seem to stretch endlessly in every direction, and the alpine meadows spread out before you, dotted with colorful wildflowers and the occasional wandering wildlife. The cool, crisp mountain air was a welcome change after the shuttle ride, and the feeling of standing atop Glacier’s highest reachable point was invigorating.

Logan Pass also serves as the starting point for several of the park’s most popular trails, including the famous Hidden Lake Trail—our next adventure.

Getting Ready for the Hidden Lake Trail

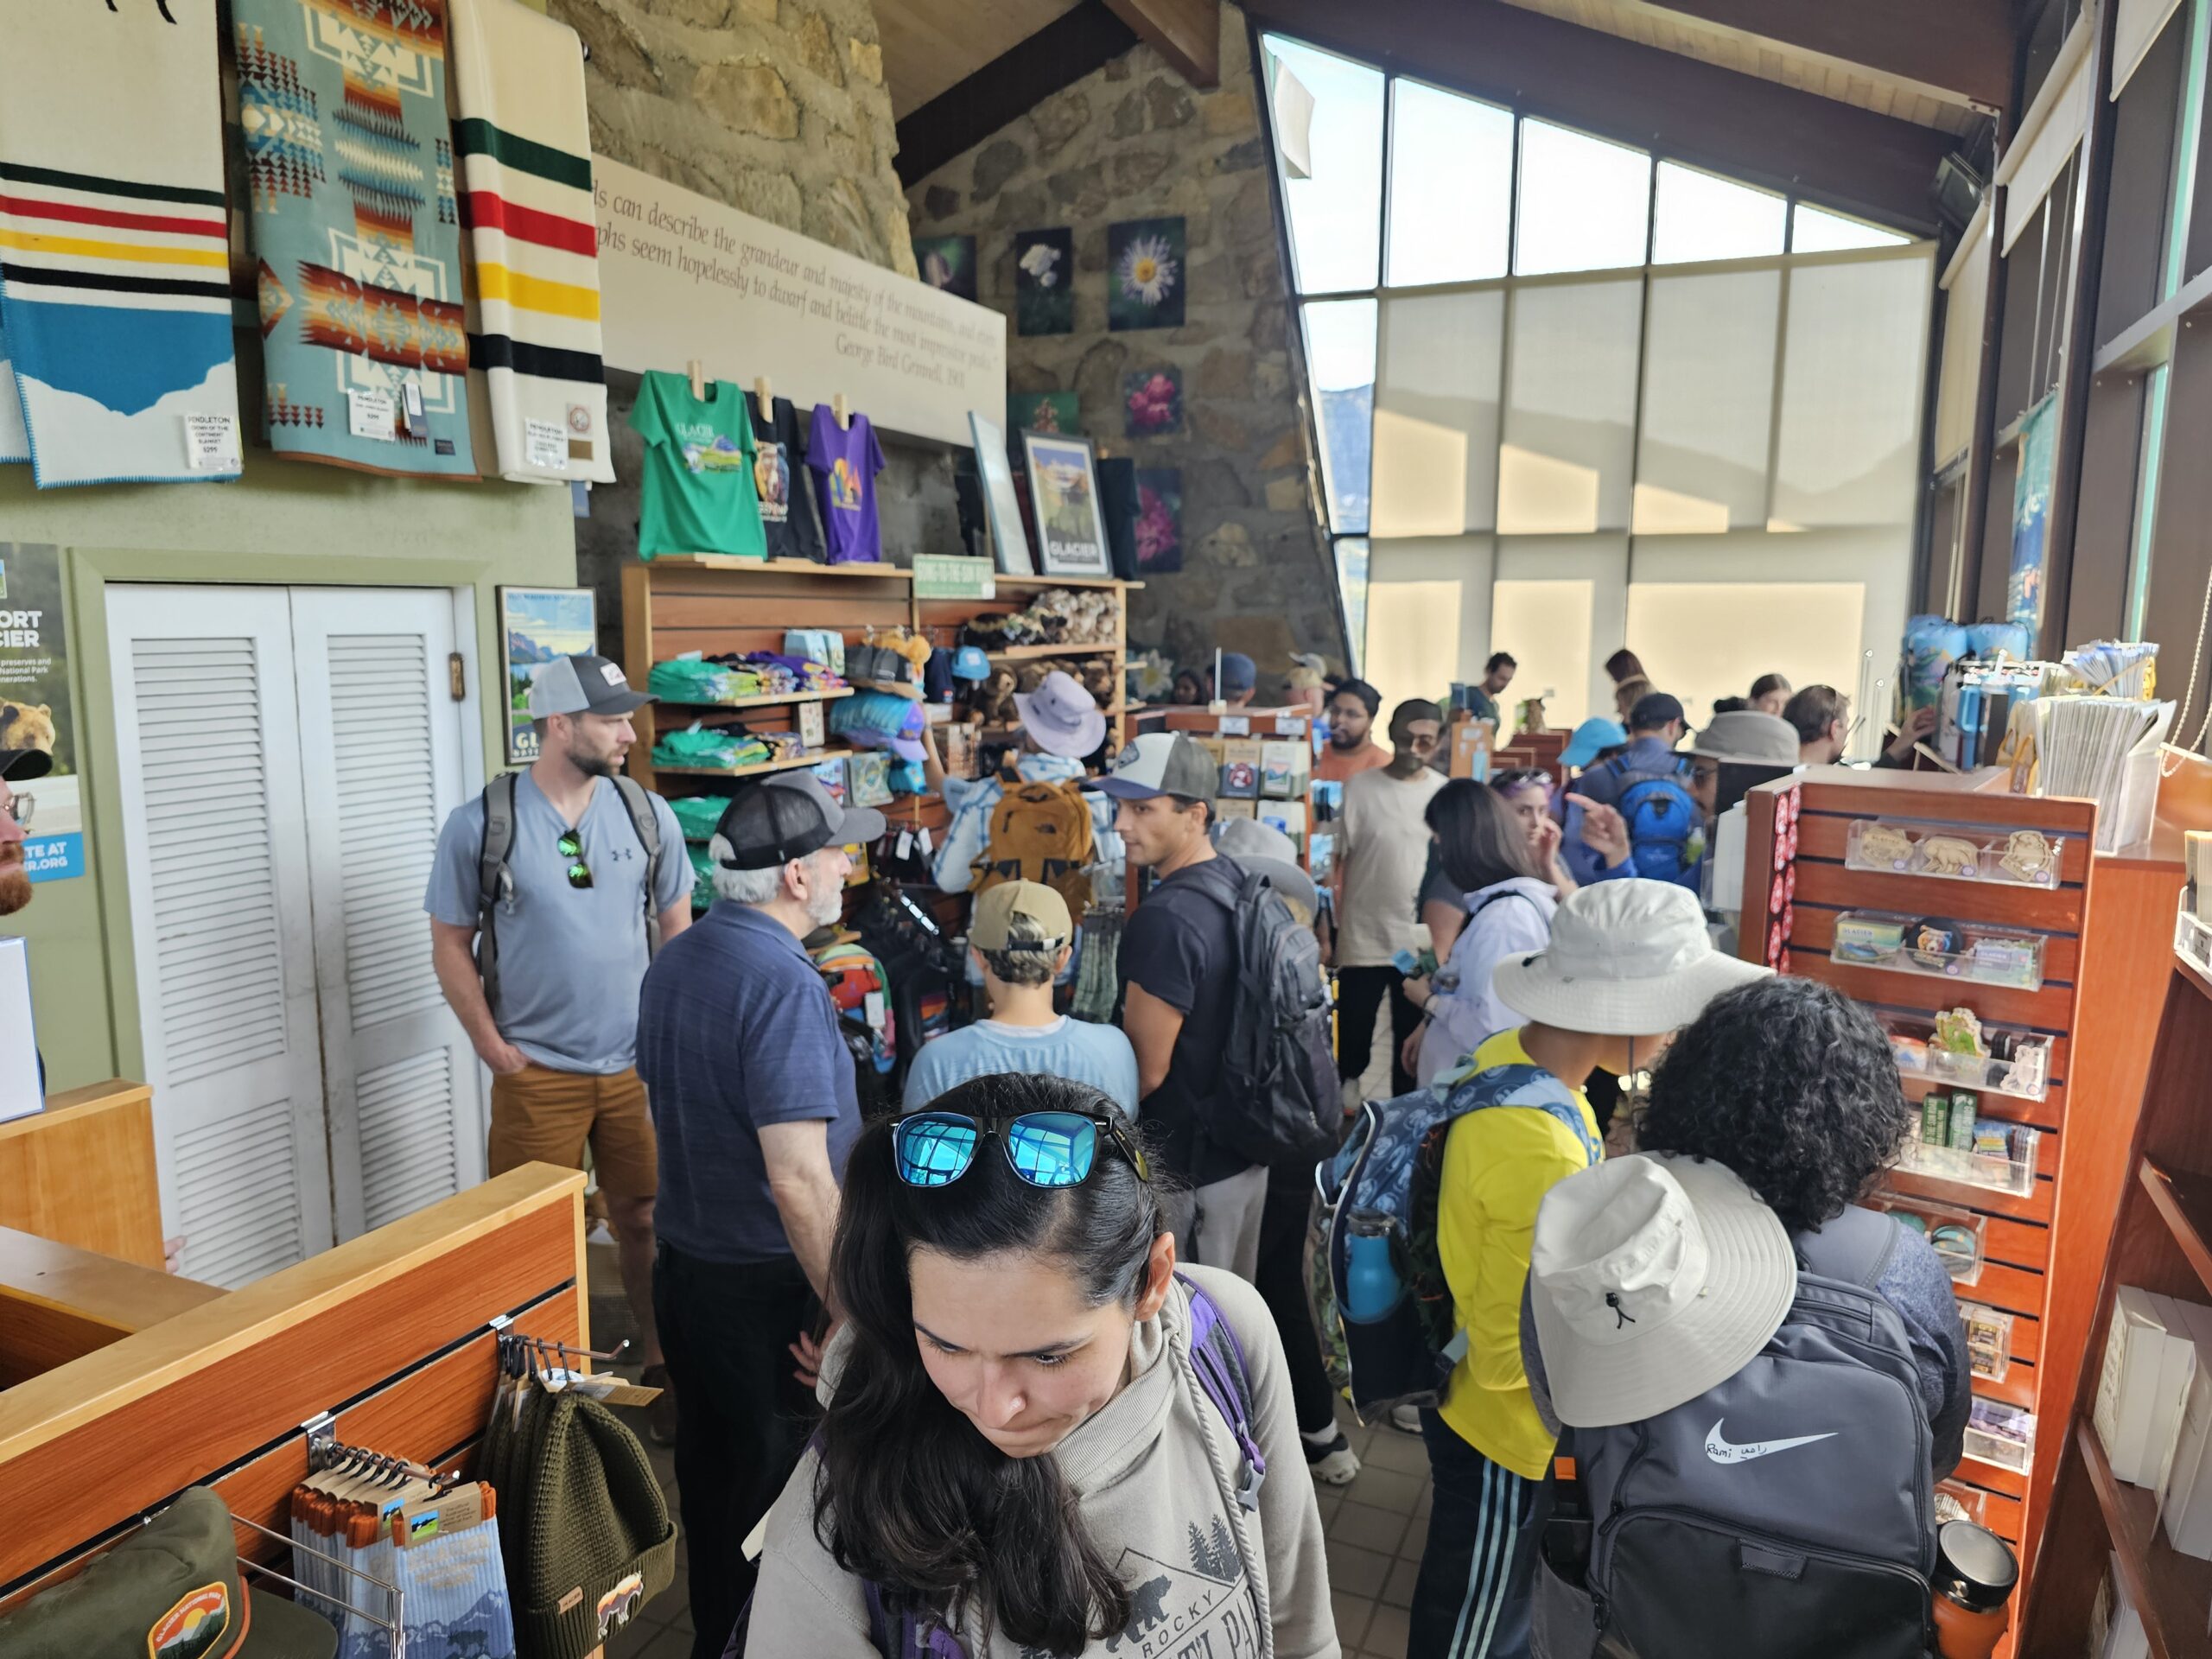
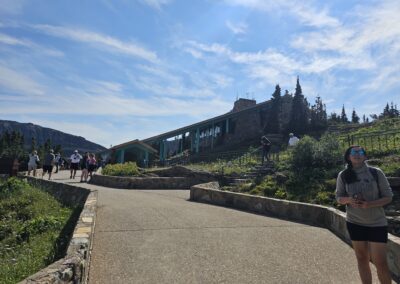
Before setting off on the Hidden Lake Trail, we made a quick stop at the small Logan Pass gift shop. The shop doesn’t offer full meals, but we were able to grab a few Clif Bars for energy, as we knew there wouldn’t be any food options along the trail. We also used the nearby water refill station, which was a lifesaver since the dry mountain air can really sap your energy.

The restrooms at Logan Pass are well-maintained, so we made sure to use them before embarking on the hike, knowing it would be a while before we’d find another facility. The parking lot at Logan Pass was packed, with cars circling continuously in search of a spot. It was clear we had made the right choice by taking the shuttle; parking looked like a stressful game of chance. However, if you arrive early enough or before the reservation window starts, you might be able to snag a spot, but it’s a gamble during peak hours.

After purchasing a few items at the gift shop and getting prepared, we started our journey toward Hidden Lake, one of the most stunning hikes in the park.

The Hidden Lake Trail: A Stunning Hike Through Glacier’s Beauty


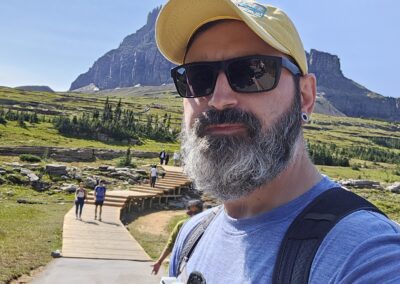
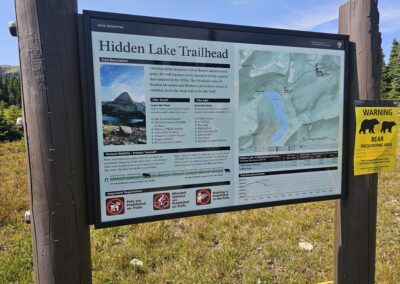
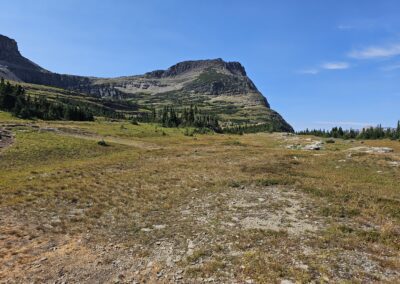
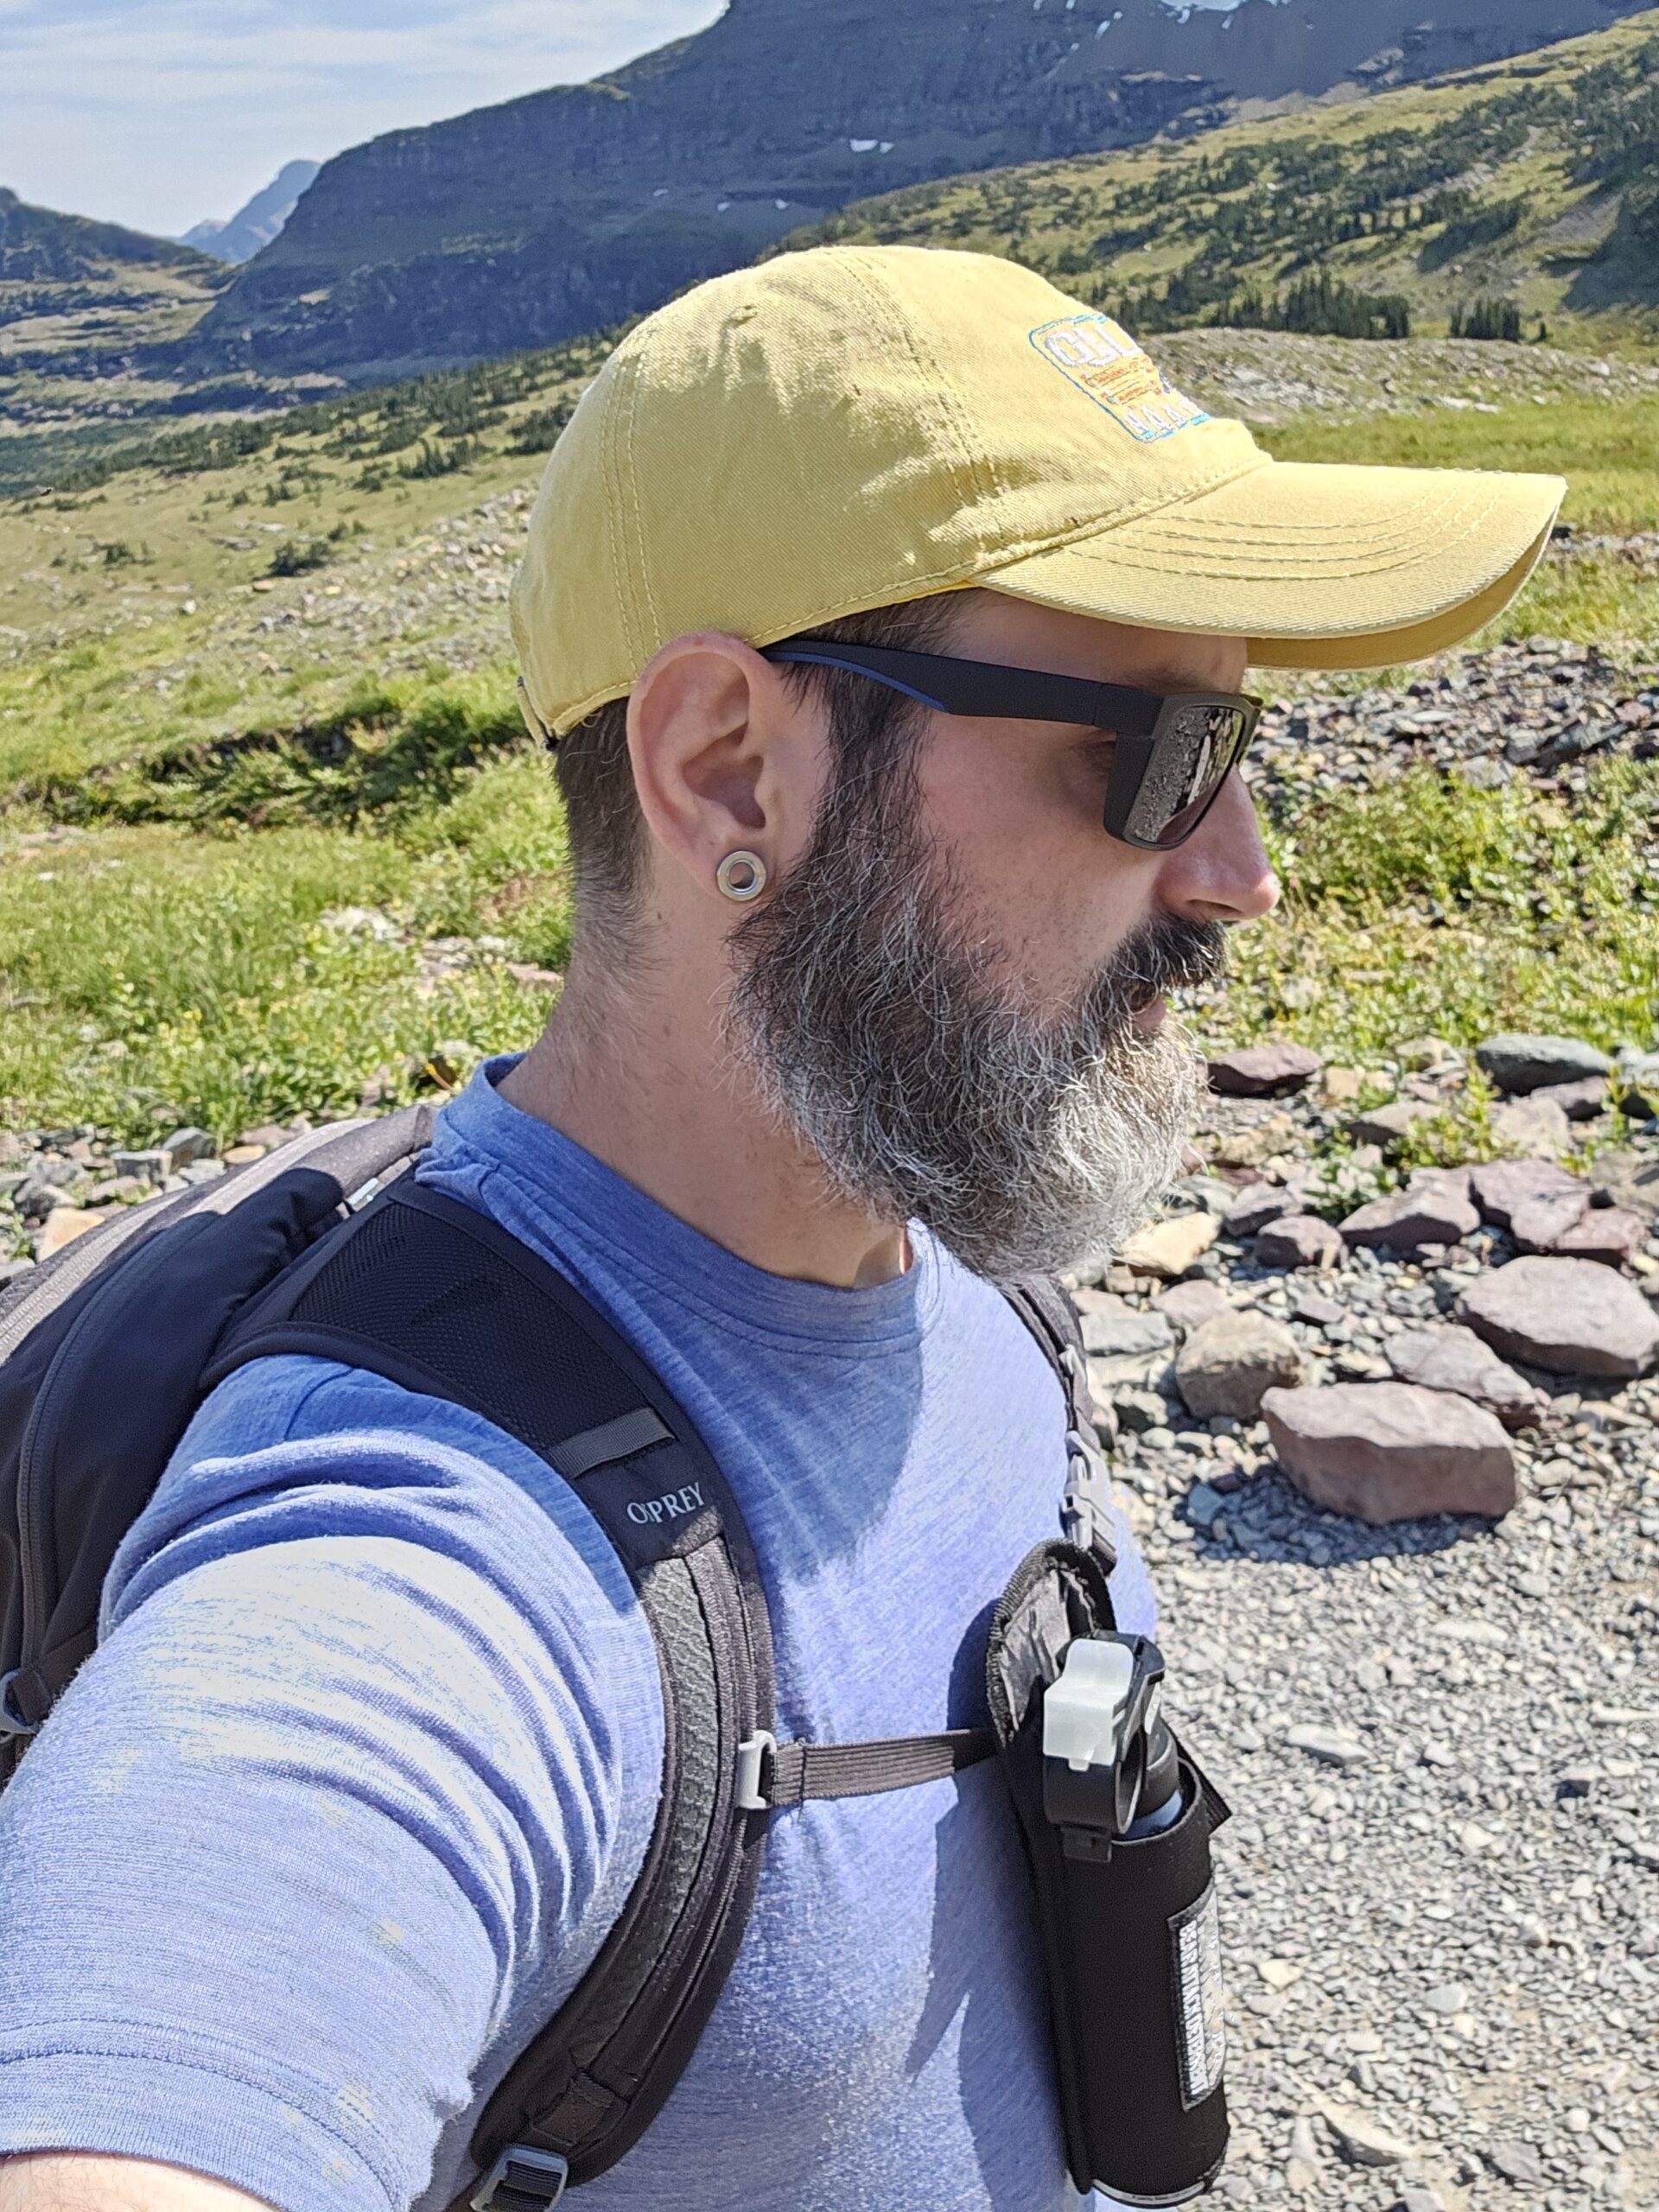
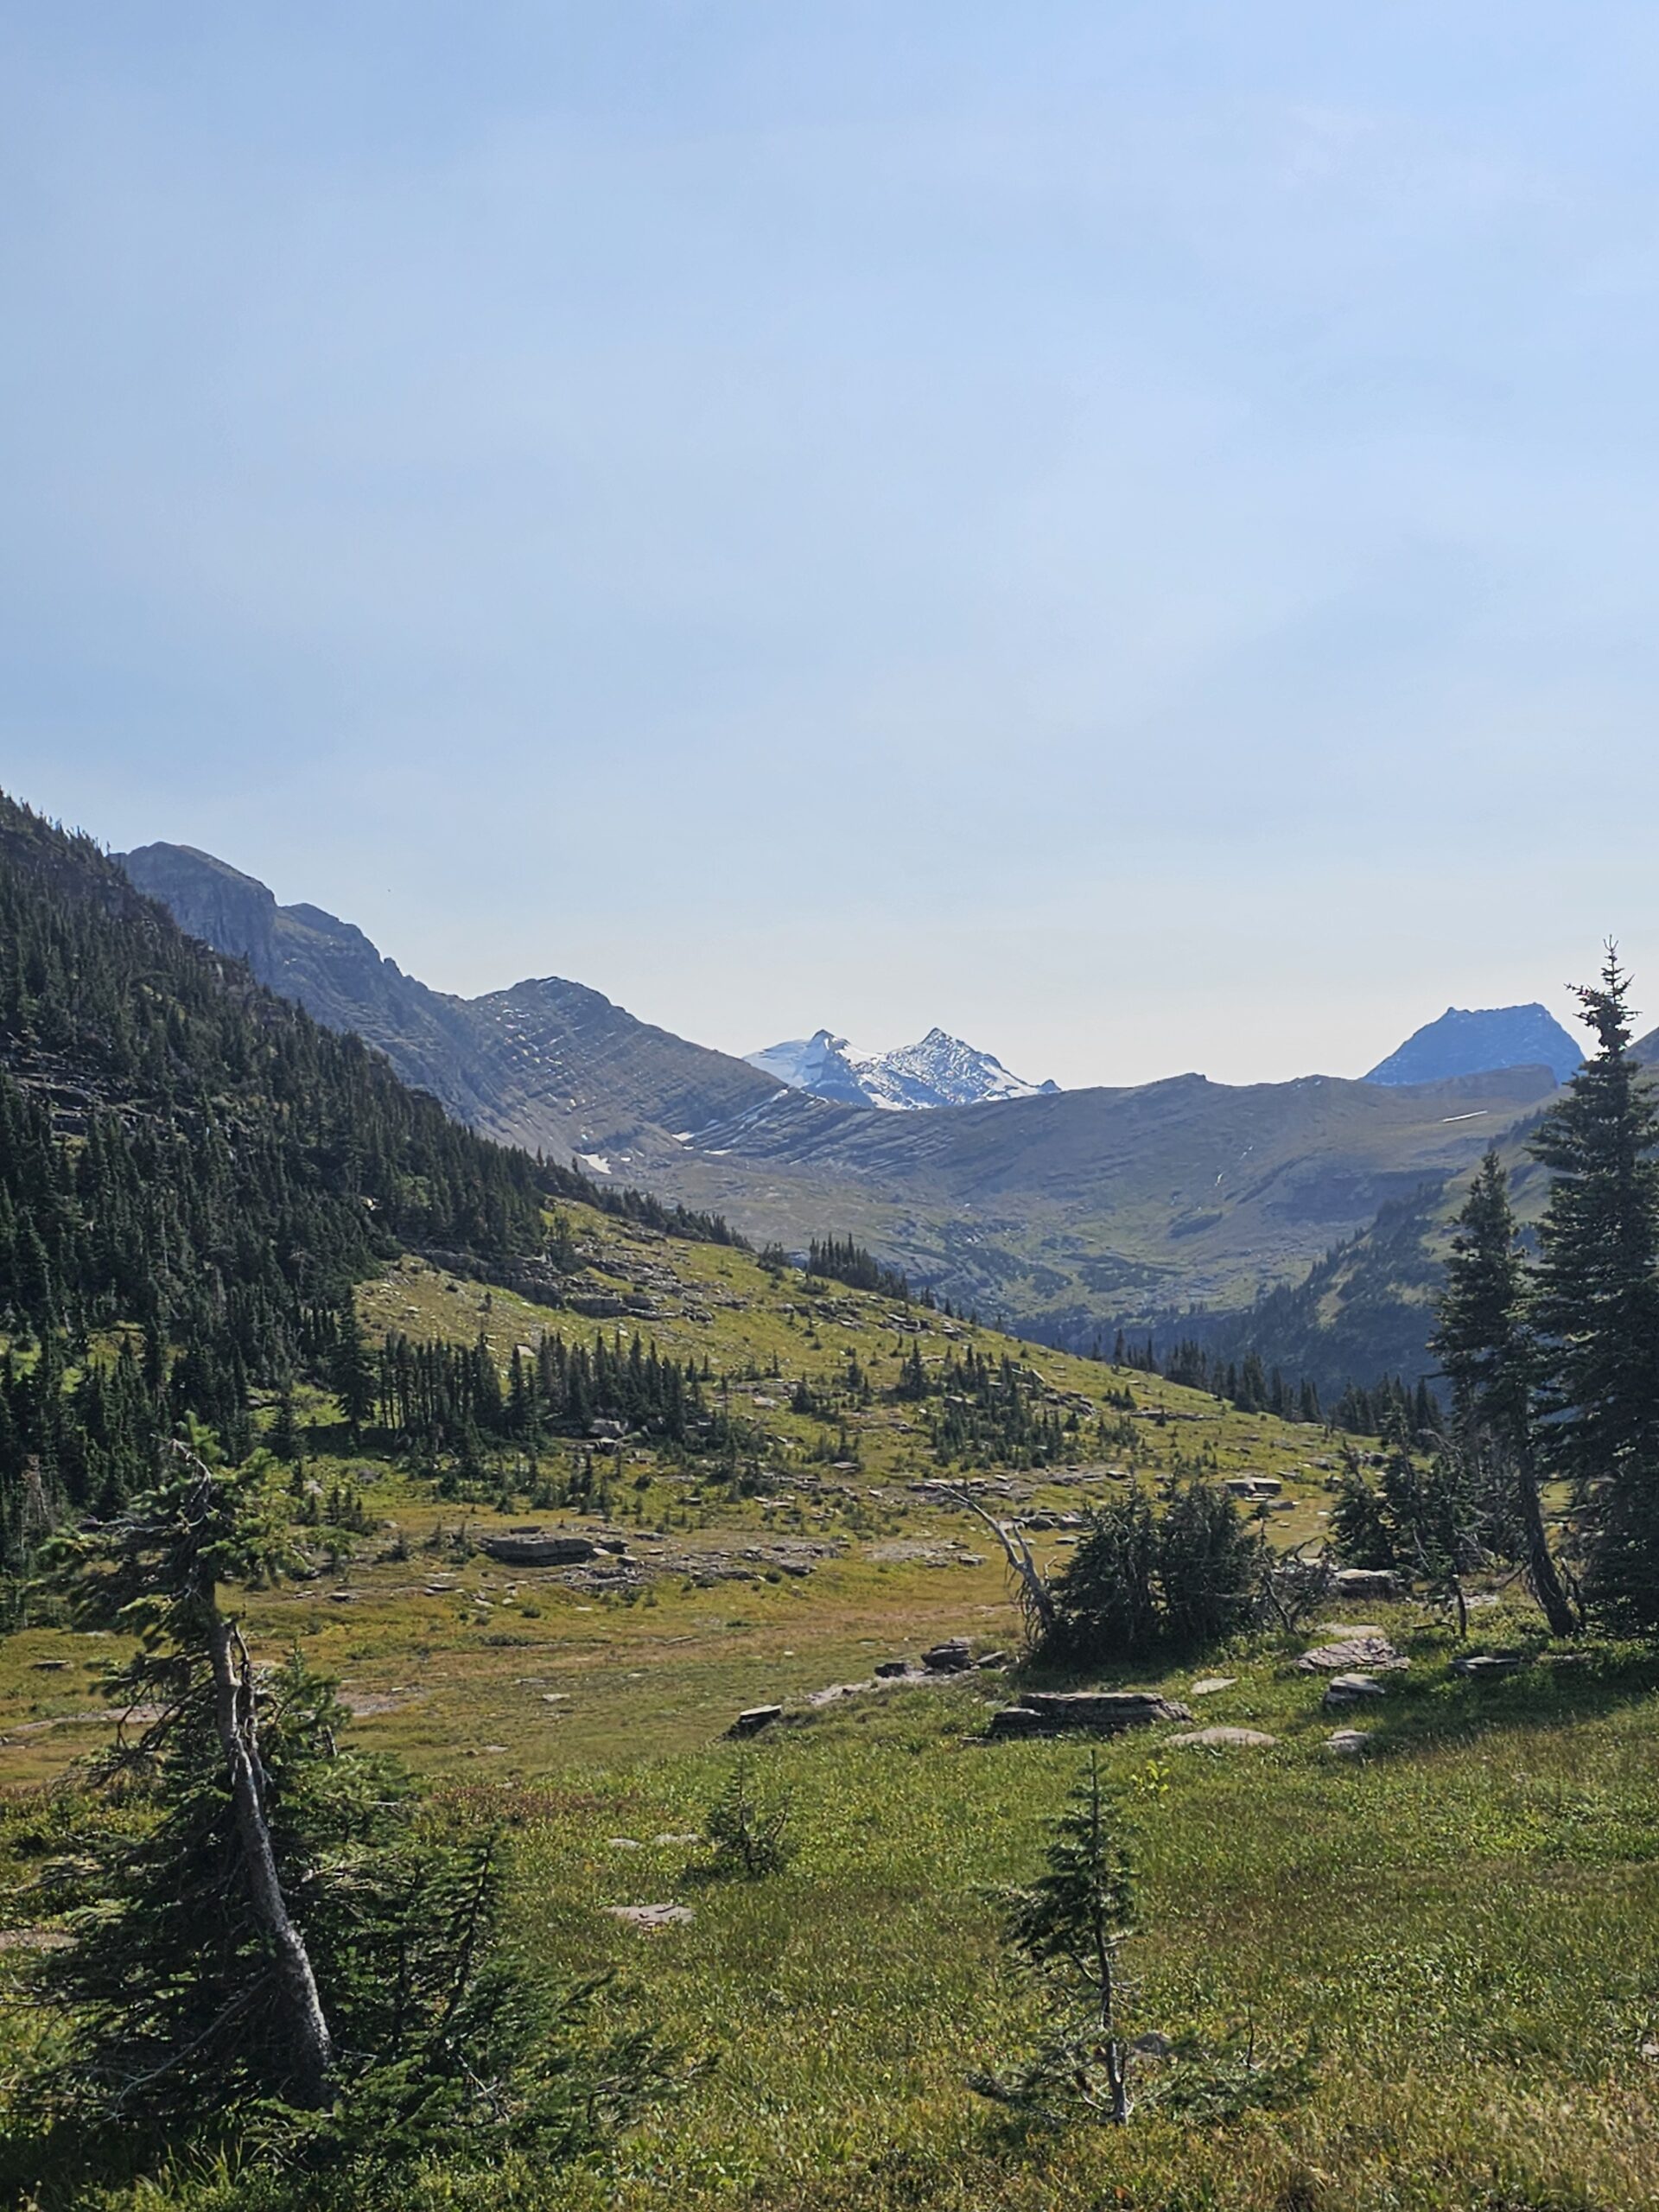
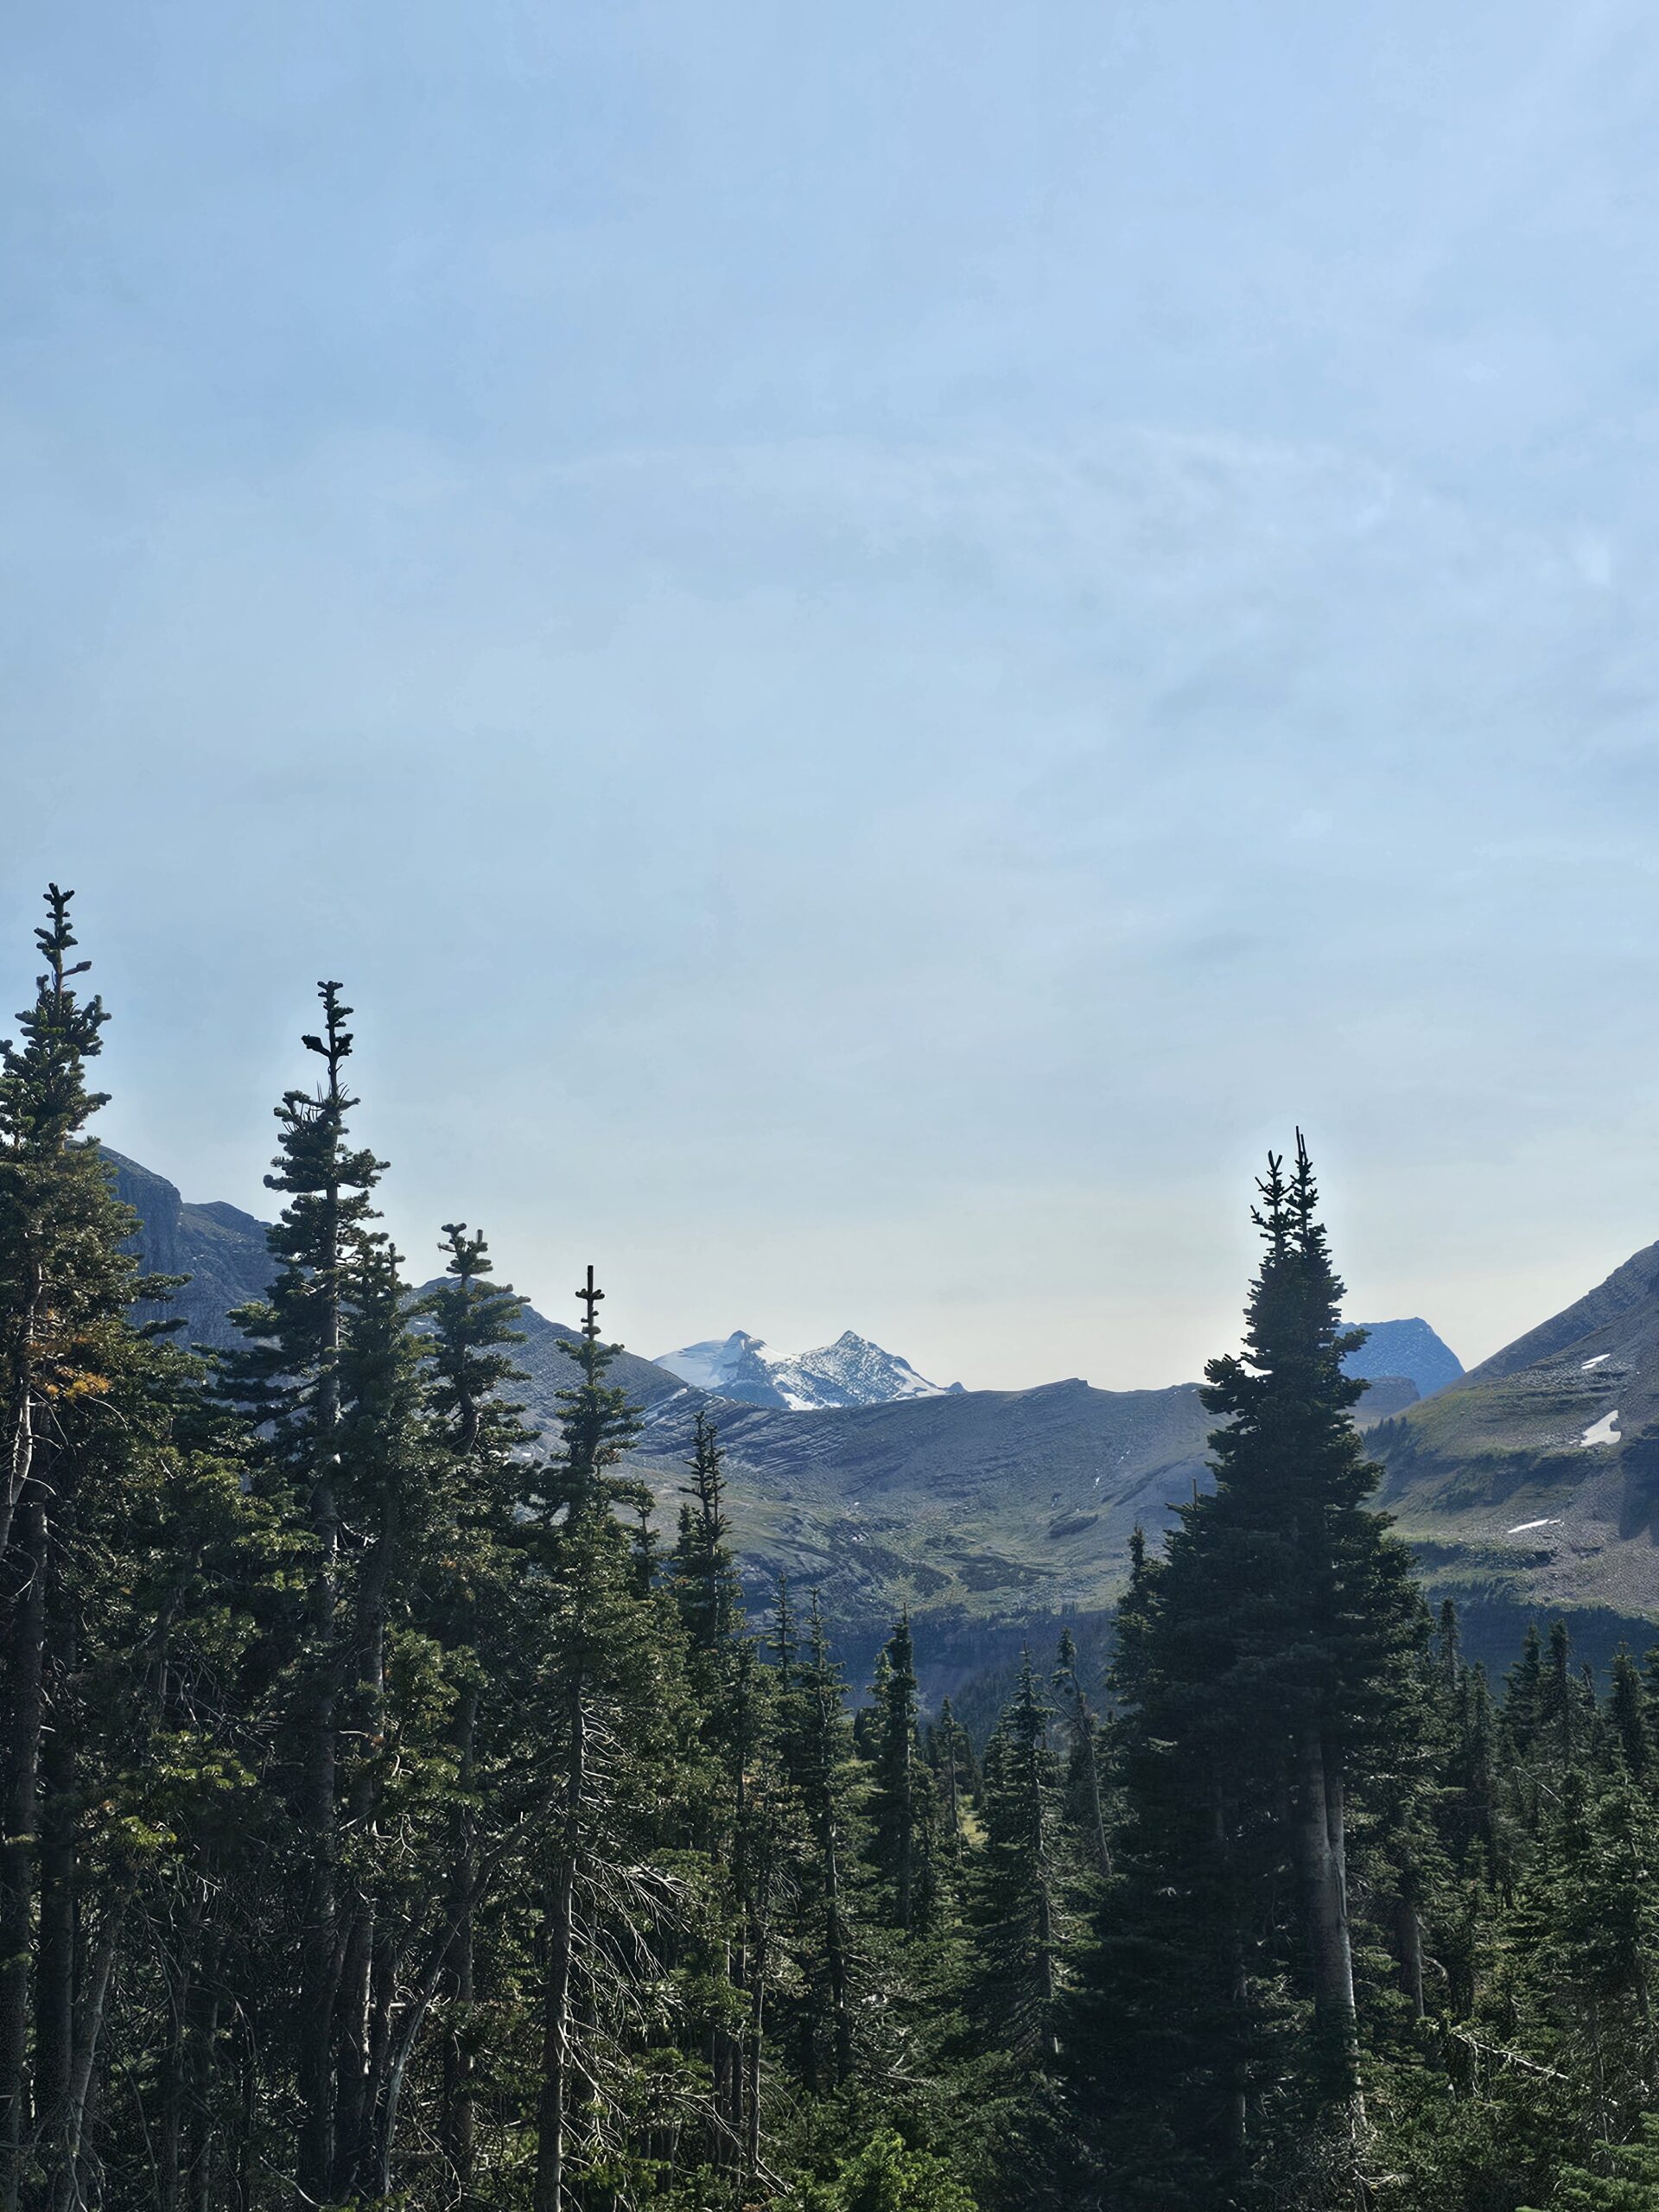
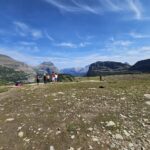
The Hidden Lake Trail is a 2.7-mile round-trip hike, and it’s an absolute must-do when visiting Logan’s Pass. As soon as we set off, we were greeted by sweeping views of the alpine meadows surrounding the trail. Wildflowers bloomed in vibrant colors, and the landscape felt like something out of a postcard. It was clear why this trail is so beloved.

Along the way, we saw ground squirrels and marmots scurrying around, foraging among the rocks and plants. These small animals are common sights on the trail, and their playful movements add to the charm of the hike. Keep your eyes peeled for them, as they’re often darting in and out of view, just as you think you’ve spotted them.

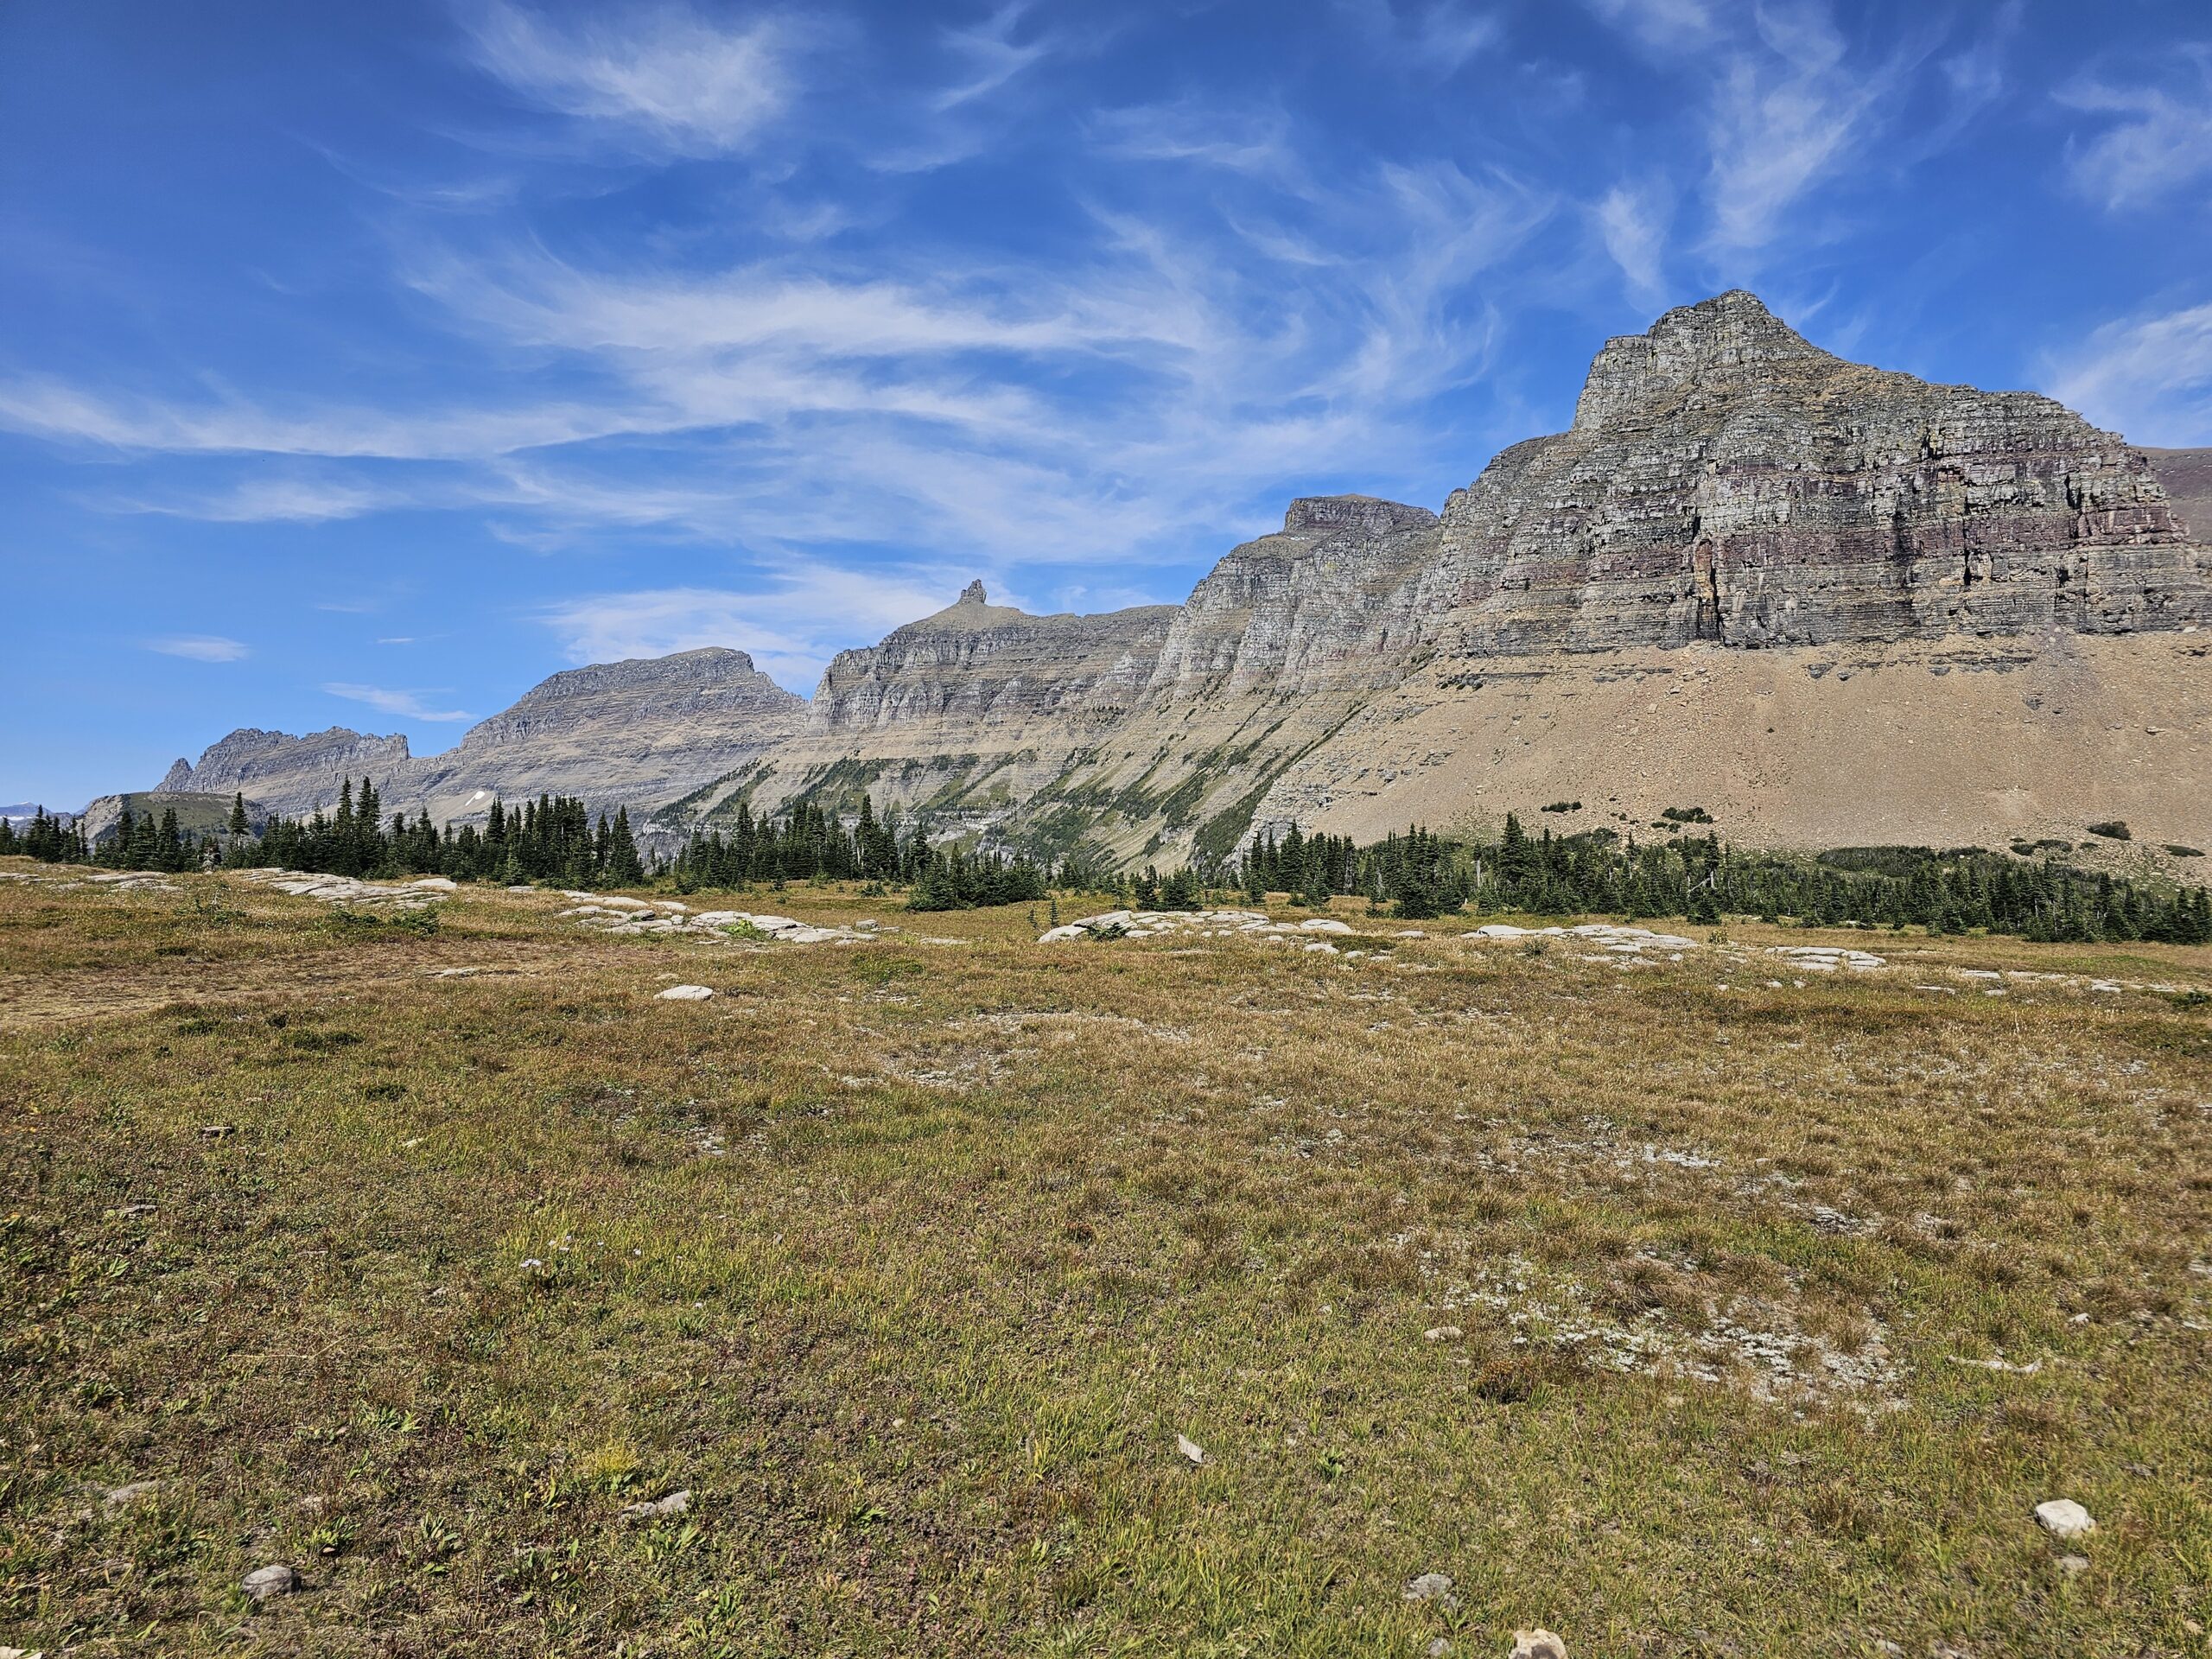
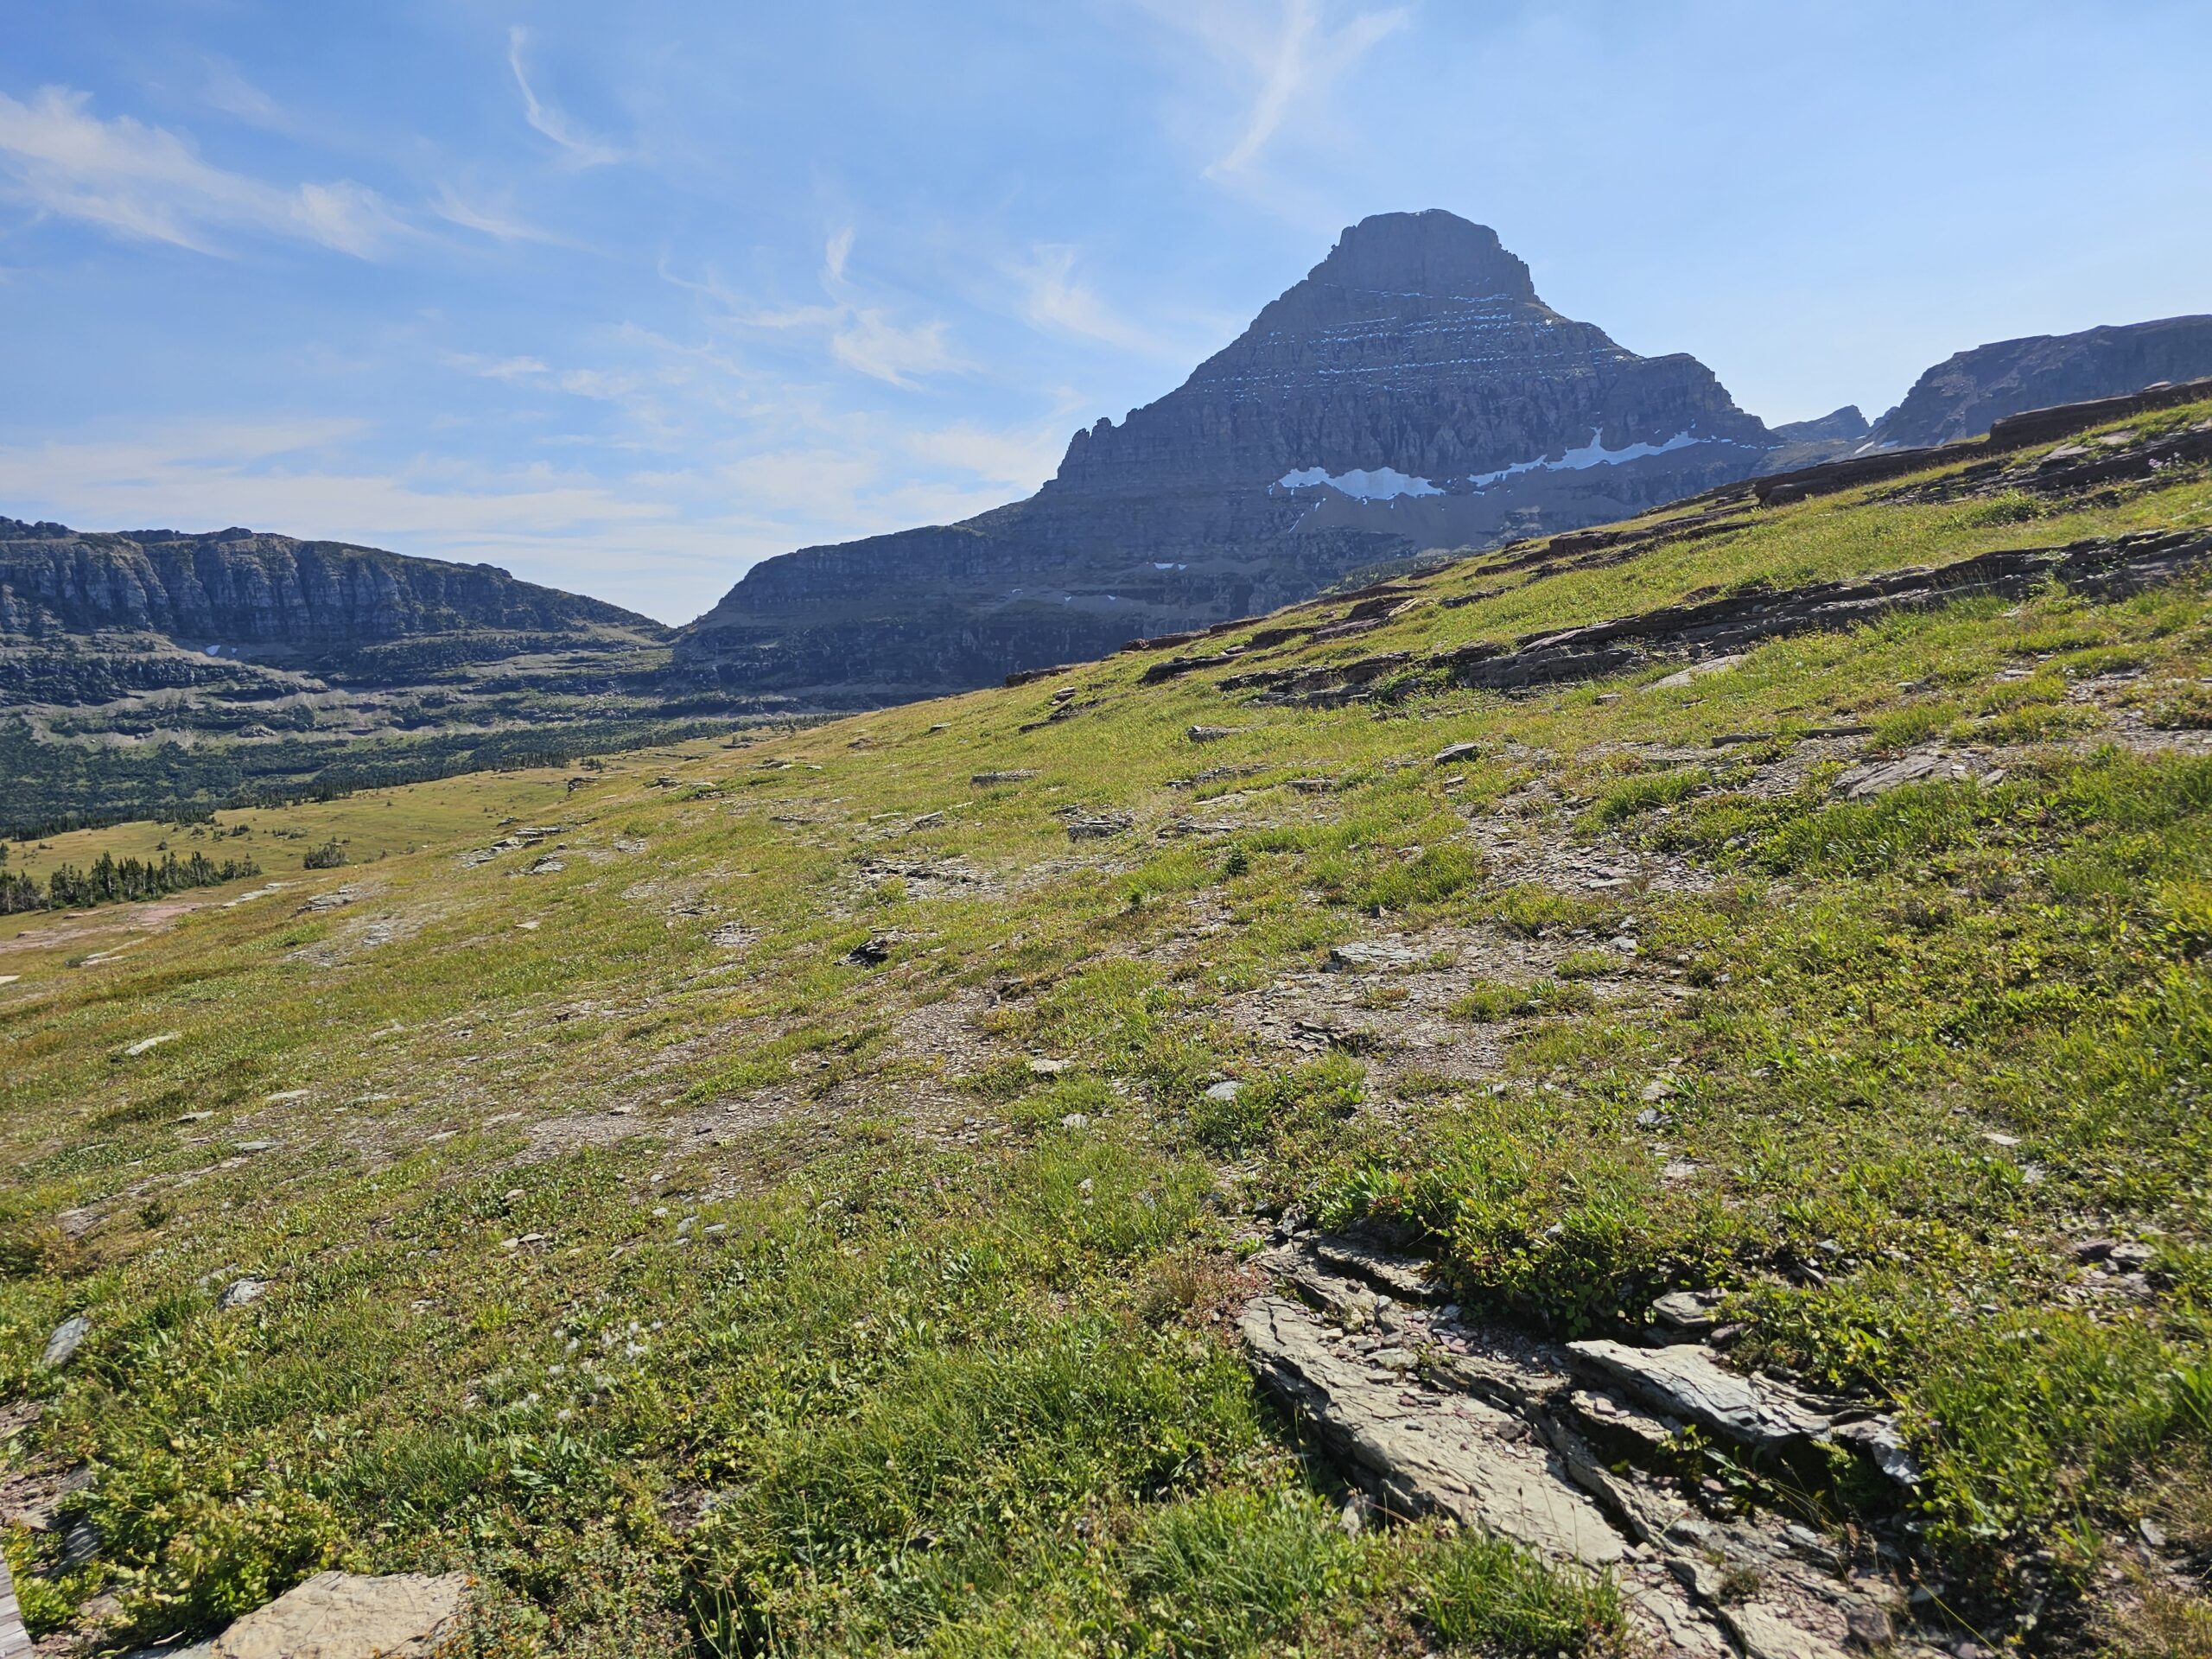
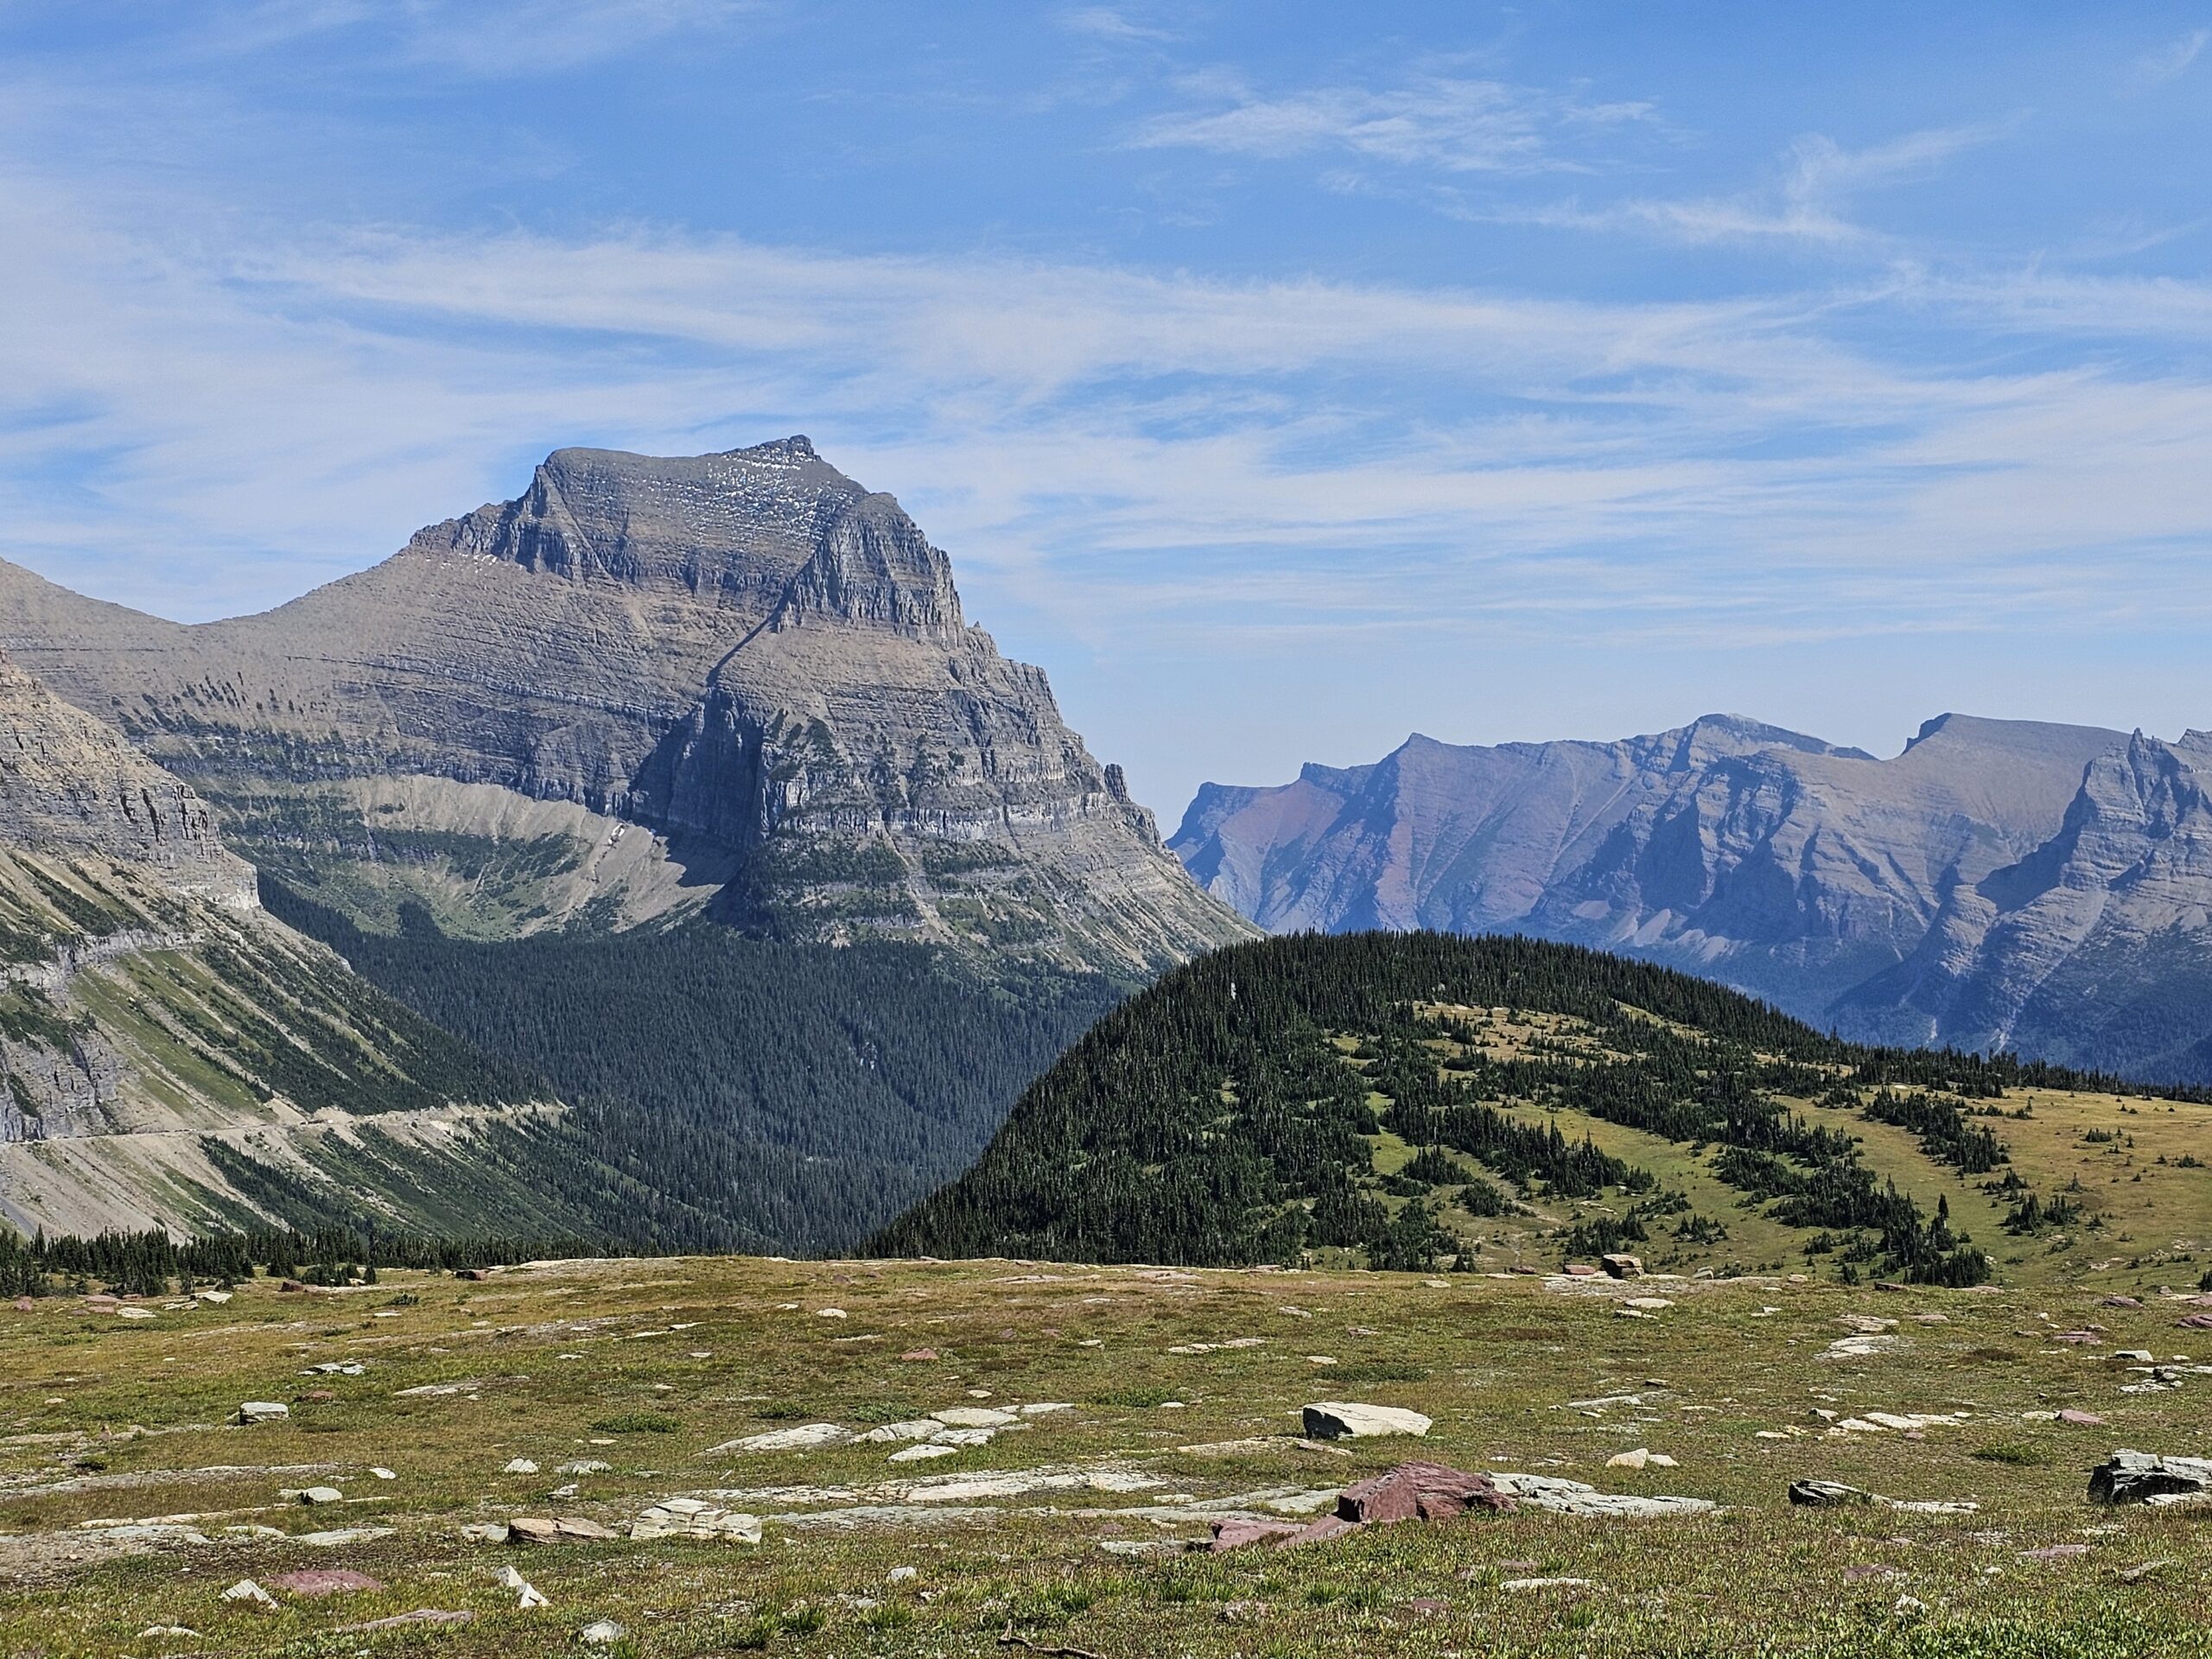
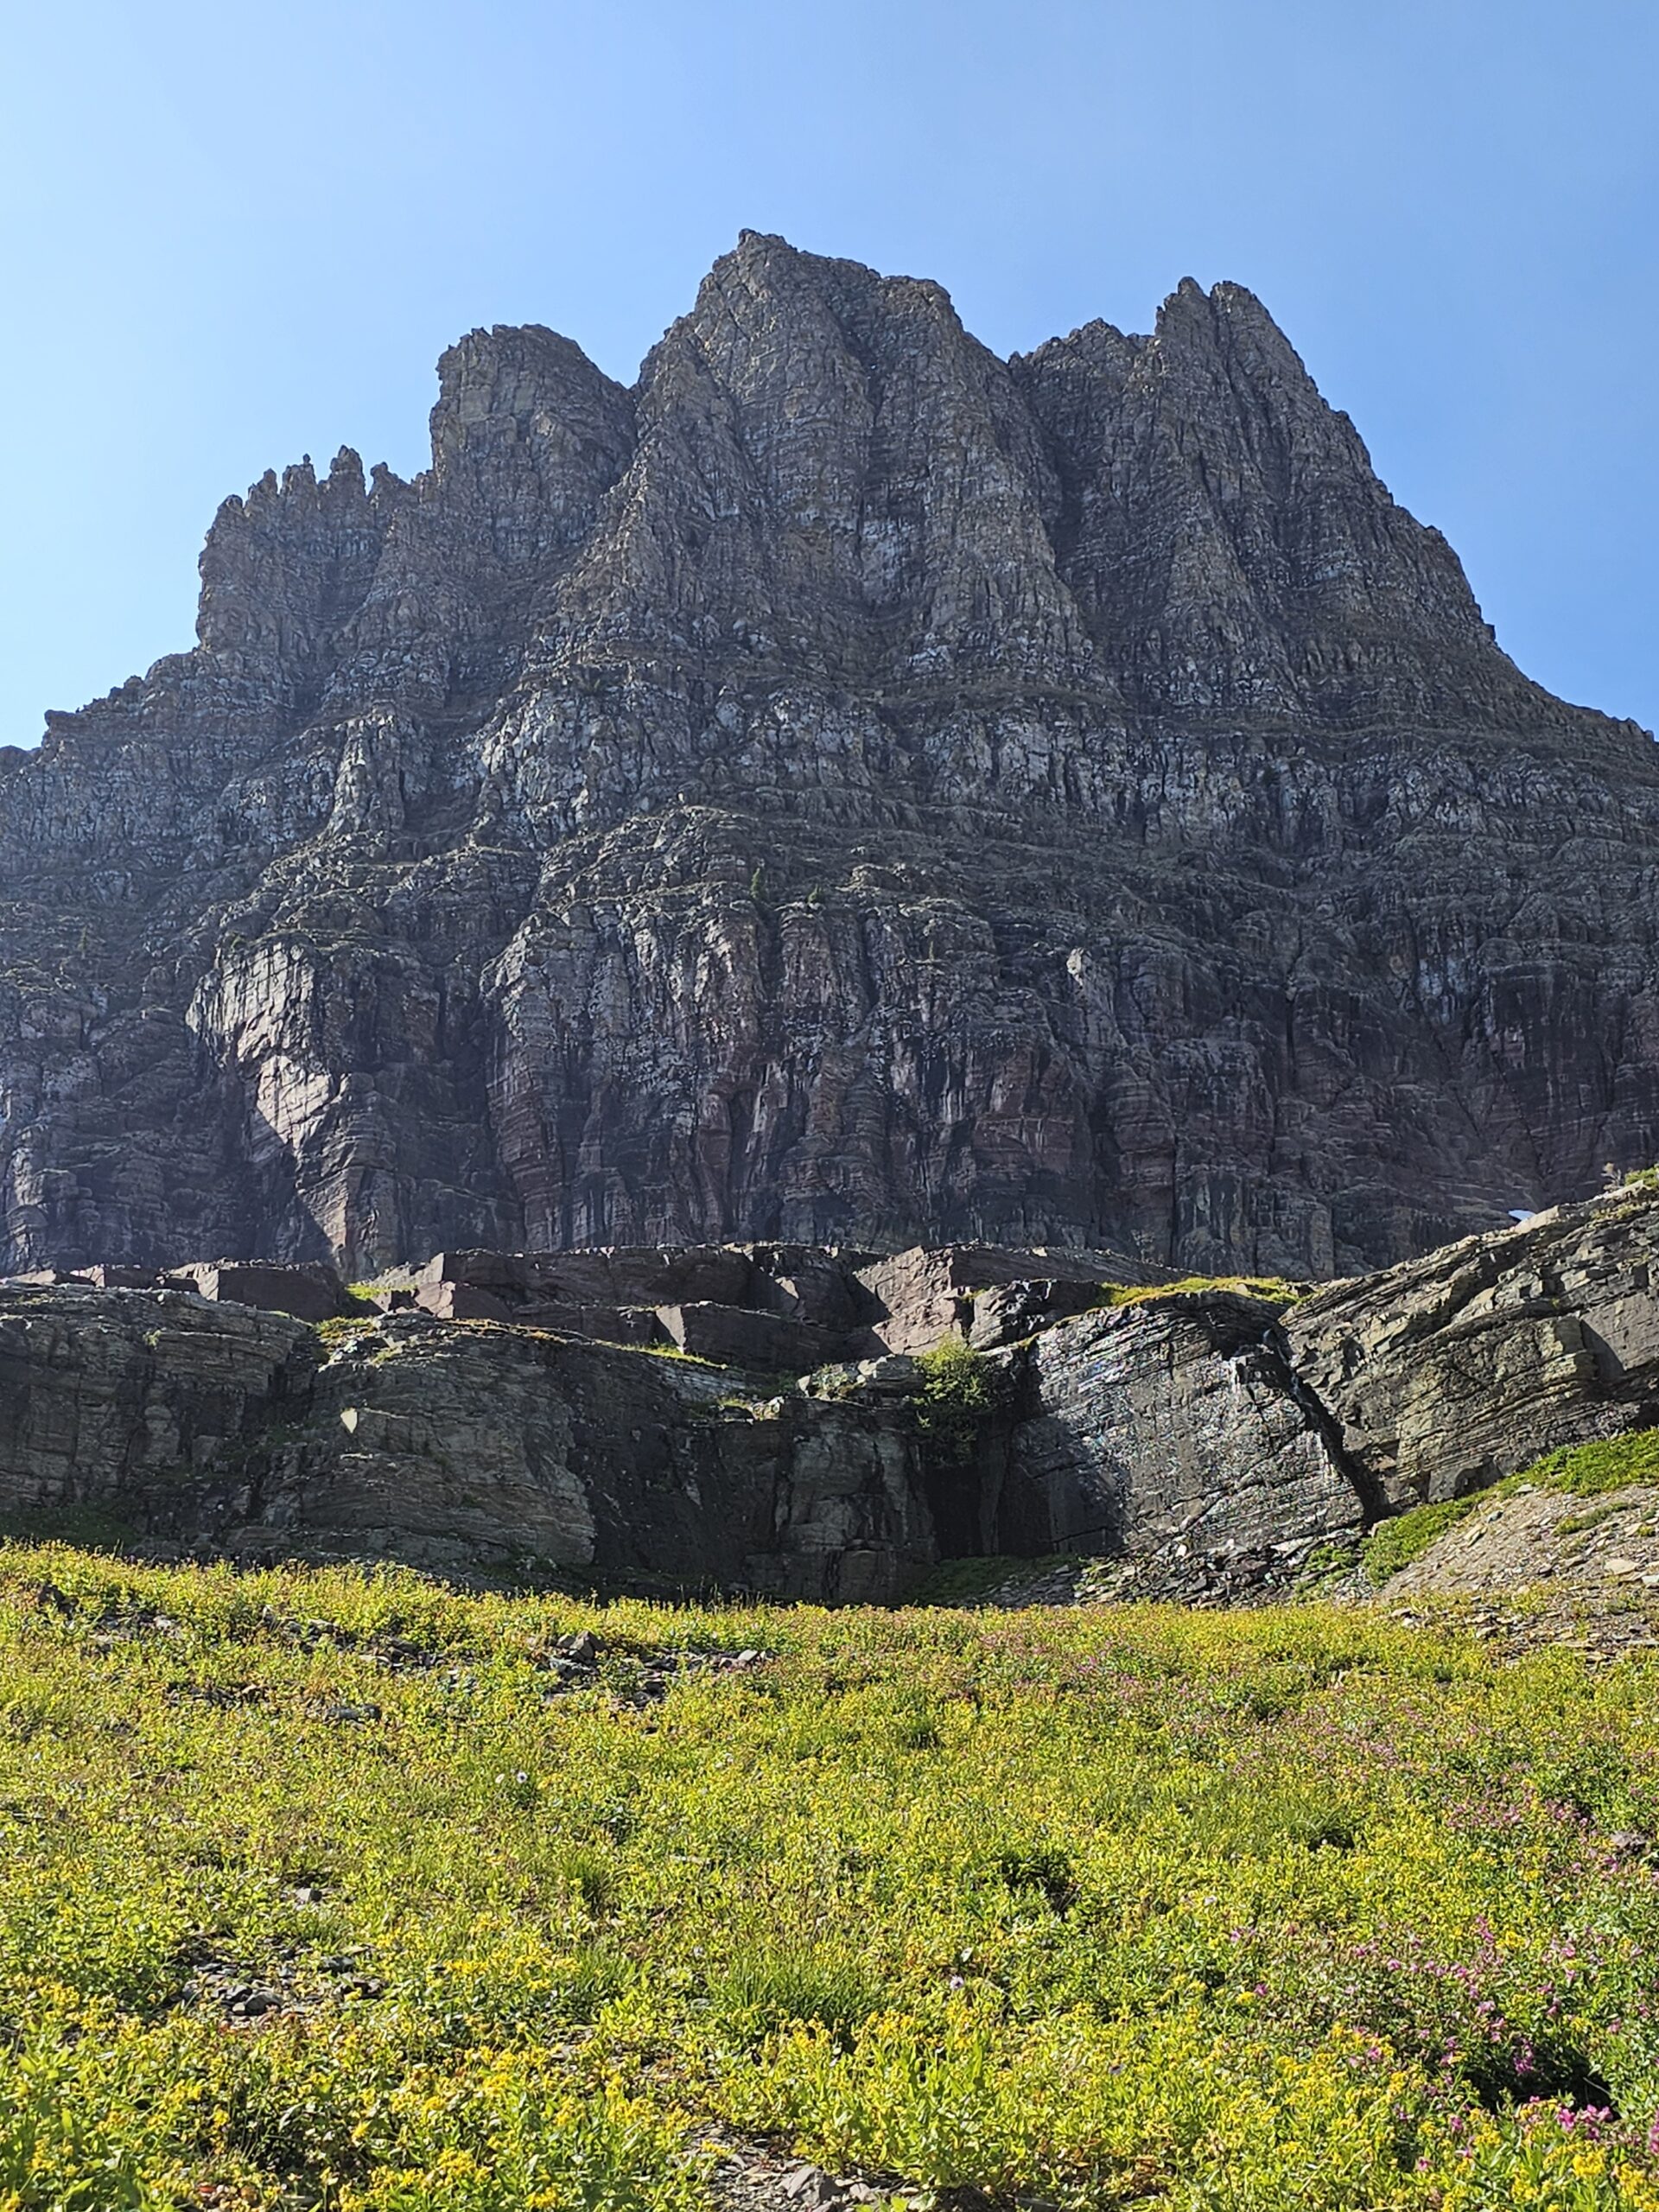
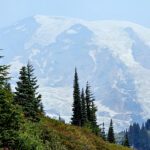
The trail gradually climbs, but it’s never too steep to handle. As we continued, we had a clear view of the towering Reynolds Mountain to the south, its rugged peaks covered in snow even during the summer months. To the west, we could see the Clements Mountain, another massive feature that looms over the landscape, adding to the dramatic scenery.

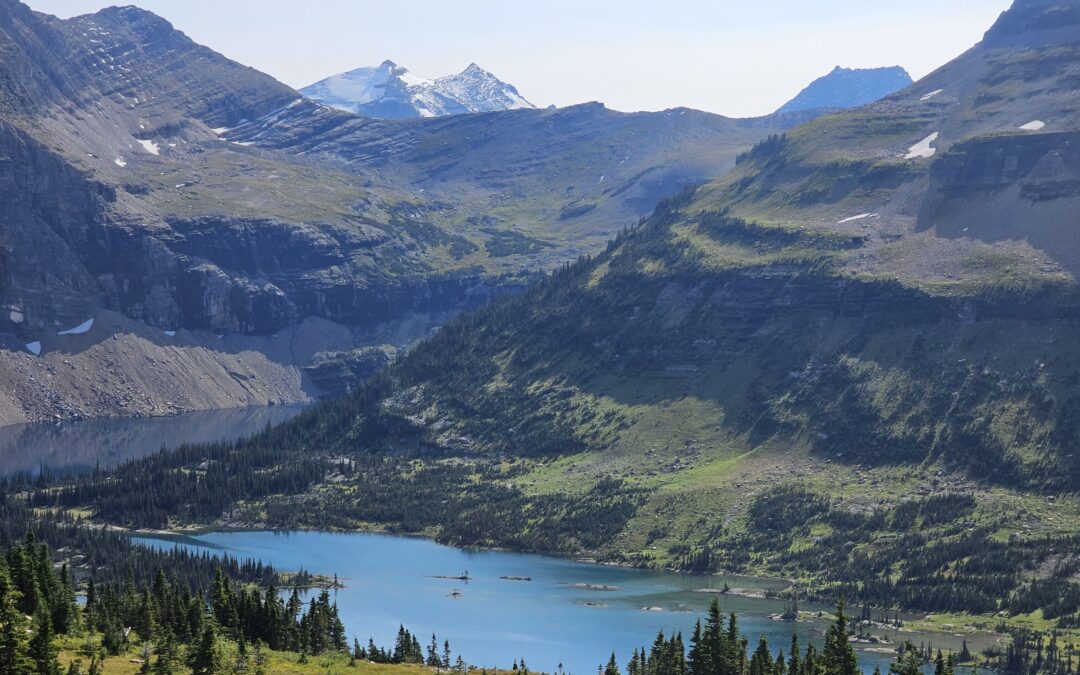
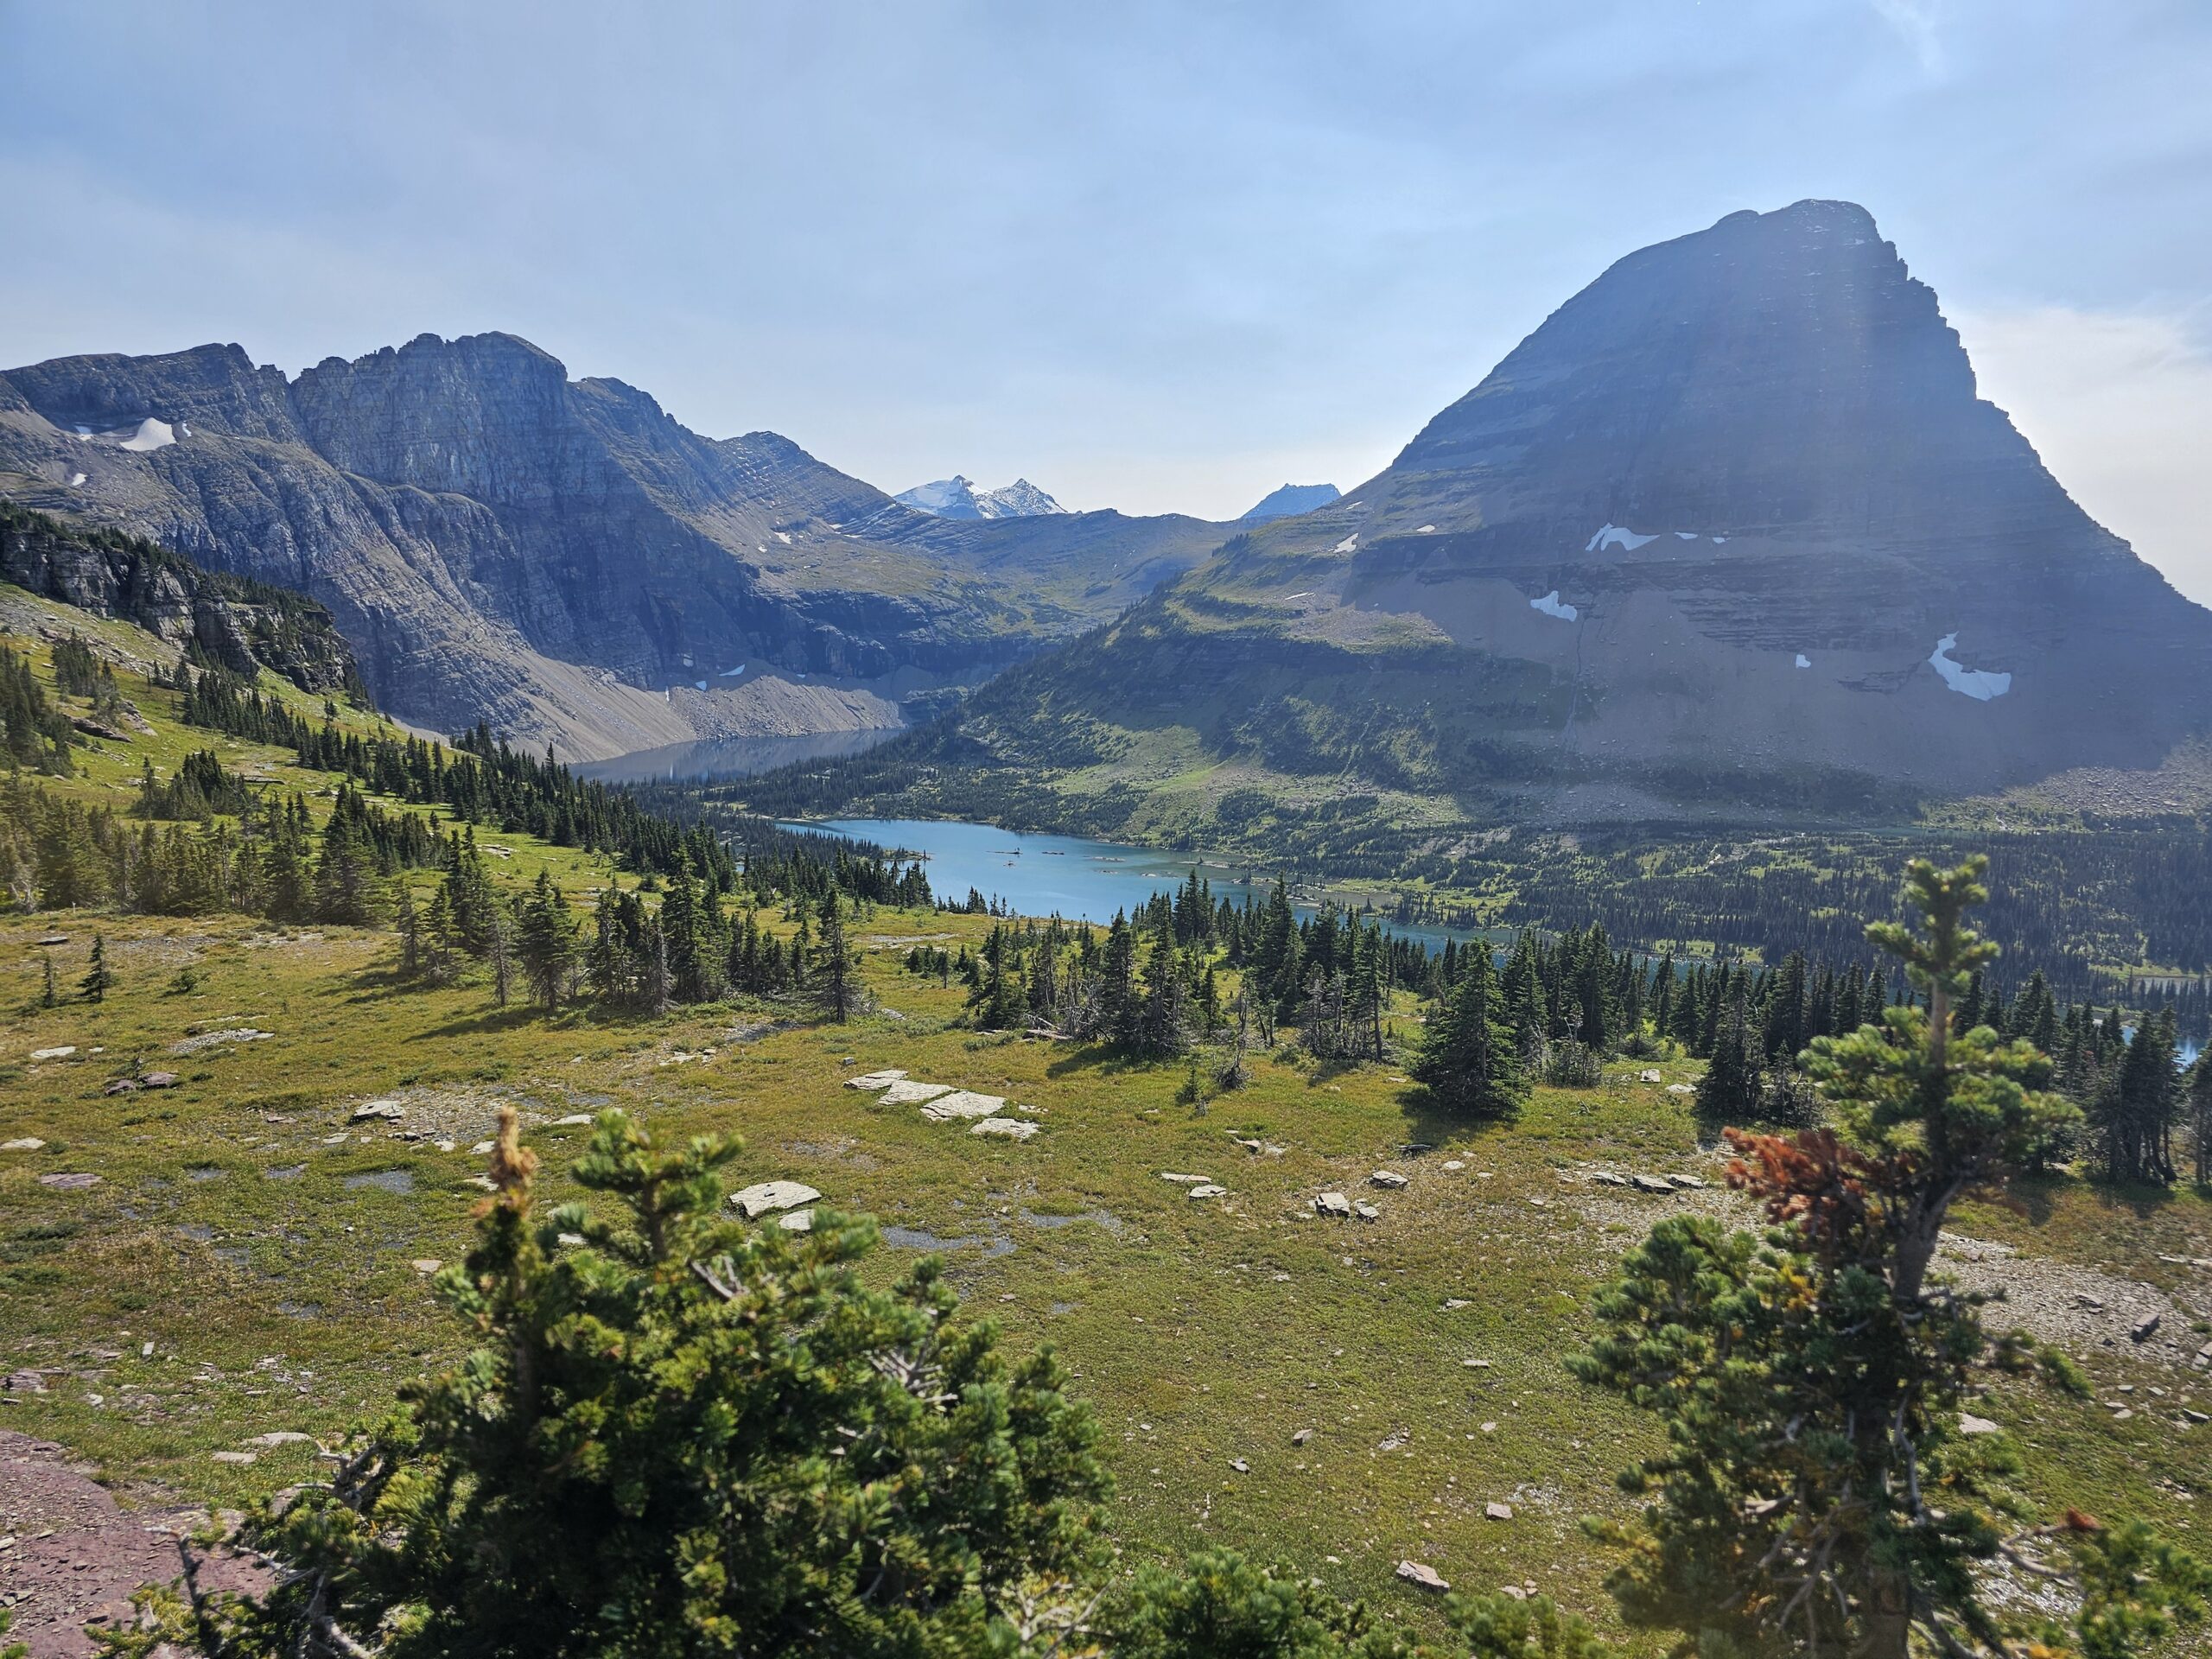
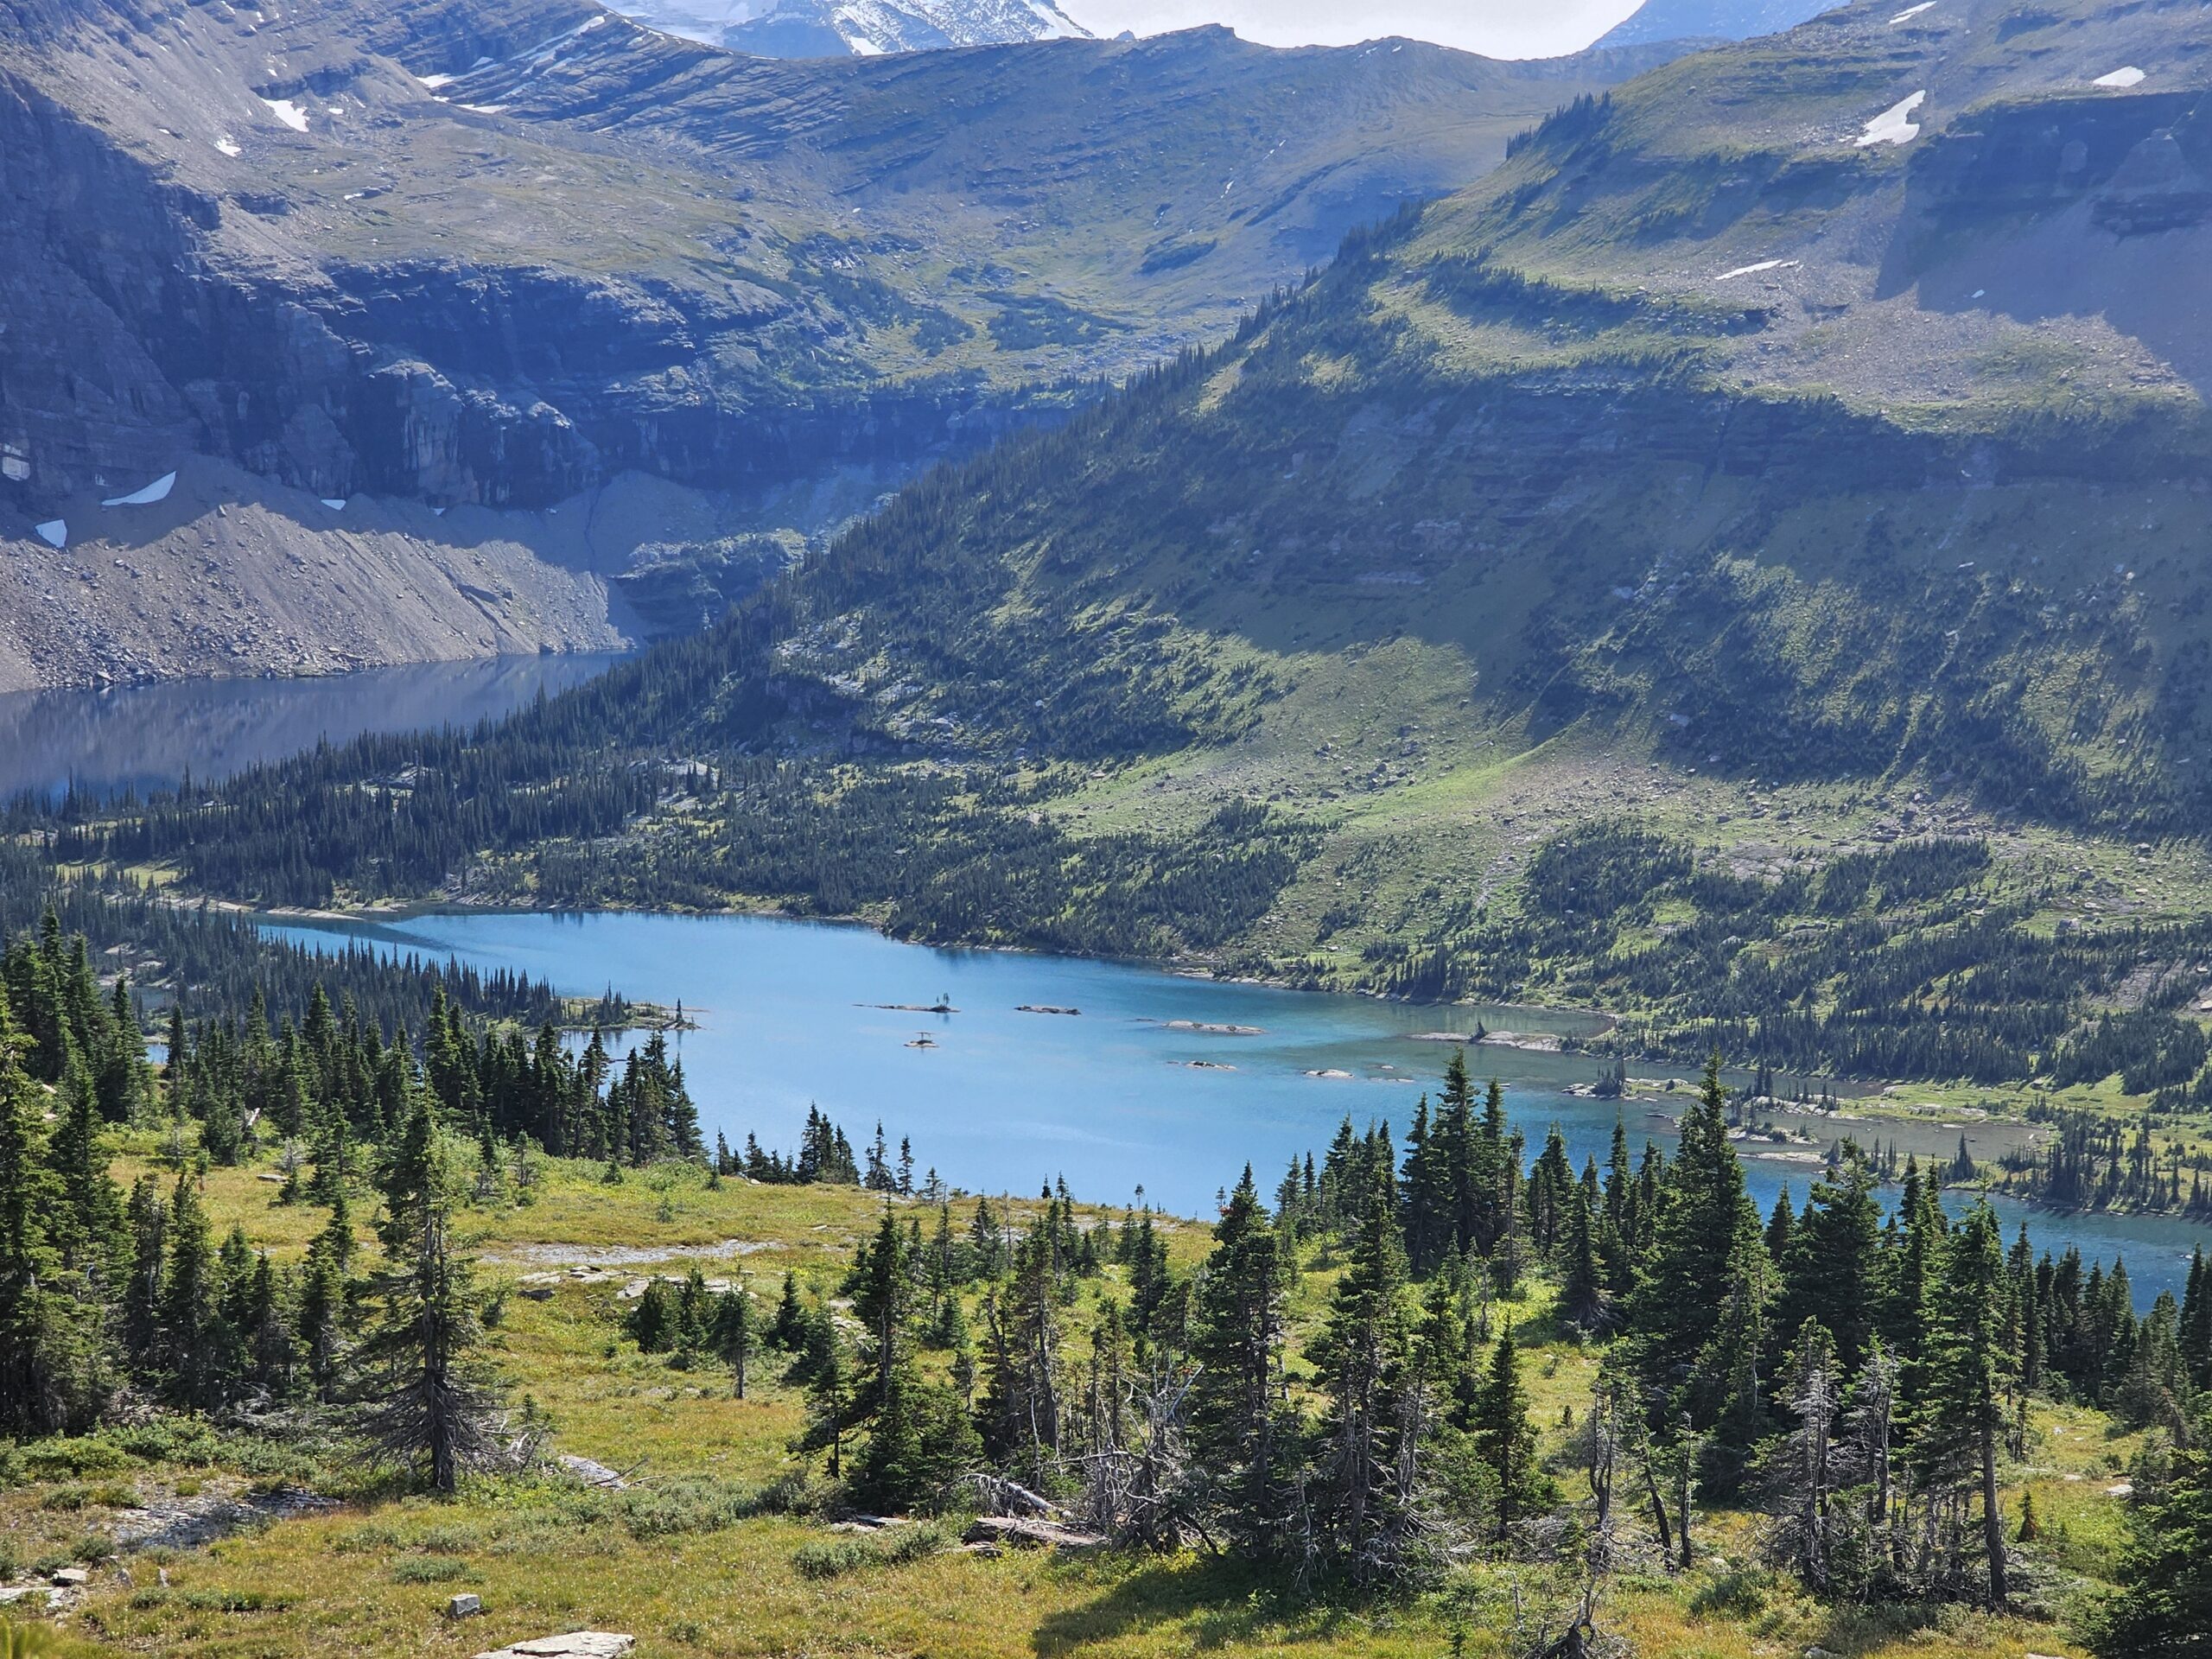
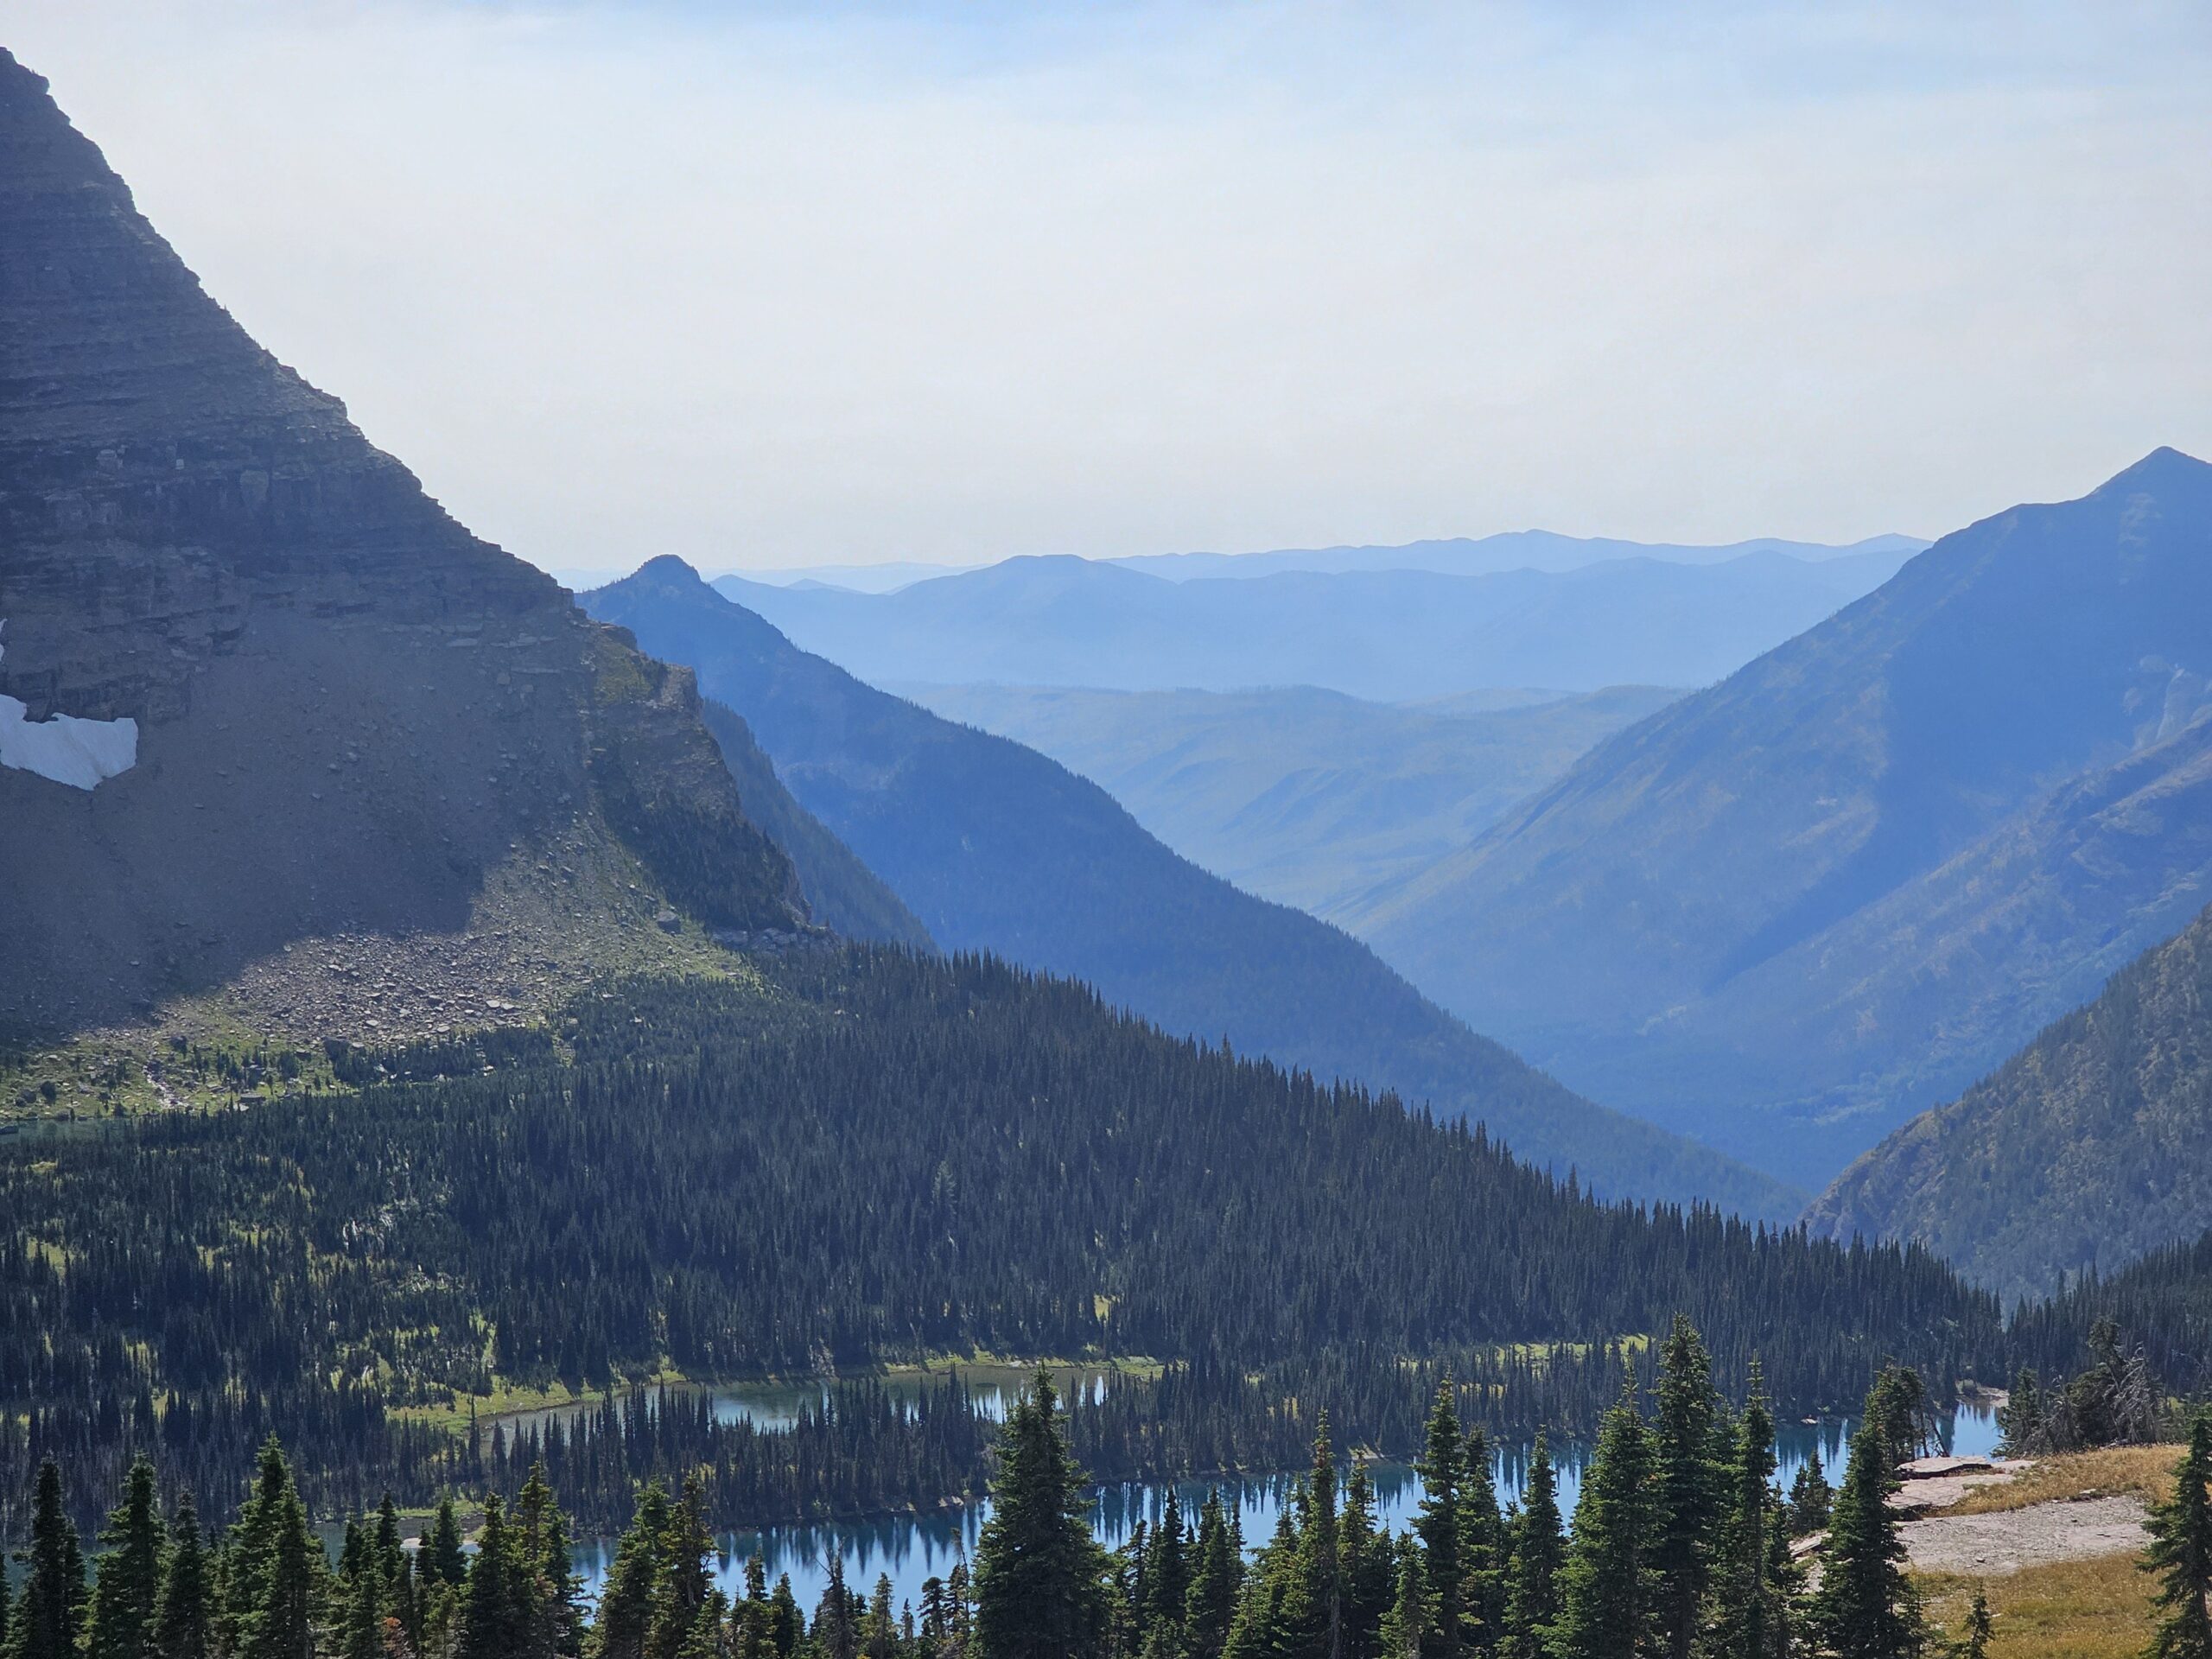
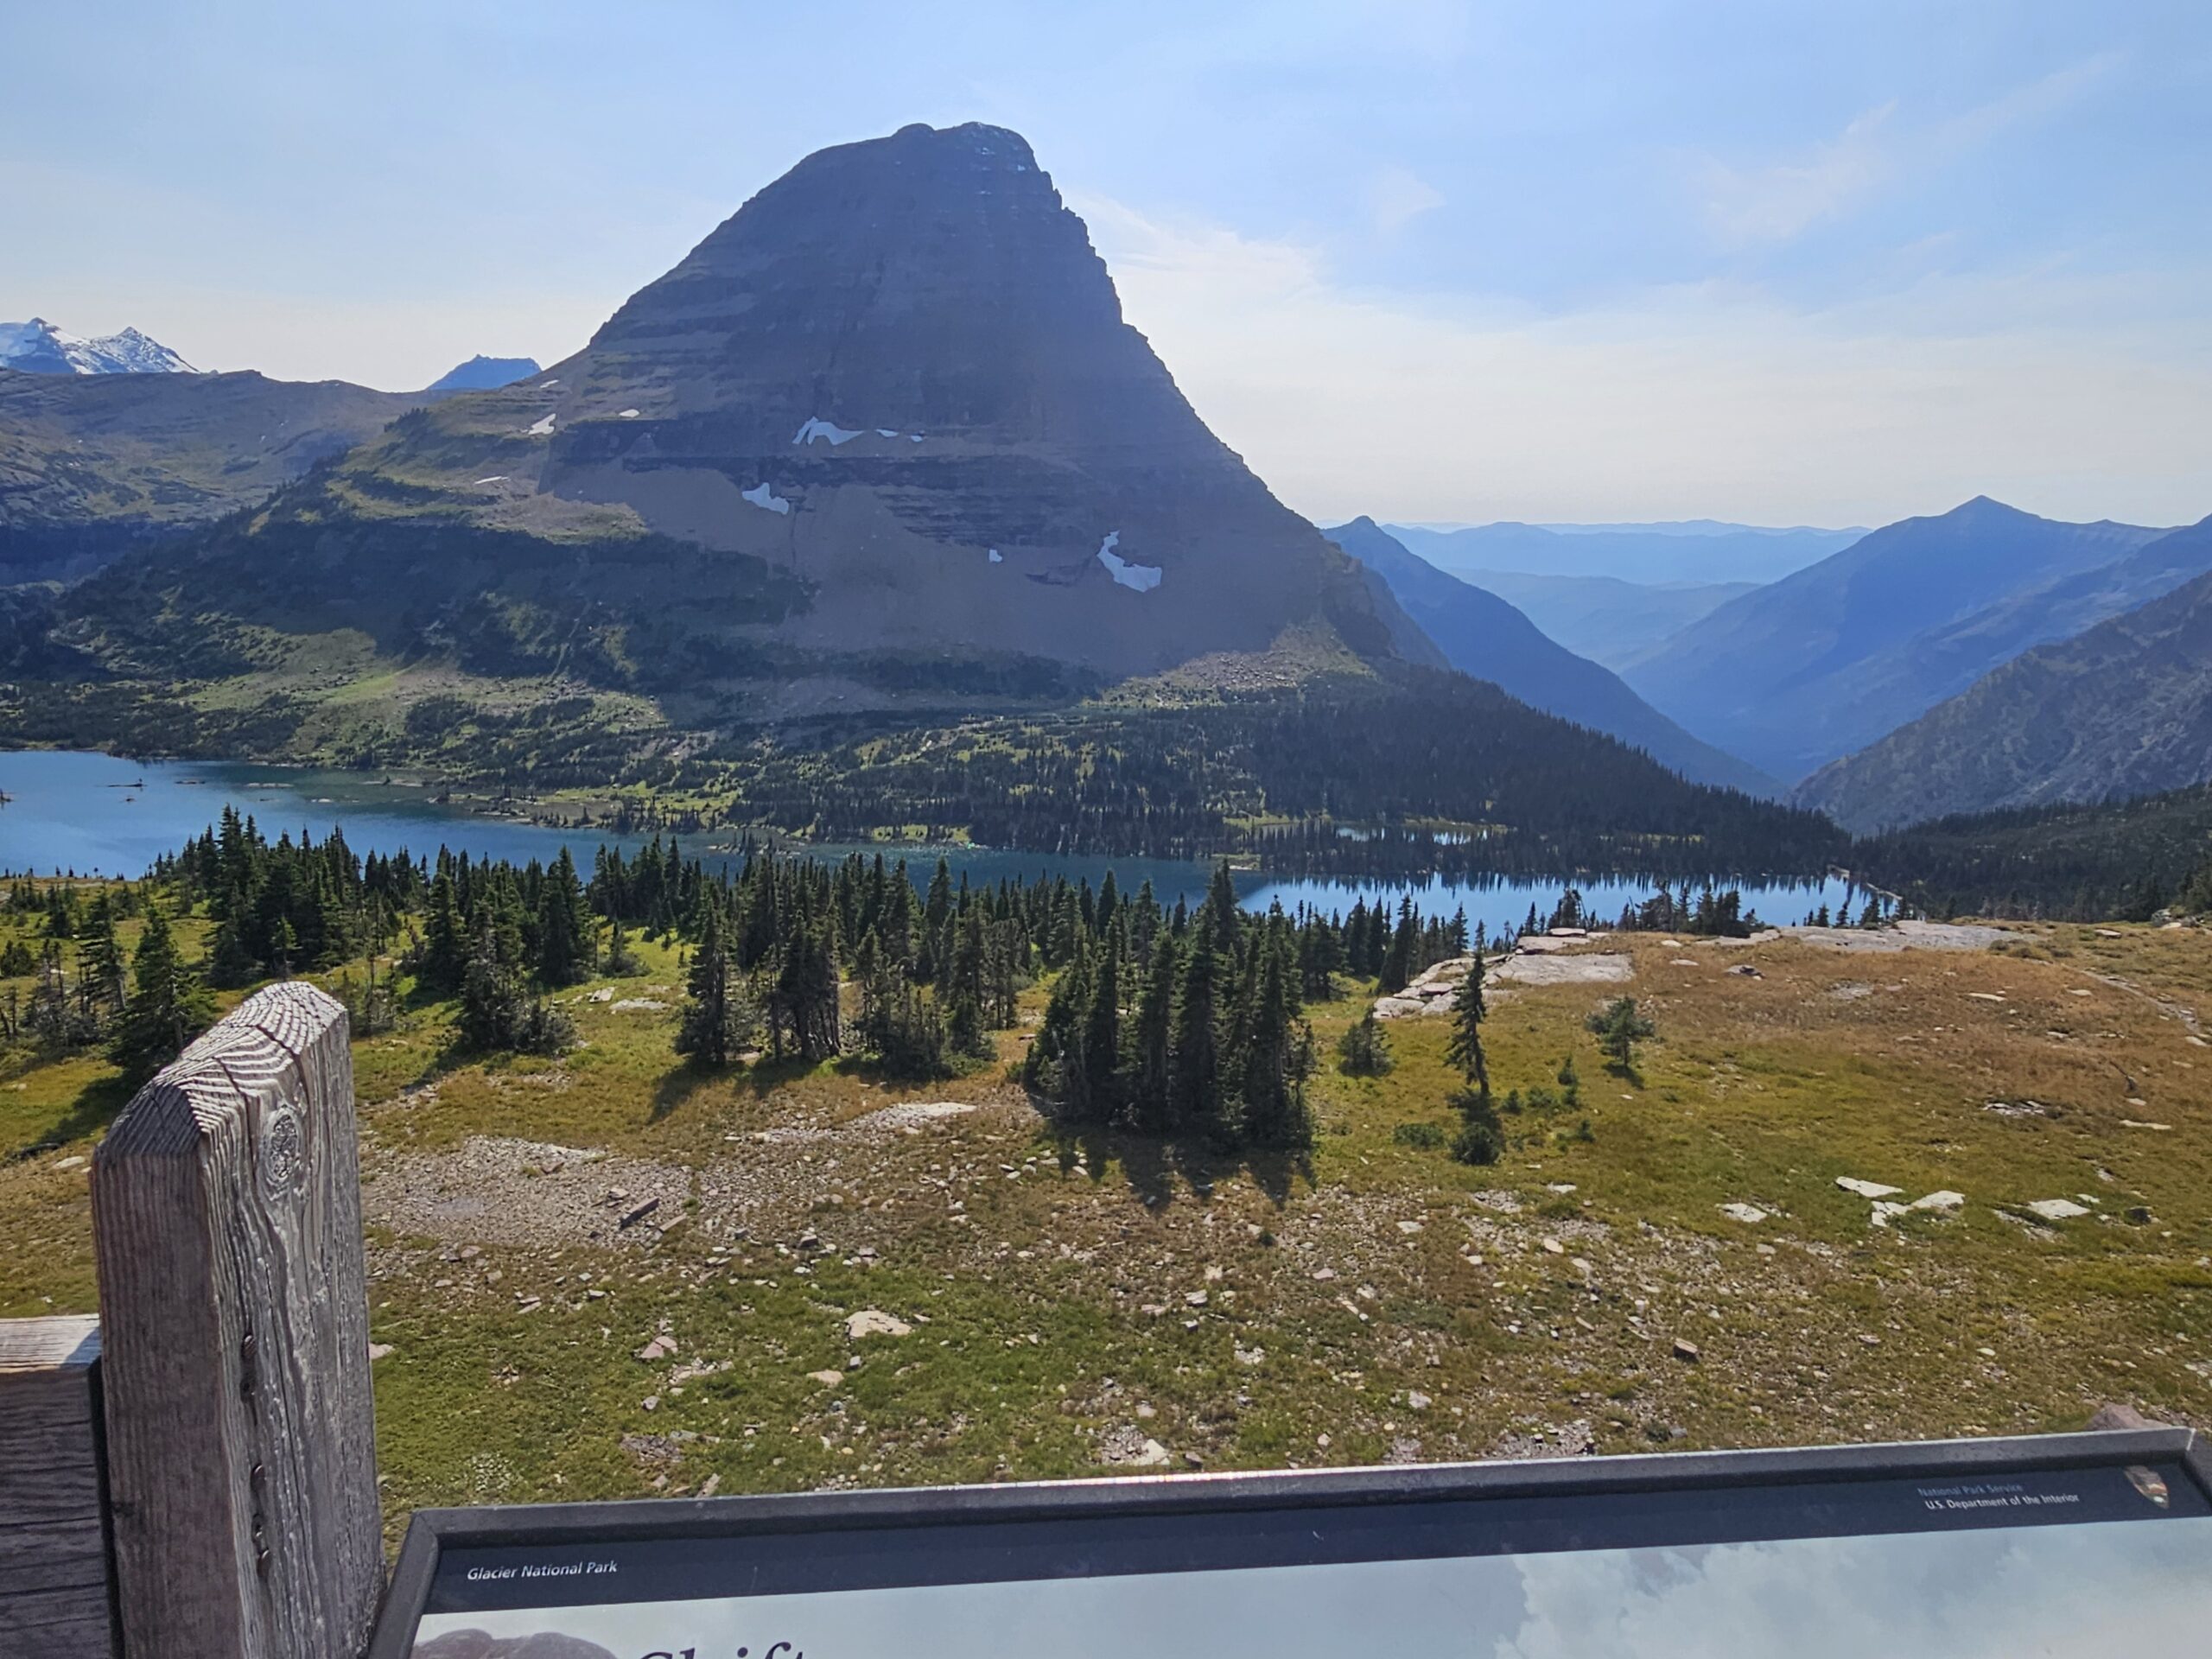
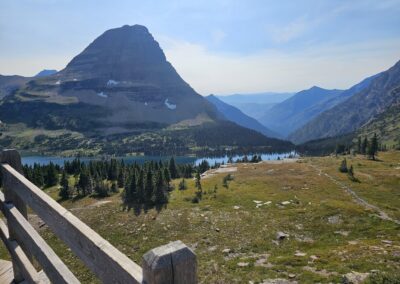
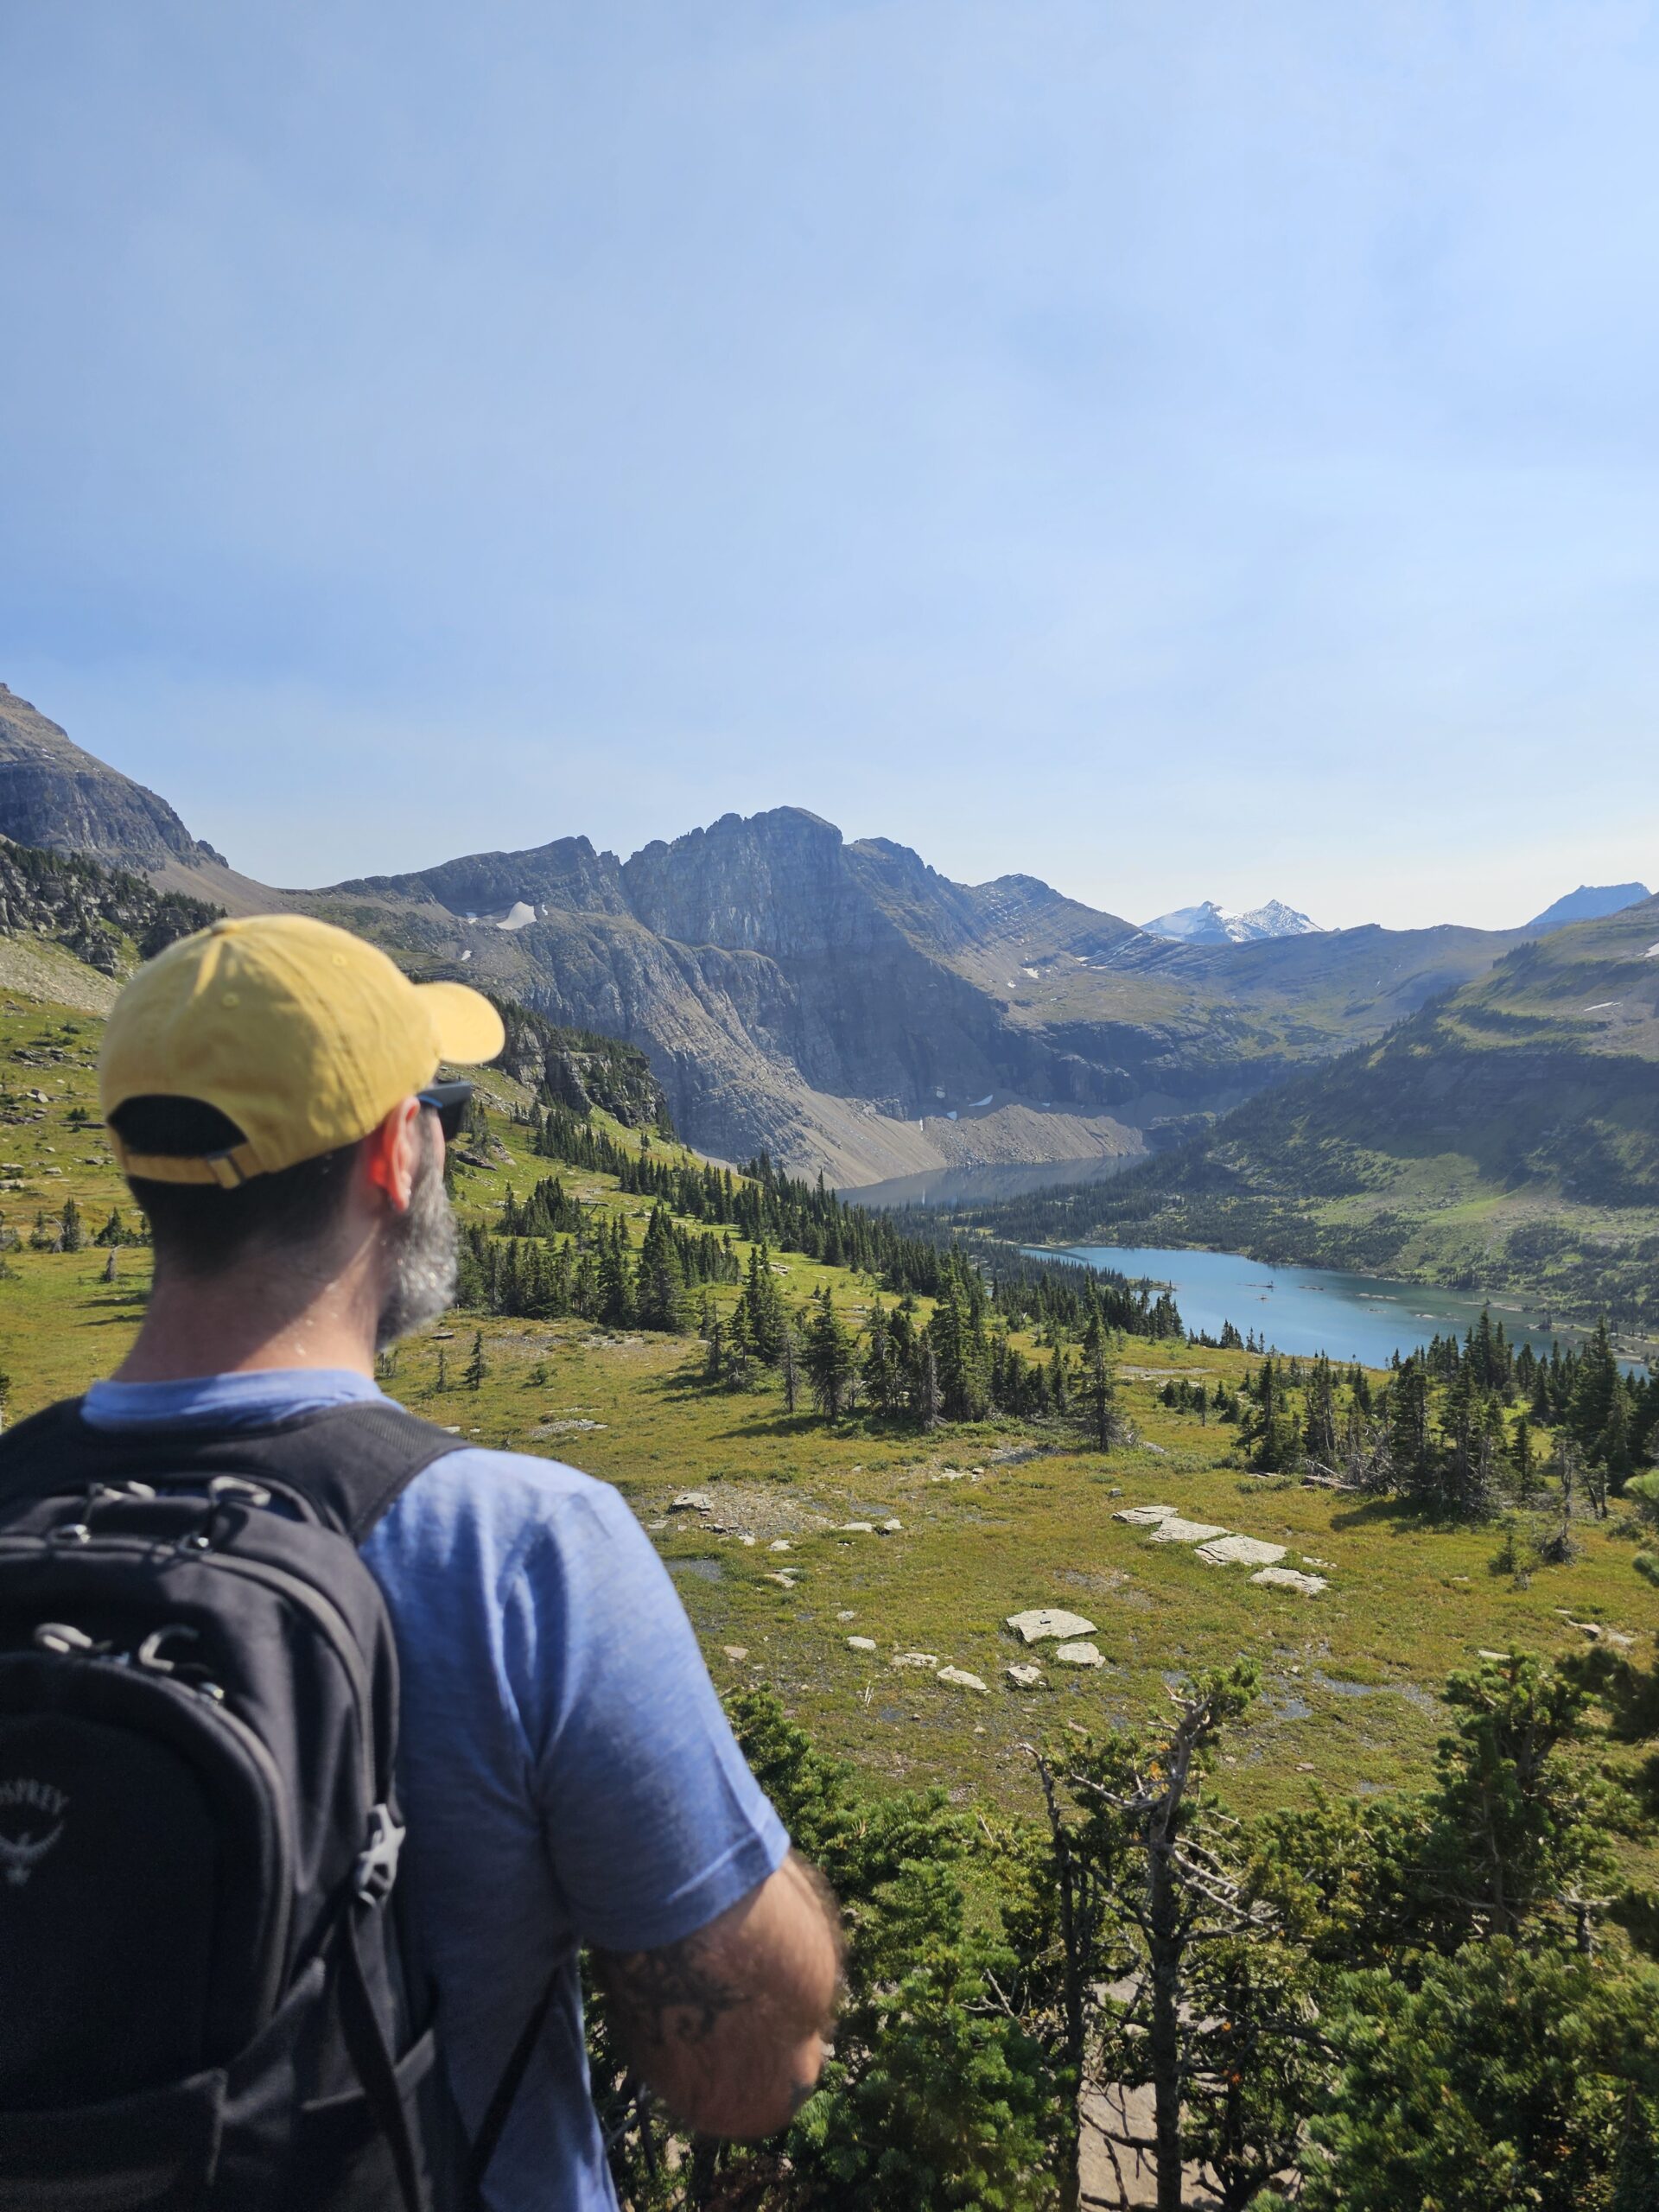
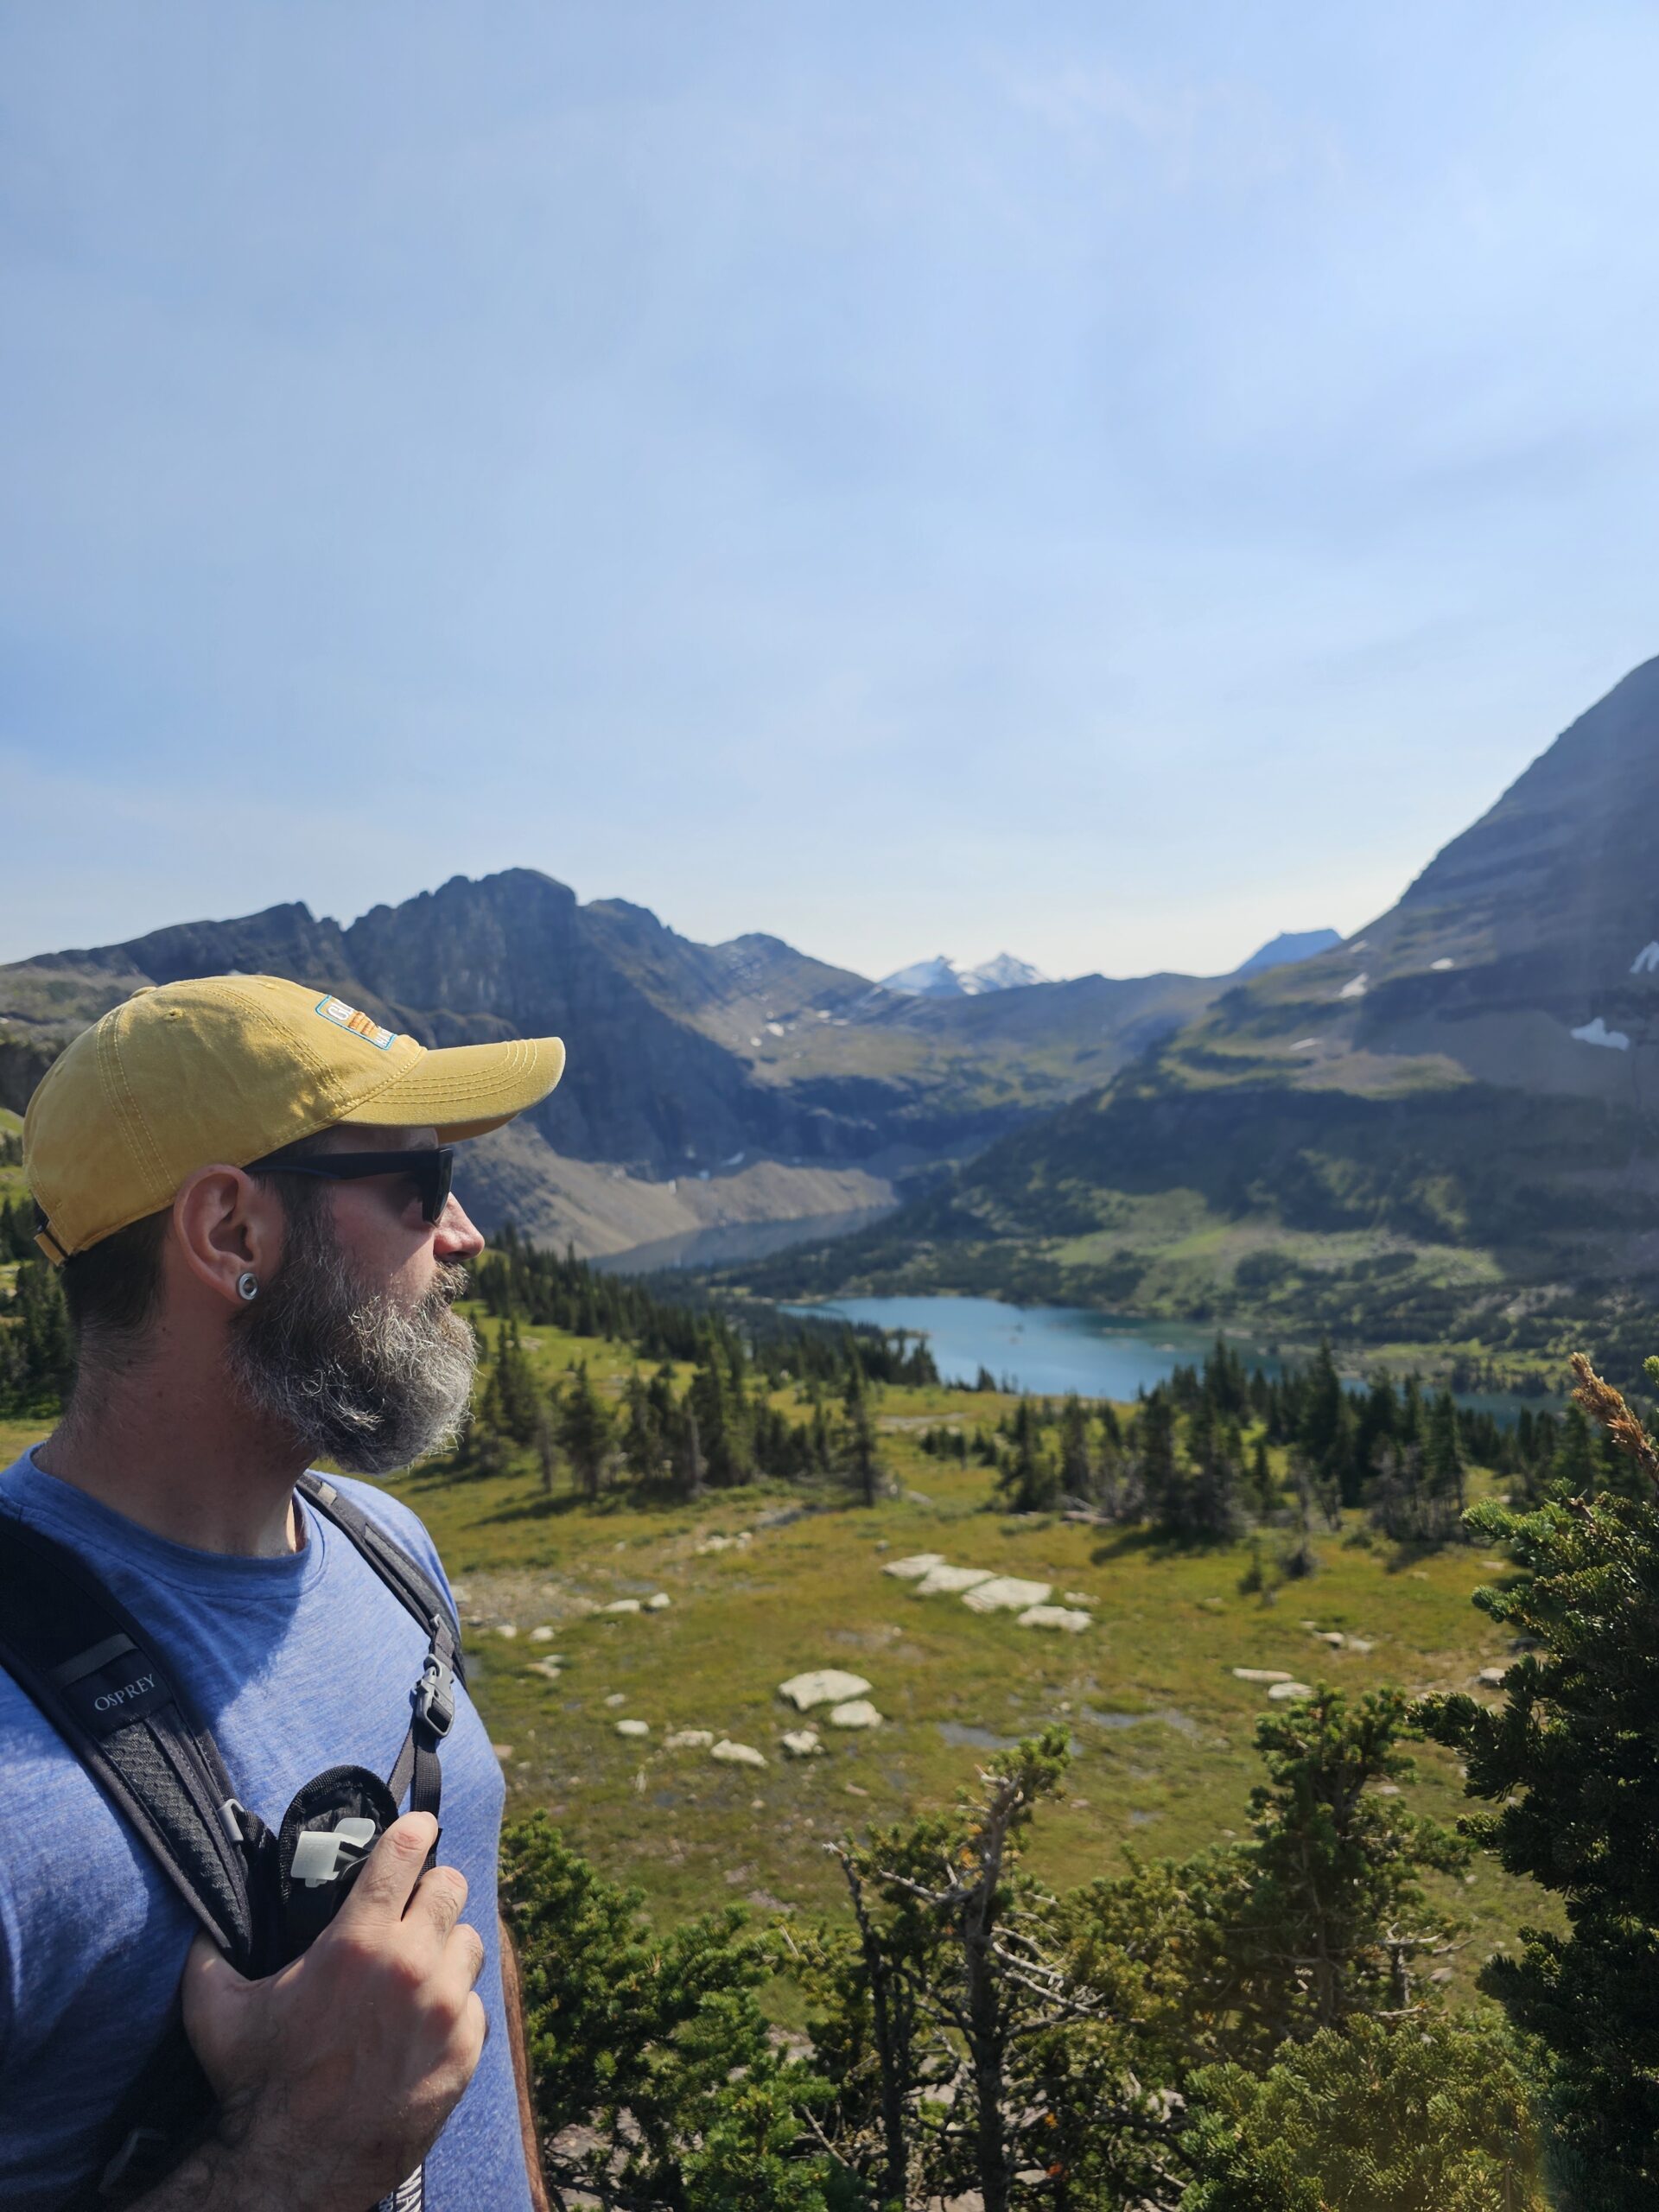
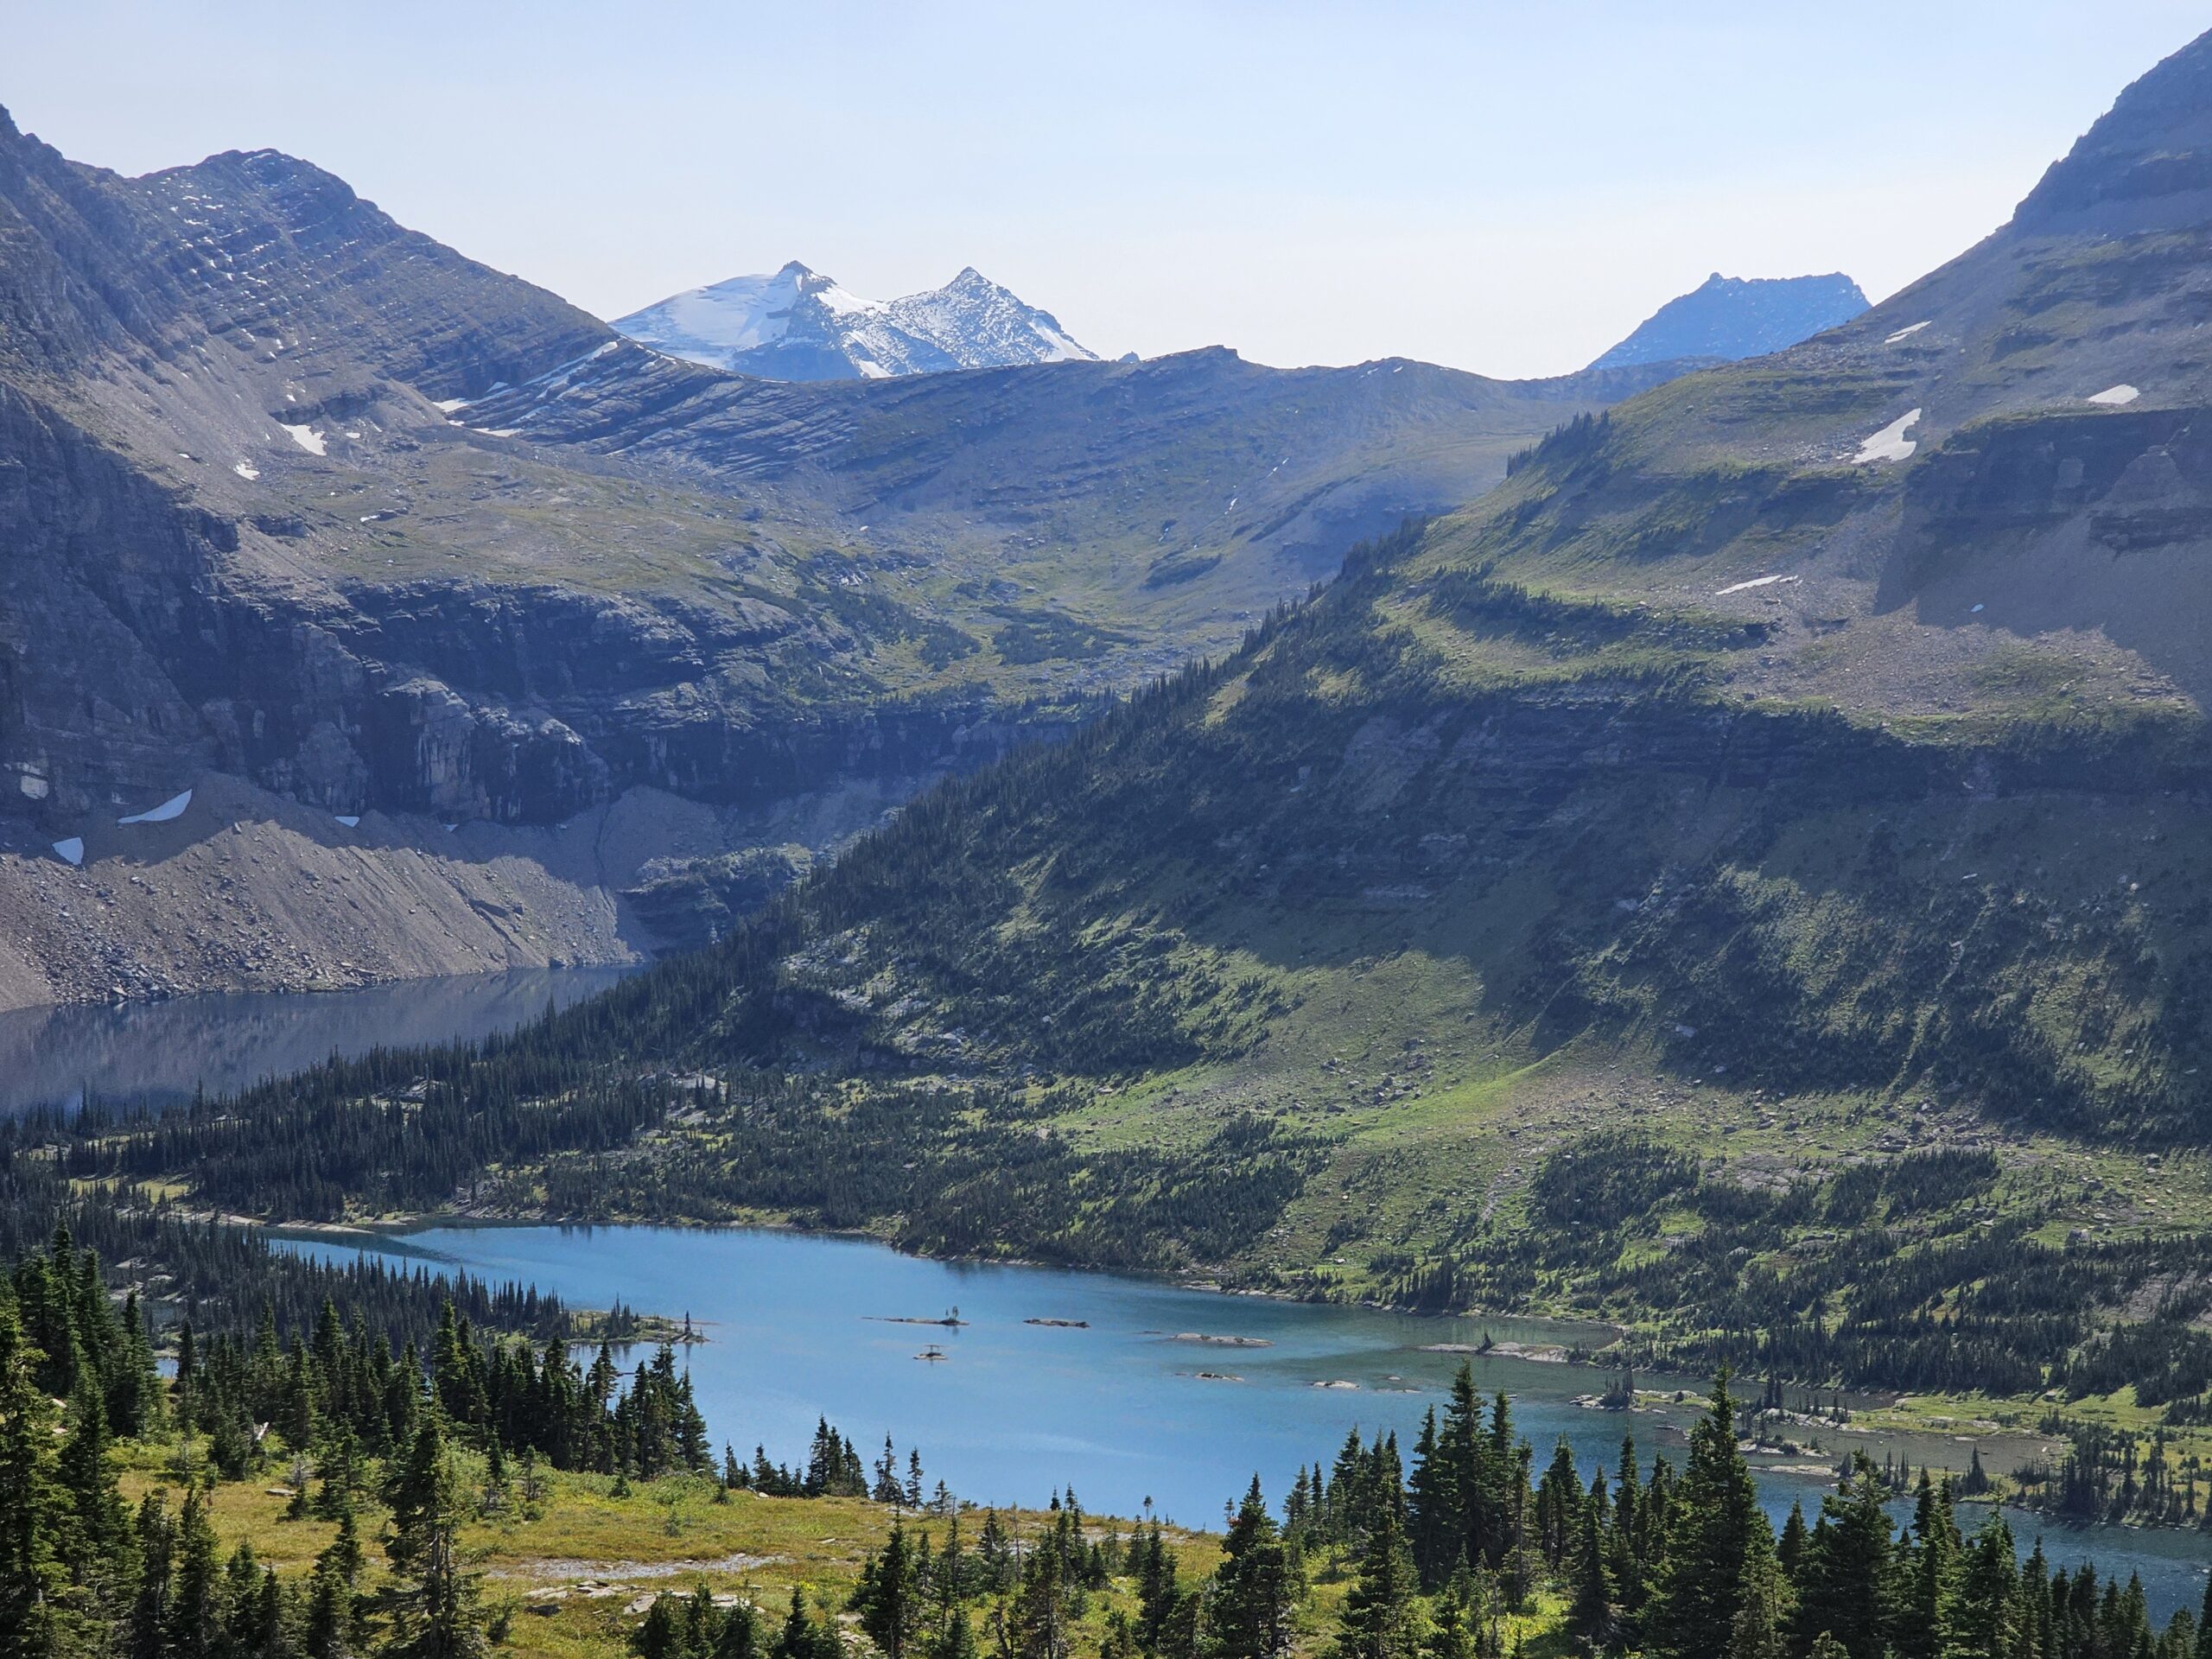
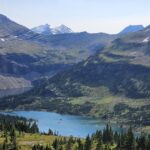
After about an hour of walking, we approached the Hidden Lake Overlook, which sits at around 7,000 feet in elevation. This is one of the most breathtaking spots in the park. From the overlook, you can see Hidden Lake below, nestled in a bowl surrounded by mountains. The water is crystal clear, and the surrounding peaks reflected in the lake create a view that’s nothing short of magical.

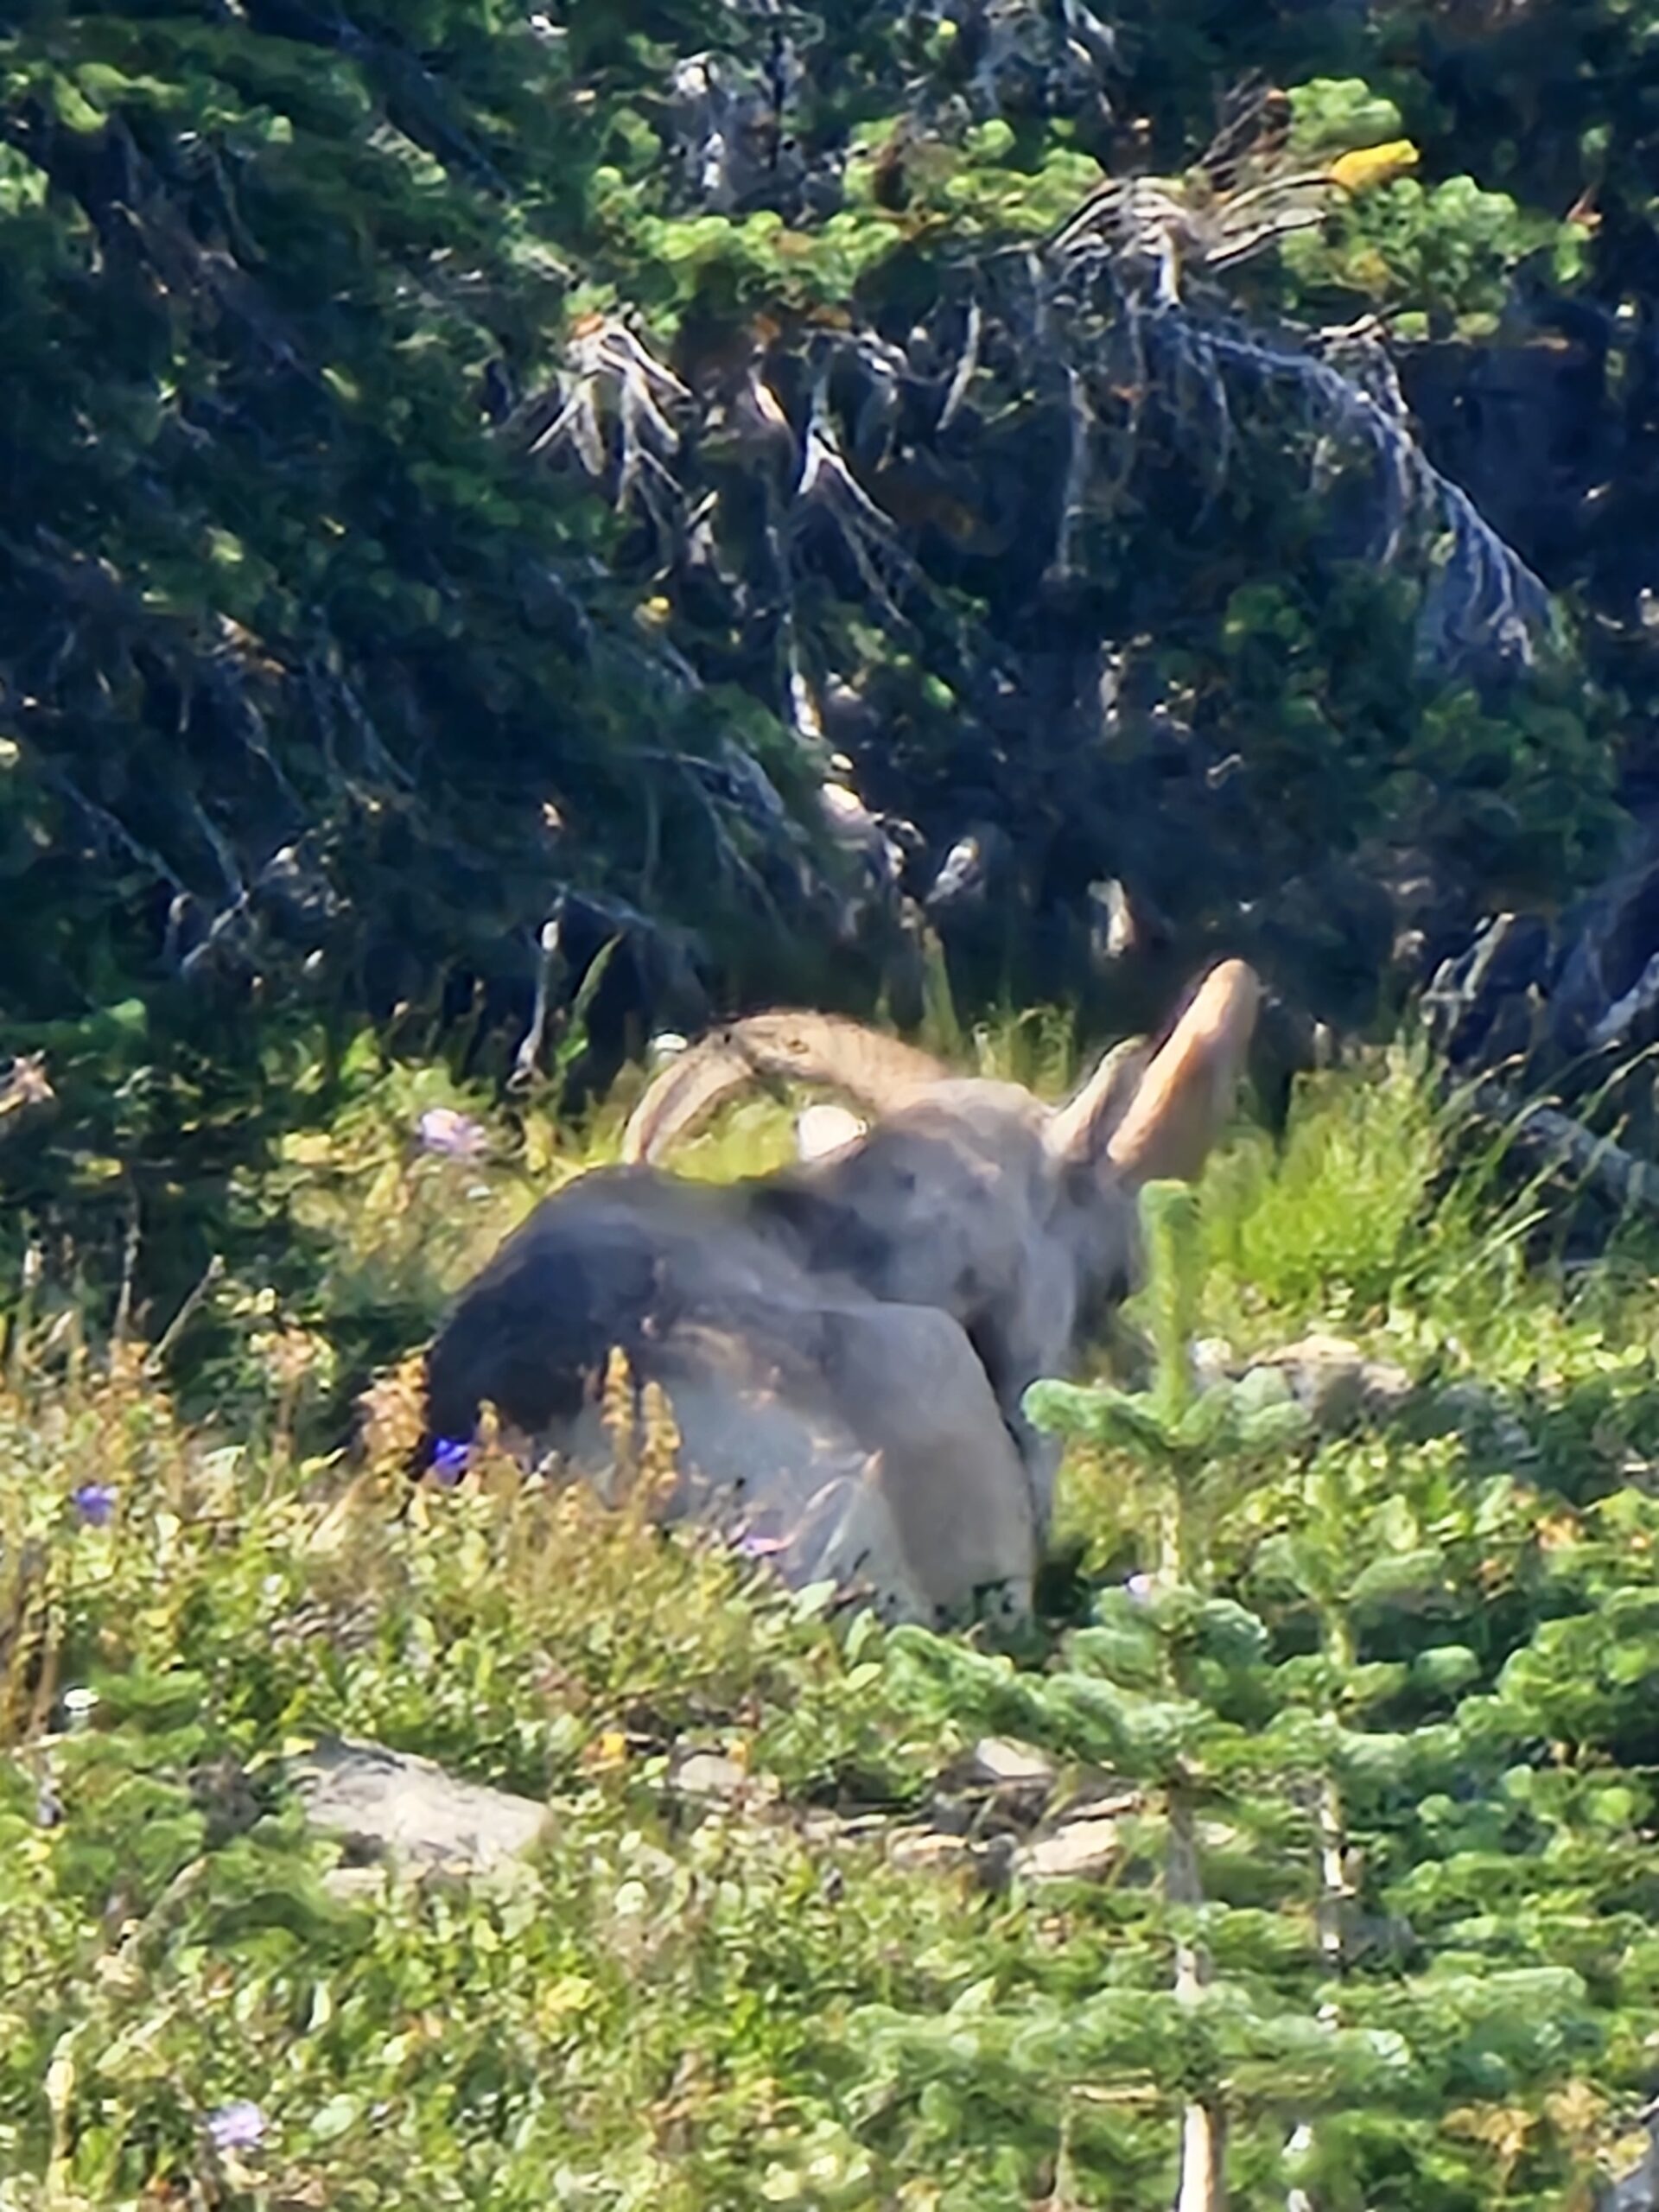
We took plenty of time at the overlook to rest, take photos, and simply enjoy the views. From this vantage point, we could see bighorn sheep grazing in the meadows below, and there were even a few mountain goats in the distance, perched on the rocky cliffs. It’s incredible how close you can get to Glacier’s wildlife, and the animals here seem almost unbothered by human presence.

Landmarks and Viewpoints Along the Trail

As you hike the Hidden Lake Trail, you pass several notable features. Early on, the trail takes you through open meadows known as alpine tundra, which are dotted with wildflowers like Indian paintbrush and lupine. It’s a feast for the eyes, especially in late summer when the flowers are at their peak.

Another key landmark is the Lookout Point, about halfway to the Hidden Lake Overlook. Here, you can stop for a moment to appreciate the sweeping vistas of the Continental Divide, the geological spine of North America. The divide is clearly visible from Logan Pass, with its jagged peaks stretching as far as the eye can see.

The closer we got to the overlook, the more the views opened up. The valley below was carpeted with greenery, and the ridges around us seemed to reach for the sky. The sense of scale is awe-inspiring—you feel truly small standing among these ancient peaks.

Returning from the Hidden Lake Overlook

After spending a good chunk of time soaking in the views at the Hidden Lake Overlook, we began our descent. The hike back was just as beautiful, though slightly easier as it was mostly downhill. We took our time, stopping frequently to take more photos and enjoy the peaceful surroundings. The entire hike, including stops, took us about two hours round-trip, which felt like the perfect amount of time to fully experience the trail without feeling rushed.

As we returned to Logan Pass around 5 PM, the lines for the shuttles were starting to grow. It’s clear that many hikers finish their day around this time, so if you’re planning on using the shuttle, it’s a good idea to start your return trip early to avoid waiting in long lines. We were fortunate to catch a shuttle before the lines got too long, but it was obvious that the later you stay, the busier it gets.

Our adventure at Logan Pass and the Hidden Lake Trail was one for the books. From the wildlife sightings to the unforgettable mountain views, it was everything we had hoped for and more. If you’re visiting Glacier, make sure to carve out time for this hike—you won’t regret it.

Essential Travel Tips for Glacier National Park

  • Arrive early: Both for parking and to avoid crowds. The parking lot can get crazy as people wait for spots to open.
  • Pack snacks and water: Food options are limited in the park, especially at Logan’s Pass.
  • Dress appropriately: Weather can change quickly at high elevations. It’s best to dress warm with the ability to shed clothes.
  • Bring bear spray: You’re in bear country, so be prepared.
  • Bring sun block: The open Montana sky can be brutal on your skin if you’re not covered.
  • Camera: Glacier’s landscapes are incredibly photogenic, and you won’t want to miss capturing them.

Budget Breakdown: Glacier National Park Trip Costs

Here’s a quick breakdown of the key costs from our trip:


  • Lid Creek Campground: $40 for 2 nights (check-out 2pm the 3rd day)
  • Park entry: $35 per vehicle
  • Going-to-the-Sun Road reservation: $2
  • Meals and snacks: About $50 per person
  • Souvenirs: $20-$50 depending on what you buy Planning your trip in advance can save you money, especially if you invest in the Annual Pass and prepare your meals.
  • Fuel: This was the most expensive part of the trip, but as you near Montana we were happy to see fuel drop into the $3/gal range at the time of the trip (Labor Day 24).

Best Time to Visit Glacier National Park

Glacier National Park is a destination defined by its stunning landscapes, but the park’s extreme climate and mountainous terrain mean that the best time to visit can vary depending on your goals. You also need to consider the road conditions if traveling from Seattle to Glacier National Park as we all know how the PNW and mid west winters can be. The park is open year-round, but for most visitors, the optimal time to explore Glacier is from late June through mid-September. During this period, the park is fully accessible, and most facilities are open. However, your experience can be significantly affected by the specific time you choose to visit, as weather conditions, crowds, and road access fluctuate throughout the year.


Late June to Early July: The Start of Summer

Visiting Glacier in late June through early July is a wonderful time if you want to experience the park when the crowds are relatively manageable, but you should be prepared for some lingering snow at higher elevations. The famous Going-to-the-Sun Road usually opens in late June or early July, depending on snow removal efforts, so checking road status before you arrive is essential.

The park’s wildflower meadows come alive during this time, with lupine, beargrass, and other native plants starting to bloom. Waterfalls are often at their most powerful, fed by snowmelt from the peaks above. However, hiking at higher elevations, such as Logan Pass, may still be tricky due to residual snow and wet, muddy trails. If you’re planning to hike, consider bringing layers, waterproof shoes, and even trekking poles to help navigate these conditions.

Mid-July to August: Peak Summer Season

Mid-July through August marks the peak summer season, when nearly all park amenities and roads are open, making it the best time for most activities. The weather is typically warm and sunny, with daytime highs ranging from 60°F to 80°F. By this time, the Going-to-the-Sun Road is fully open, offering visitors the chance to experience one of the most scenic drives in the world. Trails like the Highline Trail and the Hidden Lake Trail are usually snow-free, making them prime spots for hiking.

That said, the peak season also means the park will be bustling with visitors. Campgrounds and lodges fill up quickly, and parking at popular spots like Logan Pass can become a challenge. To avoid the crowds, consider starting your days early—by arriving at trailheads or shuttle stops by 6 AM—or explore less crowded areas like Two Medicine or Many Glacier. Reservations for campgrounds, boat tours, and the Going-to-the-Sun Road should be made months in advance, as they sell out quickly during this period.

September: Cooler Weather and Fewer Crowds

Visiting in September is perfect for those looking to enjoy Glacier with cooler temperatures and fewer people. By this time, the summer crowds have mostly thinned out, and the weather remains pleasant, with highs ranging from 50°F to 70°F. It’s also a great time for those who enjoy wildlife watching, as bears, elk, and bighorn sheep become more active, preparing for the winter months.

Late September, however, comes with the risk of early snowstorms, particularly at higher elevations. As a result, some roads or trails may close unexpectedly, and it’s wise to keep a flexible schedule. Going-to-the-Sun Road often remains open until mid-October, but snow and inclement weather could force an early closure. If you’re planning a fall visit, checking the weather forecast and road conditions regularly is essential.

October to May: The Quiet Season and Winter Adventures

For those looking to experience Glacier’s more secluded side, the off-season (October through May) offers a completely different experience. By October, most of the park’s facilities, including campgrounds, lodges, and visitor centers, close for the season. The Going-to-the-Sun Road typically closes in mid-October due to snow, and it won’t fully reopen until the following June. However, the park is still accessible for adventurous visitors.

Winter in Glacier is a wonderland for cross-country skiing, snowshoeing, and wildlife tracking. The park becomes incredibly quiet, with most trails and areas visited only by locals and serious winter sports enthusiasts. While you won’t be able to drive the Going-to-the-Sun Road, you can still explore the Lake McDonald area, Apgar Village, and other lower-elevation spots. Be prepared for temperatures to drop well below freezing and to navigate snowy roads. Glacier’s winter is harsh but offers incredible solitude and beauty for those willing to brave the cold.


Choosing the Best Time for Your Visit

Ultimately, the best time to visit Glacier National Park depends on your priorities. For full access to the park’s iconic drives and trails, July and August are ideal, but expect crowds and the need for advanced planning. If you prefer cooler weather, fewer people, and don’t mind a little unpredictability with trail closures, September is a fantastic time to visit. For winter enthusiasts or those seeking solitude, the off-season from October to May offers a completely different but equally stunning experience.

Whenever you choose to visit, planning ahead is essential. Glacier’s remote location, unpredictable weather, and ever-changing conditions make it a park where flexibility and preparation are key to enjoying everything it has to offer.

Conclusion: A Road Trip to Remember

Our trip to Glacier National Park was nothing short of magical. From camping under the stars to hiking hidden trails and soaking in some of the most beautiful views in the U.S., this adventure will forever hold a special place in my heart. If you’re planning a trip, be sure to plan ahead, bring a camera, and most importantly, enjoy the ride!

FAQ: Glacier National Park Road Trip

Q: What is the best time of year to visit Glacier National Park?

A: The best time to visit Glacier National Park is from late June to mid-September, when the Going-to-the-Sun Road is fully open, and all park amenities are accessible. July and August offer the warmest weather, while September is ideal for fewer crowds and cooler temperatures.

Q: Do I need a reservation for the Going-to-the-Sun Road?

A: Yes, during peak season (mid-May to mid-September), you’ll need a $2 reservation to drive the Going-to-the-Sun Road between 6 AM and 3 PM. Outside these hours, no reservation is needed, but arriving early is advised.

Q: How long does it take to drive from Seattle to Glacier National Park?

A: The drive from Seattle to Glacier National Park takes approximately 9.5 hours (around 550 miles). You can make scenic stops along the way in places like Coeur d’Alene, Idaho, or Missoula, Montana.

Q: What are the best hikes in Glacier National Park?

A: Some of the best hikes include the Hidden Lake Trail at Logan Pass, the Highline Trail, and the Grinnell Glacier Trail. Each offers breathtaking views and opportunities to see wildlife.

Q: Where are the best camping spots in Glacier National Park?

A: Popular camping spots include Lid Creek Campground near Hungry Horse Reservoir, Apgar Campground near Lake McDonald, and Many Glacier Campground. These campgrounds offer proximity to major park attractions and beautiful views.

Q: Are there any safety concerns when camping in Glacier National Park?

A: Yes, Glacier is bear country. Always store food in bear-proof containers or designated bear boxes, and carry bear spray when hiking. Familiarize yourself with wildlife safety guidelines and be prepared for changing weather conditions, especially at higher elevations.

Q: Can I see the Northern Lights at Glacier National Park?

A: Yes, on clear nights and during strong solar activity, the aurora borealis (Northern Lights) can occasionally be seen in Glacier National Park, especially during fall and winter months.

Q: Is there cell phone service in Glacier National Park?

A: Cell phone service is very limited in Glacier National Park, especially in remote areas like Logan Pass and the backcountry. It’s best to download maps and important information before arriving.

Q: What should I pack for a Glacier National Park road trip?

A: Essentials include:

  • Layers for changing weather conditions.
  • Bear spray for hiking.
  • A good camera for photography.
  • Snacks and water as food options are limited in the park.
  • Sturdy hiking shoes and rain gear in case of unpredictable weather.