Unforgettable Seattle to Glacier National Park Road Trip: Camping, Hiking, and Scenic Views
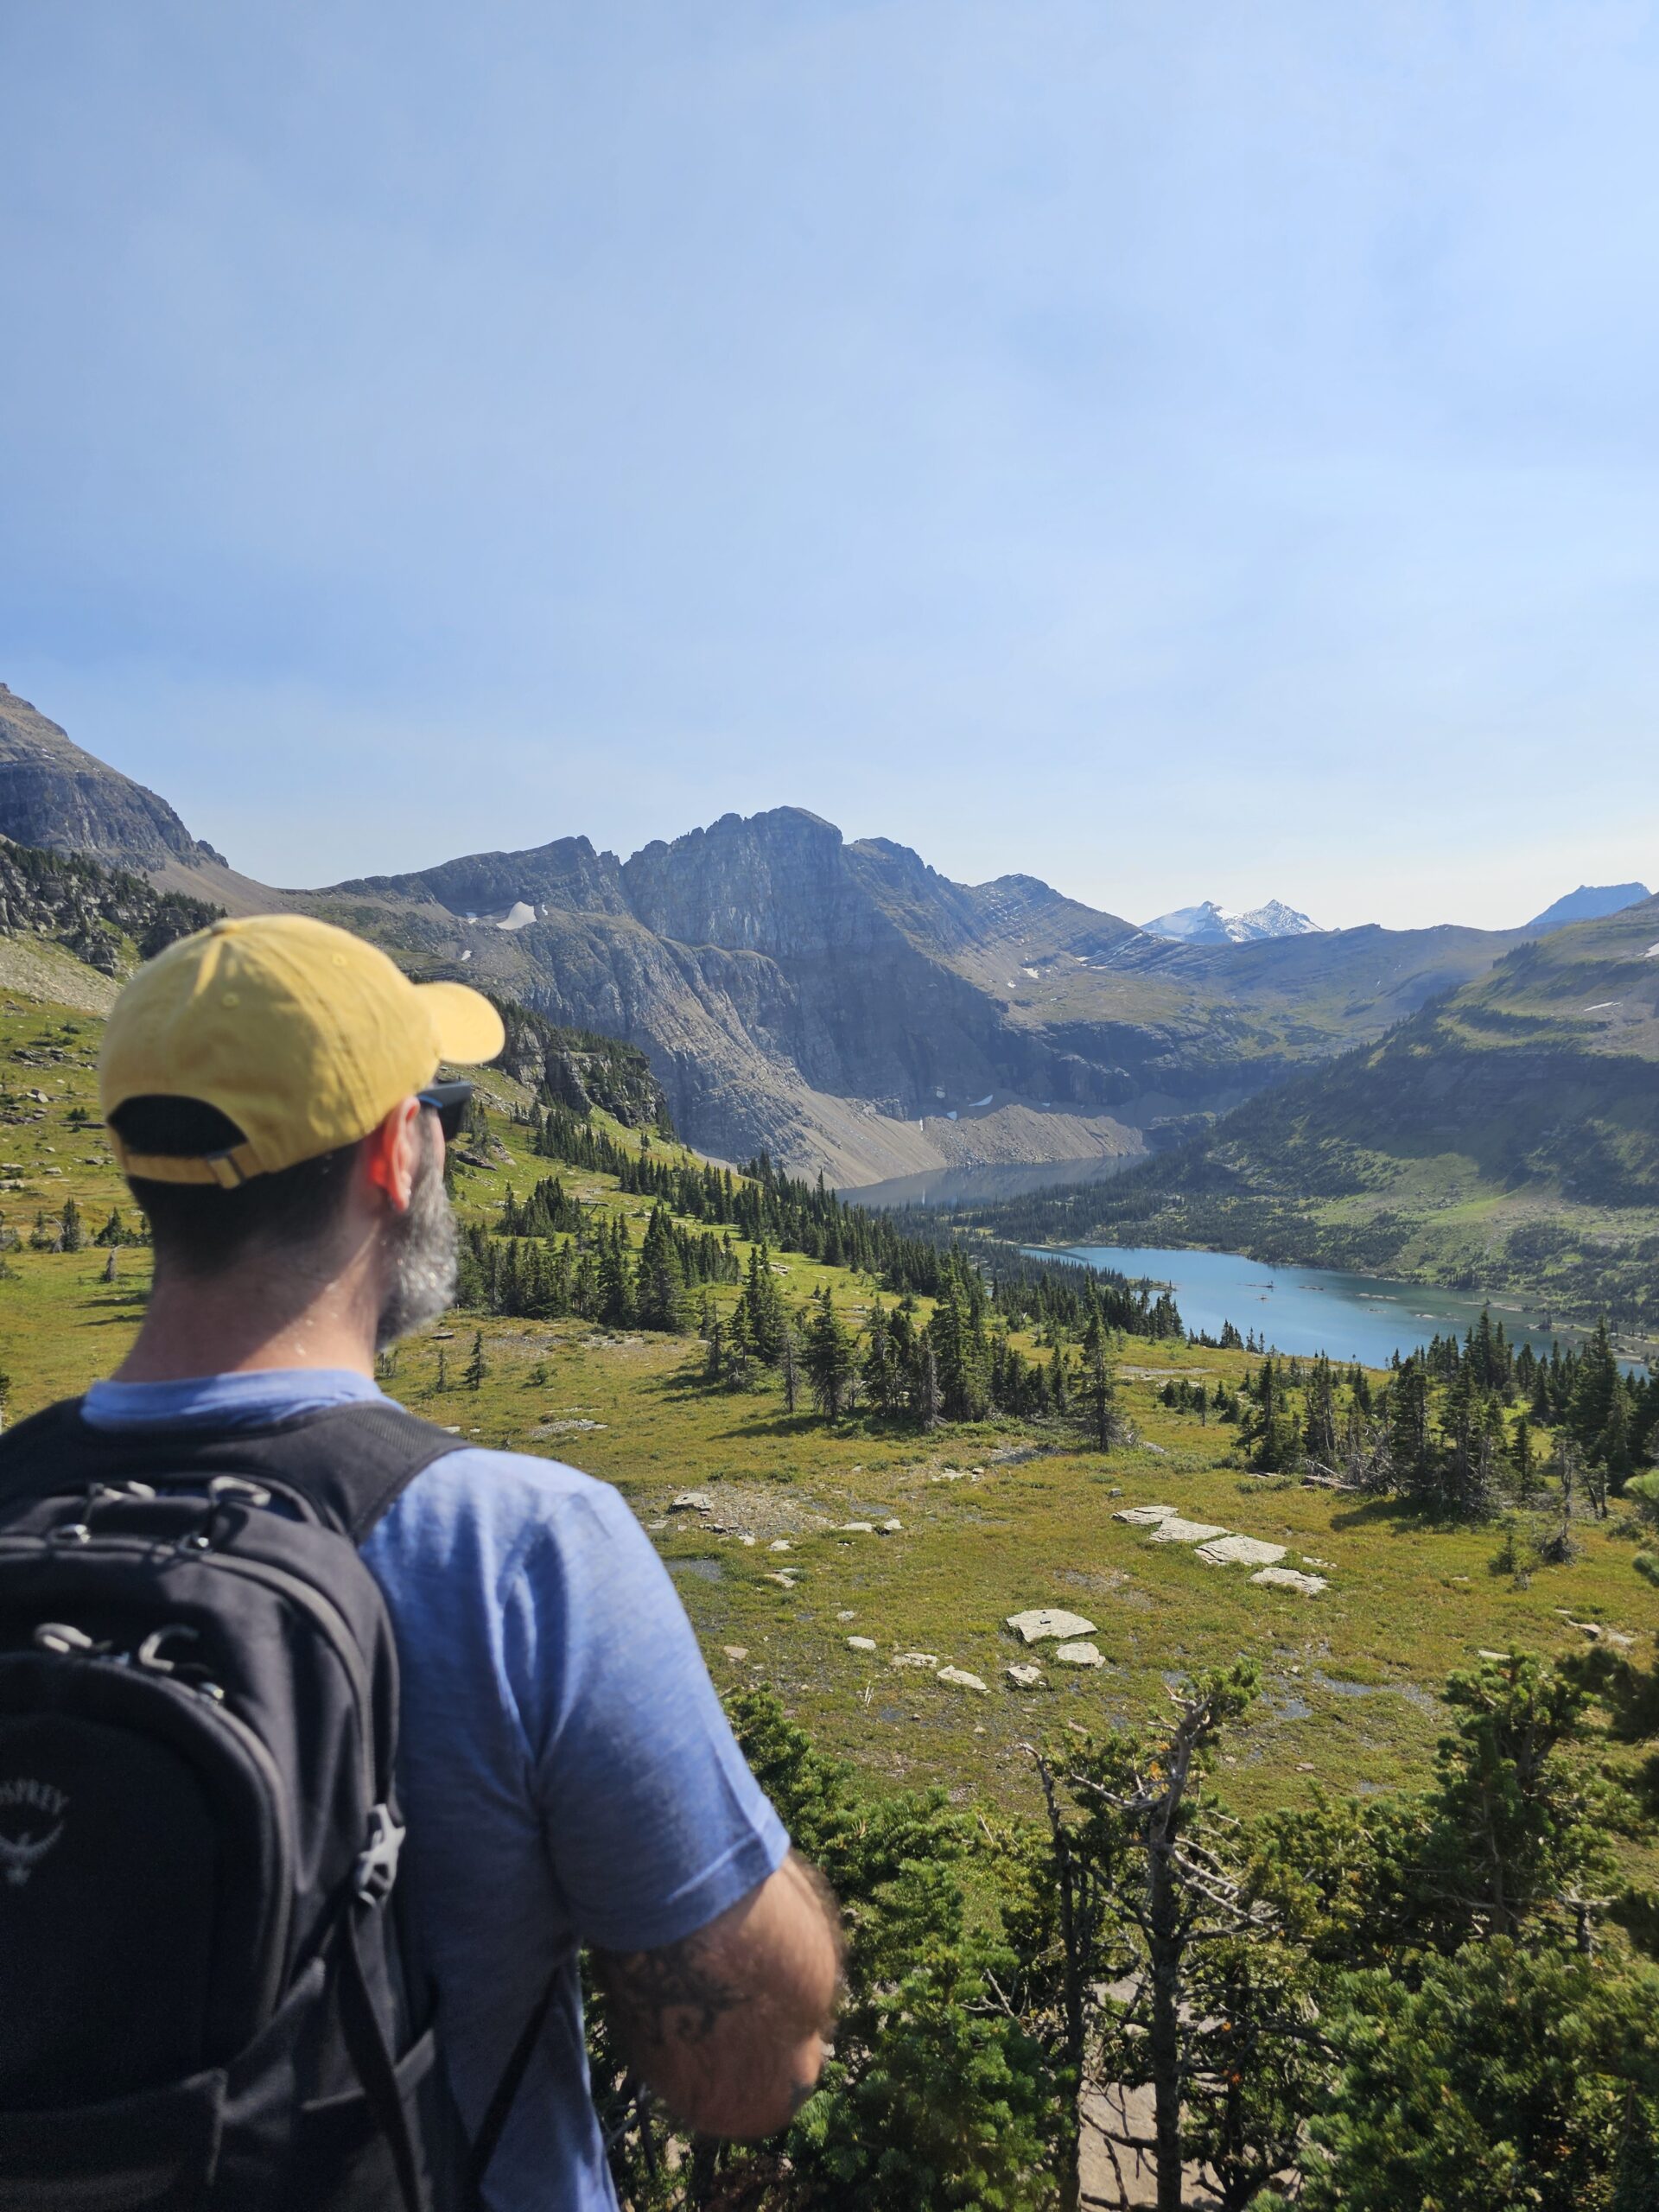
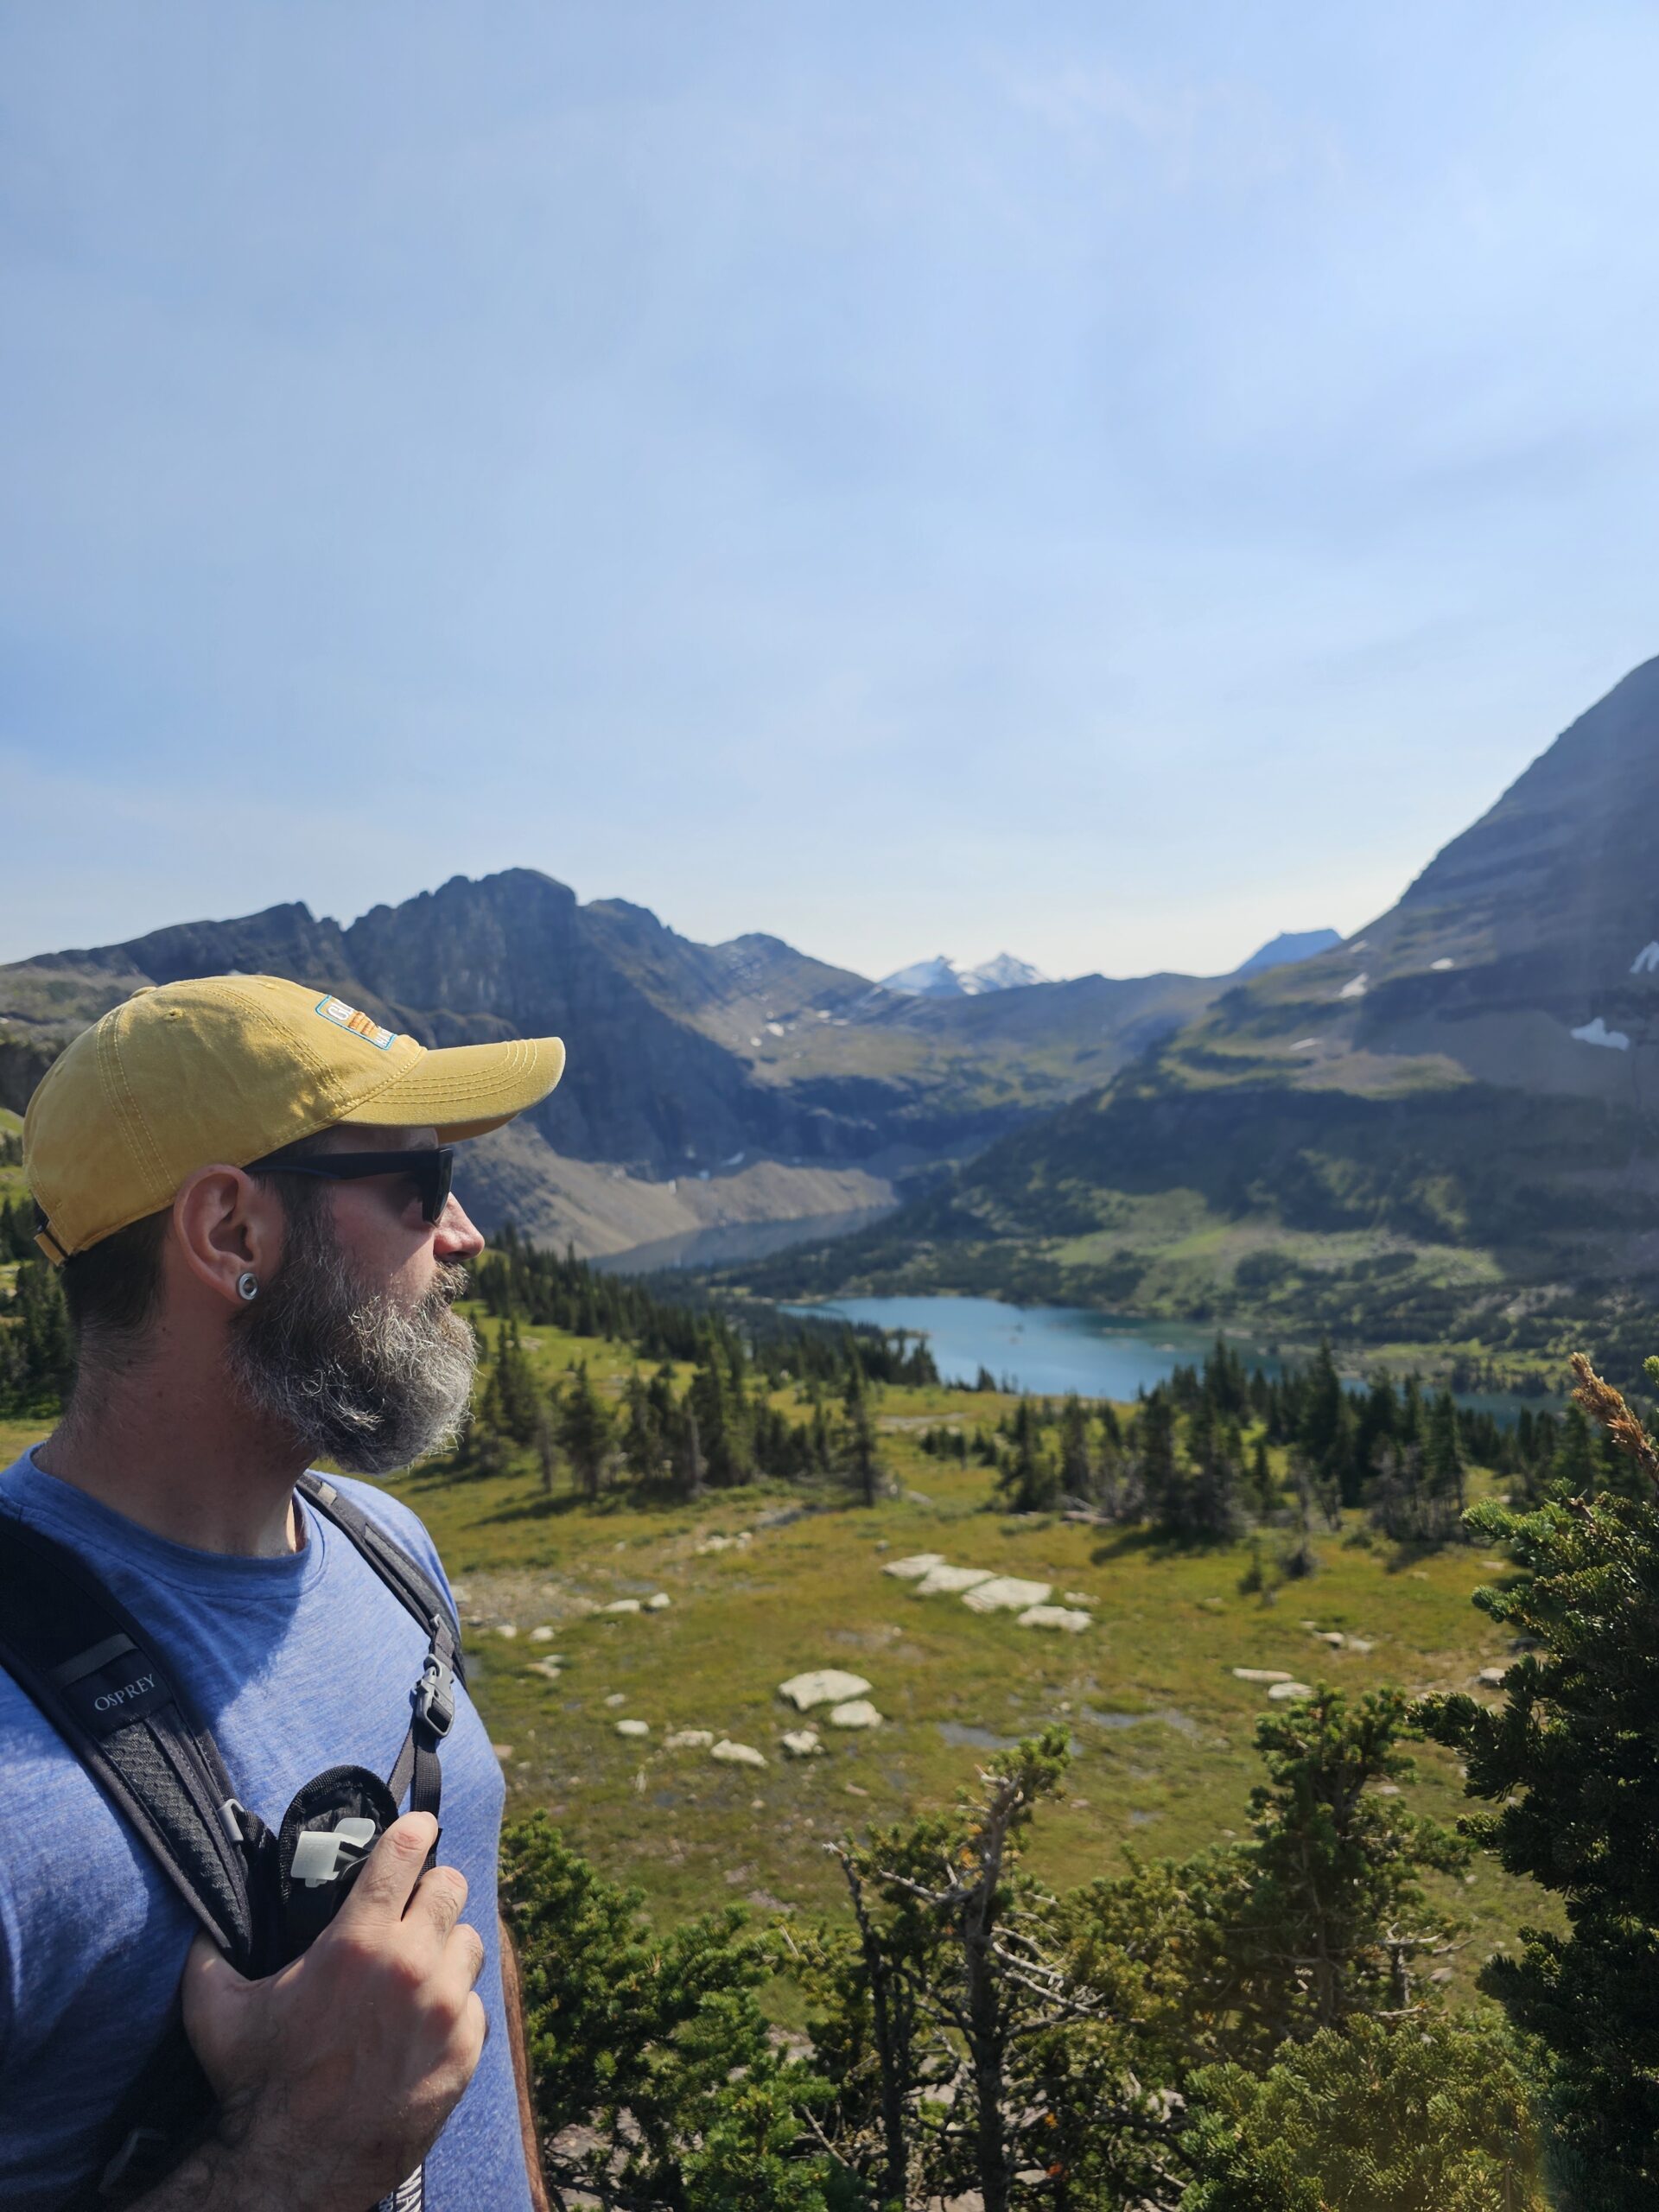
Glacier National Park in Montana is a dream destination for nature lovers, and for those based in Seattle, WA like myself, it makes for a thrilling road trip. This adventure includes scenic drives, camping under the stars, and unforgettable hikes that showcase the natural beauty of the Rocky Mountains. Whether you’re planning a summer visit or seeking a serene winter adventure, here’s a detailed guide based on my journey during Labor Day weekend, packed with all the tips you’ll need for a smooth and enjoyable Glacier National Parks adventure.


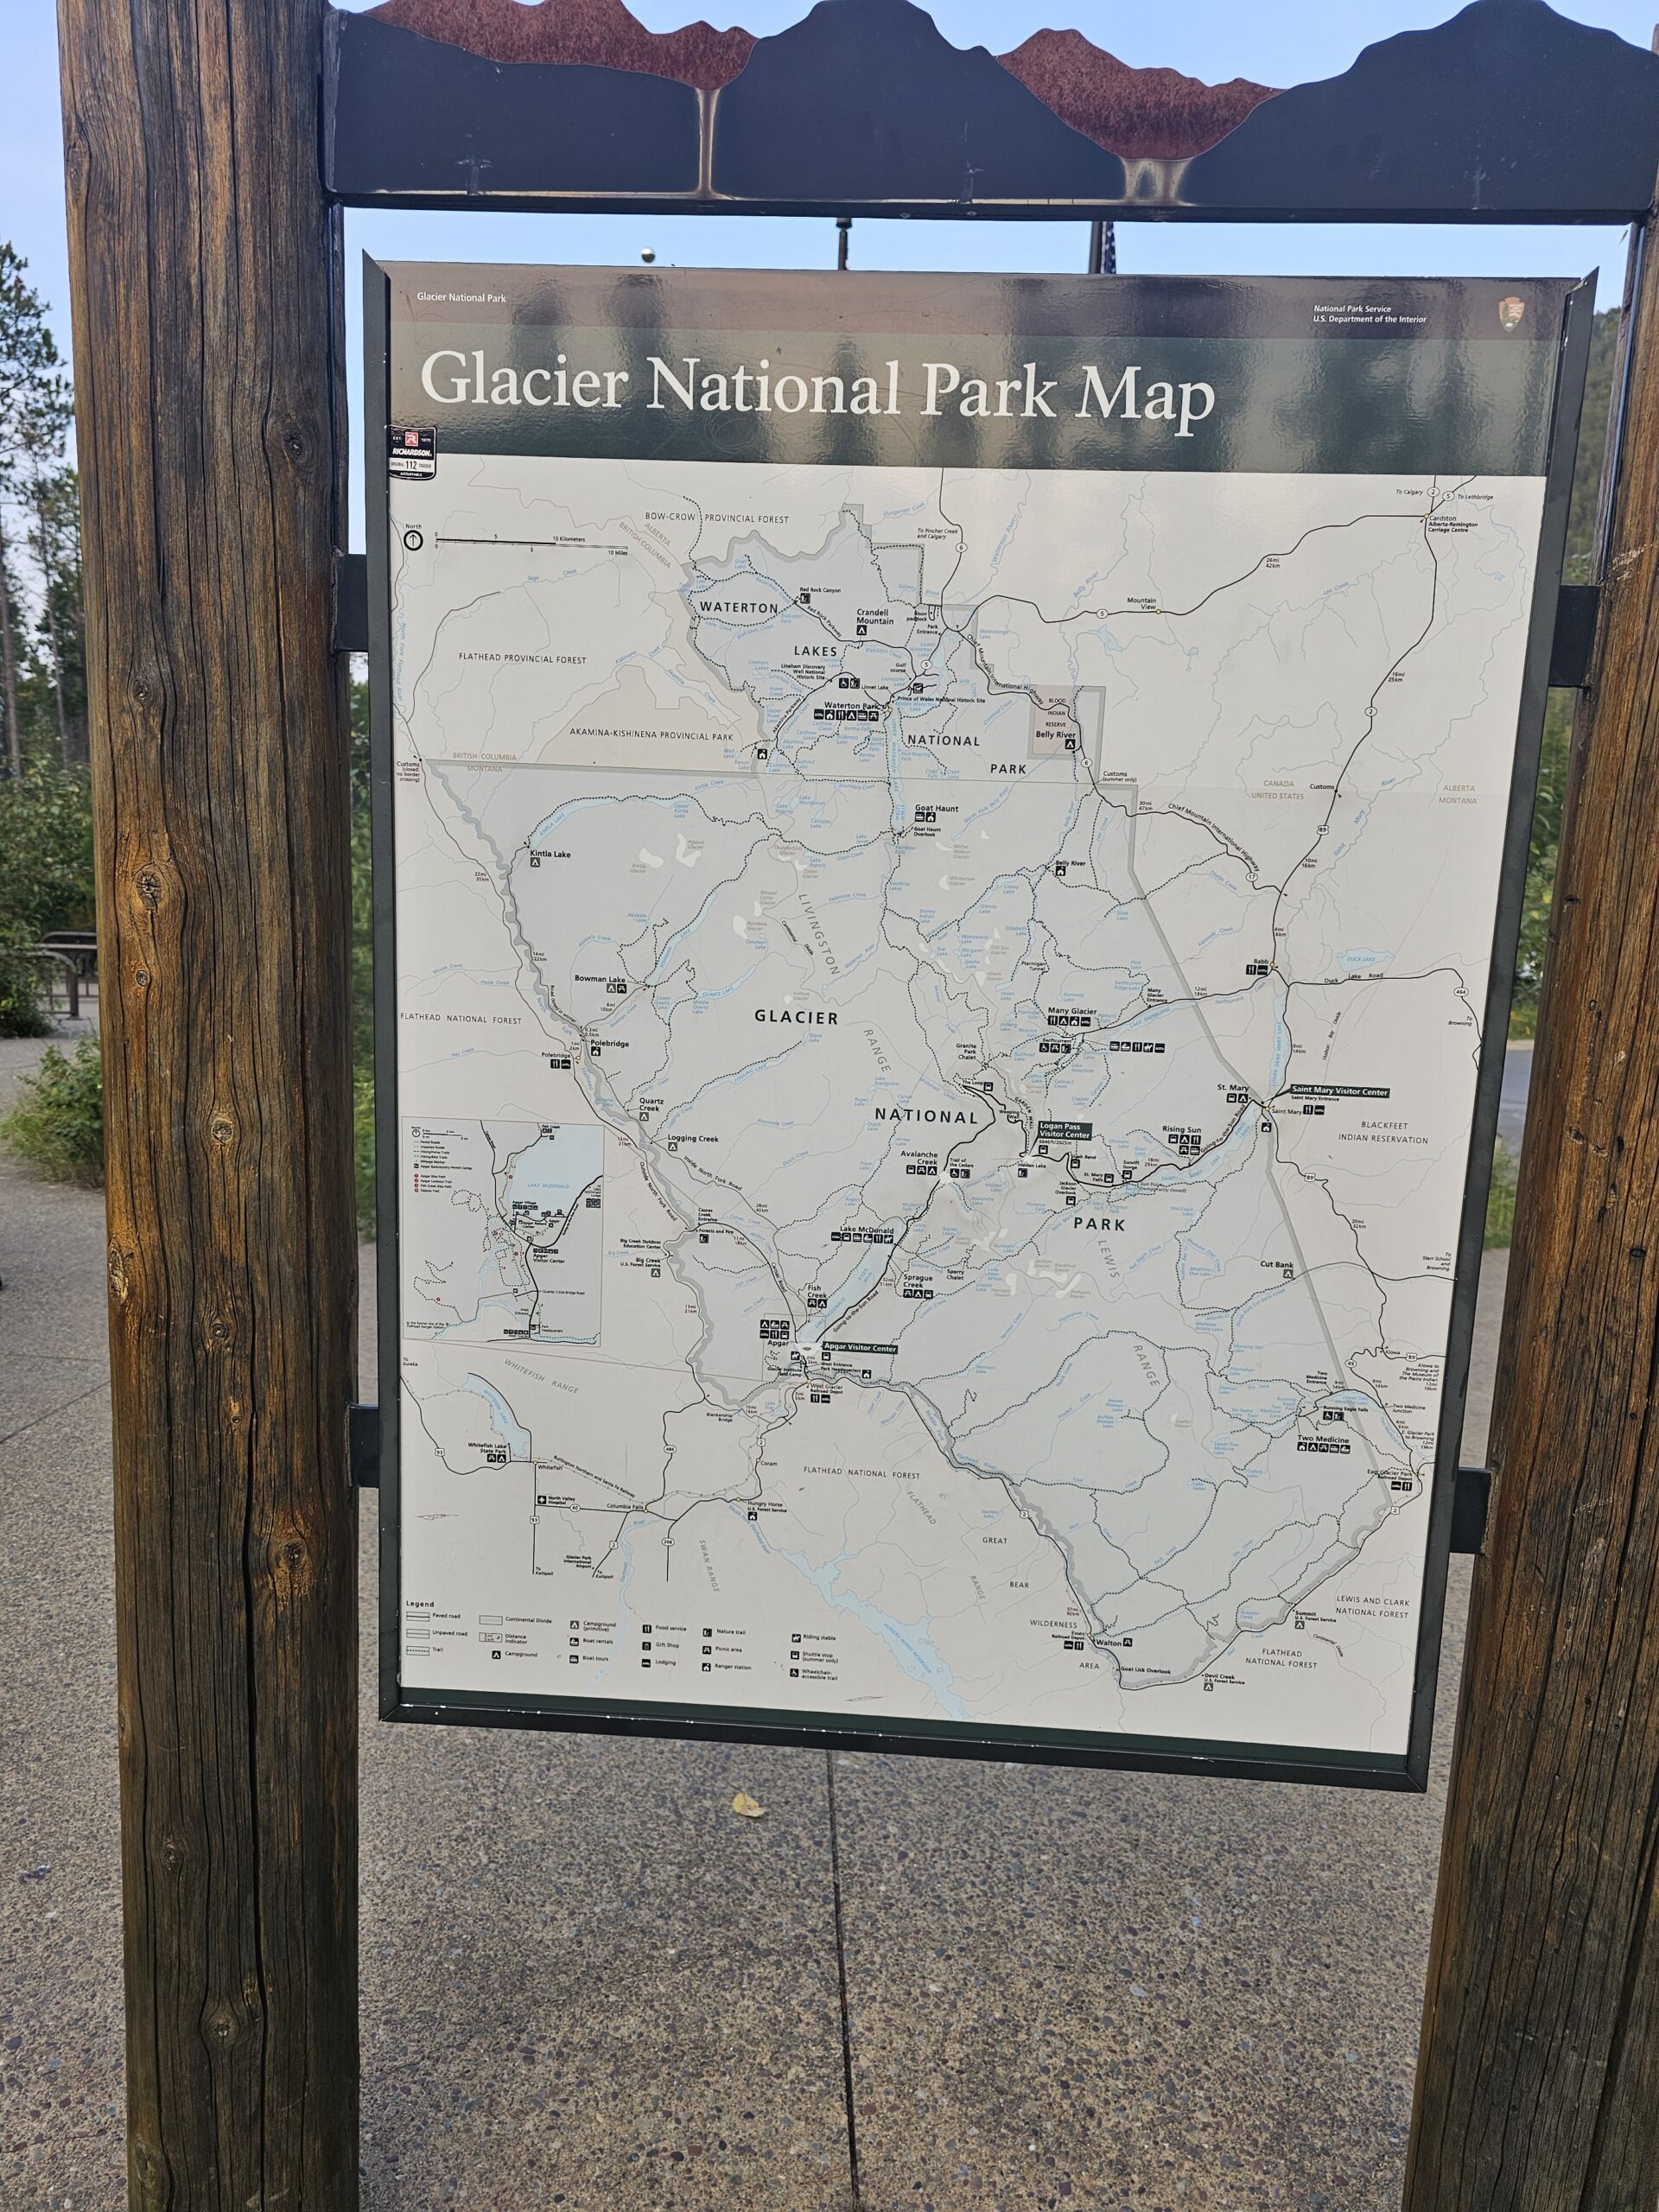
Navigating Glacier National Park: Entering Through the West Gate
The West Gate Entrance to Glacier National Park is one of the most popular entry points, offering convenient access to many of the park’s highlights. For us, it was just an hour’s drive from Lid Creek Campground, making it the perfect gateway into the park.
Before entering, we stopped at West Glacier Village, a small but bustling outpost that provides plenty of resources for visitors. Here, you can find souvenir shops offering everything from t-shirts and mugs to outdoor gear. If you’re like us and want a bite before heading into the park, Freda’s is a great place for a hearty breakfast or lunch. For pizza lovers, Glacier Highland across the street offers a variety of casual dining options.
There’s also a gas station, which we recommend using since services inside the park are limited. This is likely your last chance to refuel and stock up on essentials like snacks and drinks. It’s small, though. Keep that in mind on busy days.
If you need information on current park conditions or closures, the West Glacier Village Visitor Center is a helpful stop before entering. This is particularly useful during busy months when weather or road conditions might affect your plans.


Ticketing and Reservations for Glacier National Park
To enter Glacier National Park, you will need to purchase a park pass. The entry fee is $35 per vehicle, which covers everyone inside the car and is good for 7 days of entry. Alternatively, if you’re planning to visit multiple national parks within a year, the America the Beautiful Annual Pass is a great option at $80, granting access to all U.S. national parks.
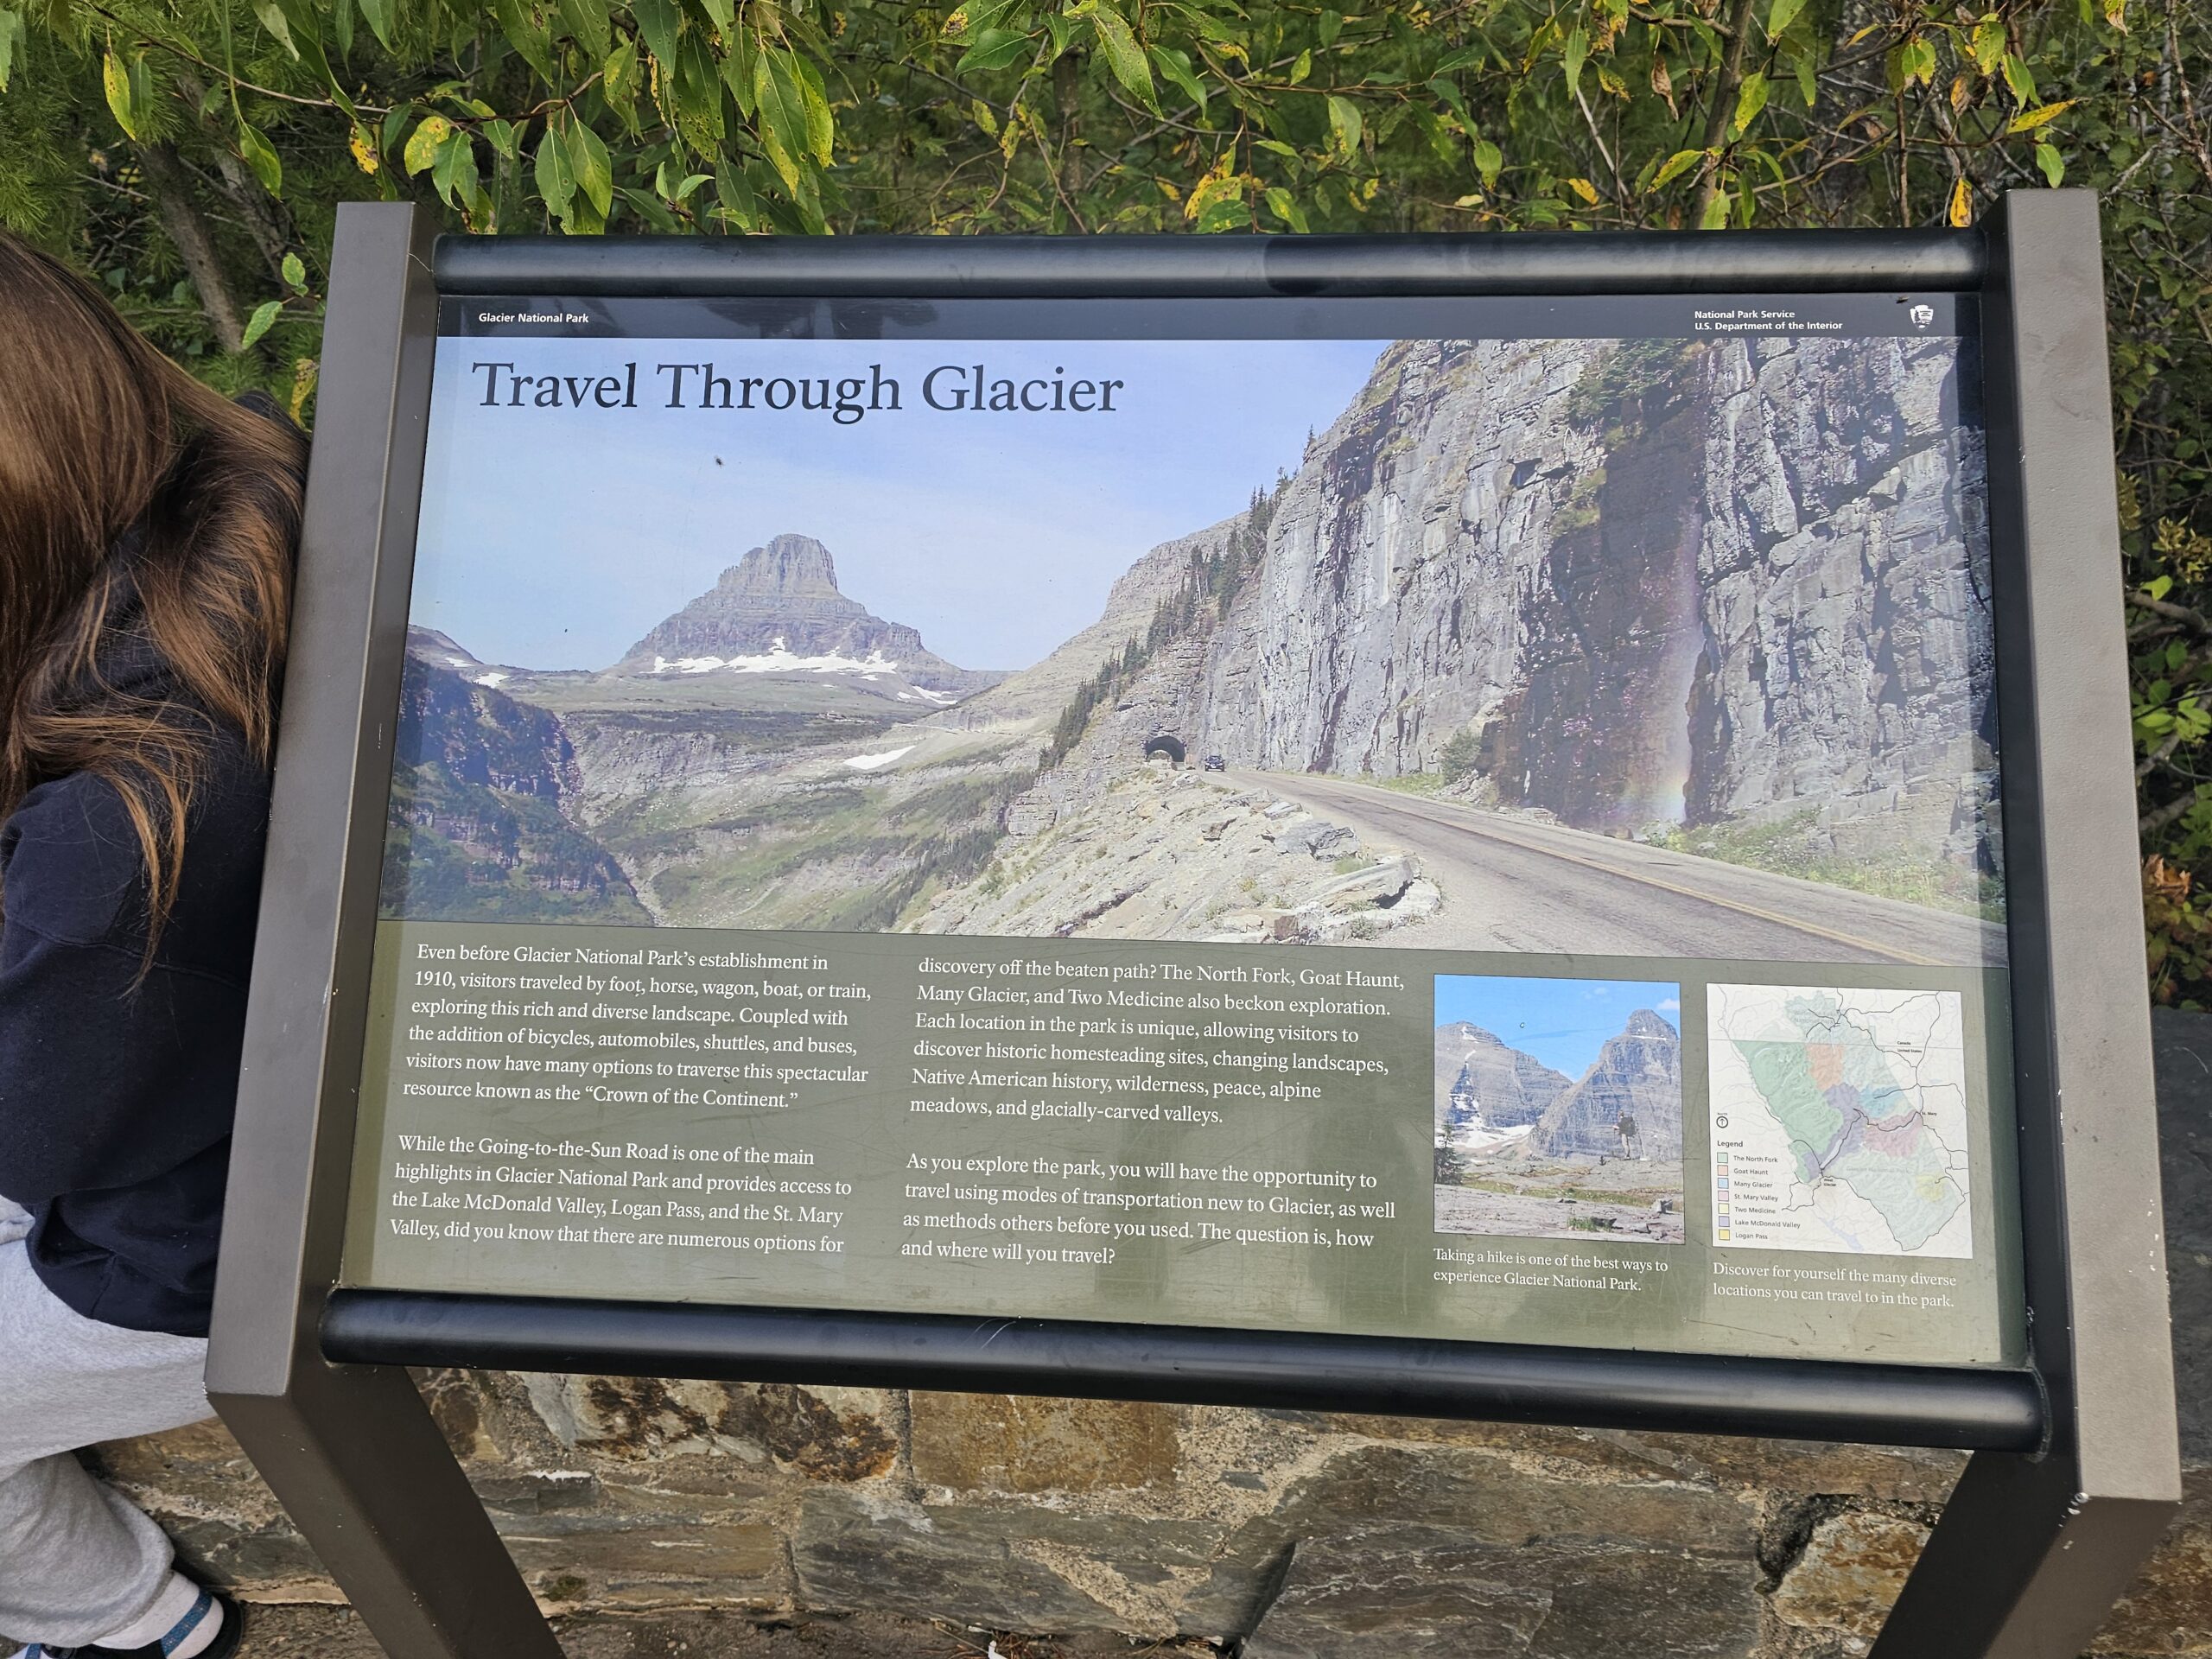
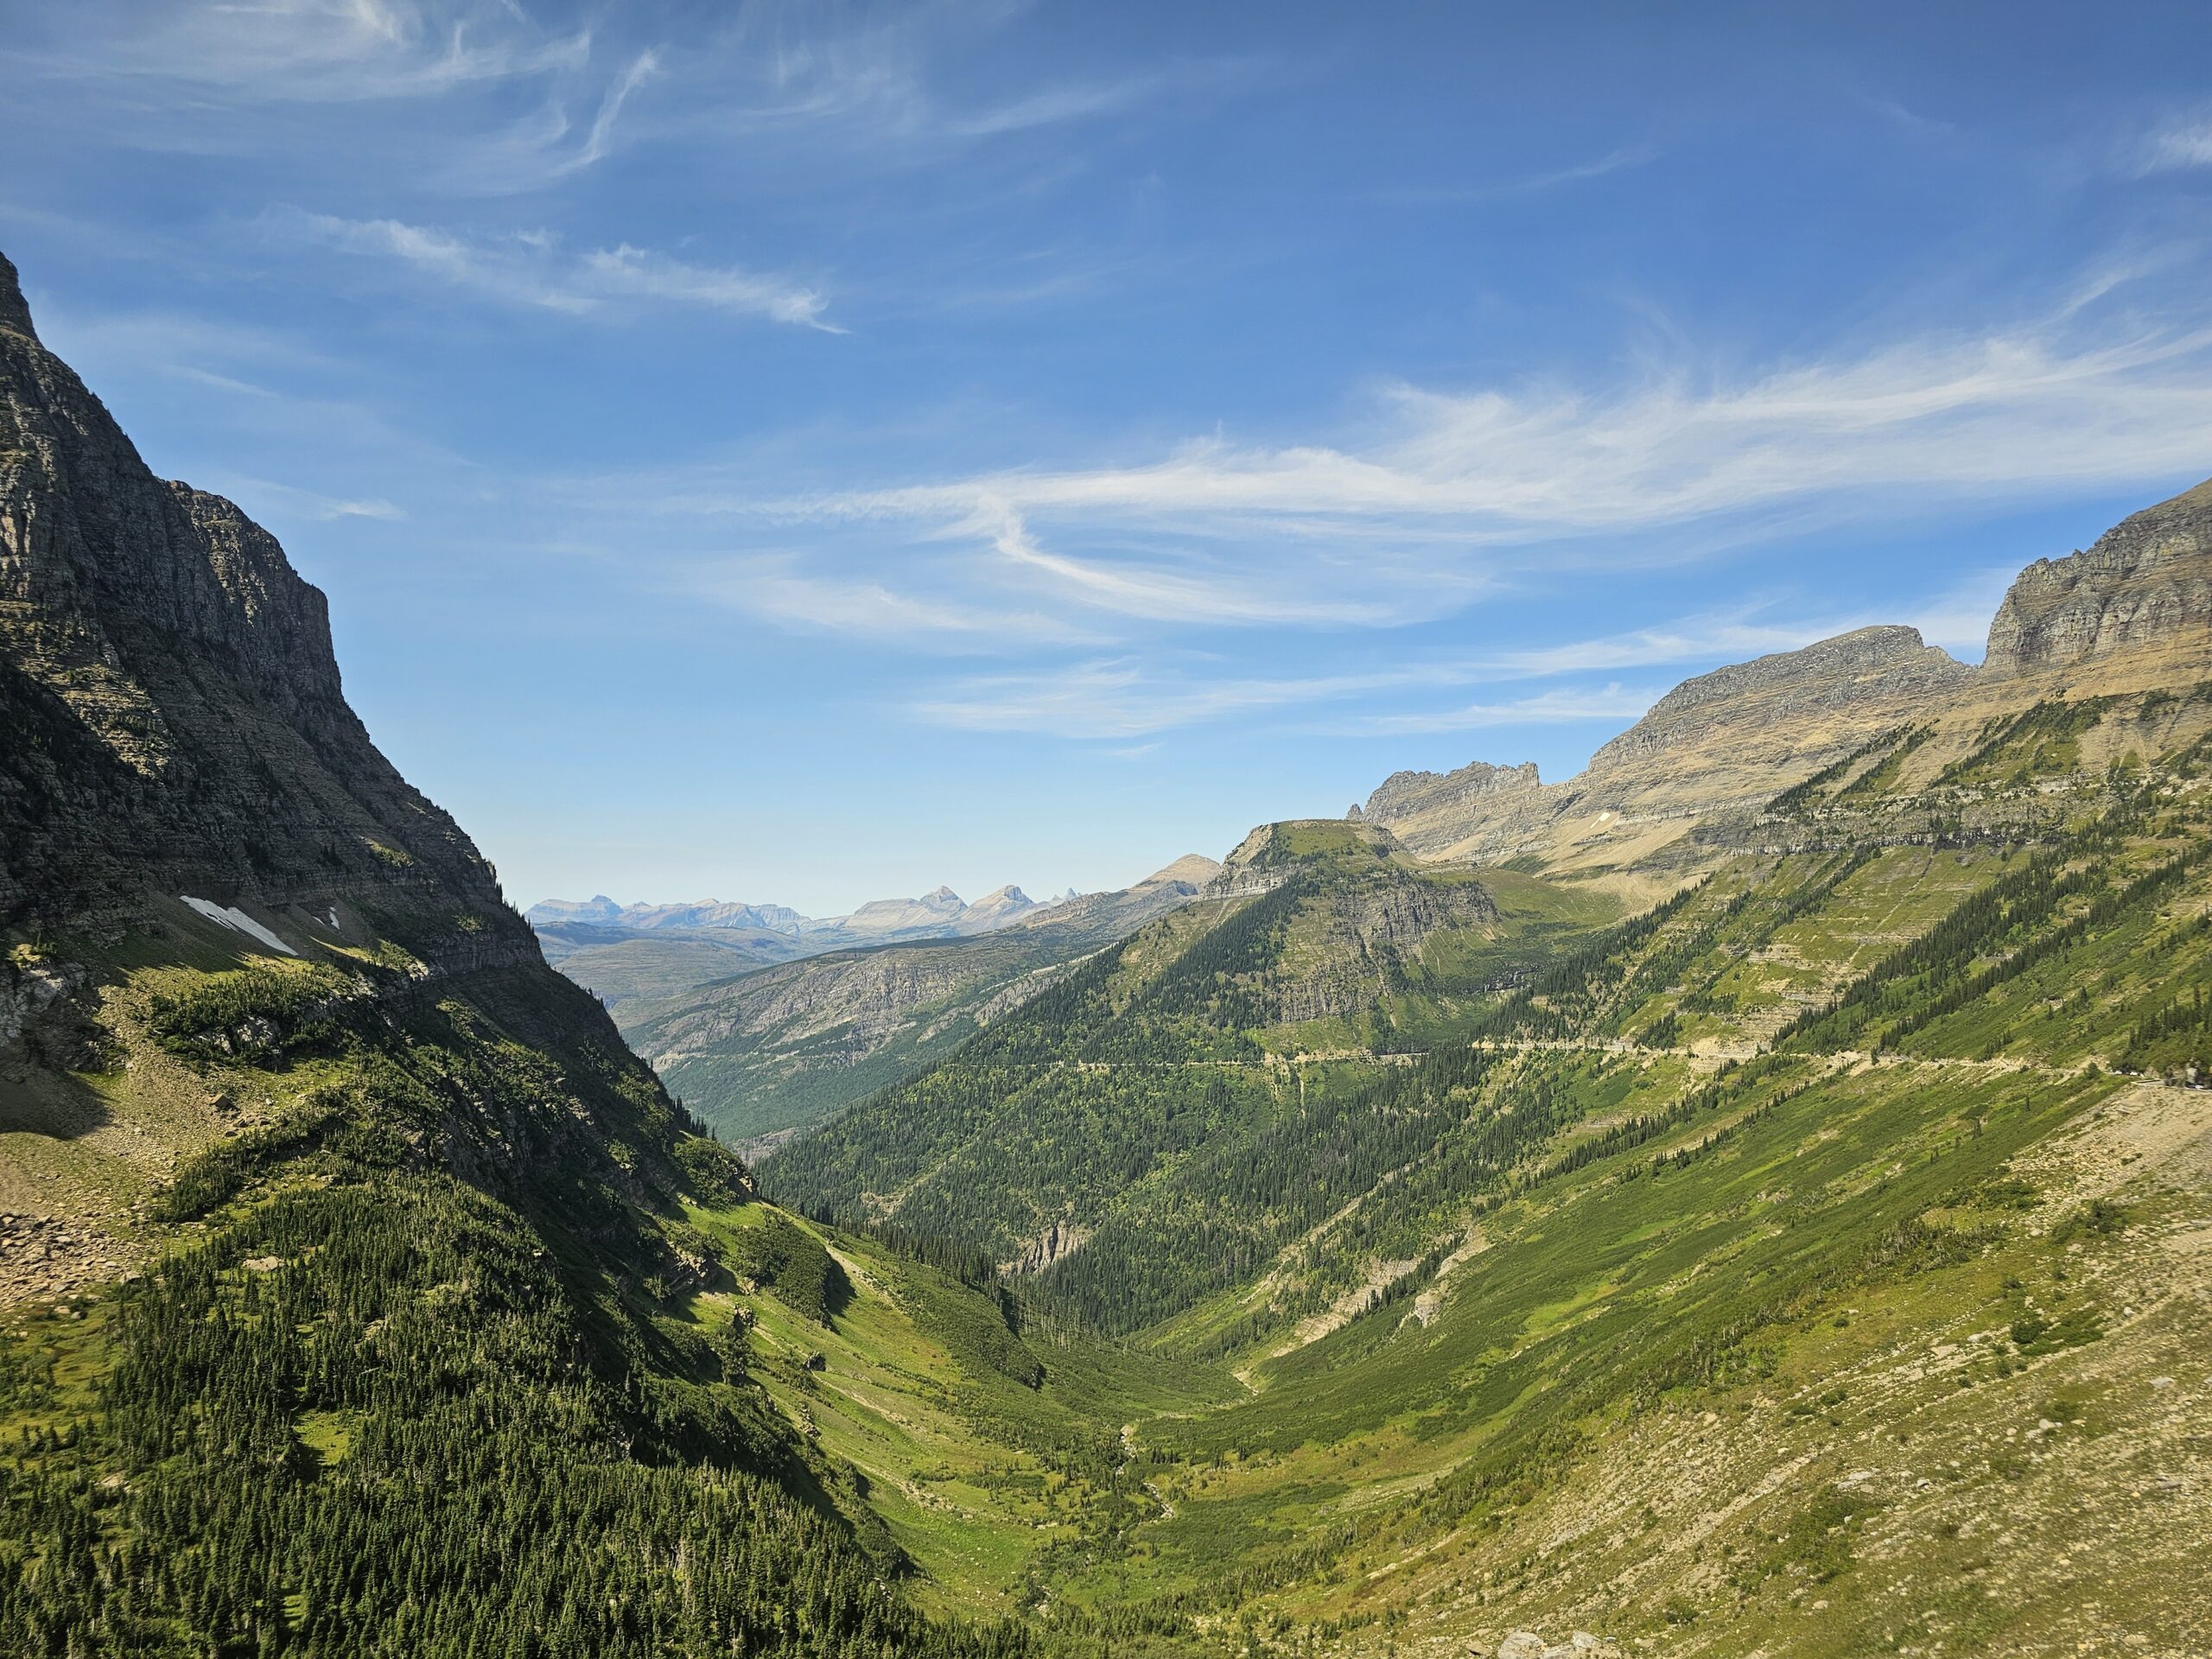
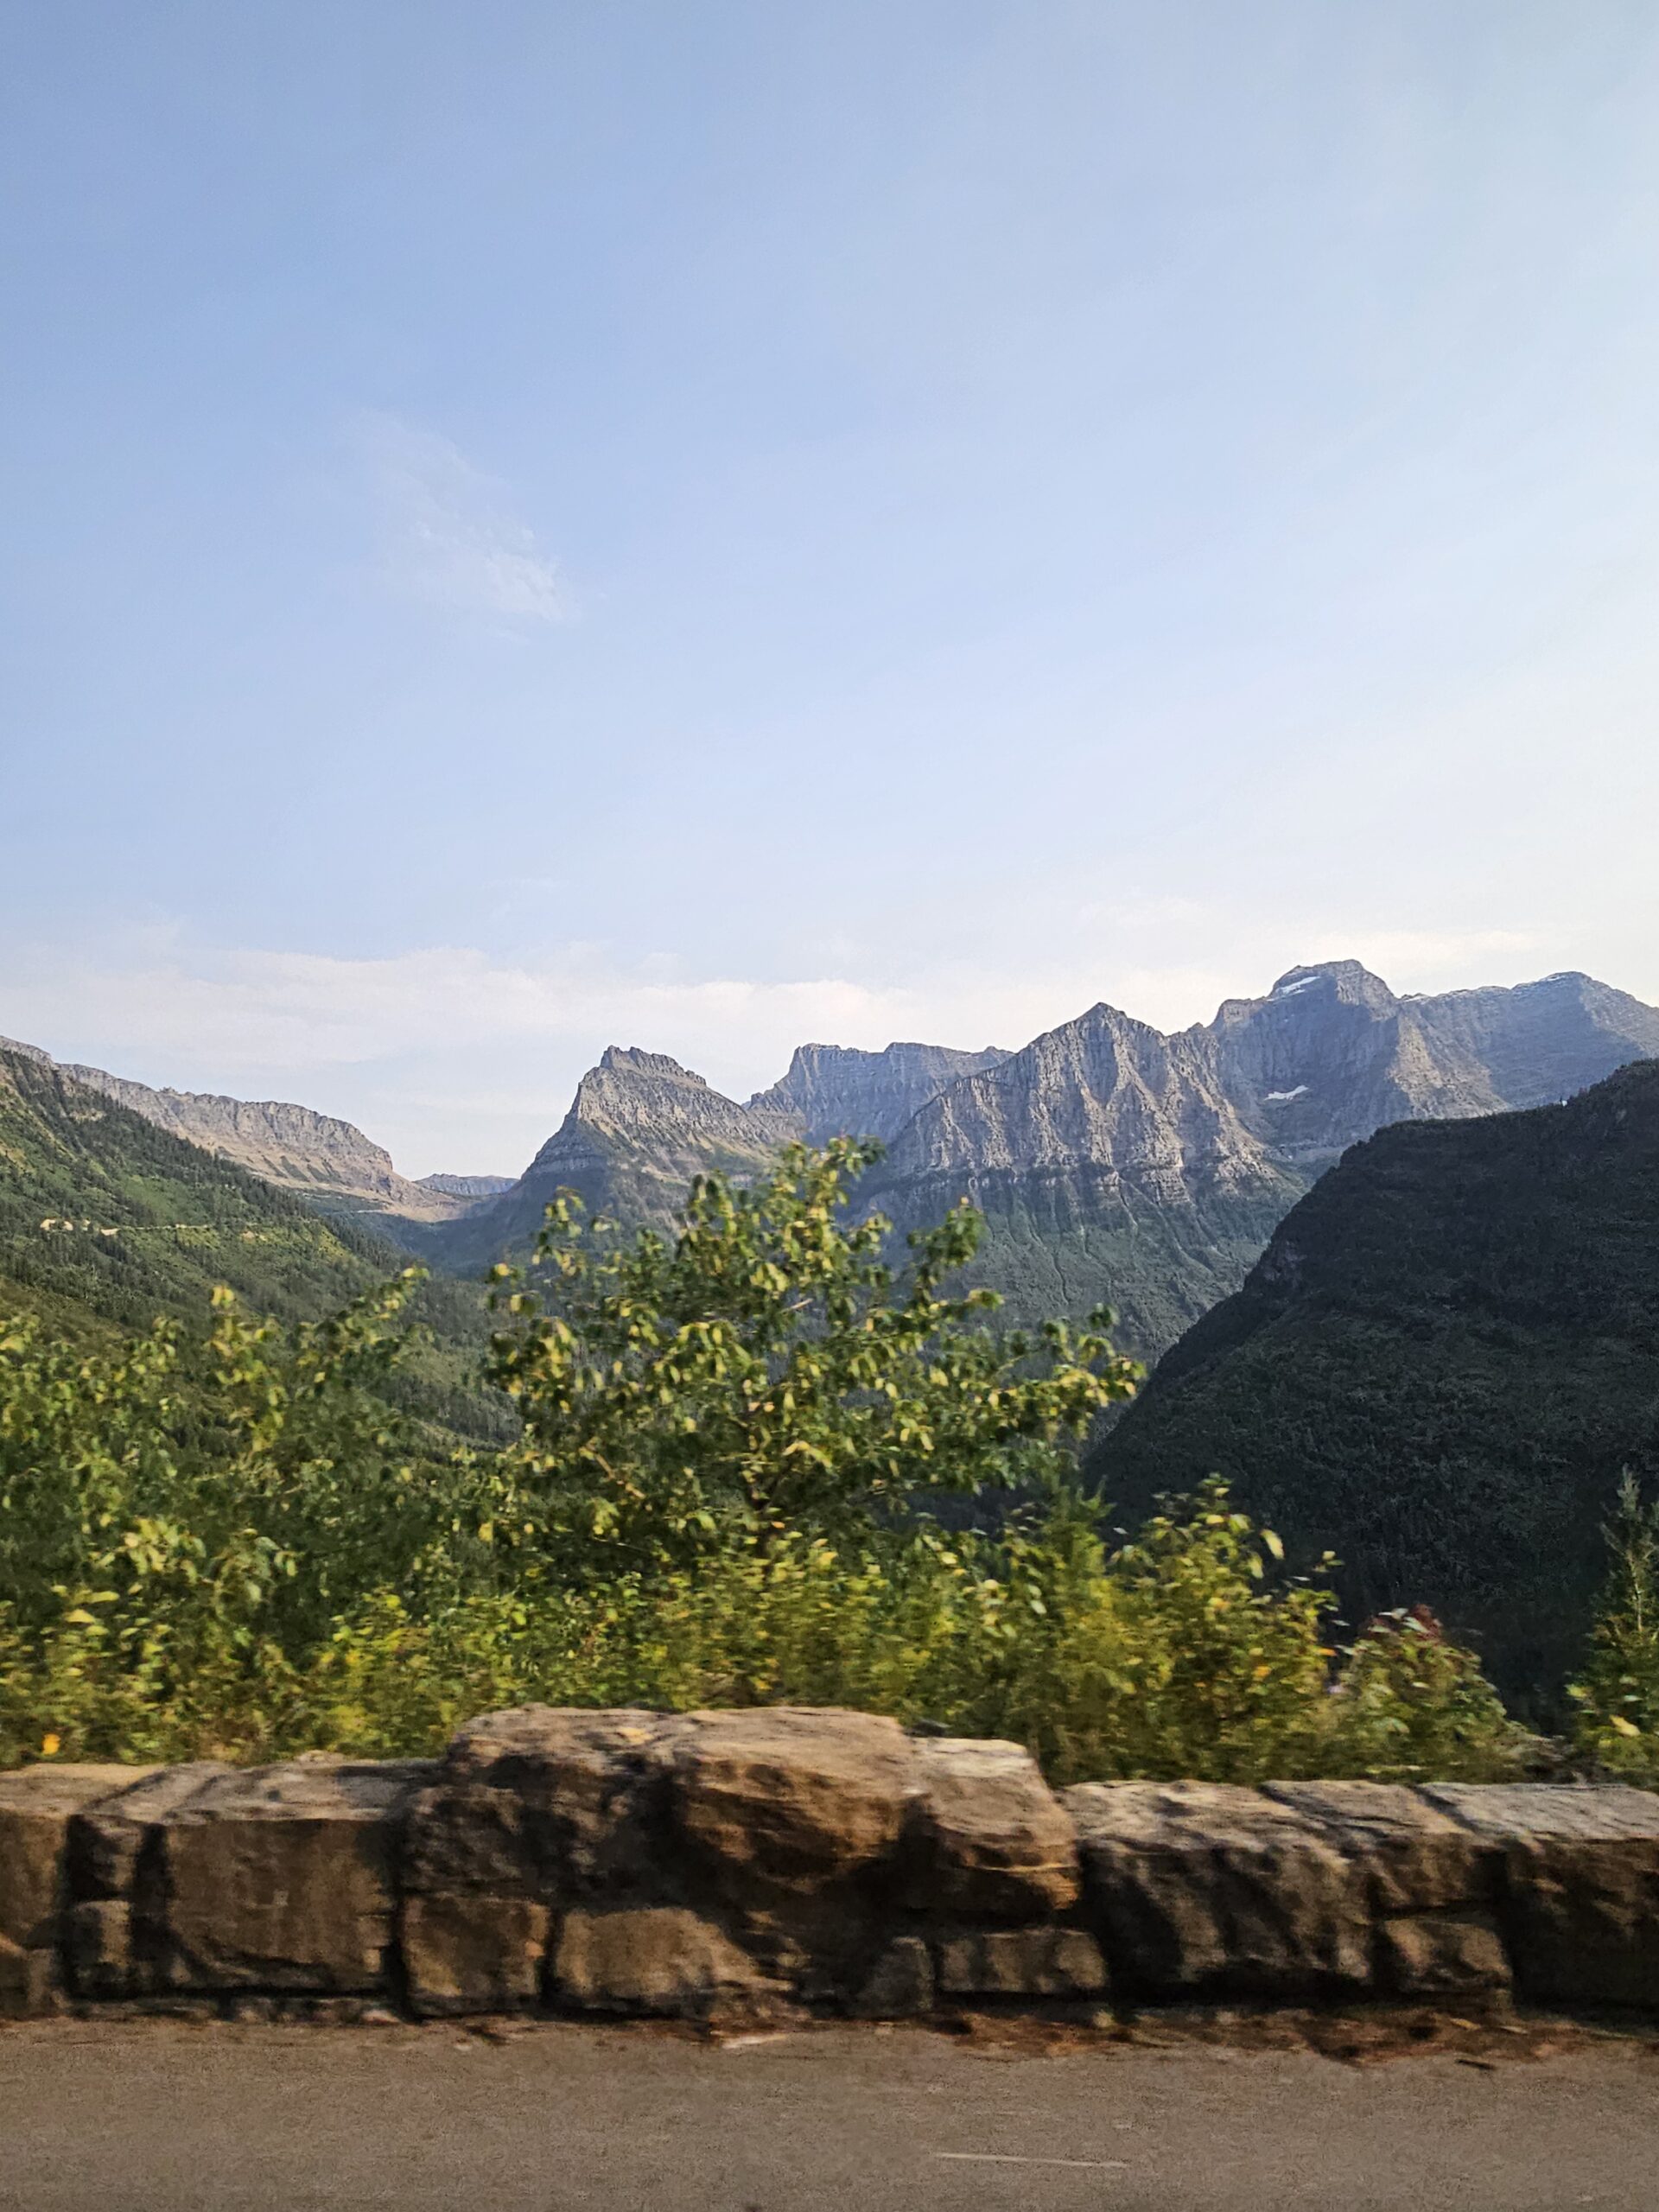
Going-to-the-Sun Road Reservations
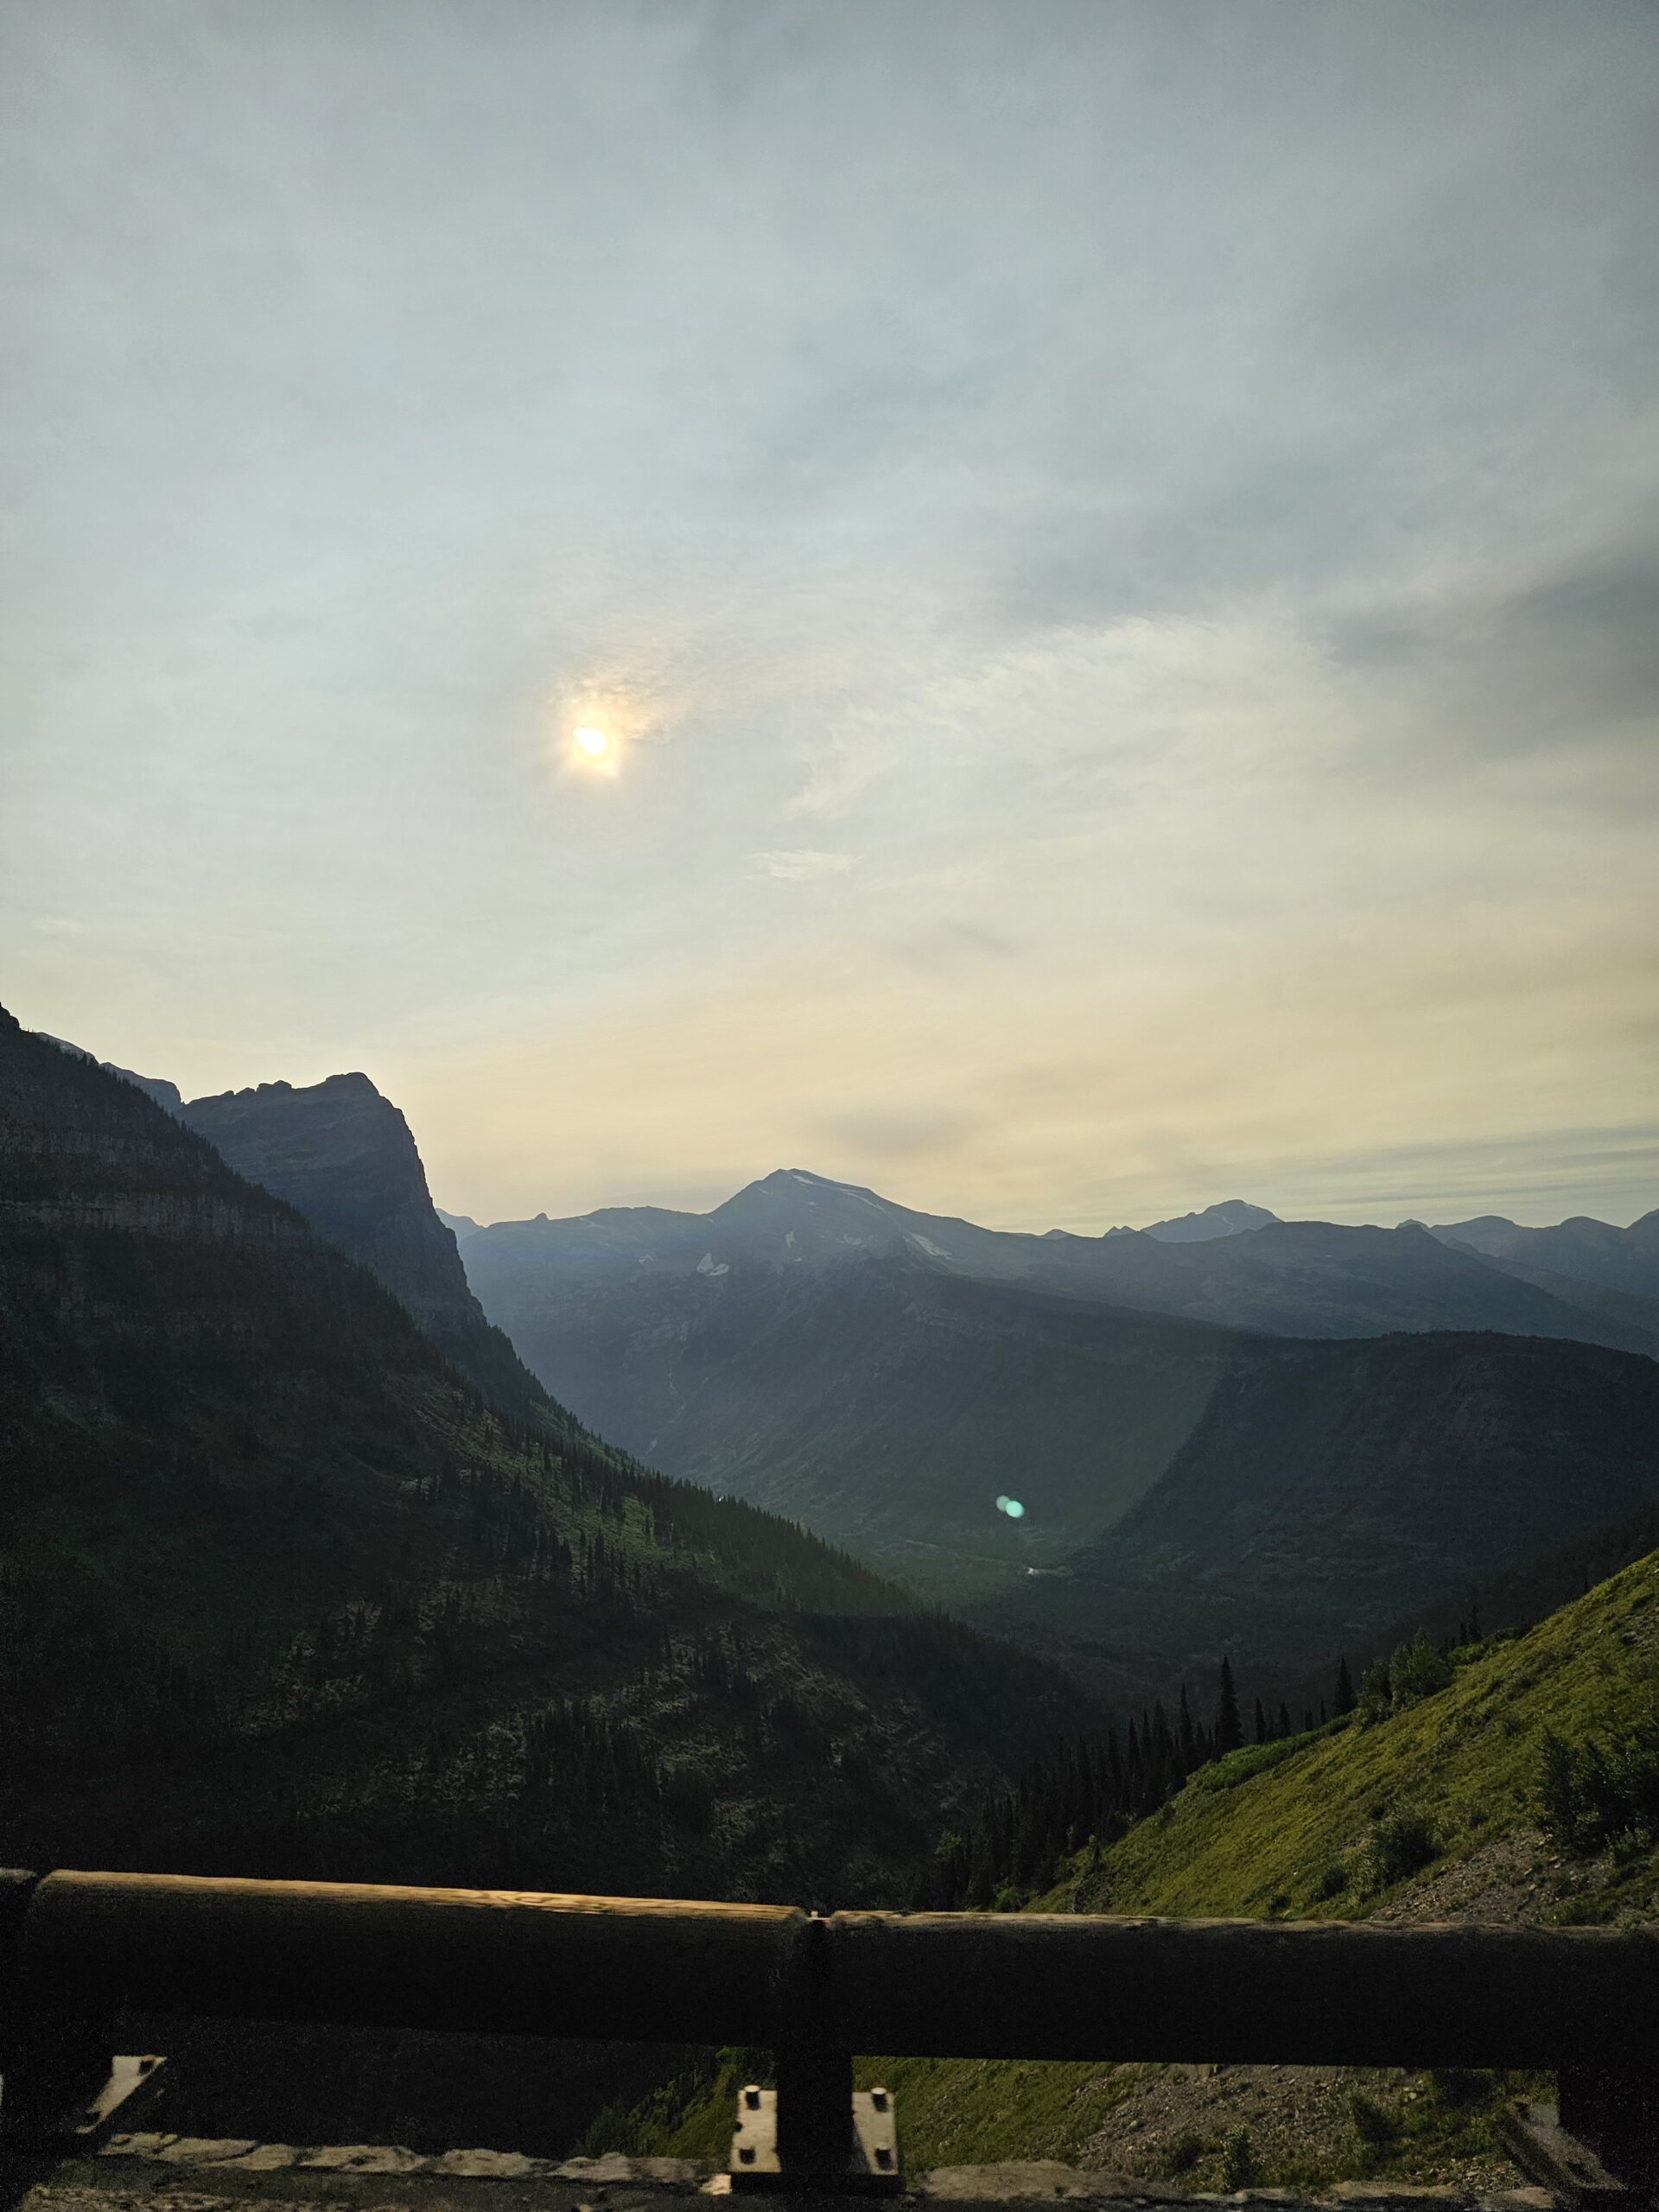
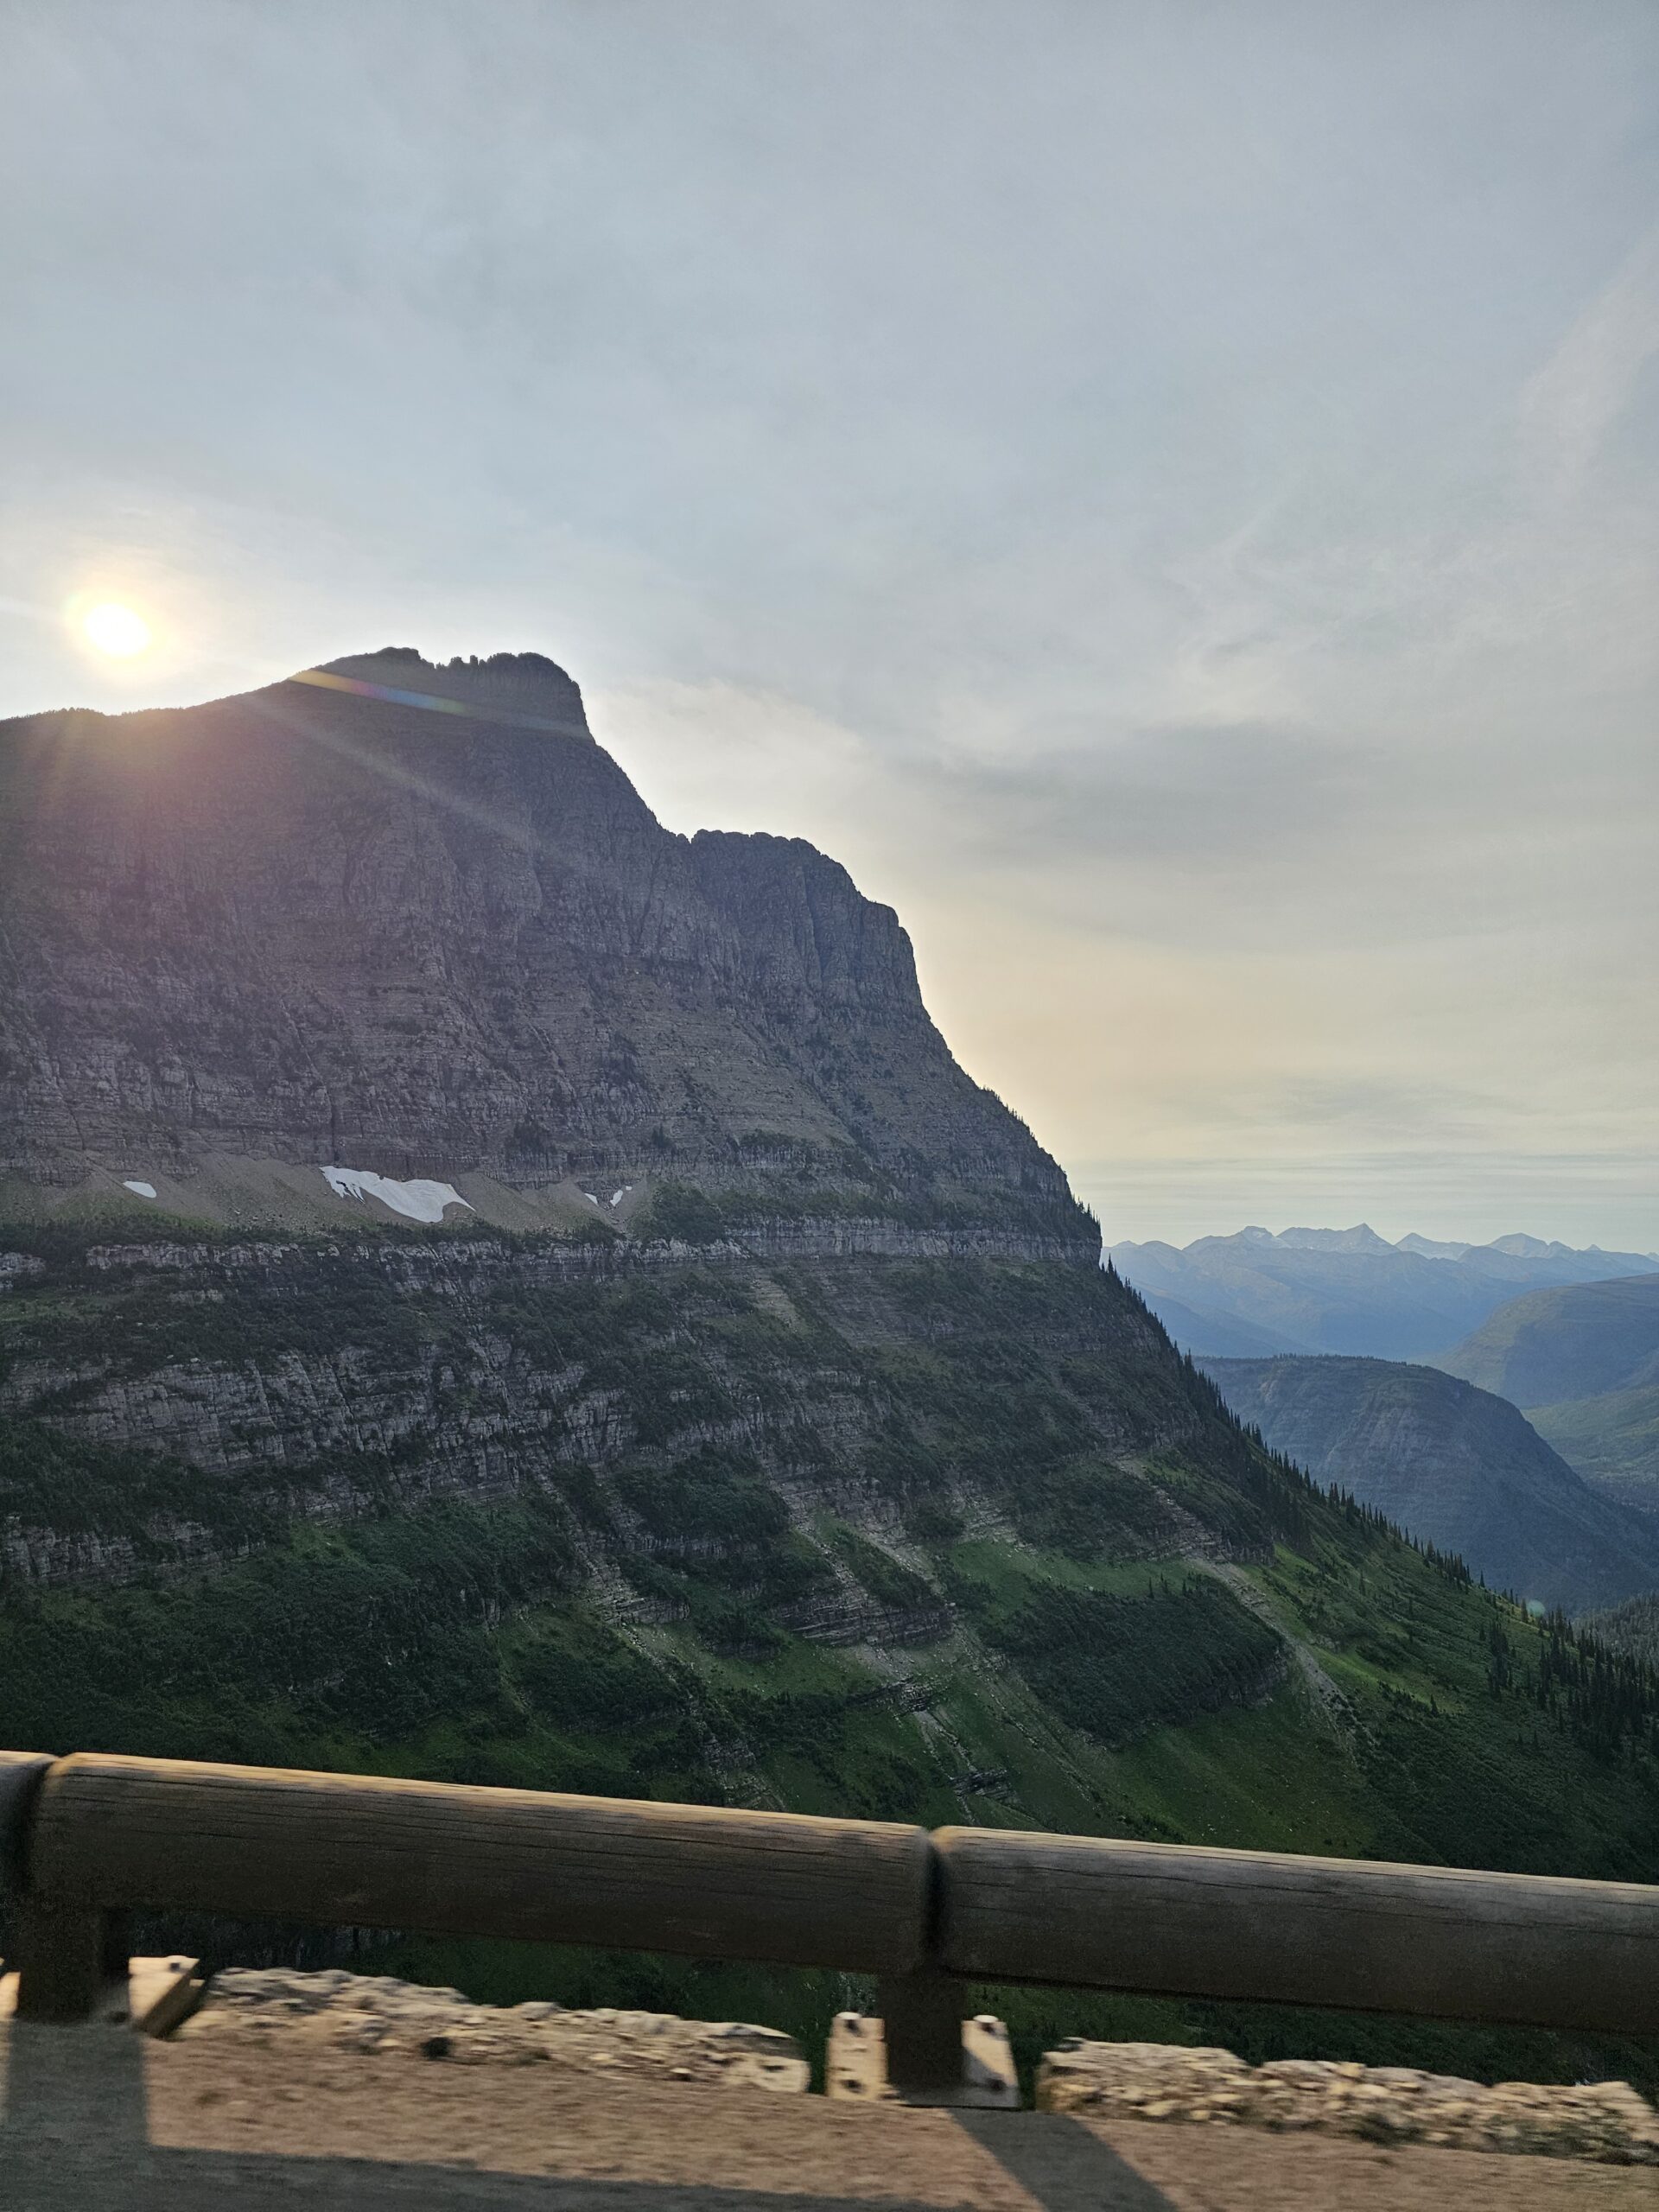
One of the most important things to know before visiting Glacier is that, to drive the iconic Going-to-the-Sun Road during peak hours yourself, you’ll need an additional $2 reservation. This reservation is required between 6 AM and 3 PM from mid-May to mid-September. If you haven’t booked this in advance, you won’t be able to drive on the road during these hours. However, after 3 PM or before 6 AM, the road is accessible without a reservation. It’s important to remember that it needs to be booked in advance. They will not allow same-day reservations.
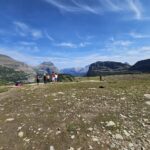
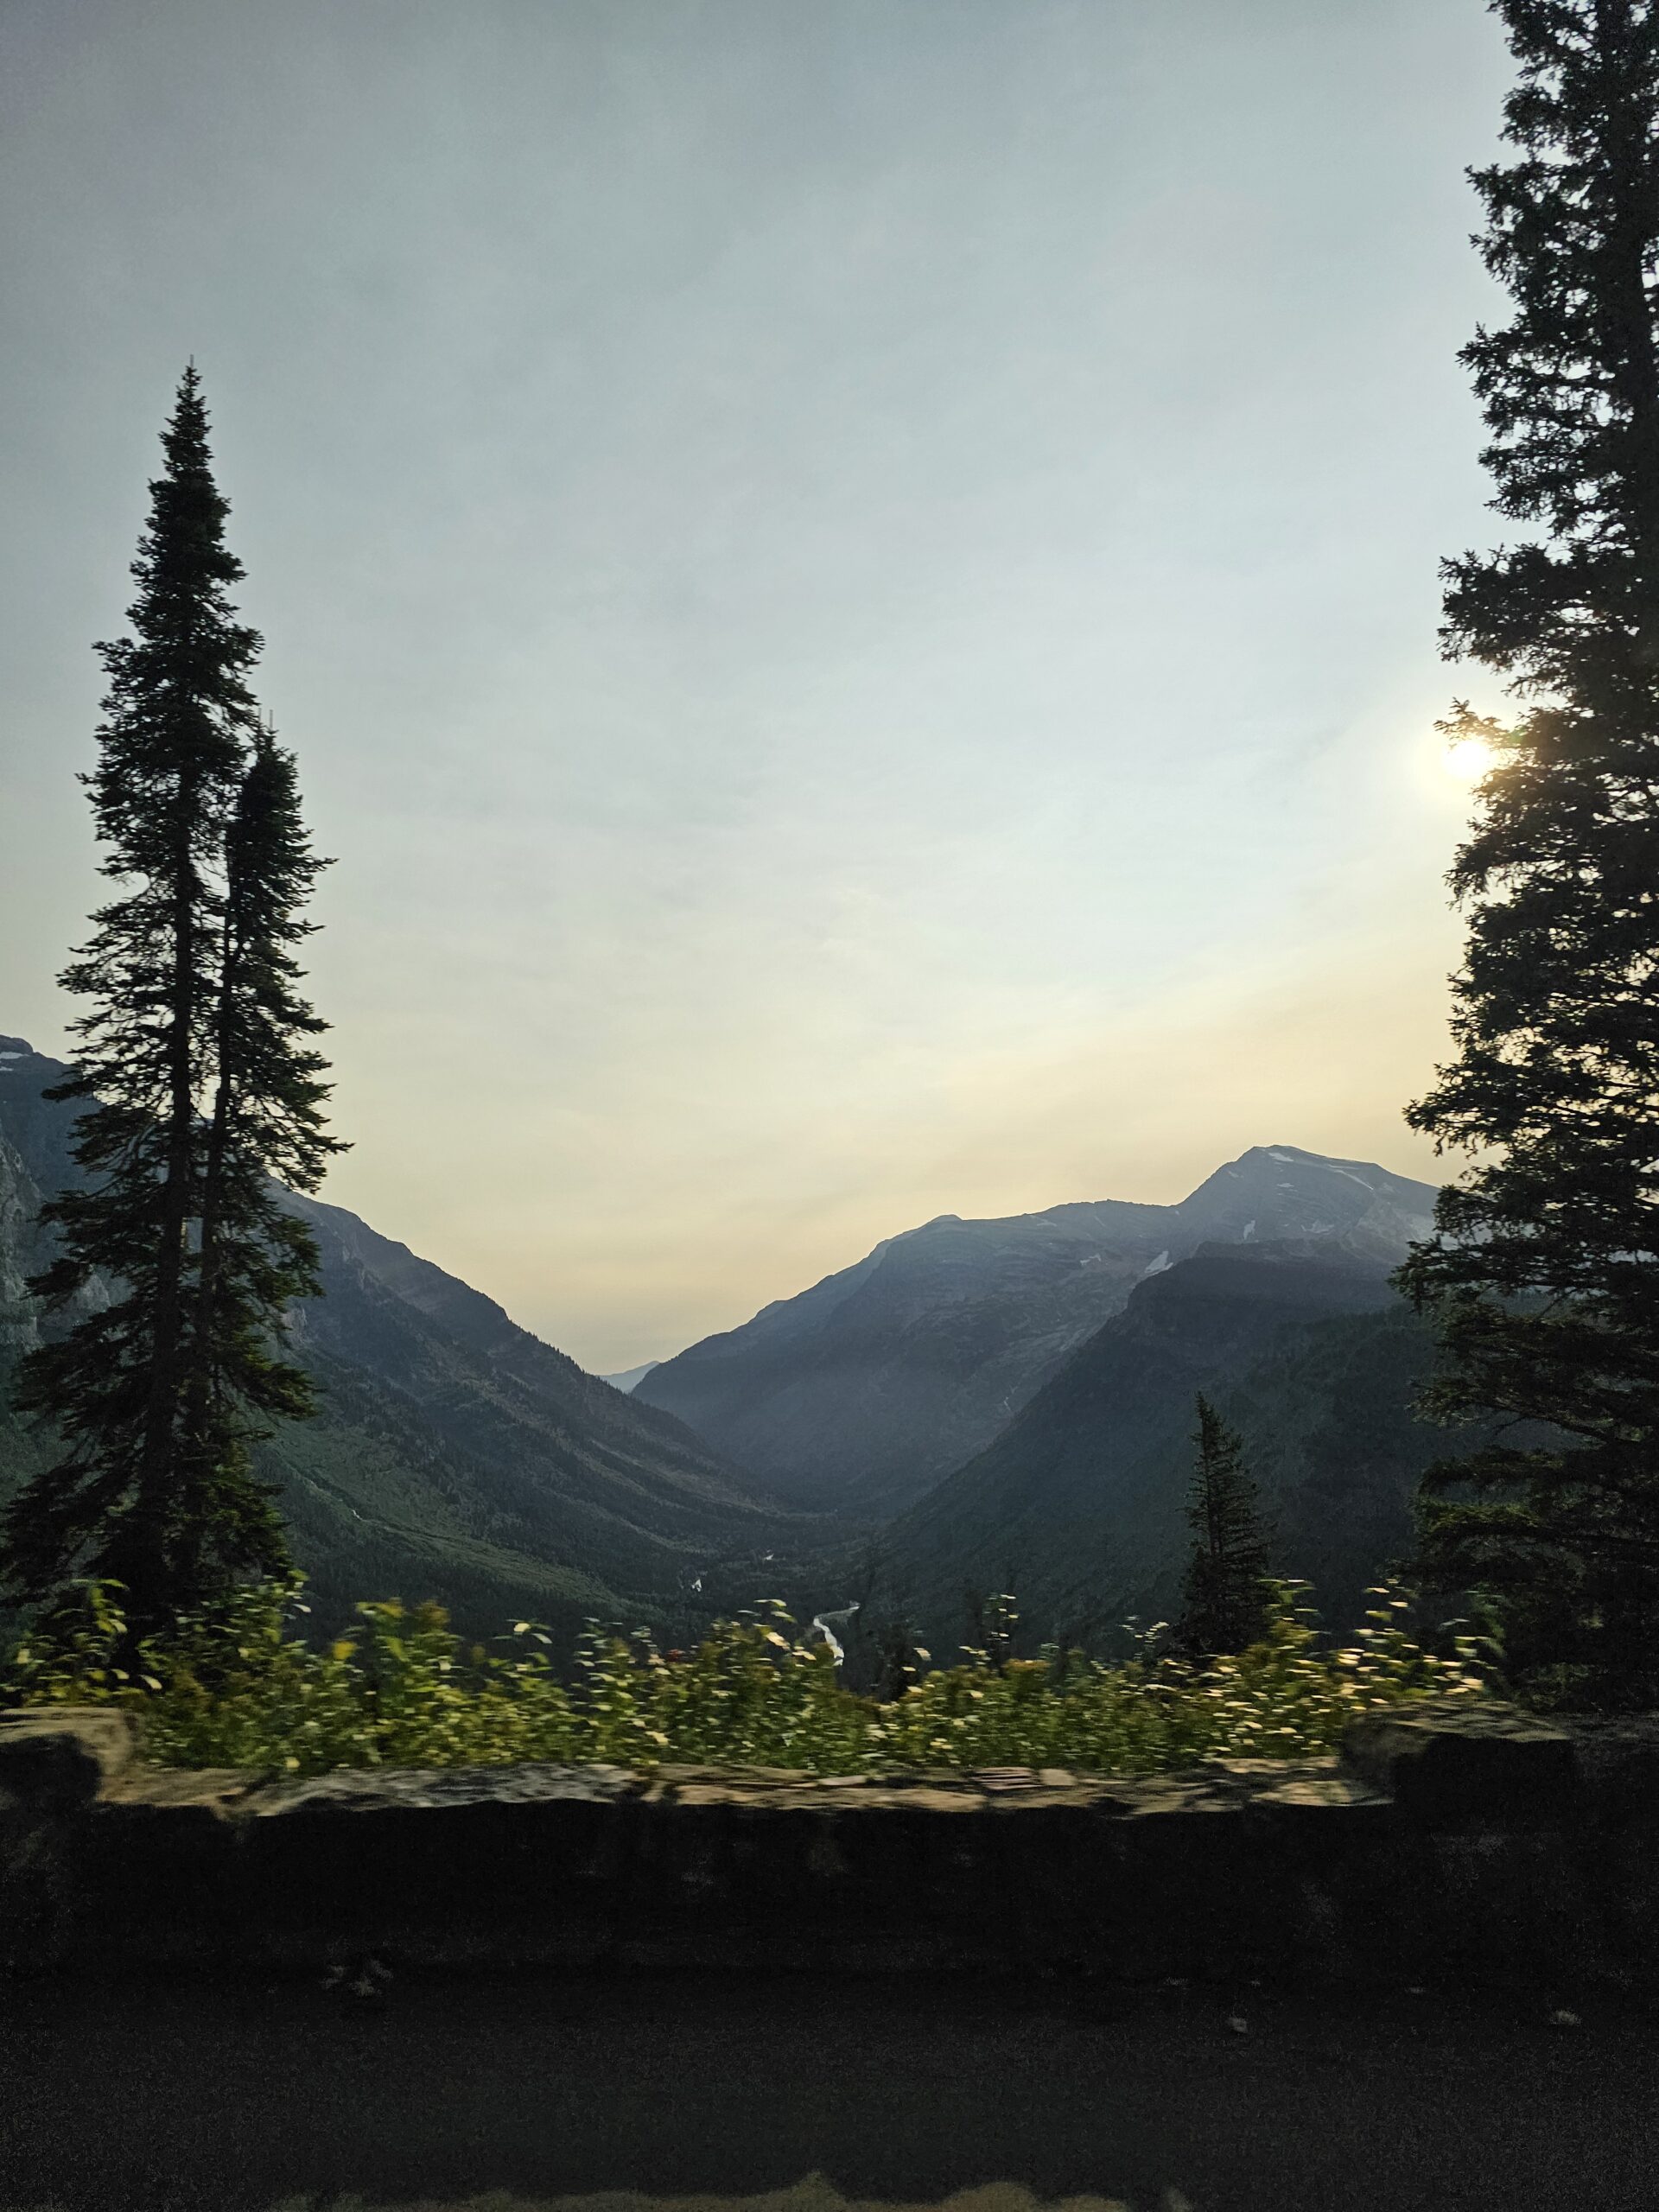
We found that getting into the park before 6 AM was the best way to avoid both the crowds and the reservation requirement. Many visitors take advantage of this by arriving early, parking their cars, and even taking a quick nap before continuing their adventure. However, we took the shuttle which was it’s own fun experience!

Apgar Village – Your First Stop Inside Glacier National Park
After passing through the West Gate, our first stop was the Apgar Village visit center parking lot, located just a short drive from the entrance and near the southern shore of Lake McDonald. Apgar is a perfect basecamp for visitors exploring the park, offering a mix of amenities and activities.
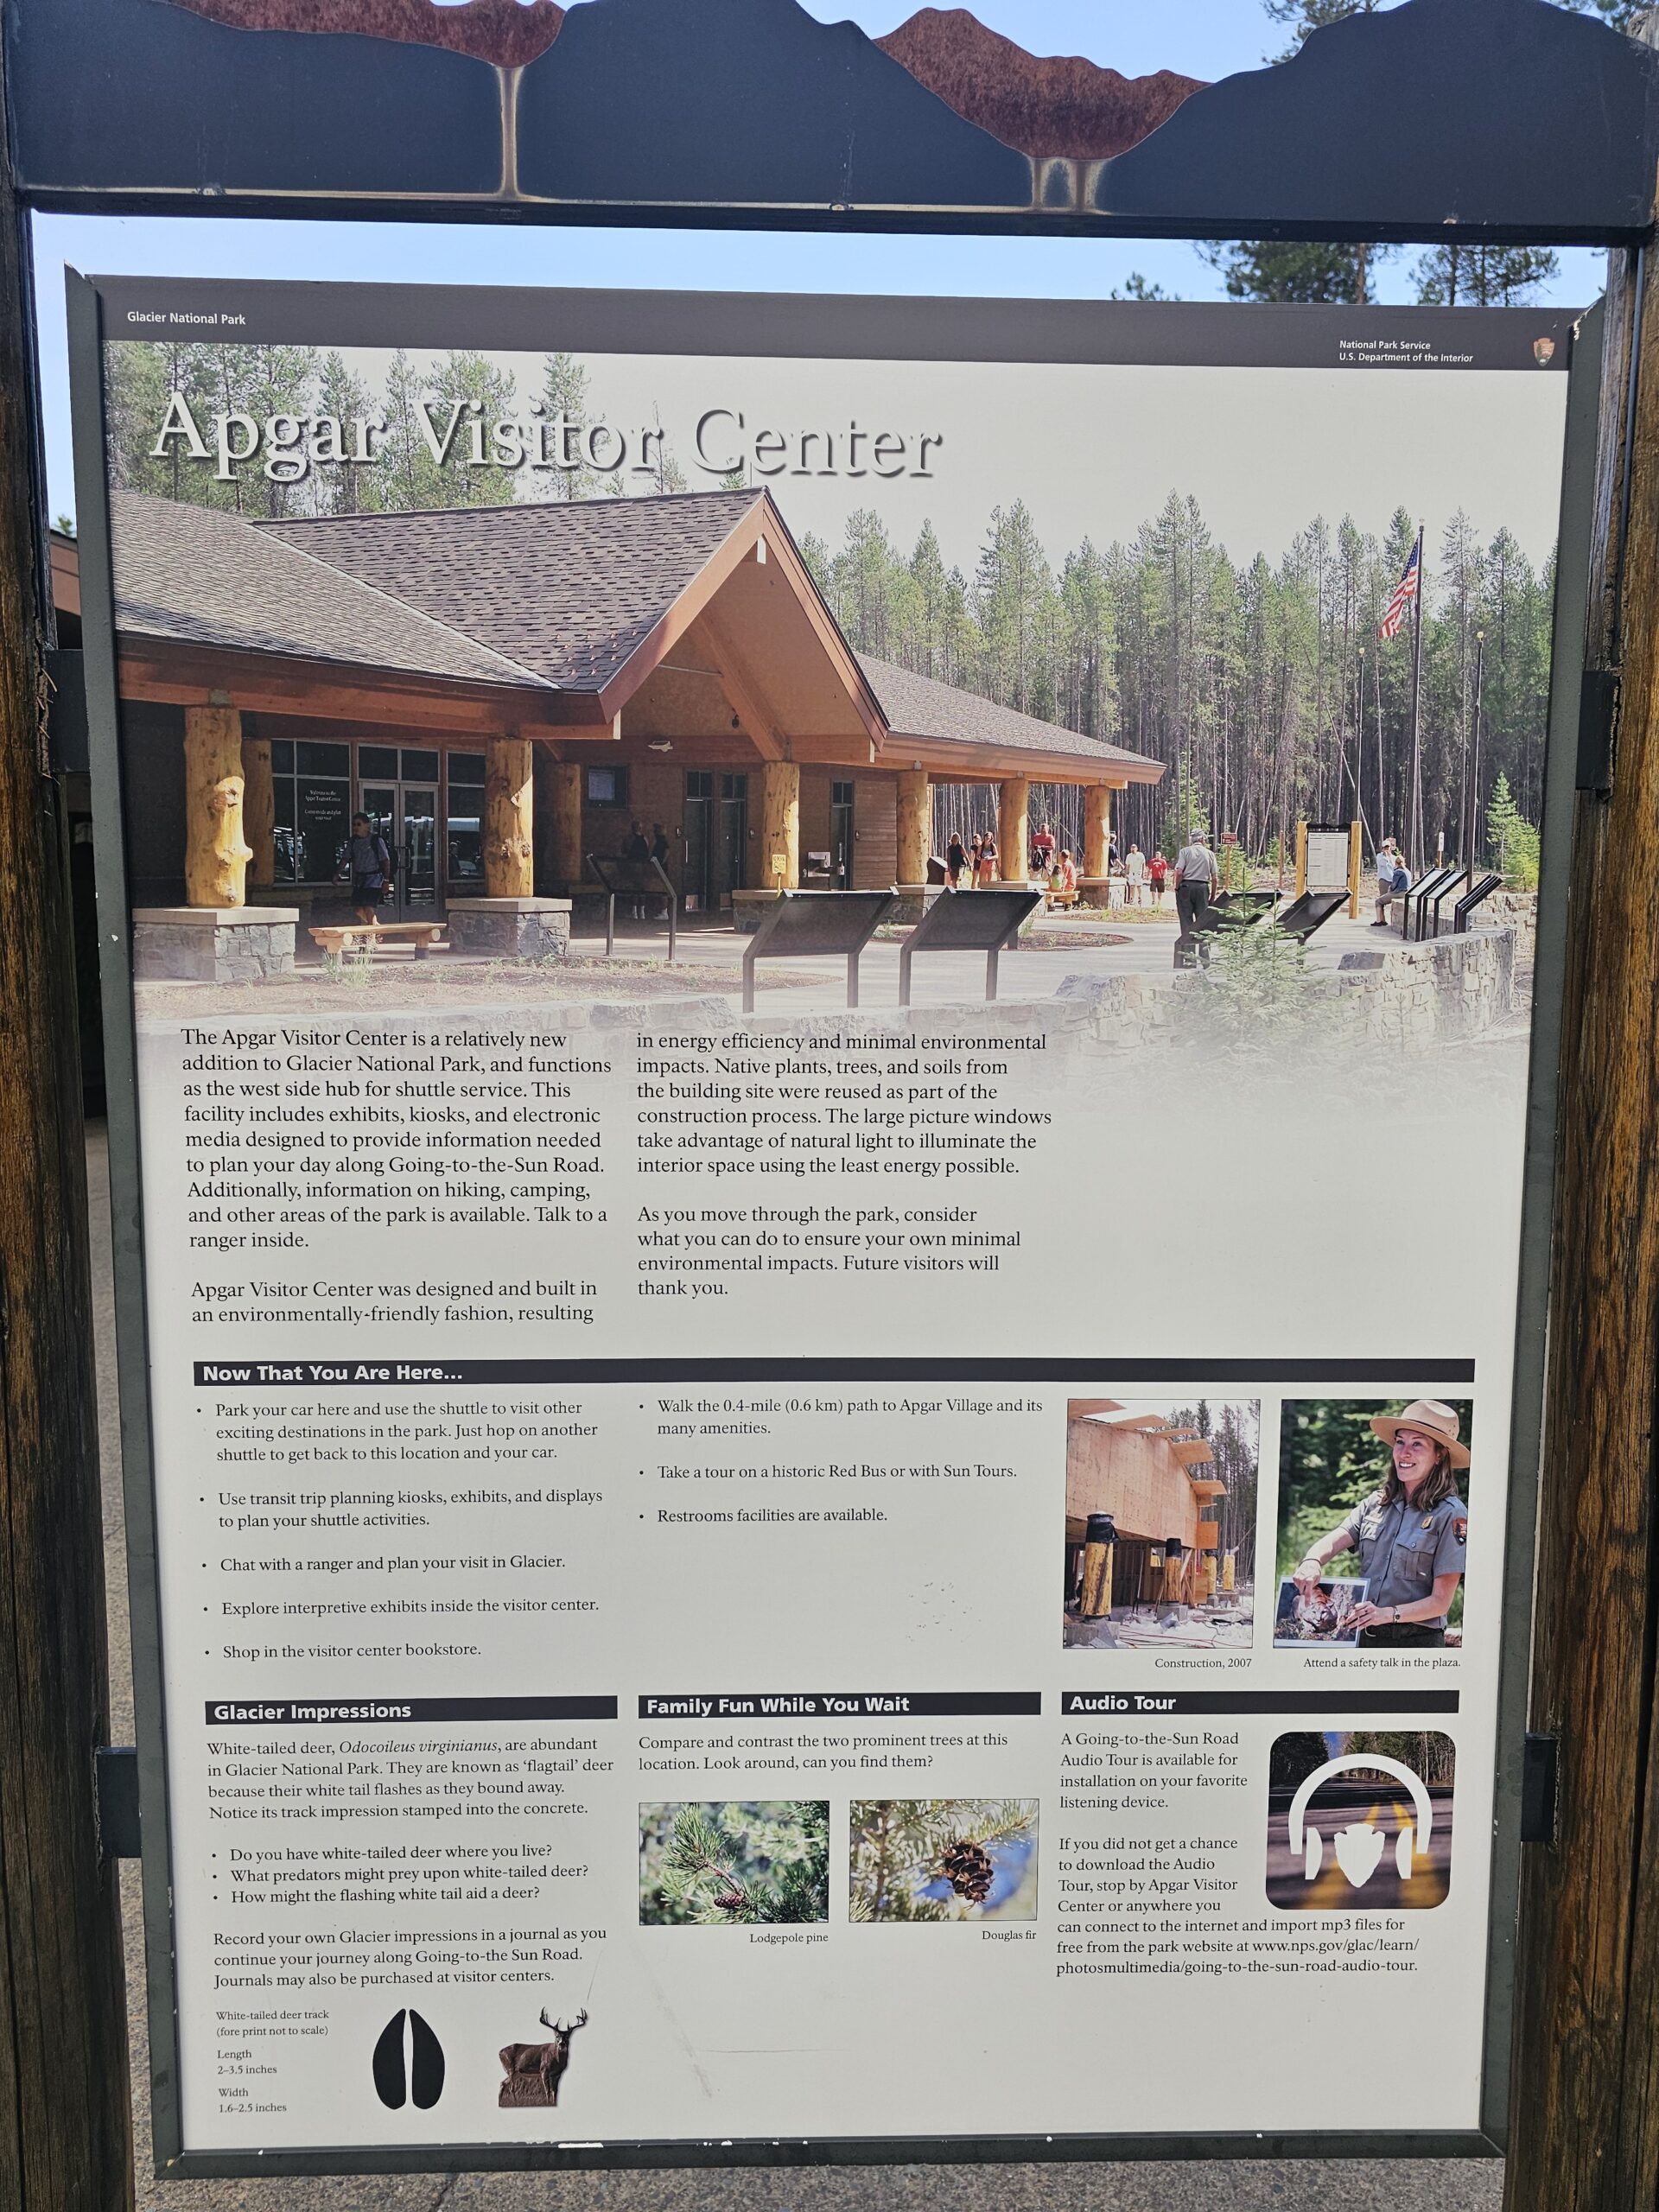
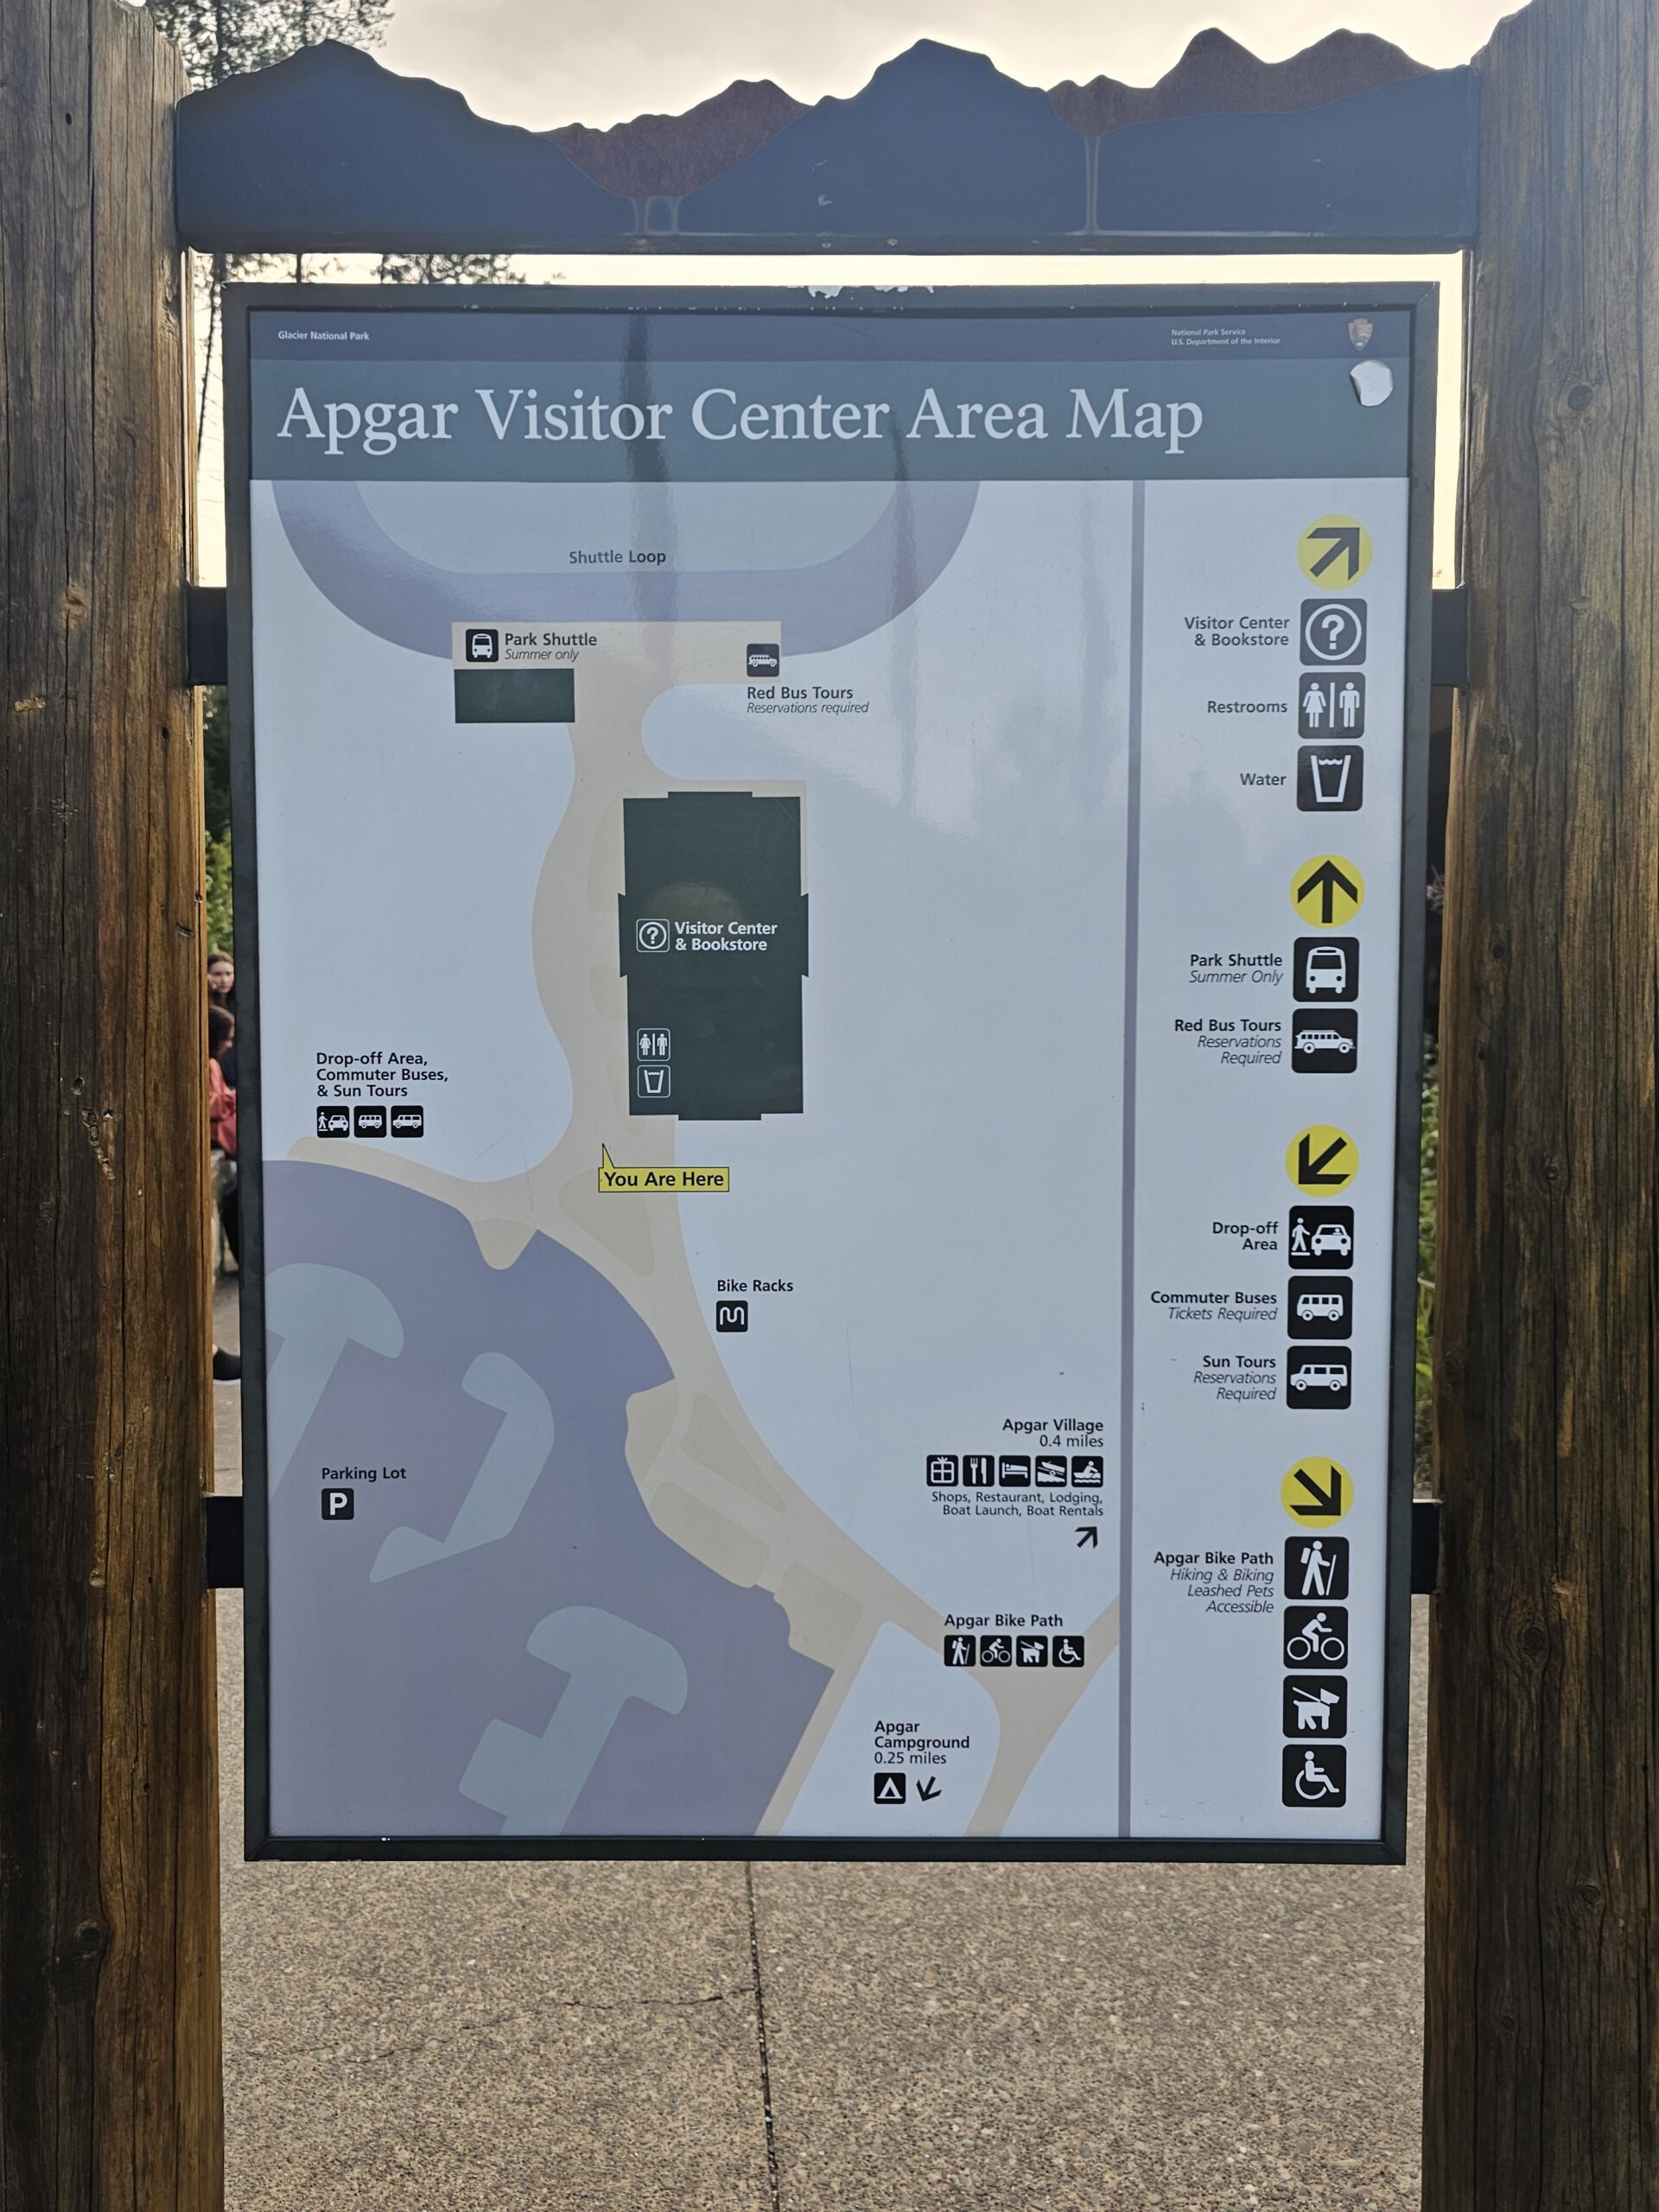
Visitor Center and Helpful Resources
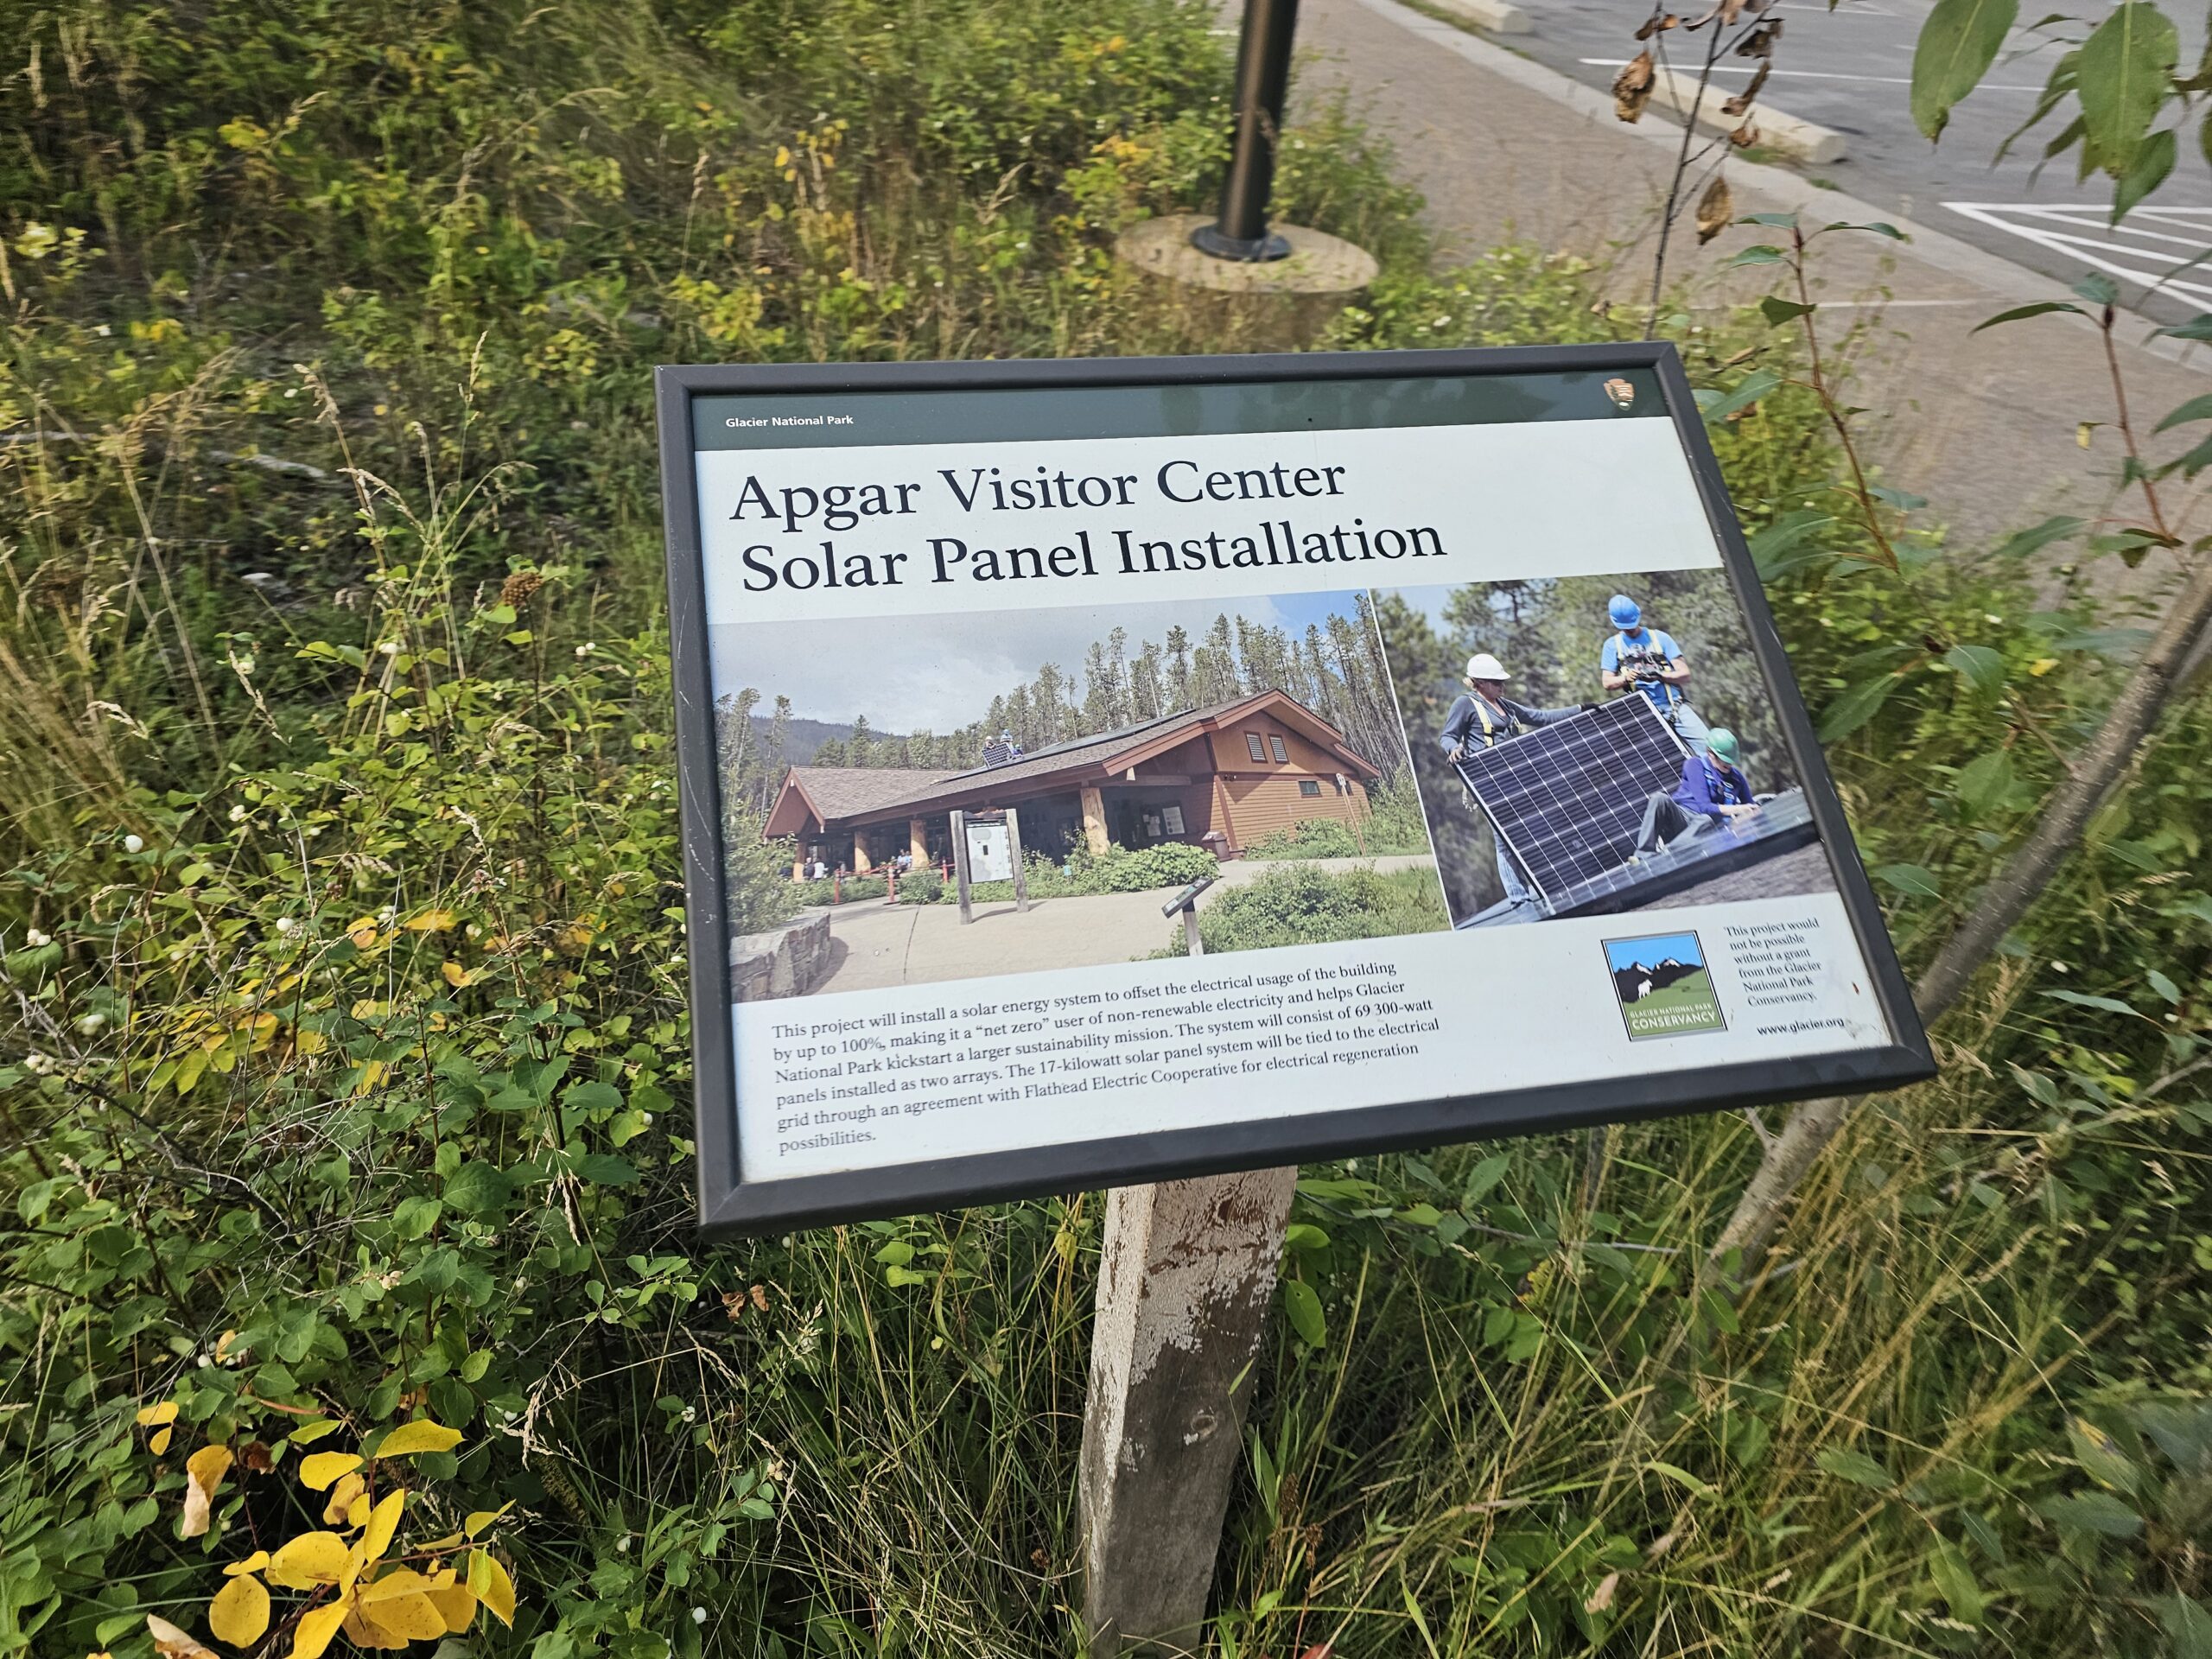
The first thing we did was stop by the Apgar Visitor Center, which is one of the main information hubs for the park. It’s a great place to grab a map, check for any updates on trail closures, and ask the rangers for advice on hikes or weather conditions. The staff was incredibly helpful, offering tips about the best times to visit certain spots to avoid crowds. They had several rangers active all throughout the day standing by to assist.
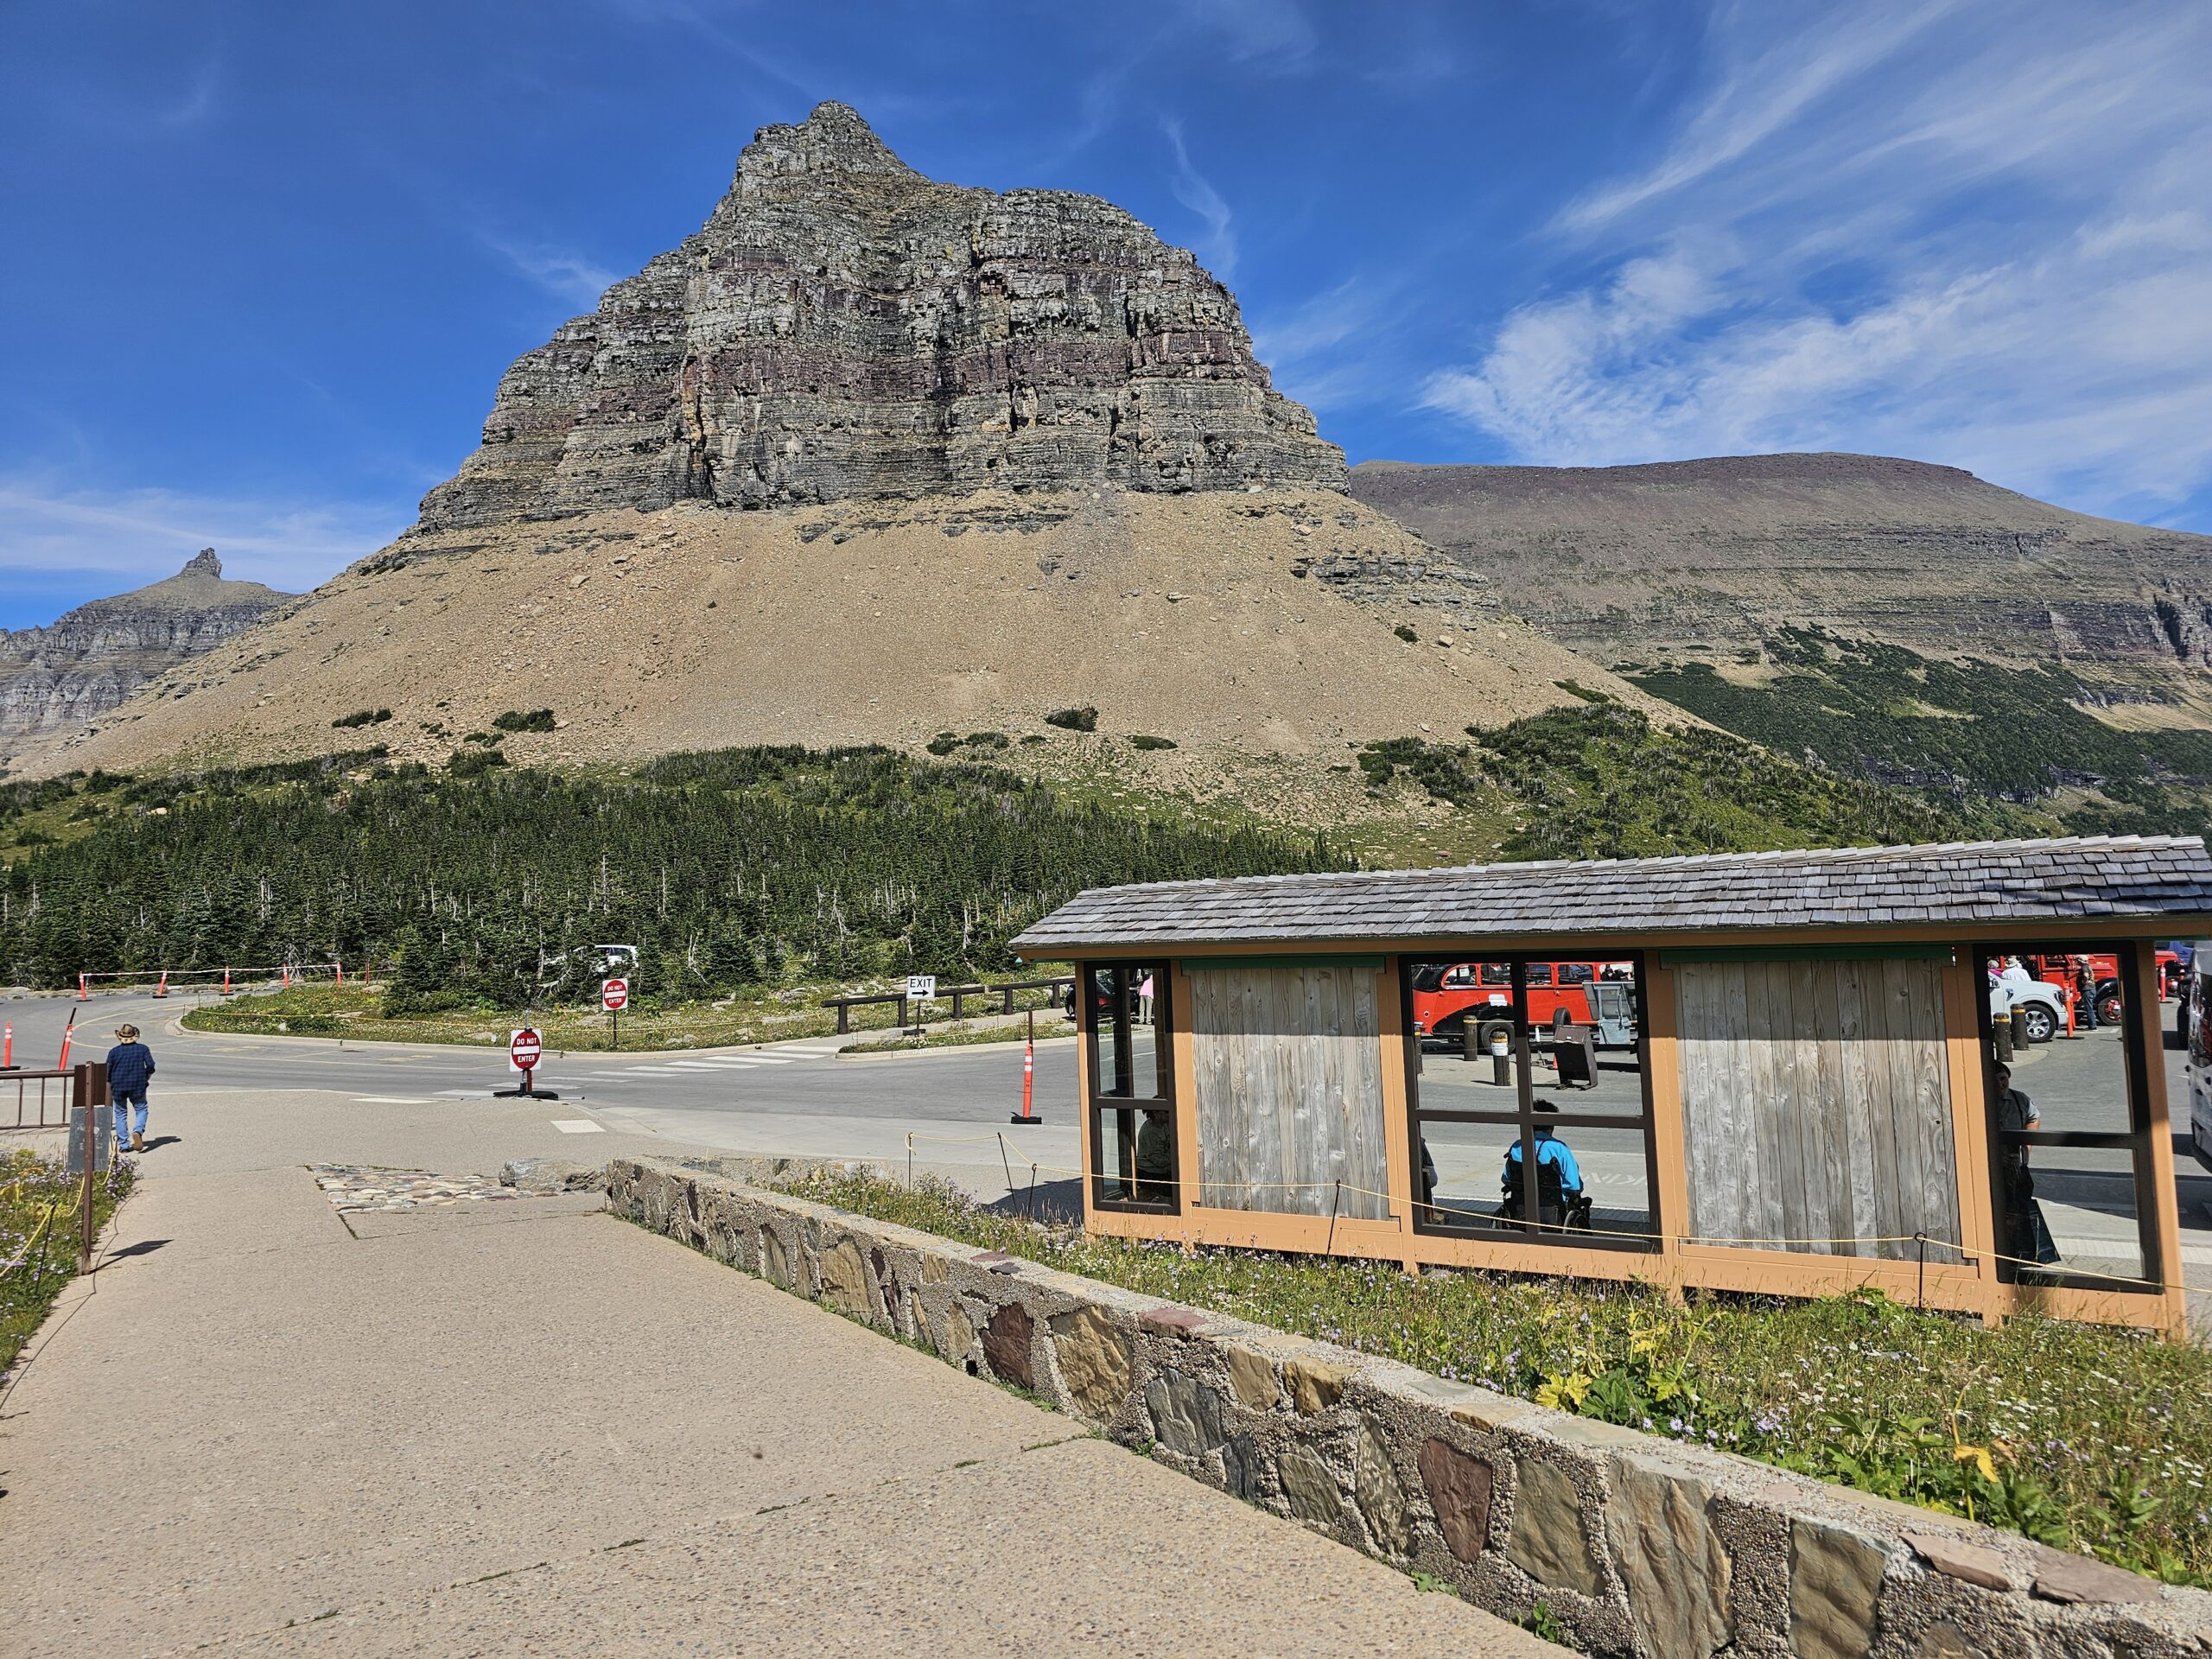
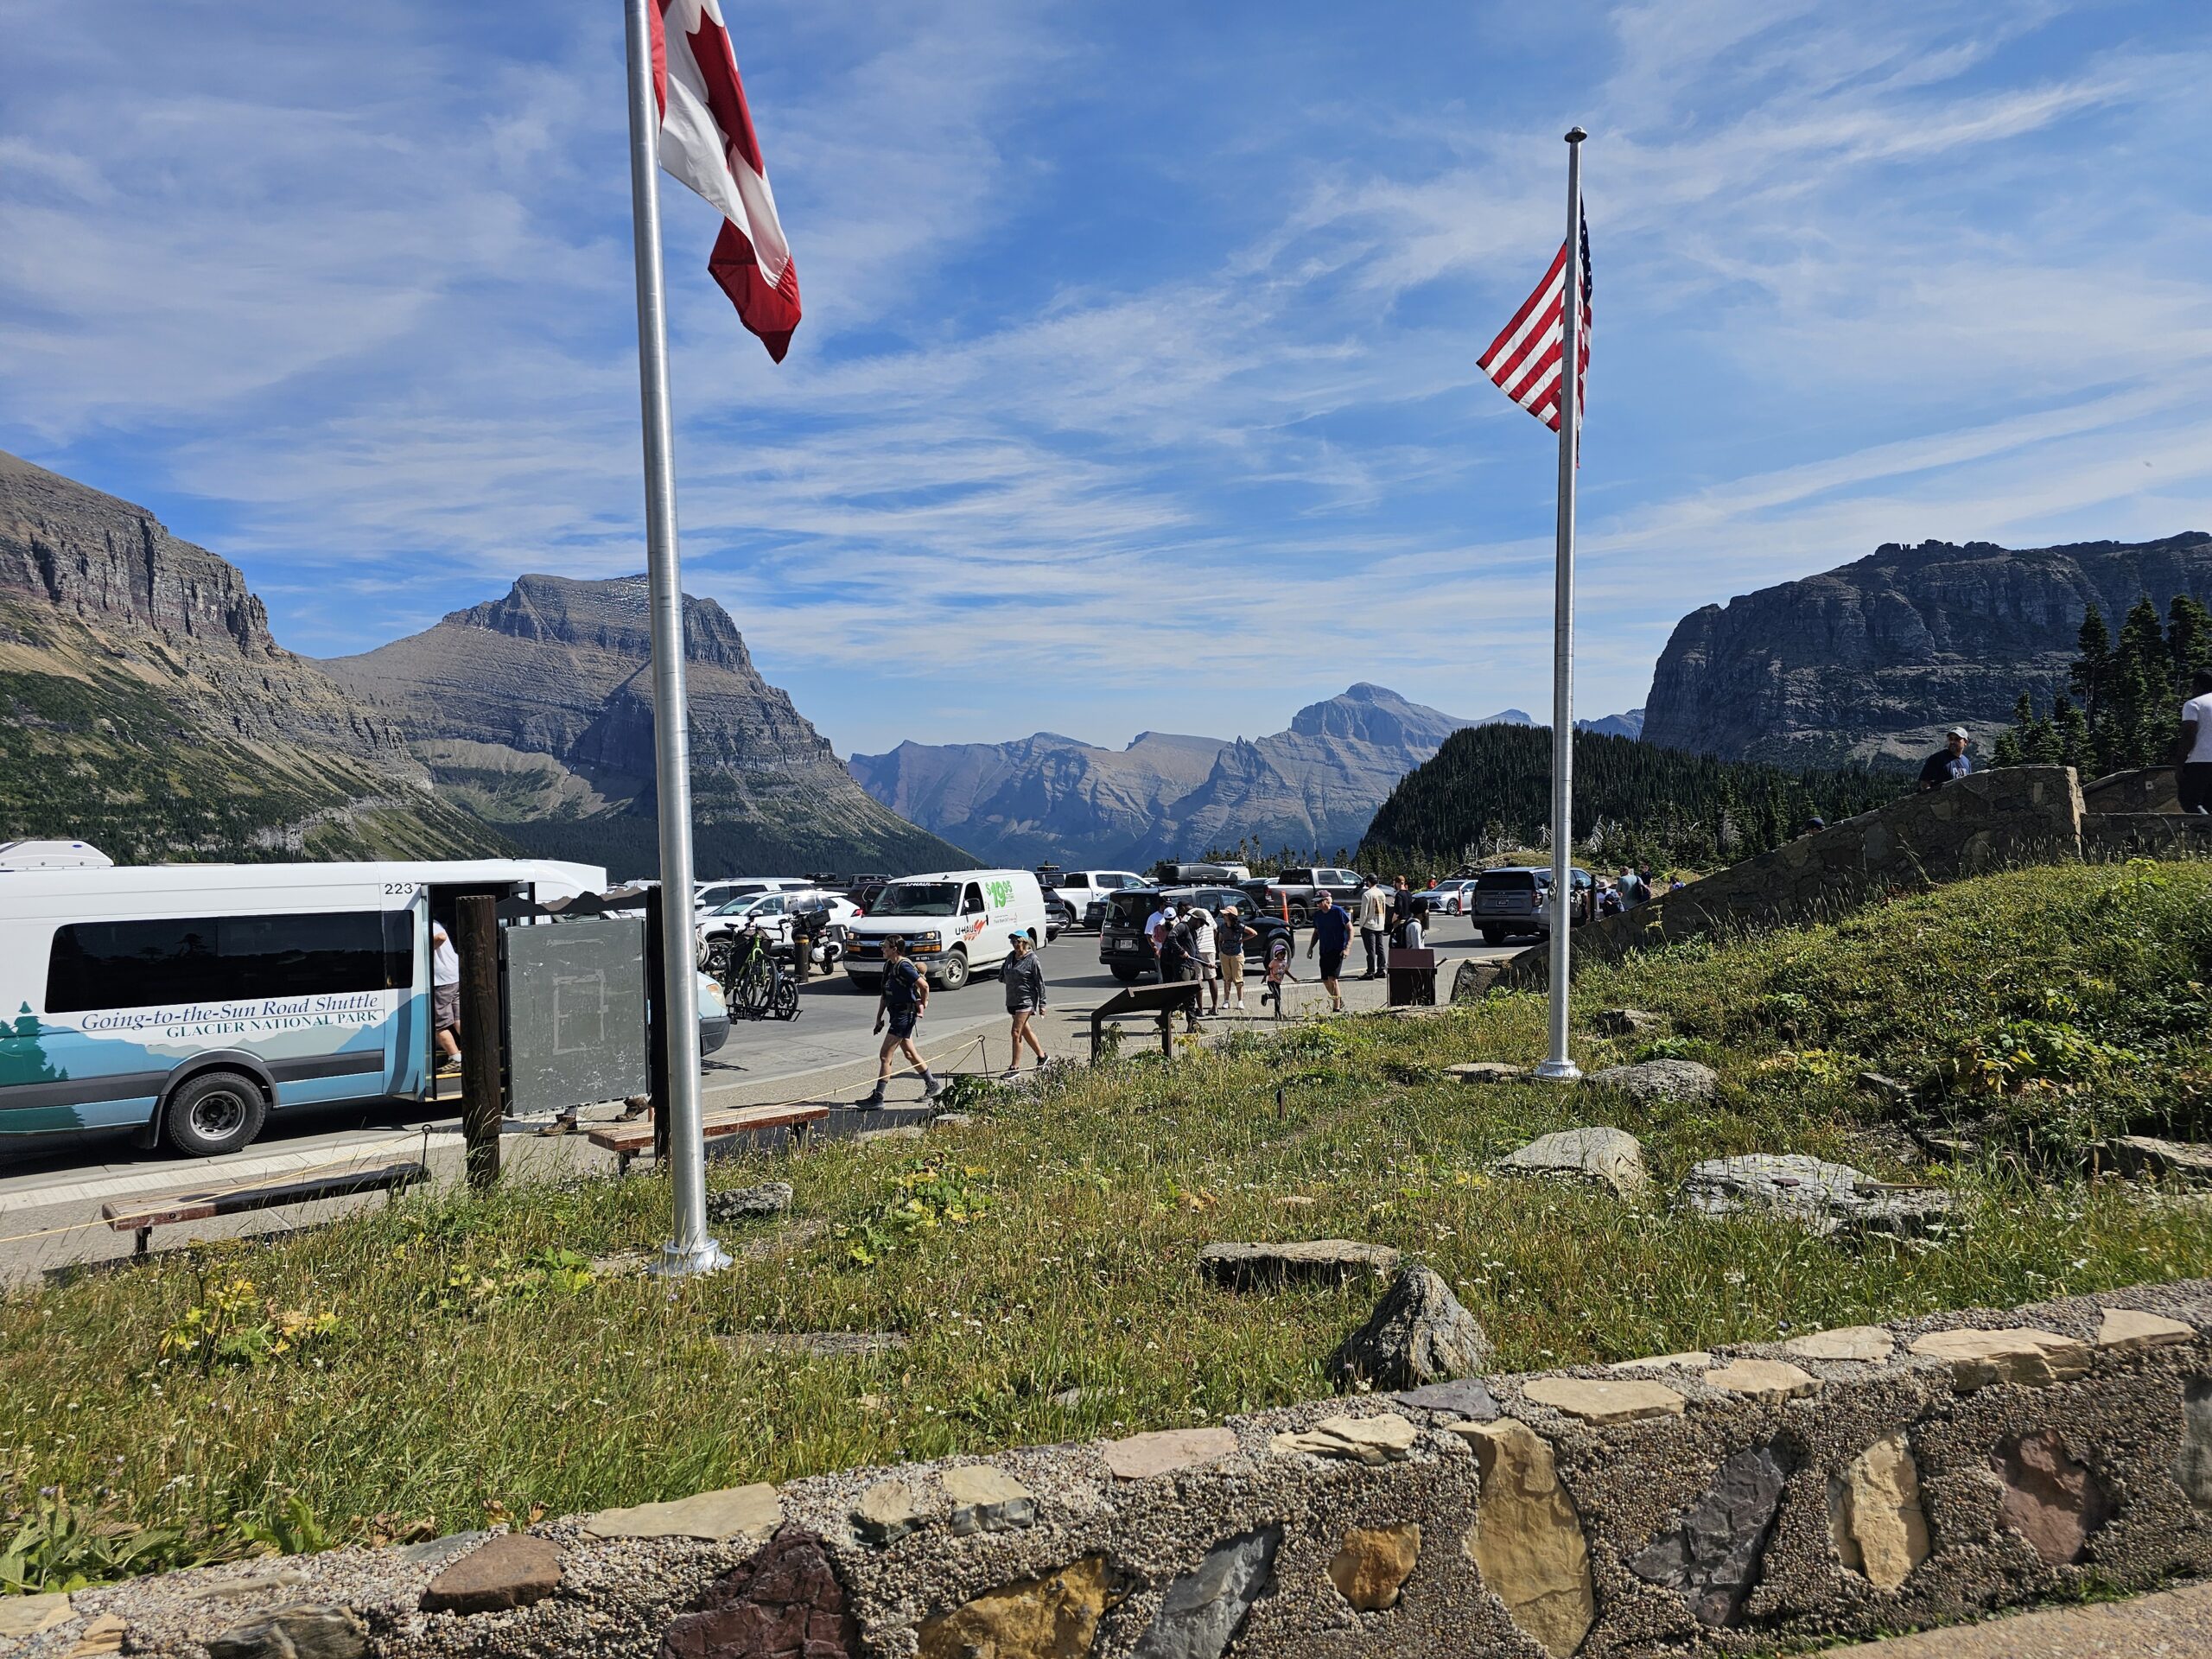
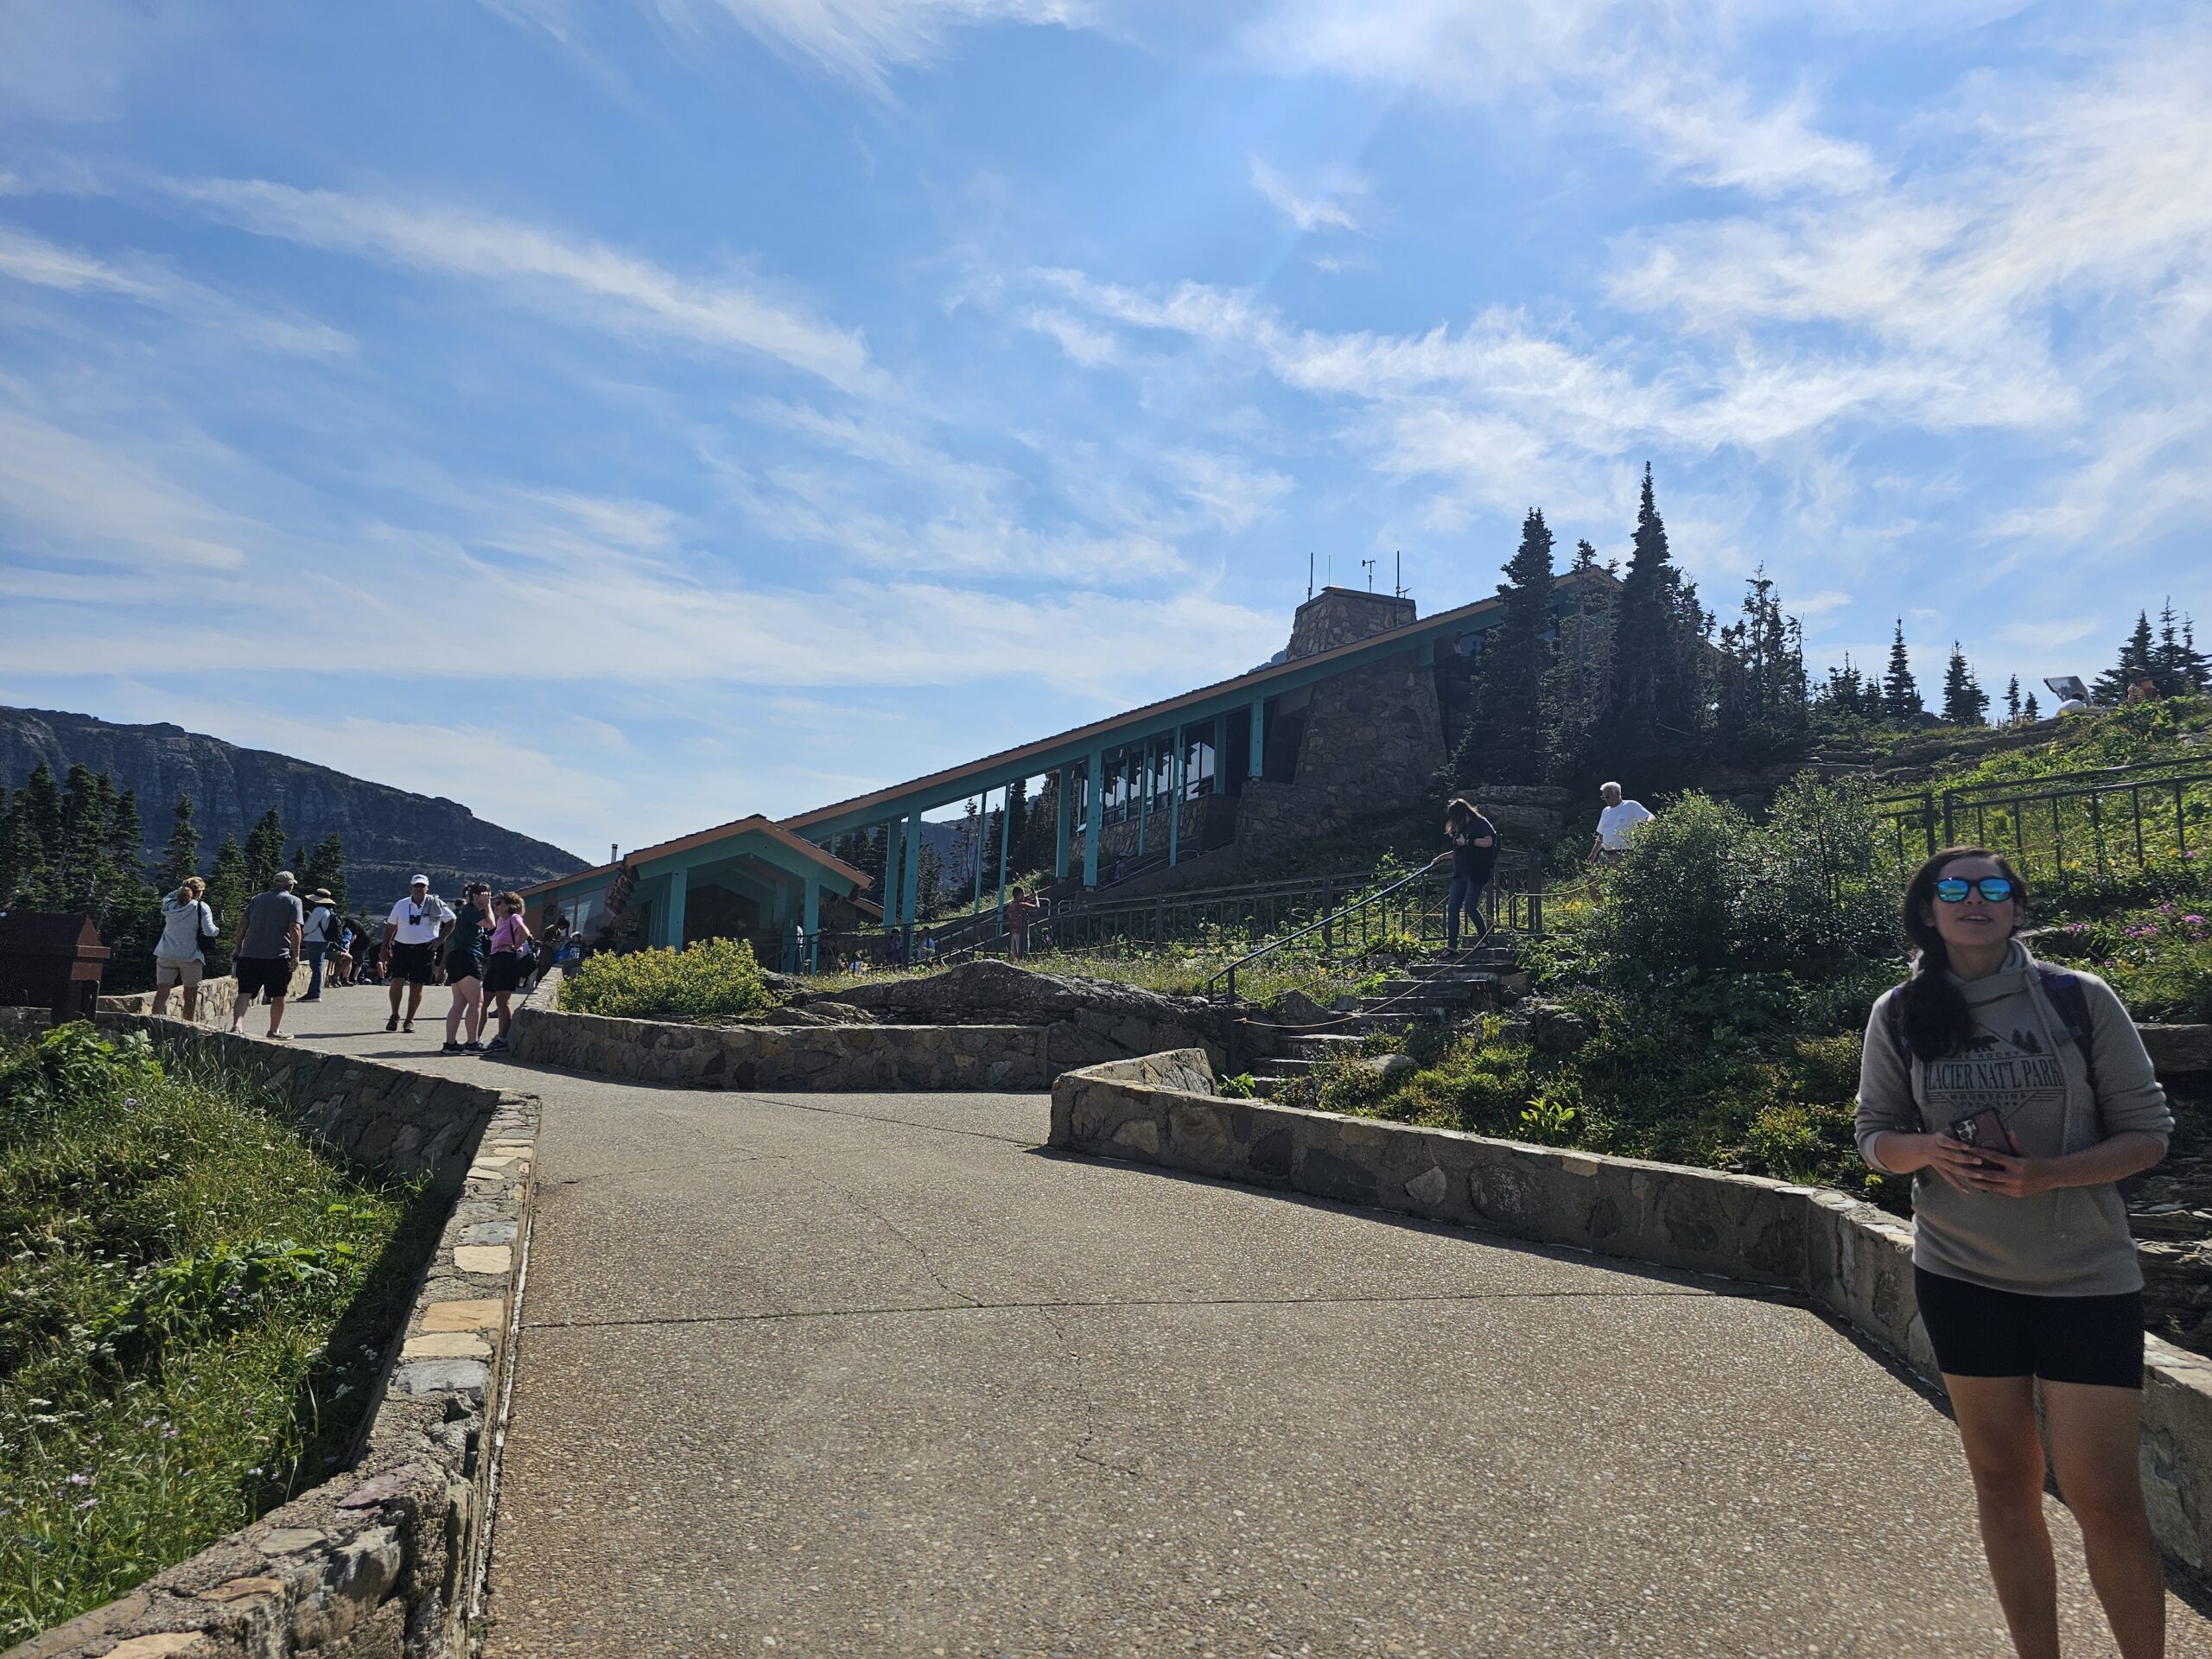
They also informed us about the free shuttle service, which runs throughout the park. If you’re not planning to drive on the Going-to-the-Sun Road, this shuttle system is a lifesaver—it’s reliable and gives you access to many of the park’s most popular locations without the stress of parking. The best part is that it’s FREE!
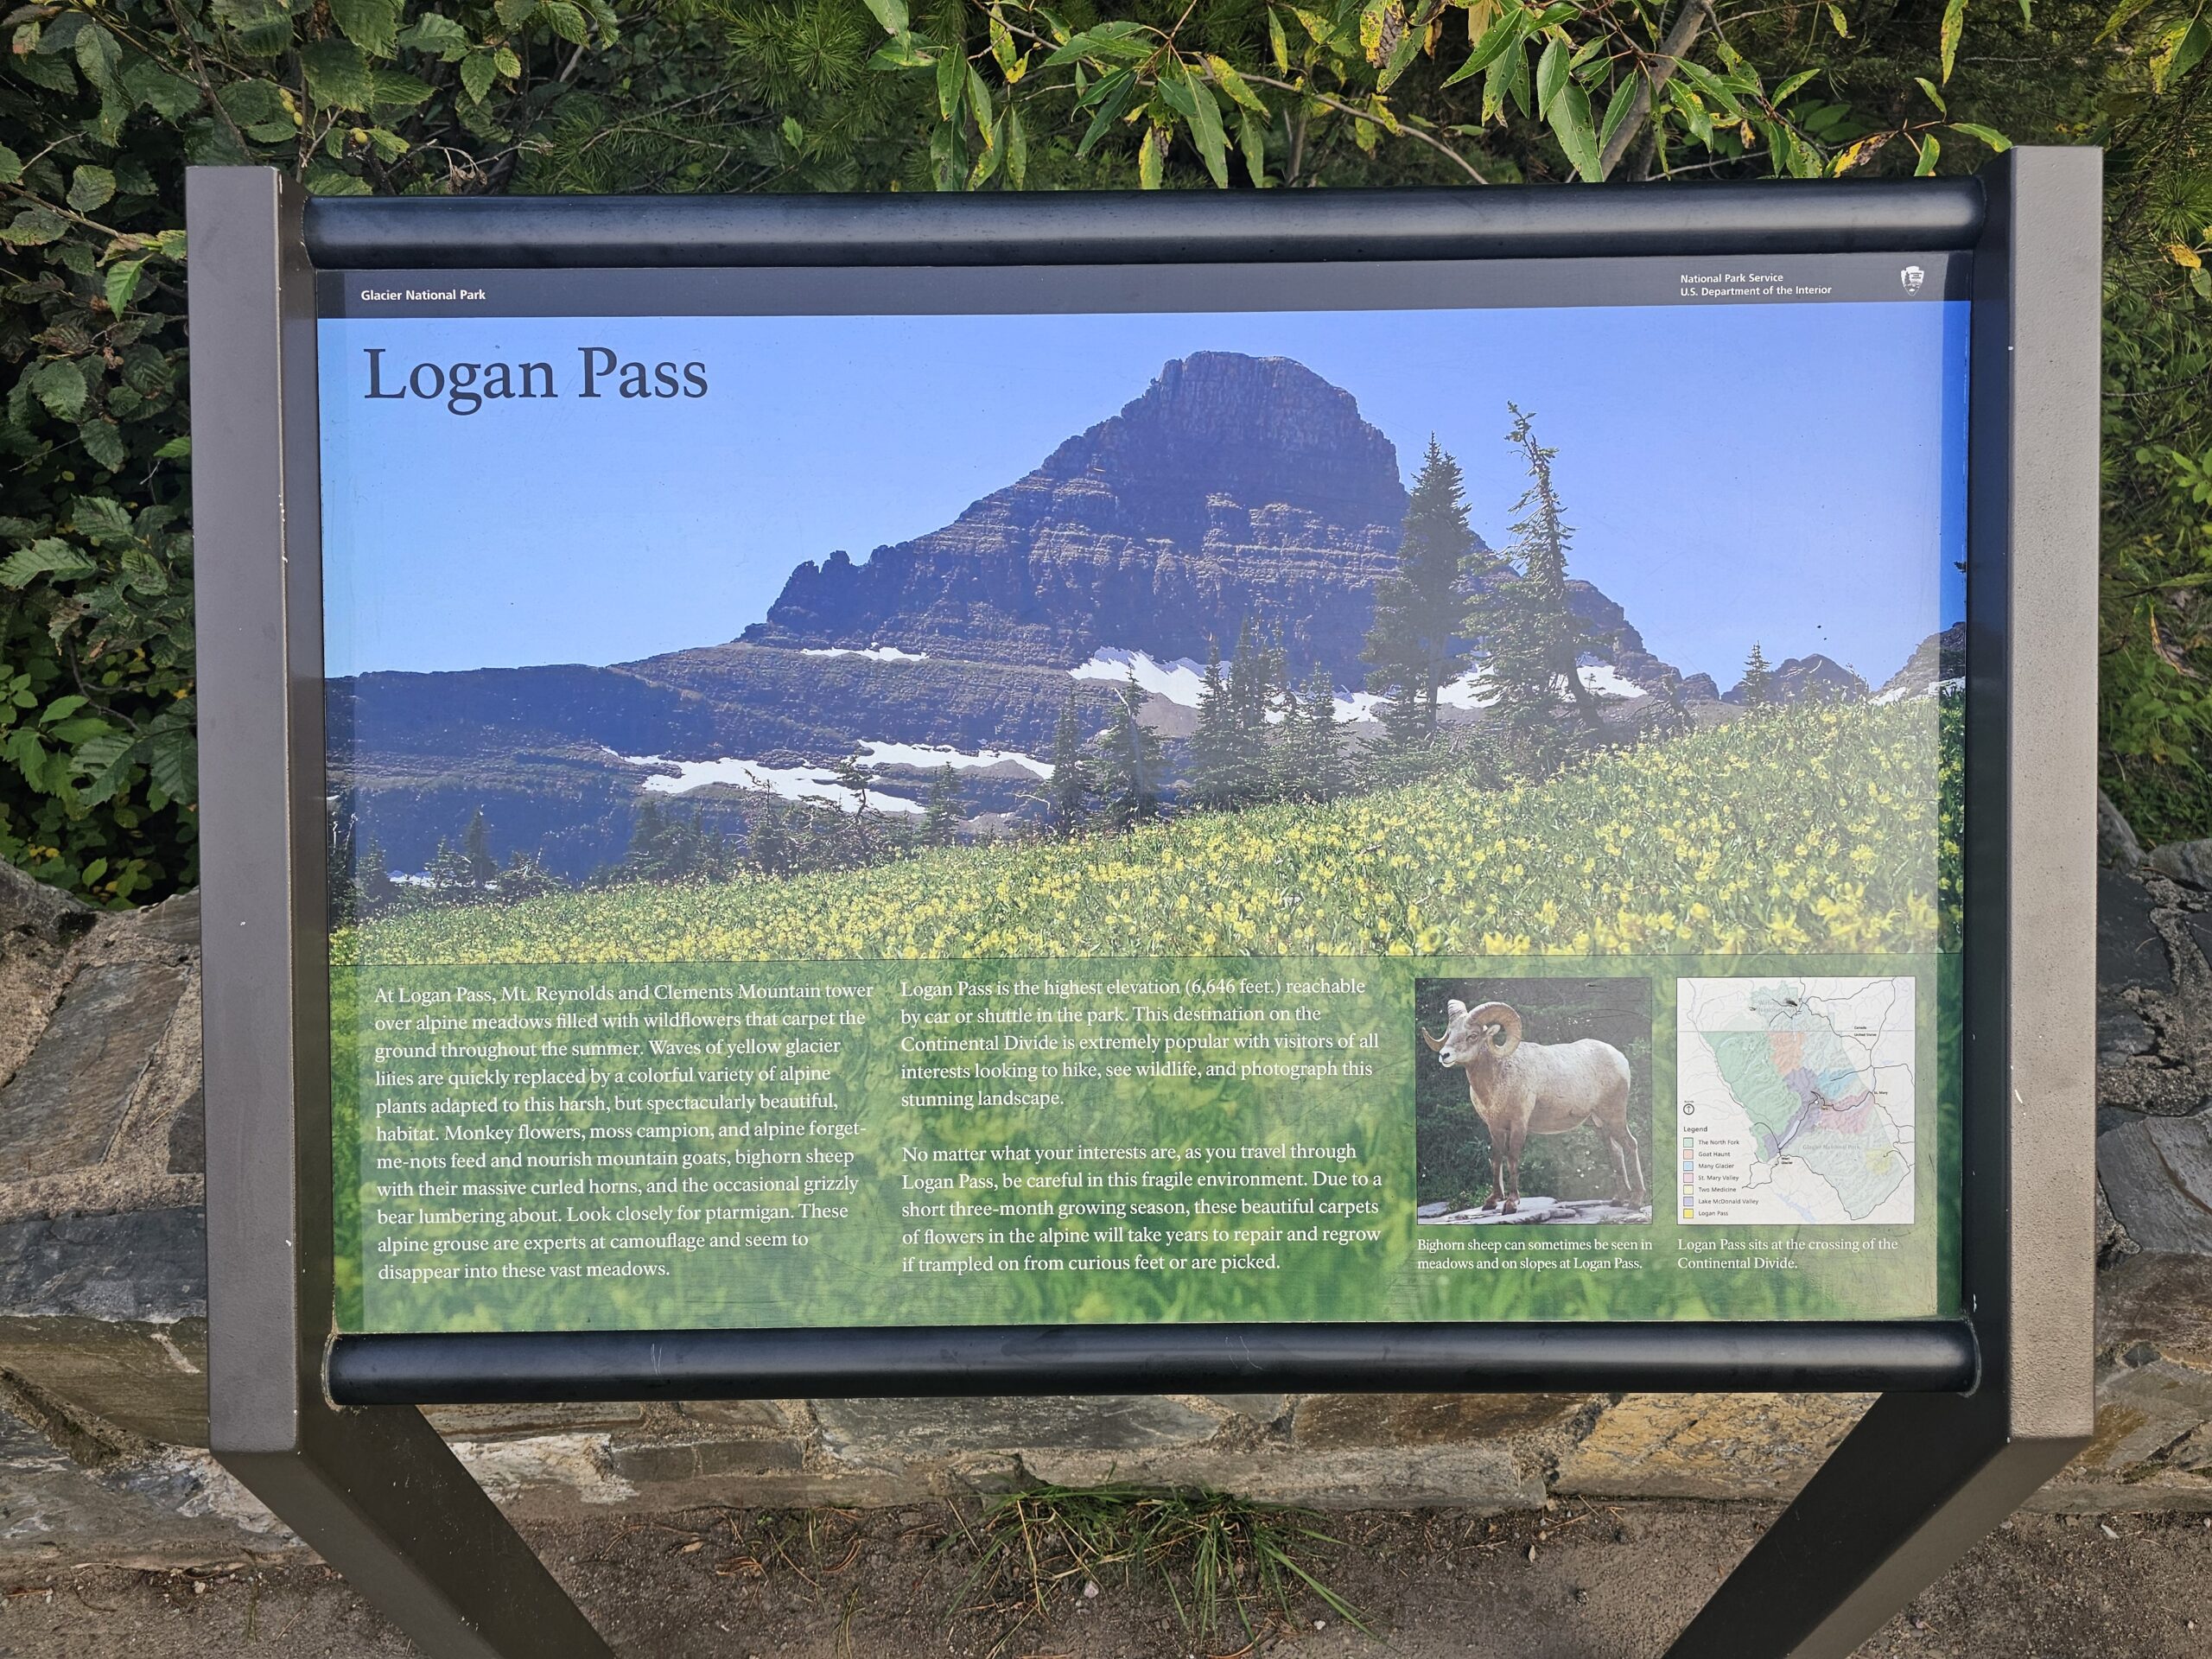
The shuttle departs regularly from the village every 15-30 minutes and makes stops at key spots like Logan Pass and St. Mary. You can take the shuttle service all the way from one end of the park to the other if you wanted to! The last shuttle back to Apgar is 7pm though, so plan accordingly. I recommend trying to start your journey back by 5pm if you intend on returning to your camp or car as the lines will start filling up quickly! First though, we decided to do the short 0.4 mile walk through the forest into Apgar Village for a bison burger and to see Lake McDonald.
Apgar Village Shops and Rentals
After getting our bearings, we took some time to explore the small cluster of shops and facilities in Apgar Village. The shops here offer everything from souvenirs and outdoor gear to simple snacks and drinks. We grabbed a couple of souvenirs for family back home—a carved wooden bear and a Glacier National Park hoodie from the Eddie’s Mercantile gift shop, which has plenty of unique, locally made items.
If you’re in need of outdoor gear, like hiking poles or bear spray, the shops here have you covered, though prices can be a bit steep compared to stores outside the park. You can also find bike rentals here, and I noticed several visitors hopping on mountain bikes to explore the nearby trails.
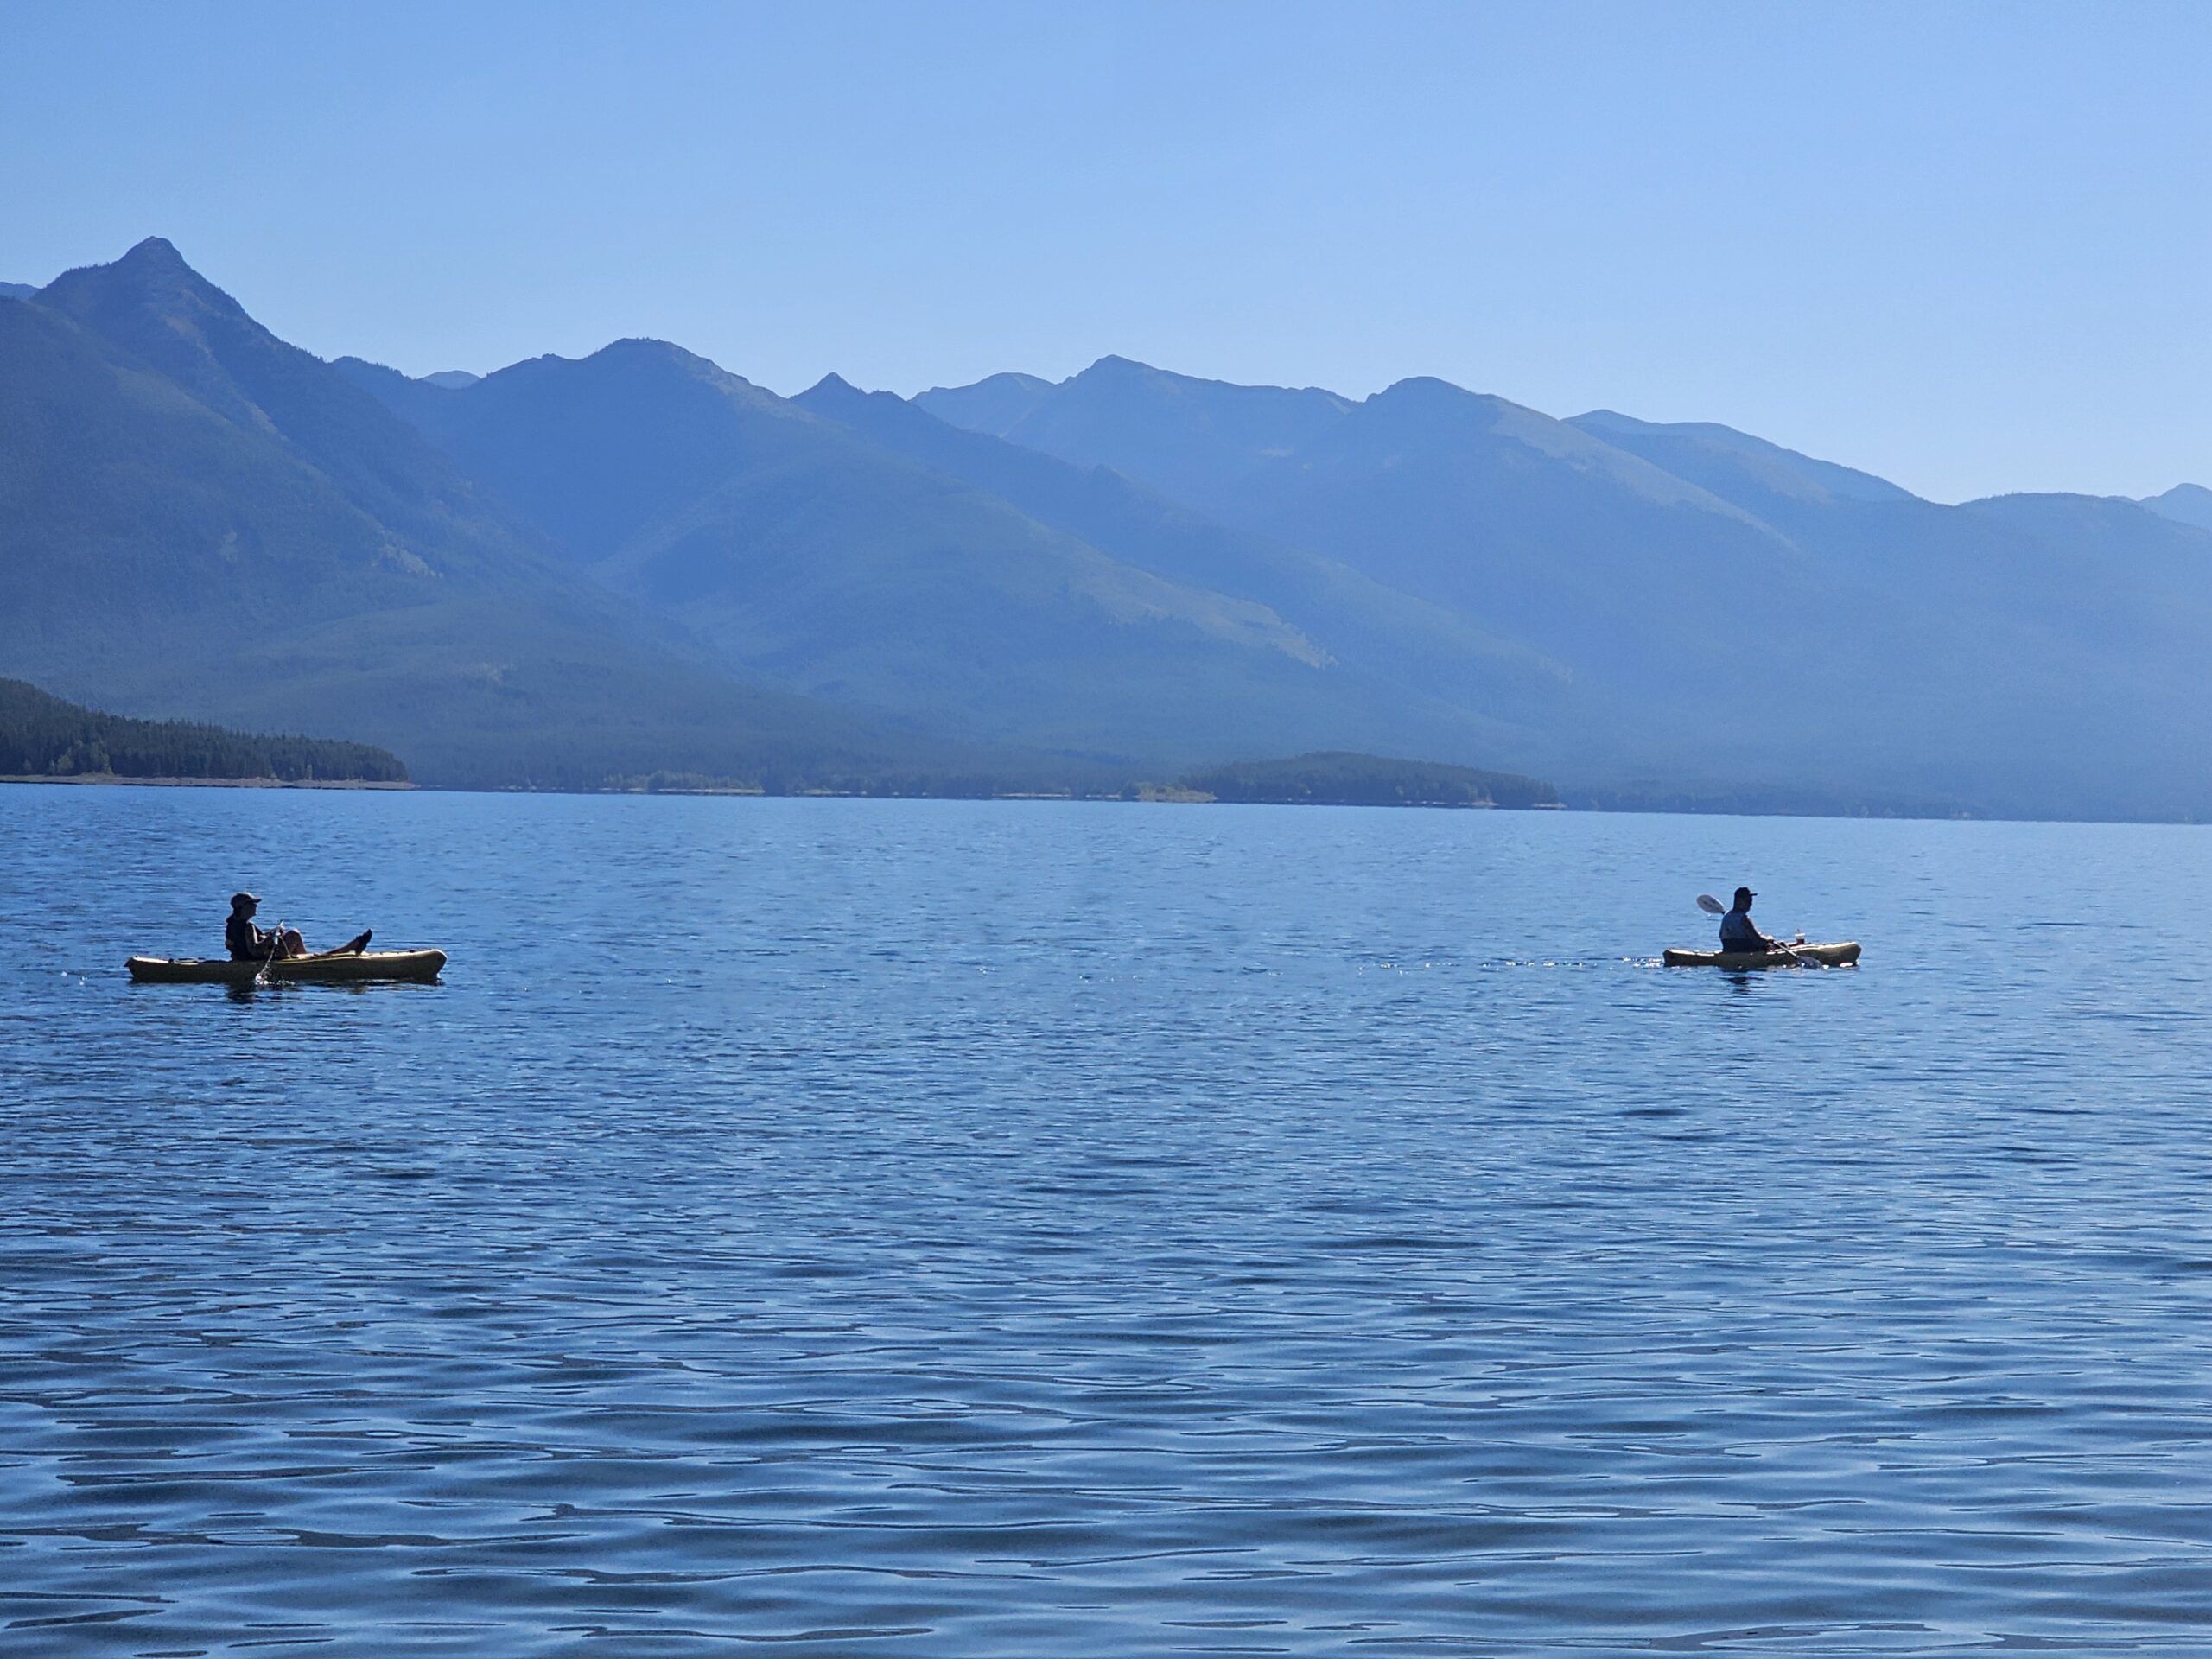
Those who are planning to spend the day on the lake will have the opportunity to rent kayaks and paddleboards from the Glacier Outfitters shop, located just a few steps from Lake McDonald’s shoreline. If you’re feeling adventurous, it’s well worth the rental fee. Paddling out onto the lake with its crystal-clear waters is a serene experience, offering a unique perspective of the surrounding mountains.
Dining at Eddie’s Café
After hearing about the infamous bison burger and after a morning of driving and exploring, we decided to have a bite at Eddie’s Café, the main restaurant in Apgar Village. It’s a casual spot, offering a mix of American-style food, including burgers, salads, and sandwiches. The vibe was positive and the service was great. We were very satisfied with the meal! They also have an assortment of local Montana draft beer to try if that is your interest!
The café also has a small outdoor seating area, which allowed us to enjoy the fresh mountain air while we ate. After a morning of adventuring, it sure hit the spot!

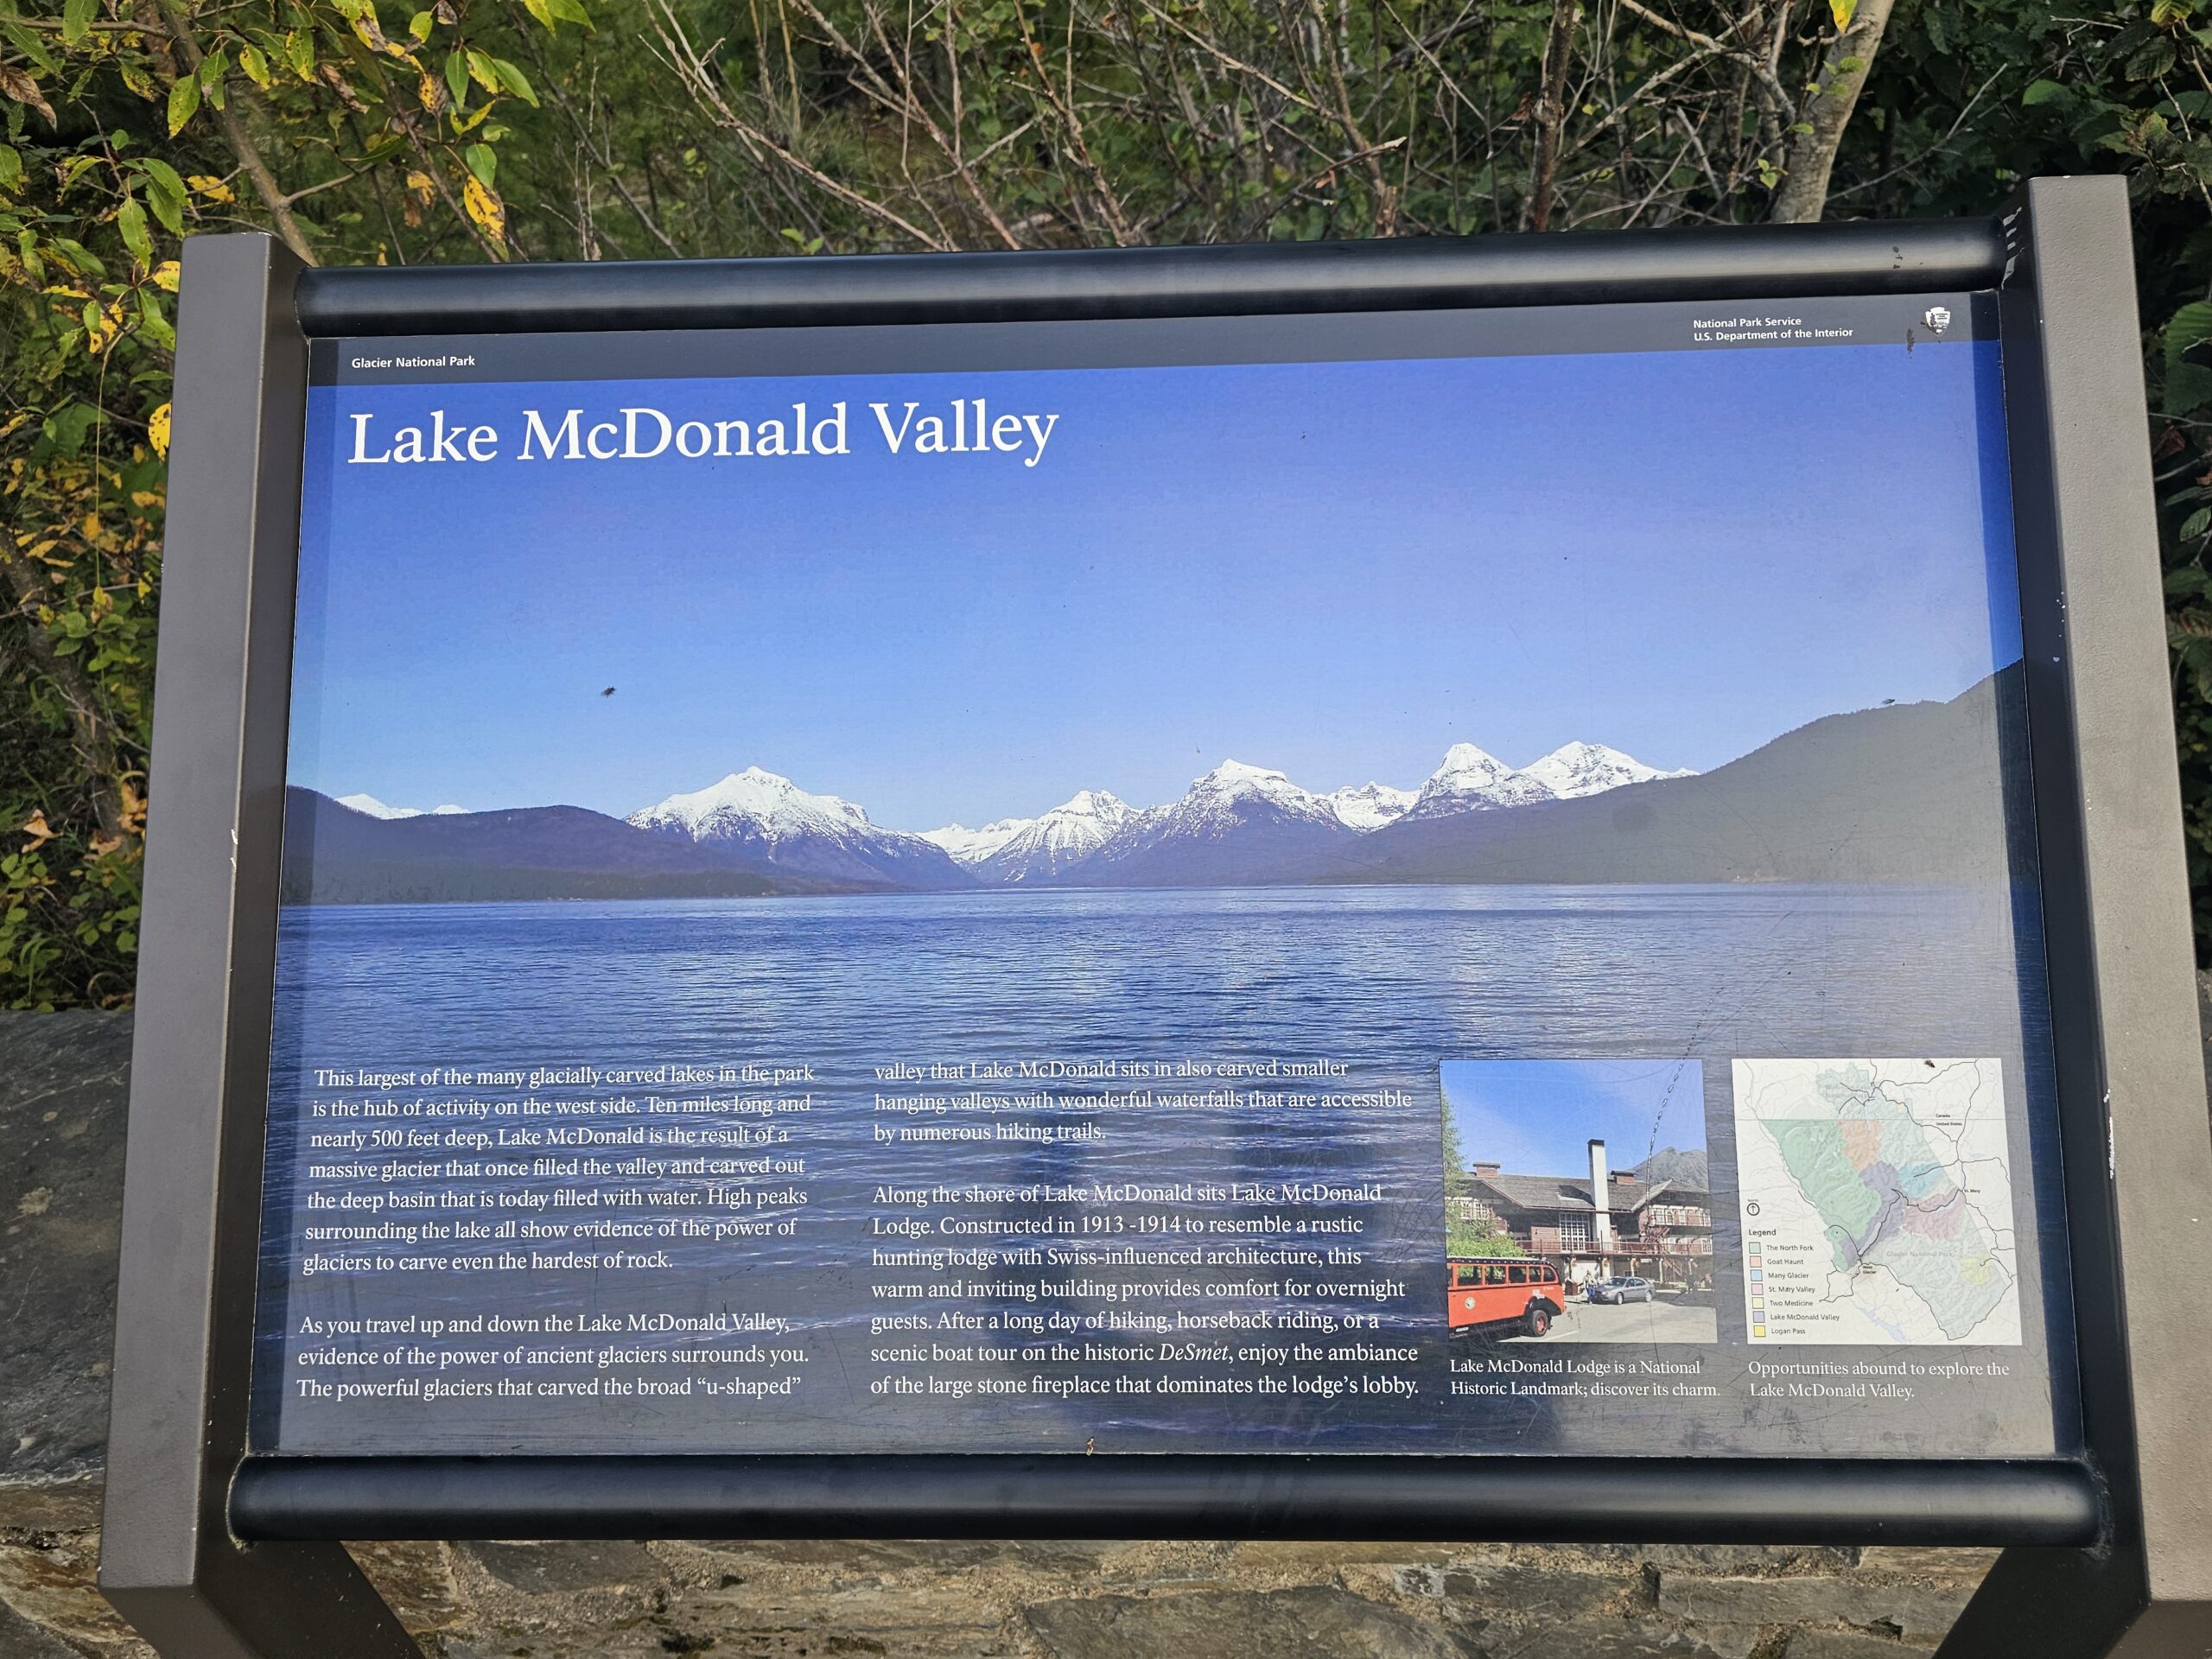
Relaxing by Lake McDonald
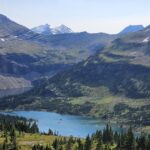
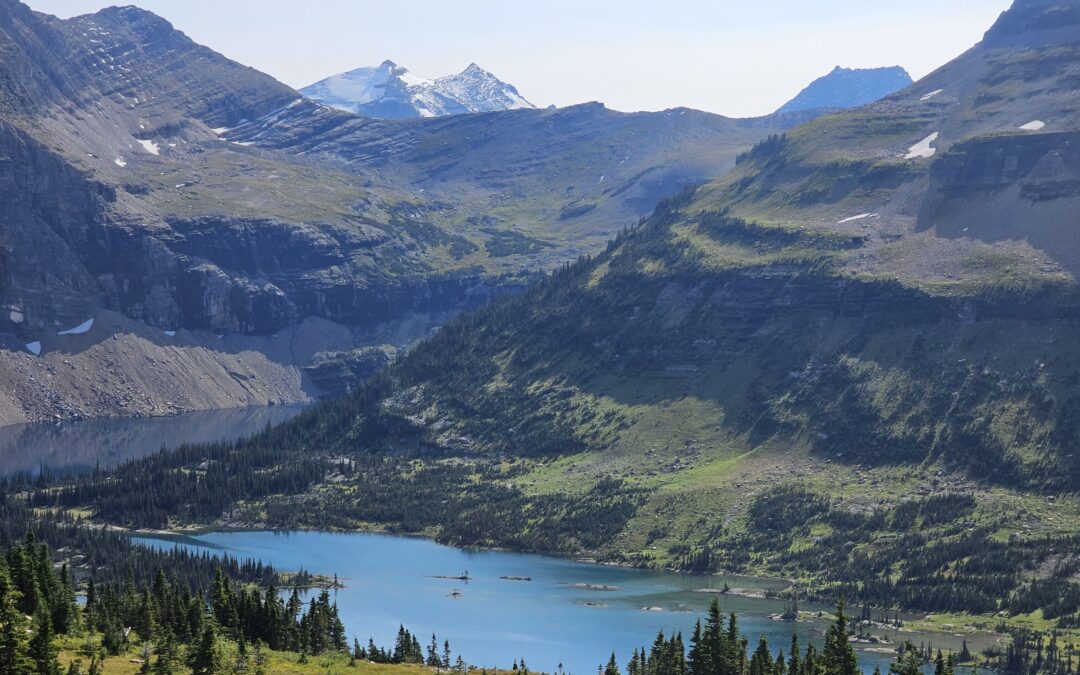
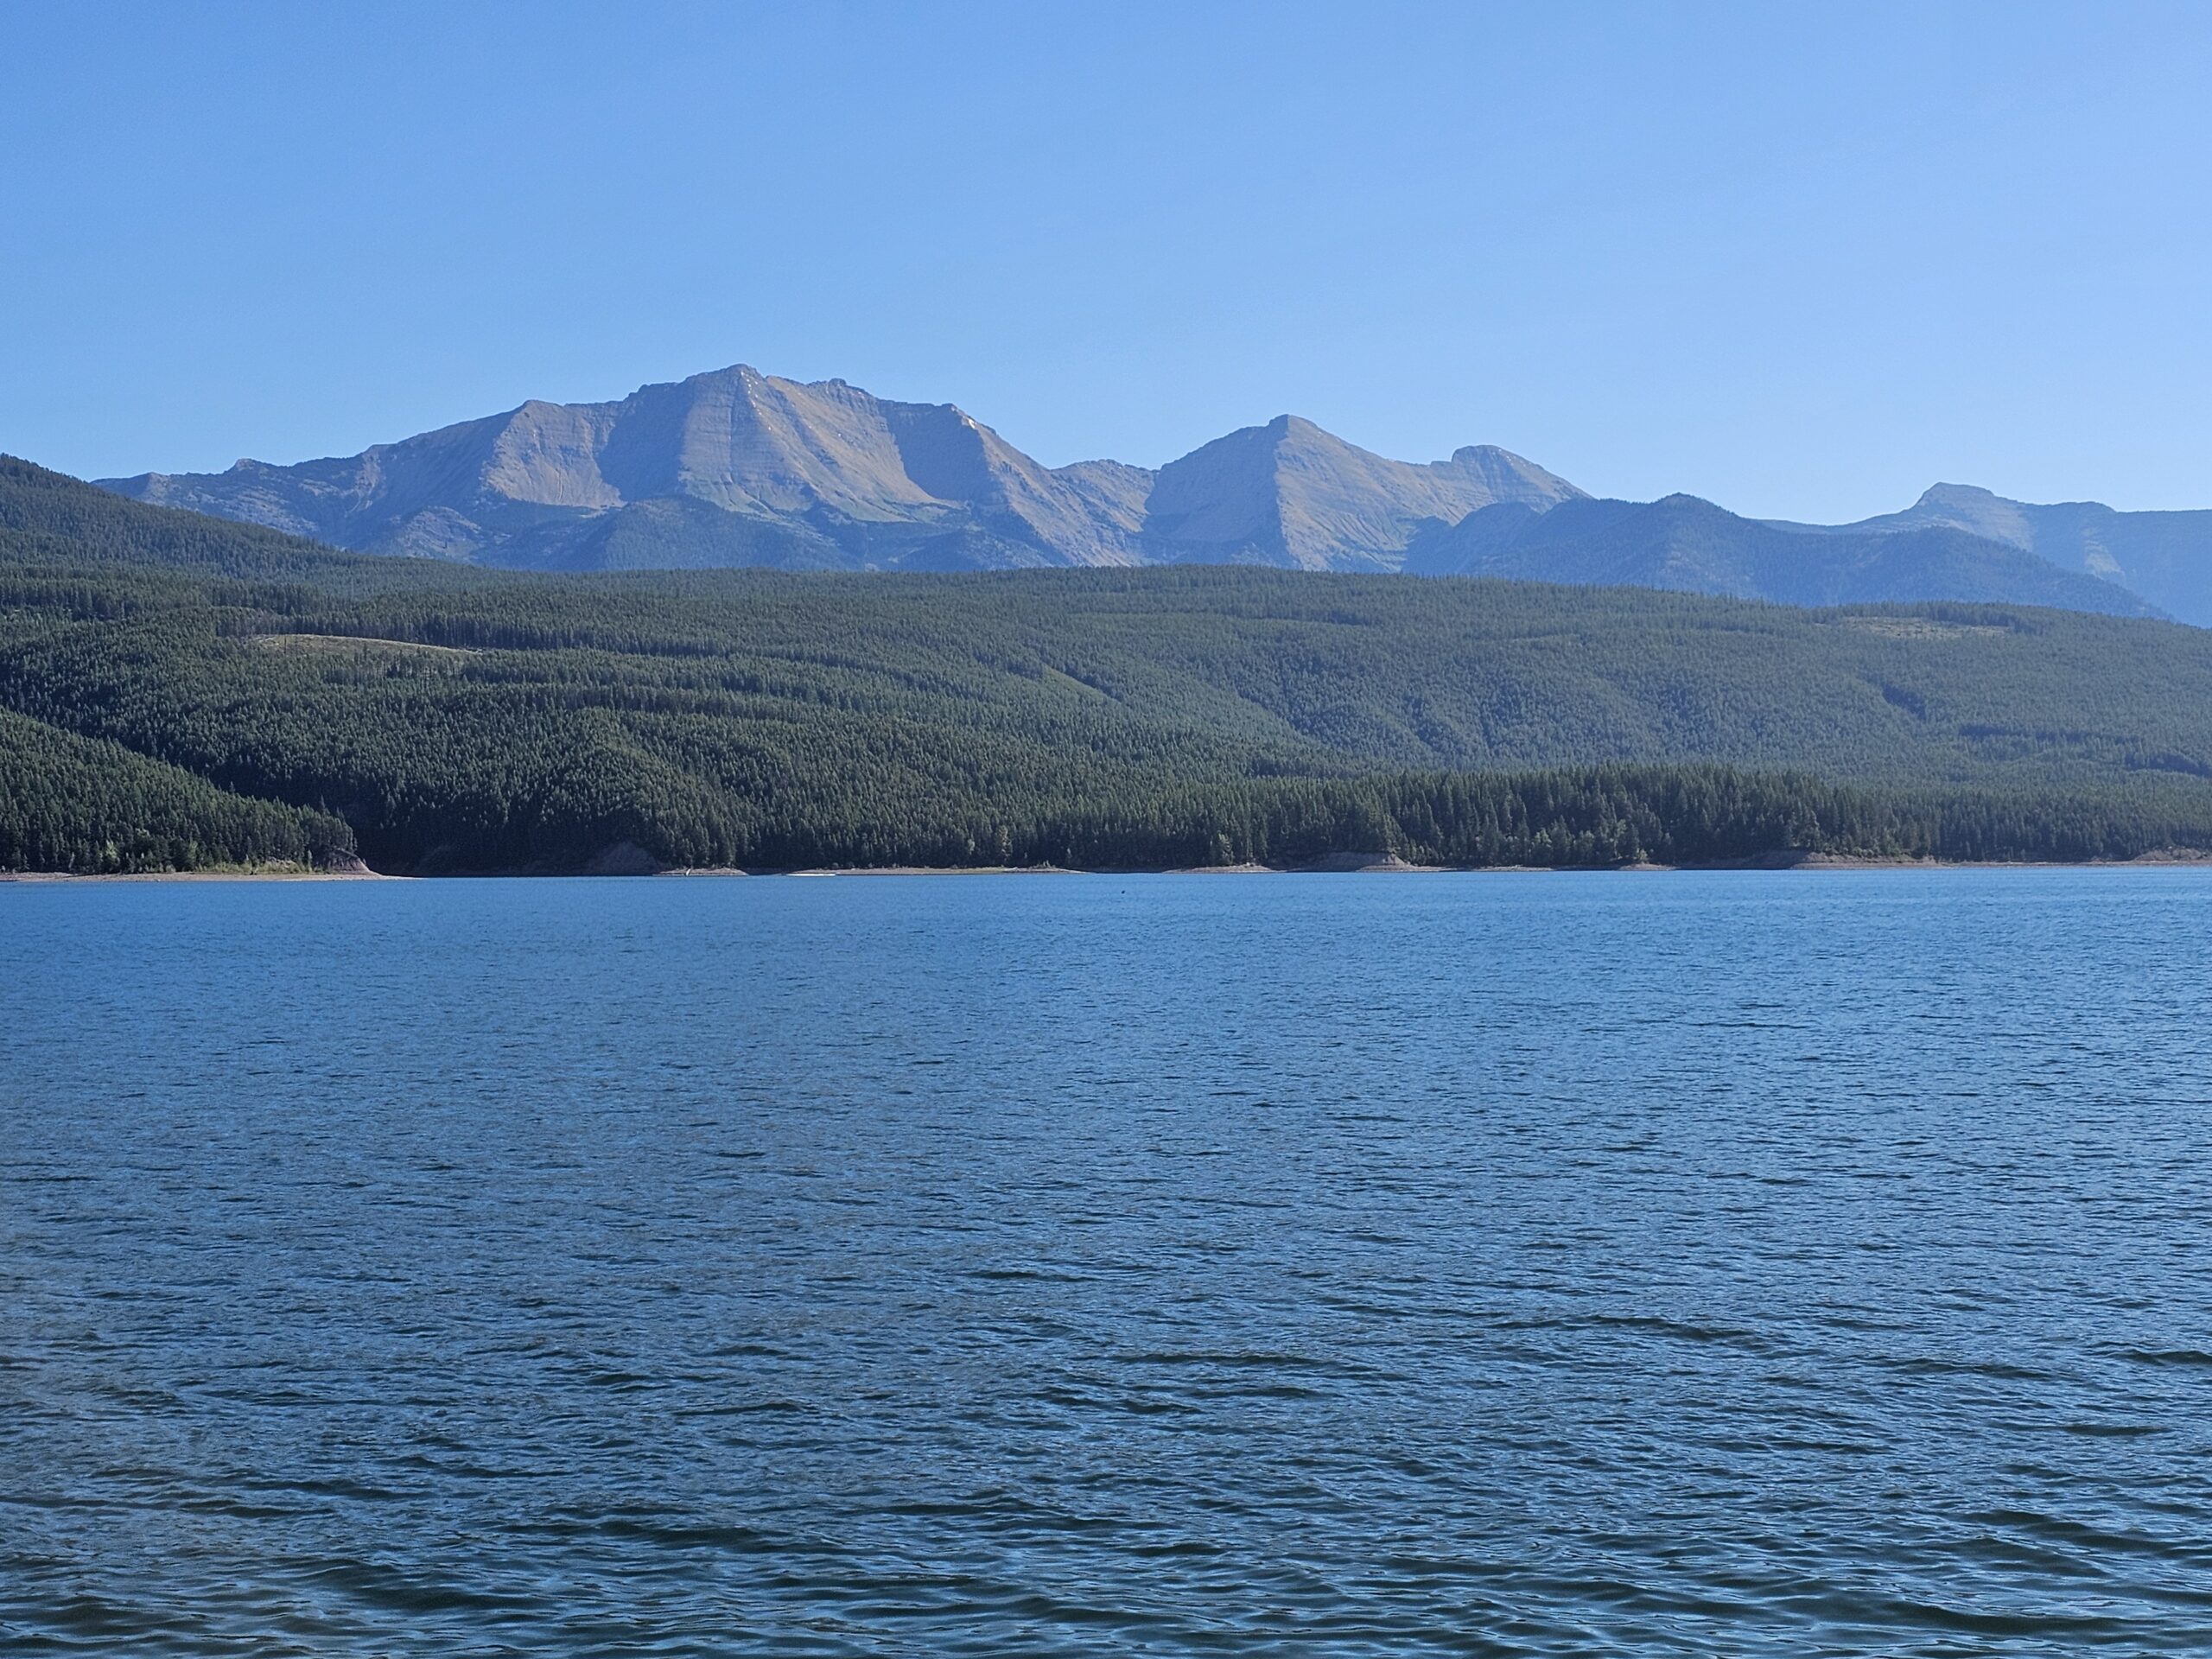
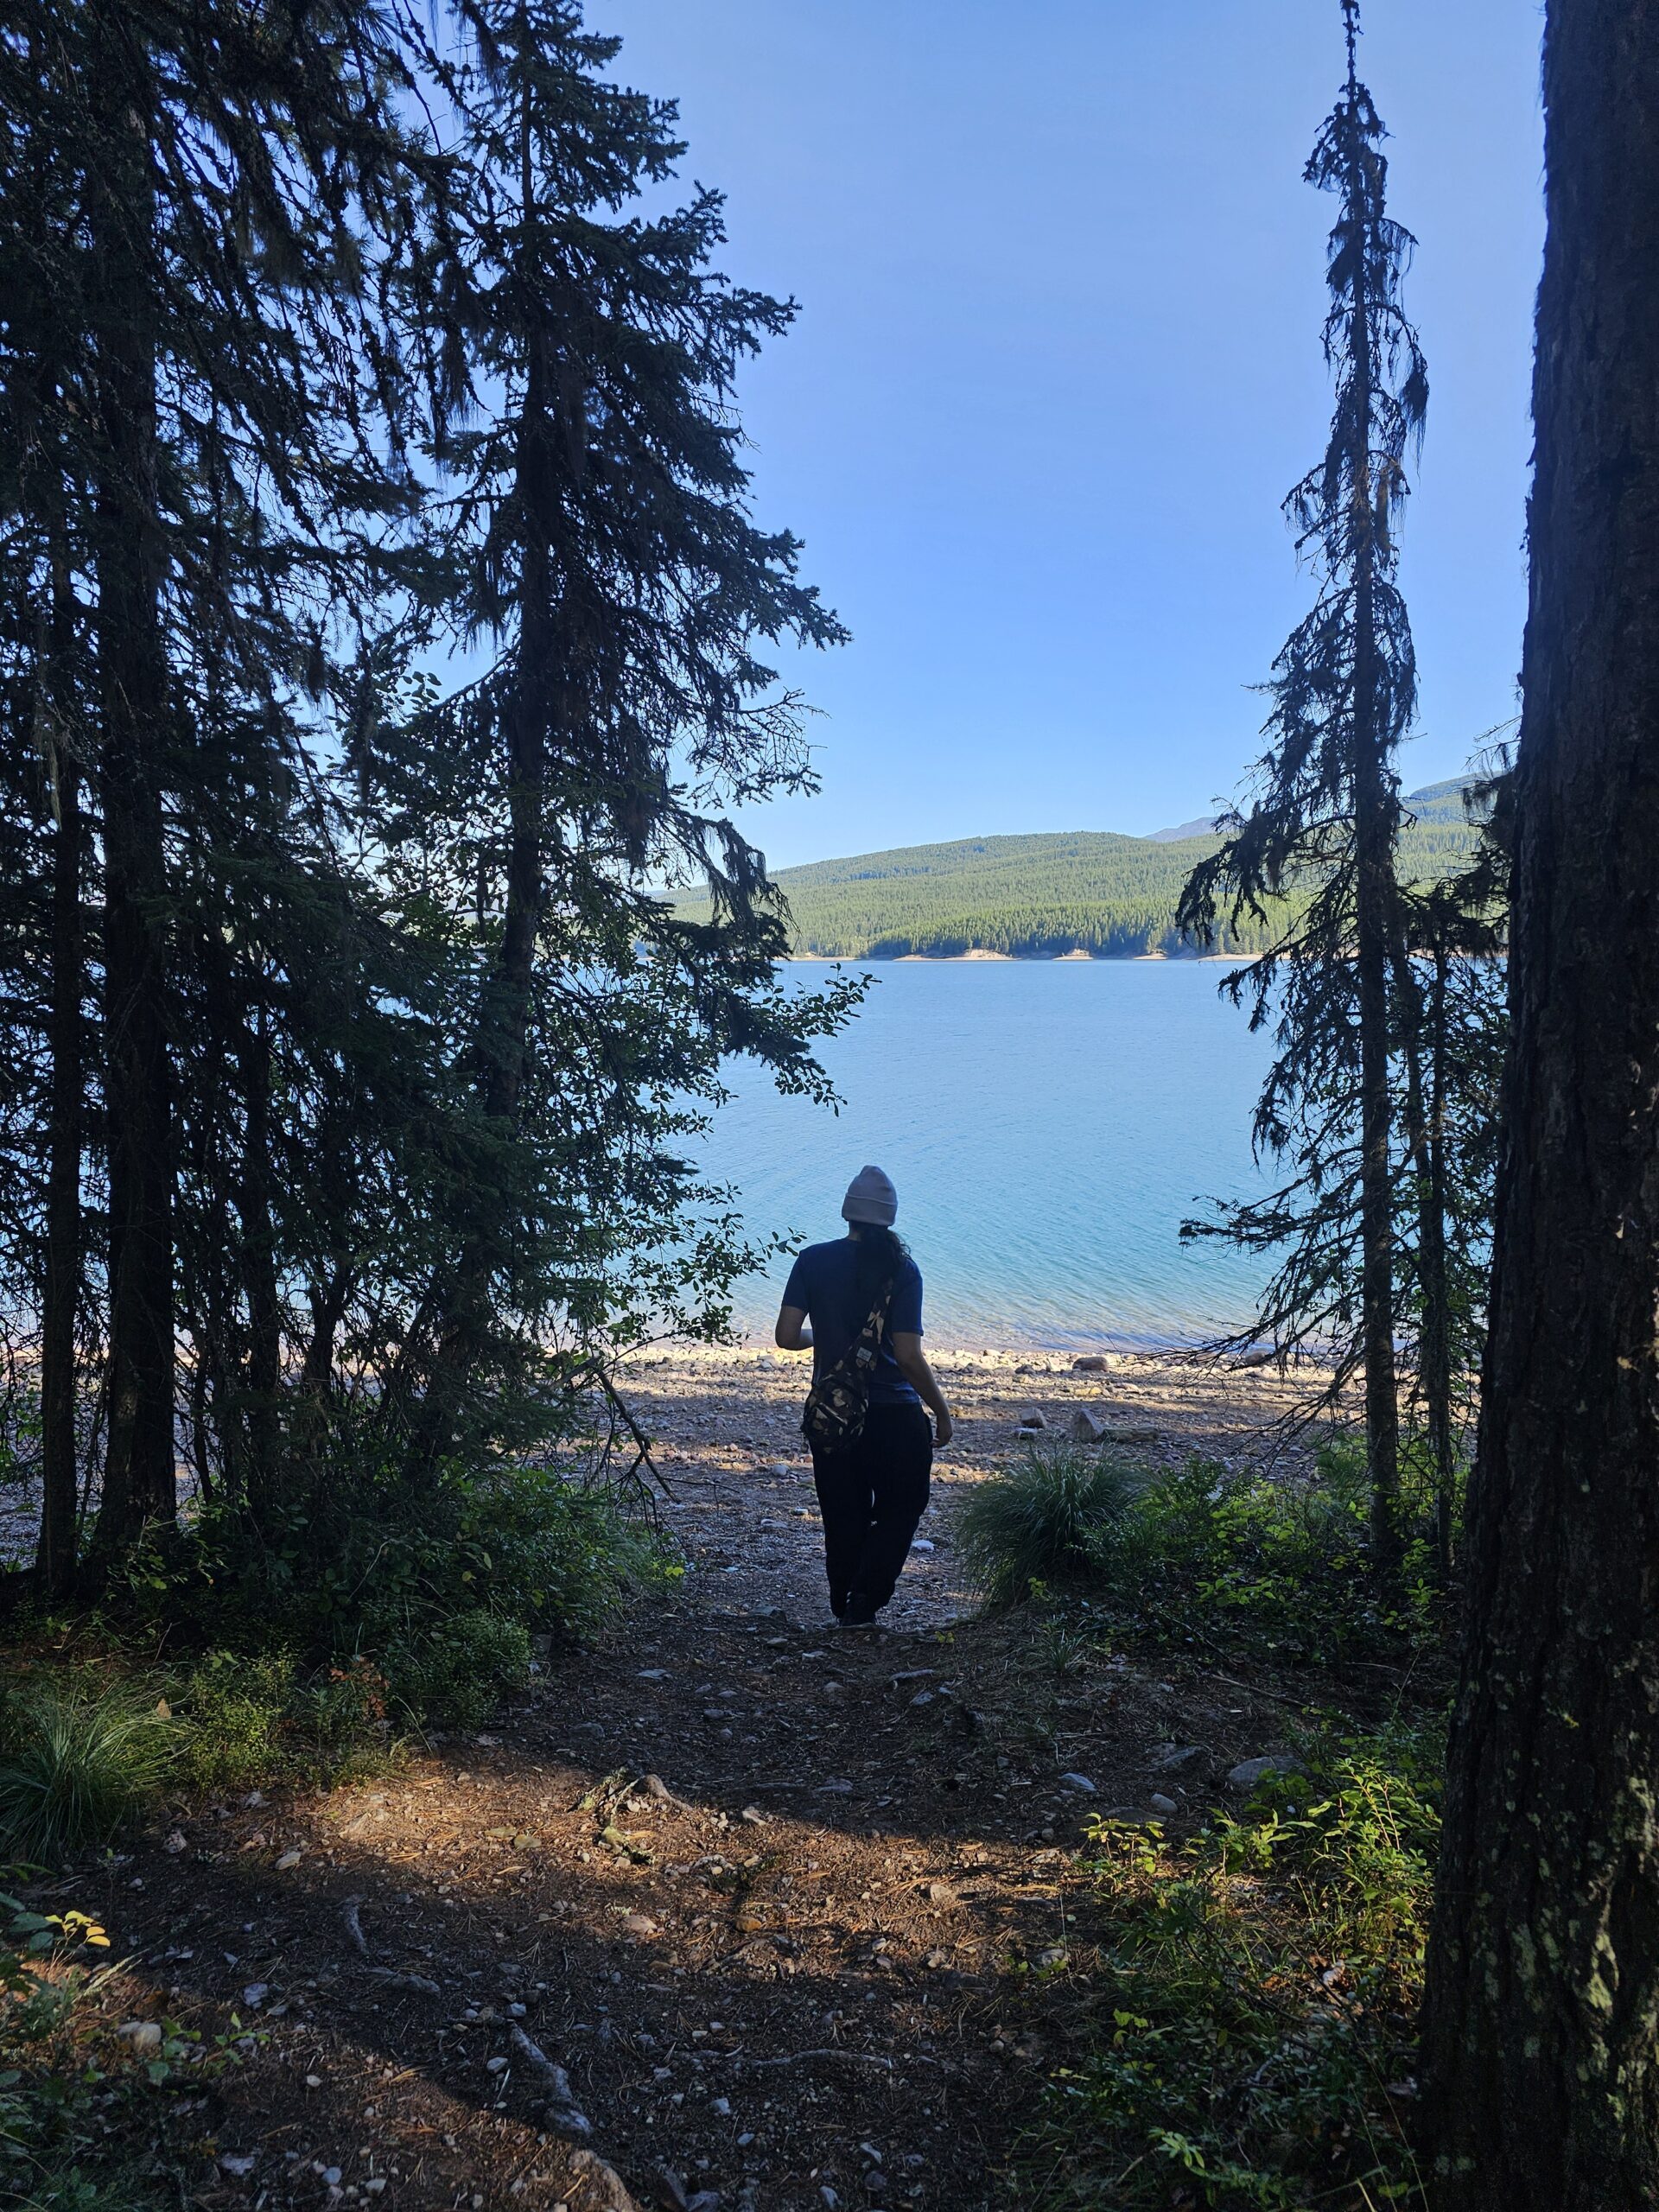
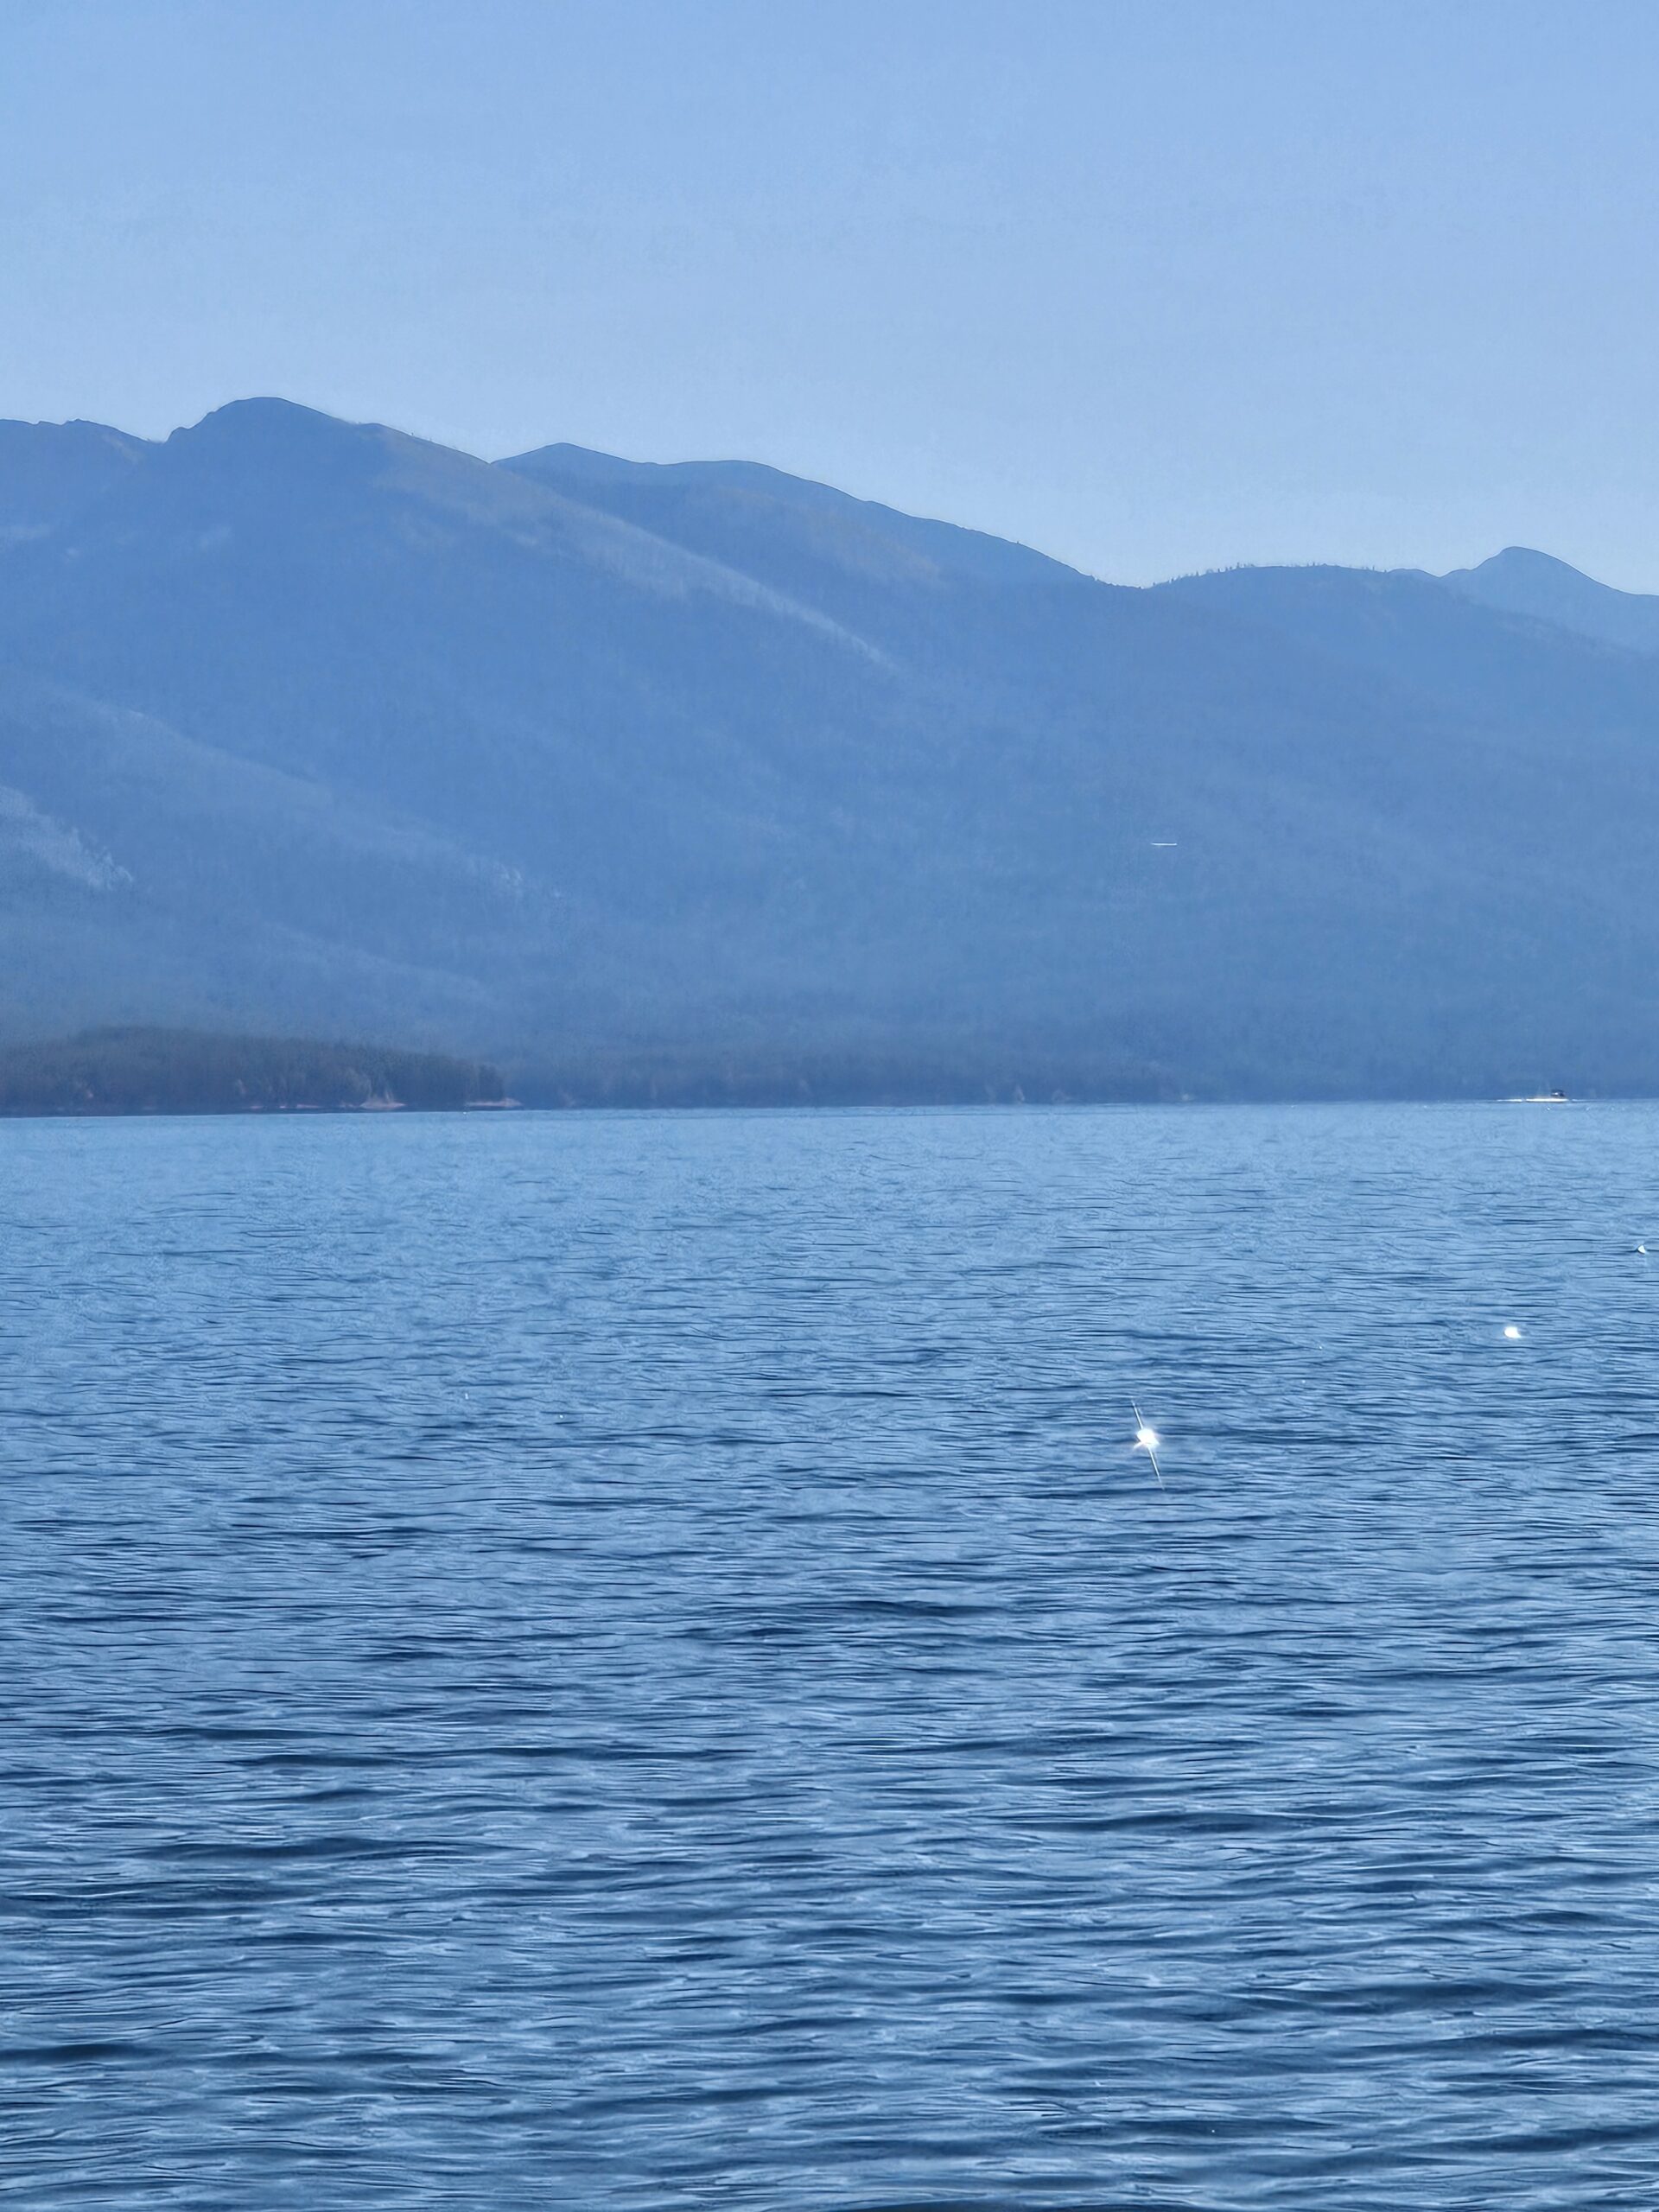
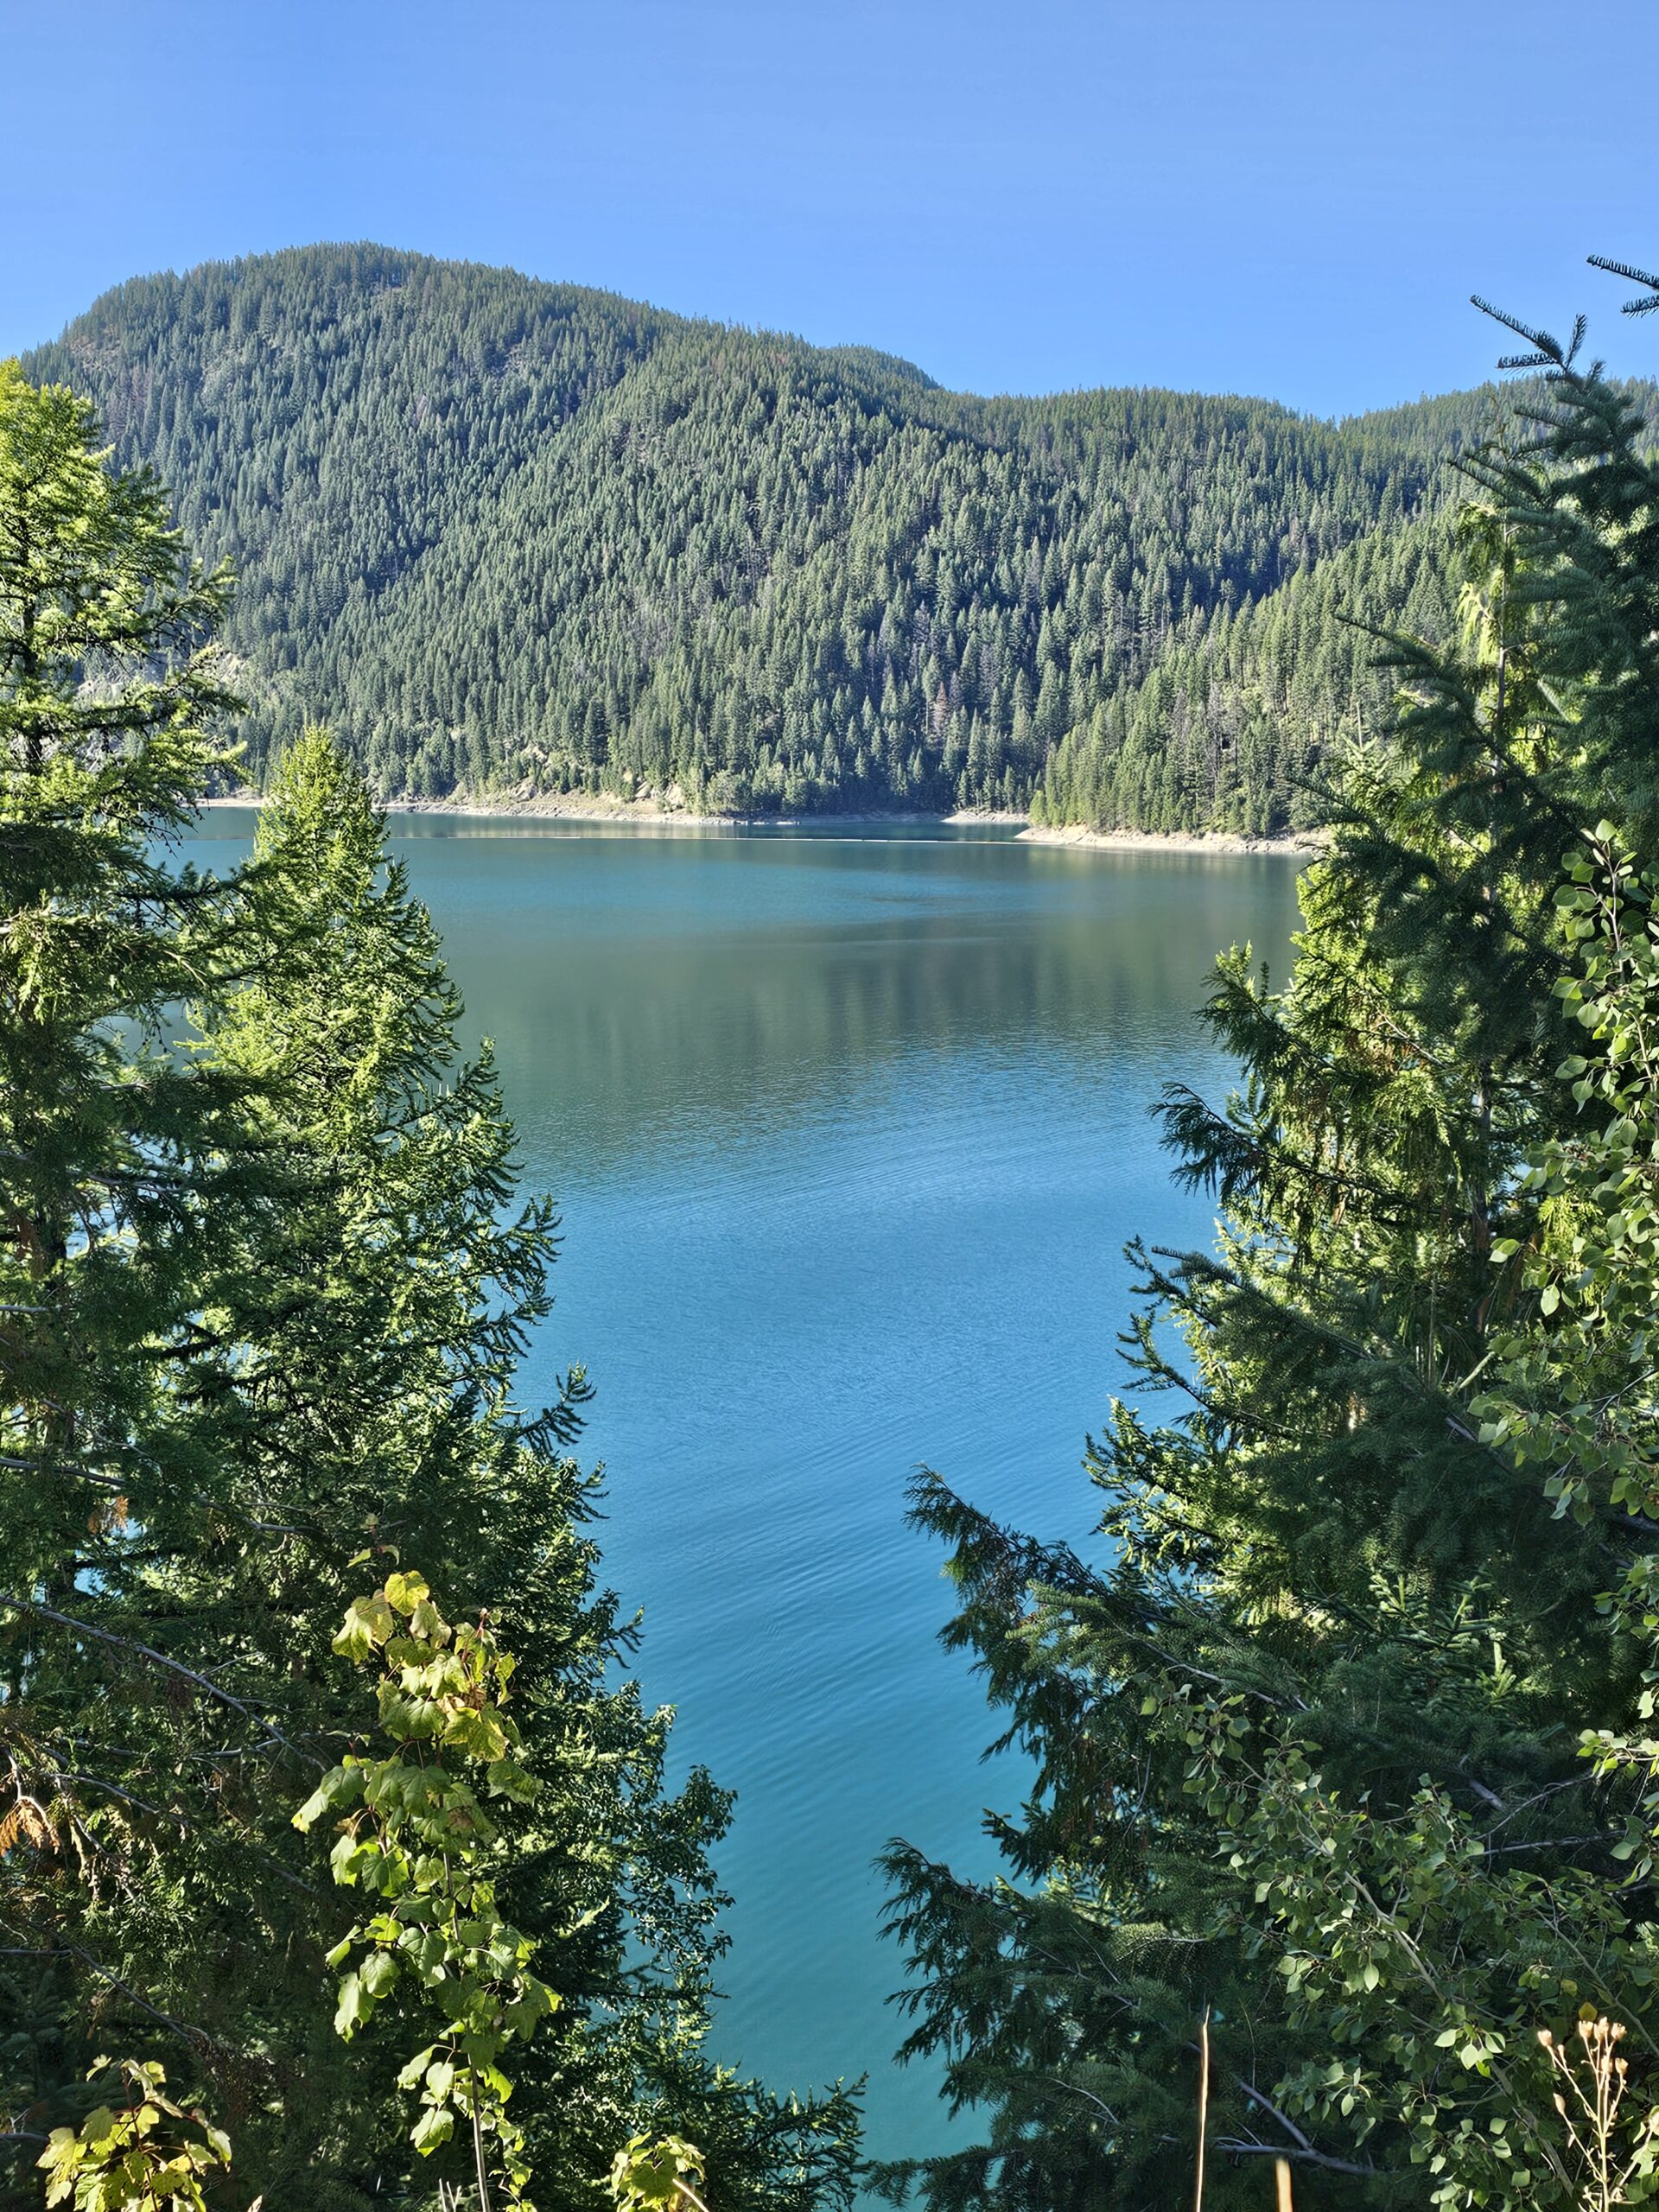
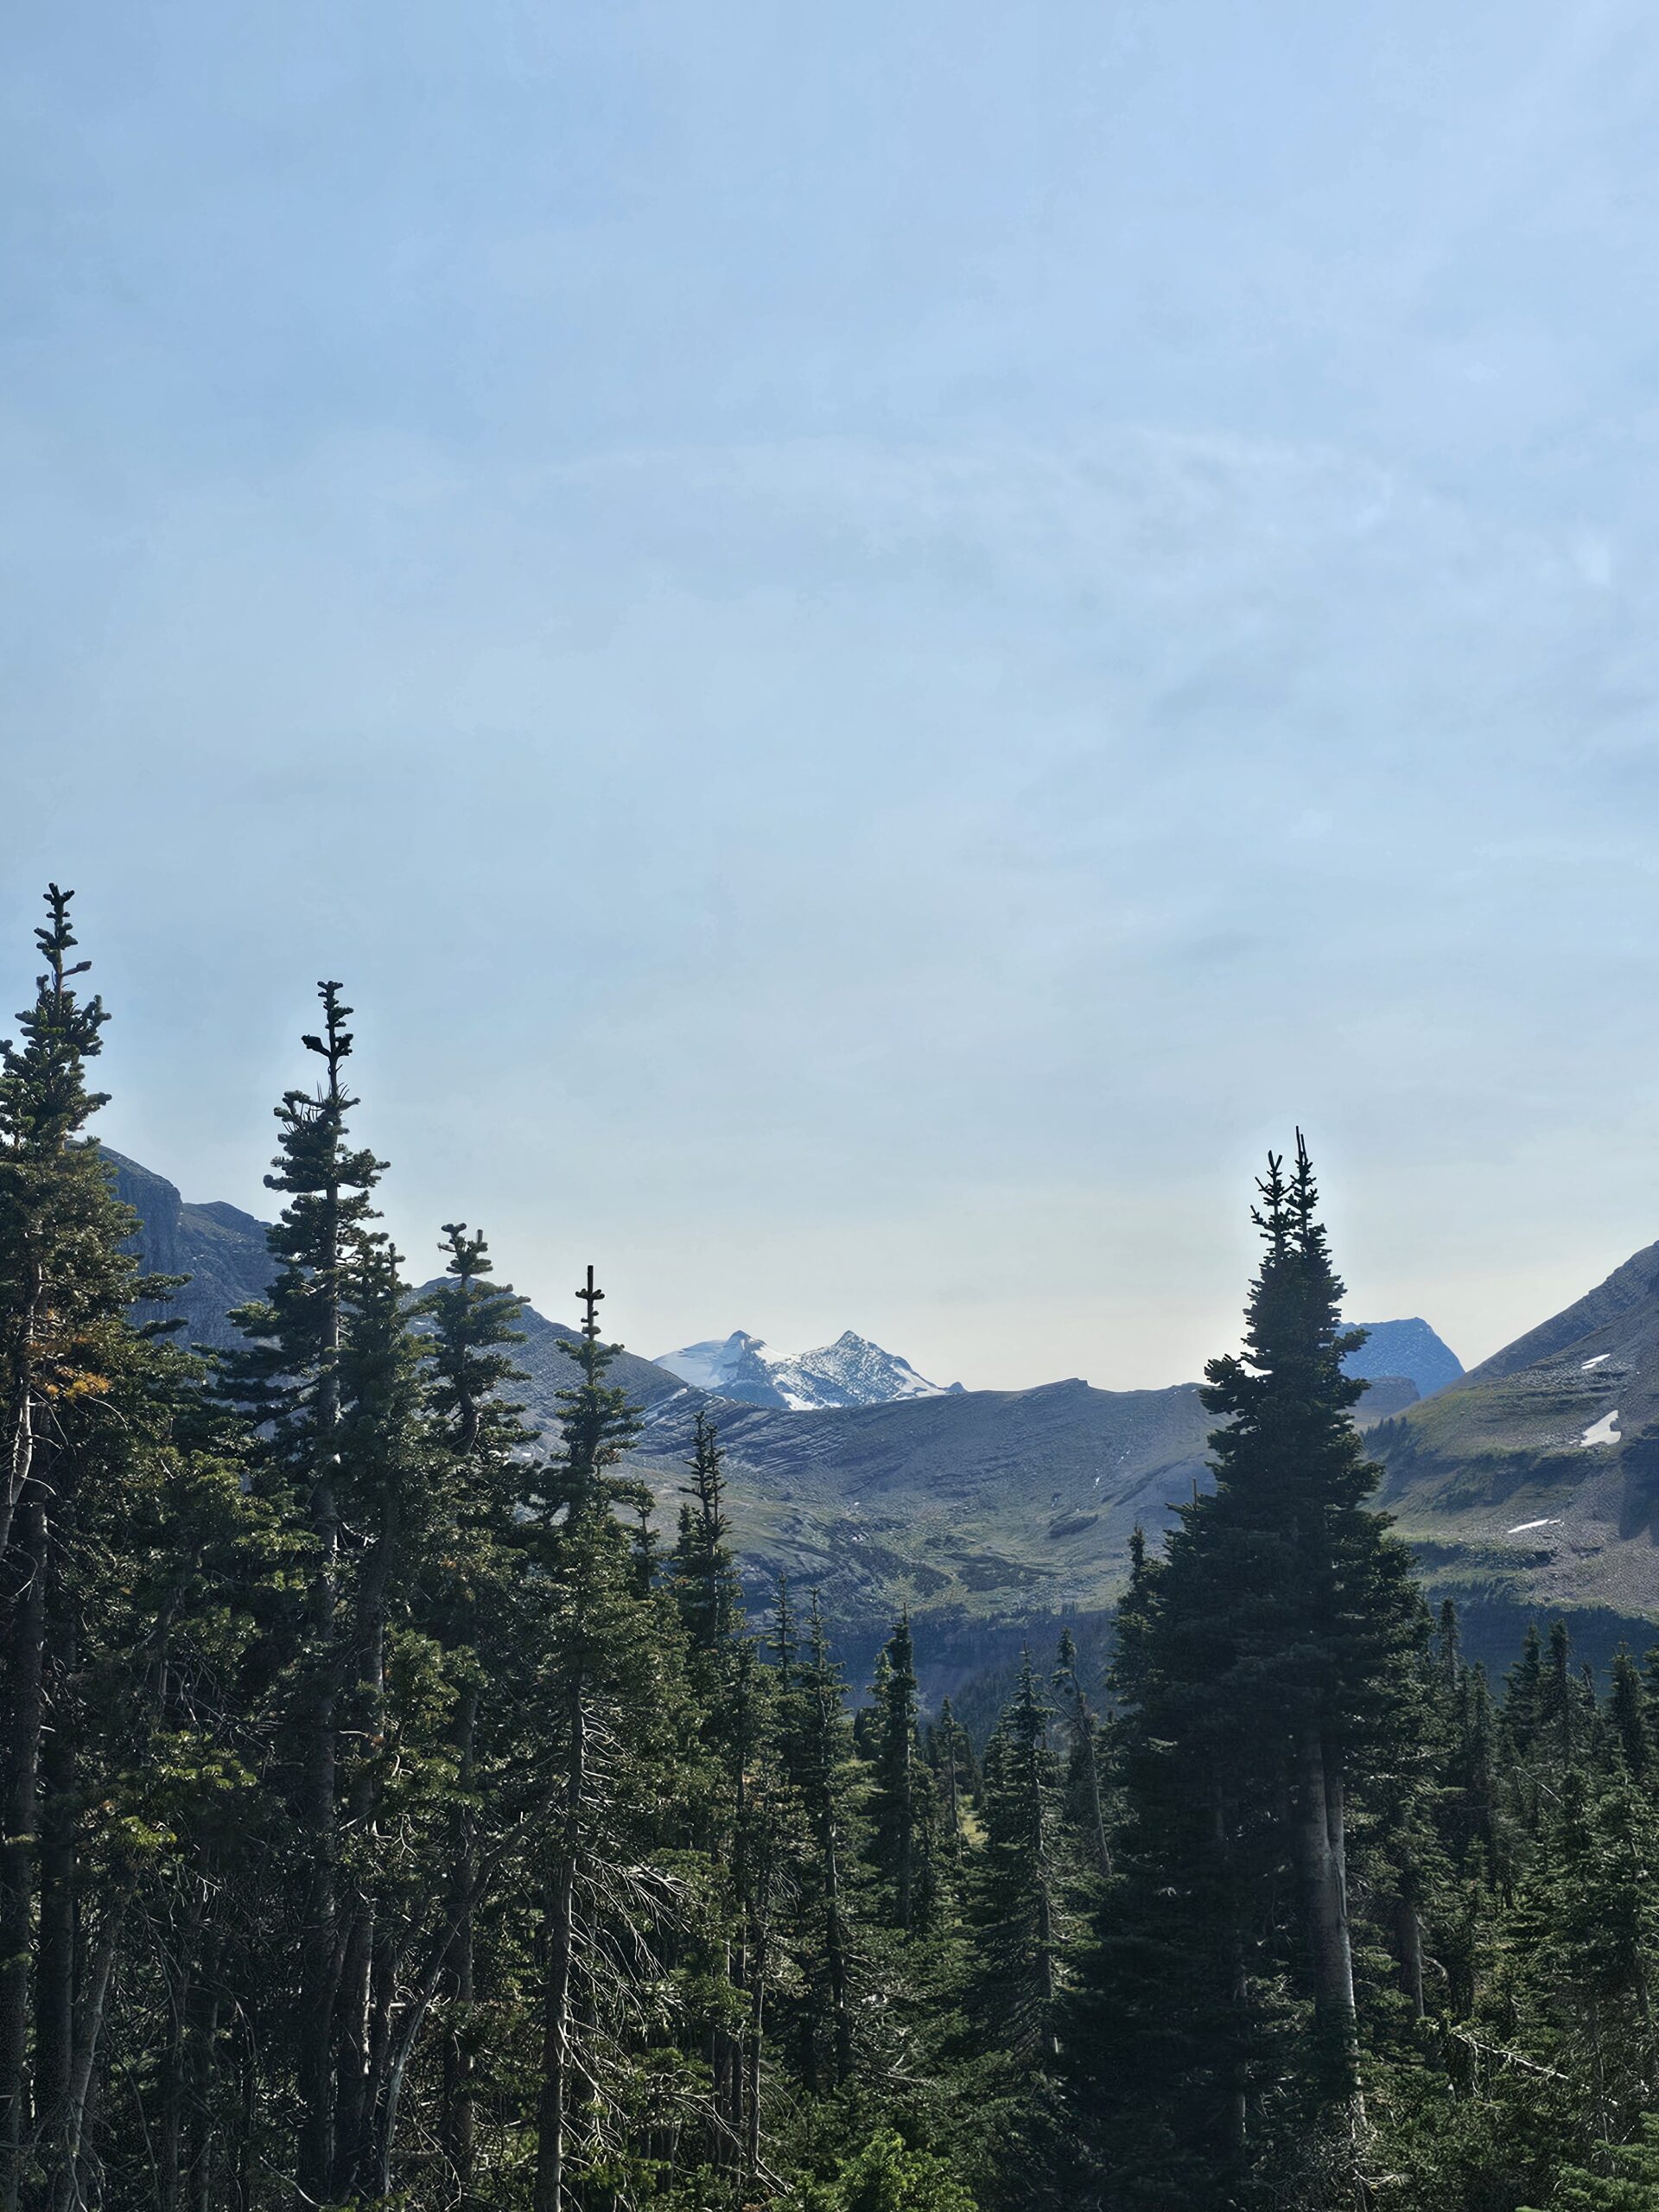
After exploring the village, we made our way down to the shores of Lake McDonald, the largest lake in the park. The lake’s shimmering blue waters and the towering mountains in the background make it one of the most picturesque spots in Glacier. There’s a small beach area where families were relaxing, some dipping their feet in the cool water while others sat on the pebbled shore enjoying the view.
We found a spot near the water and spent some time simply soaking in the scenery. The lake is breathtaking—its water is so clear you can see the colorful stones beneath the surface. The Great Northern Mountain looms in the distance, its snowcapped peaks perfectly reflected in the water. If you have the time, this is a great place to just sit back and unwind, especially after a long day of driving or hiking.


")


")
-

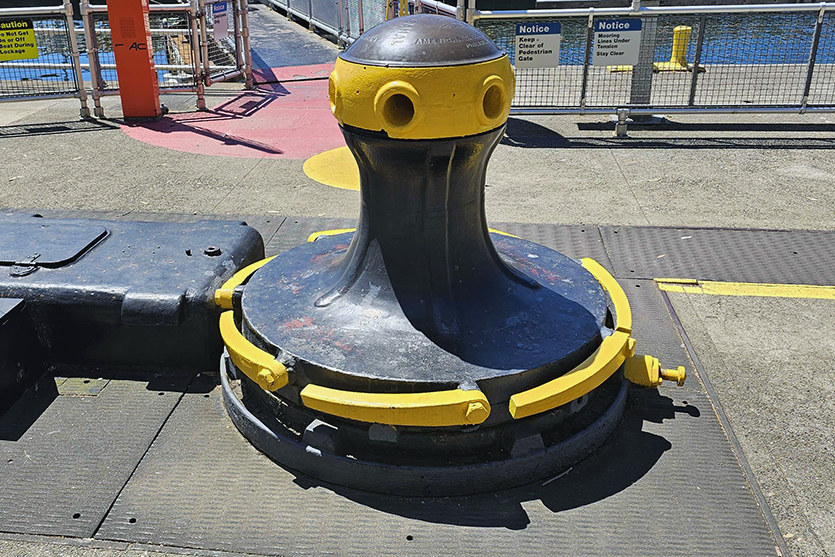
The Ballard Locks in Washington State
Washington State is known for its breathtaking landscapes, diverse ecosystems, and iconic landmarks. Among these treasures lies the Chittenden Locks...
-
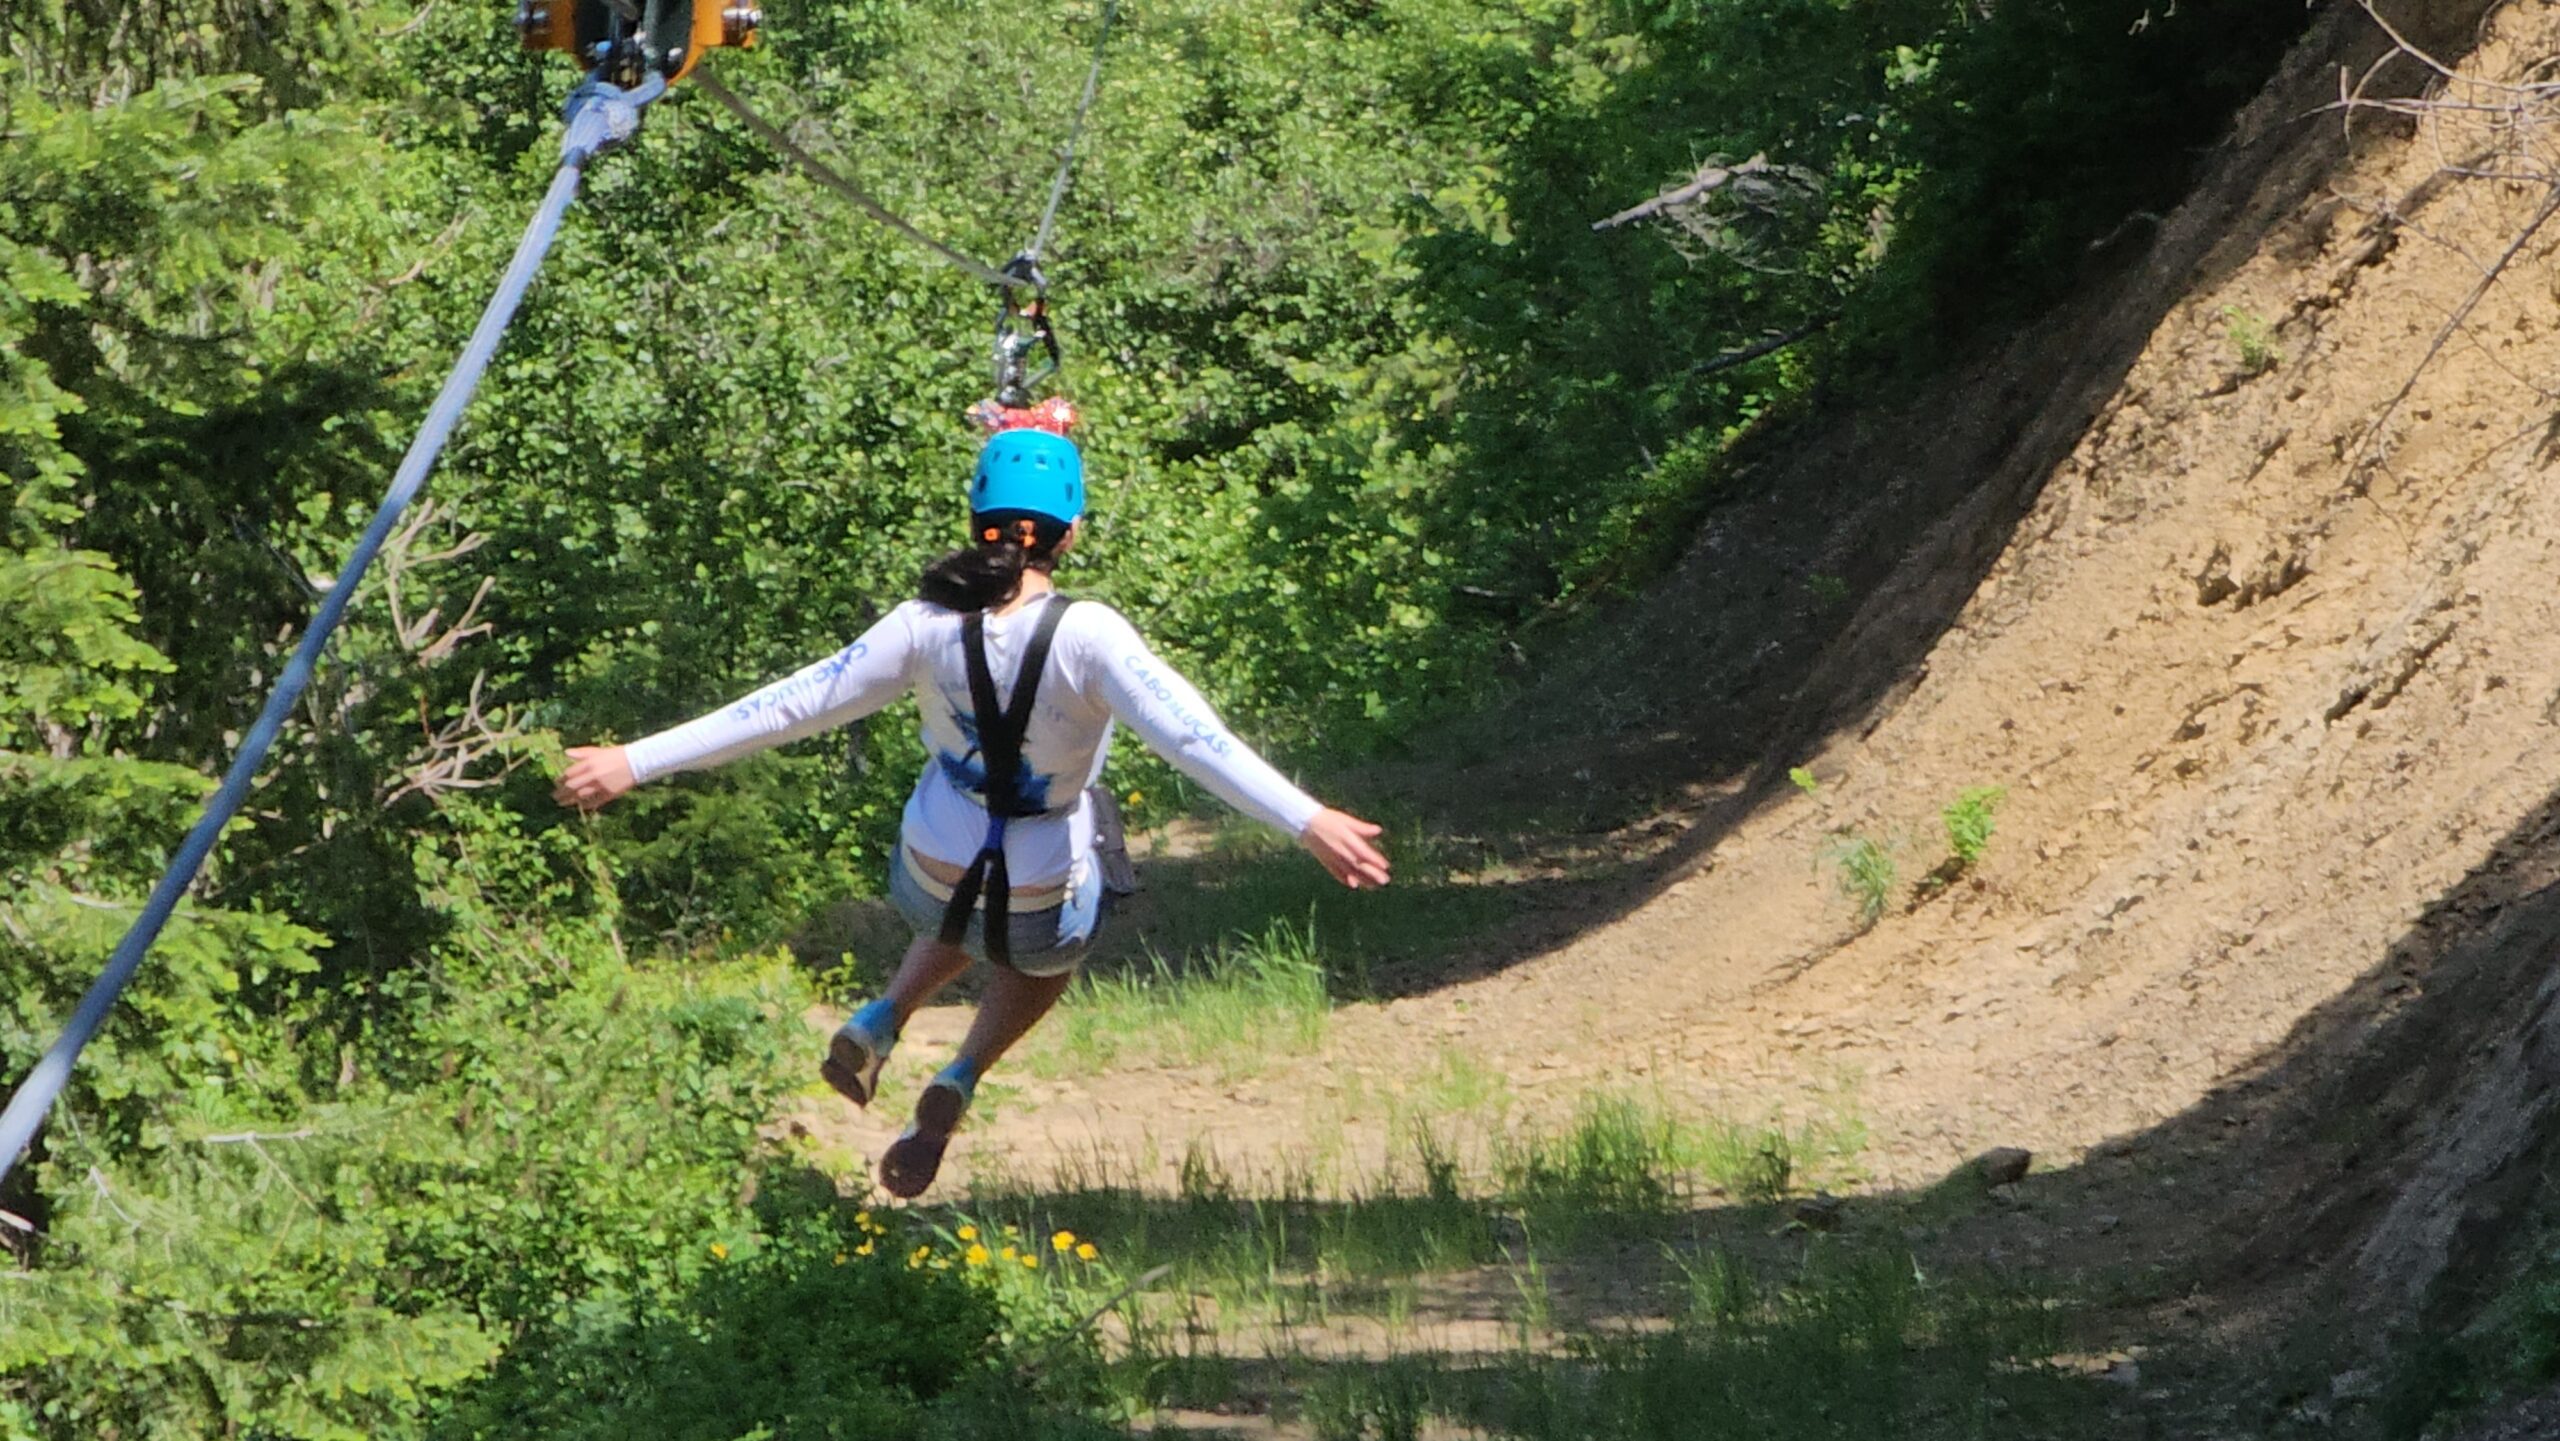
Leavenworth ZipLines: Guide to Prepare
Exploring the Thrills of Leavenworth ZipLines Are you craving an adventure that blends adrenaline rushes with breathtaking scenery? Have you read...
-
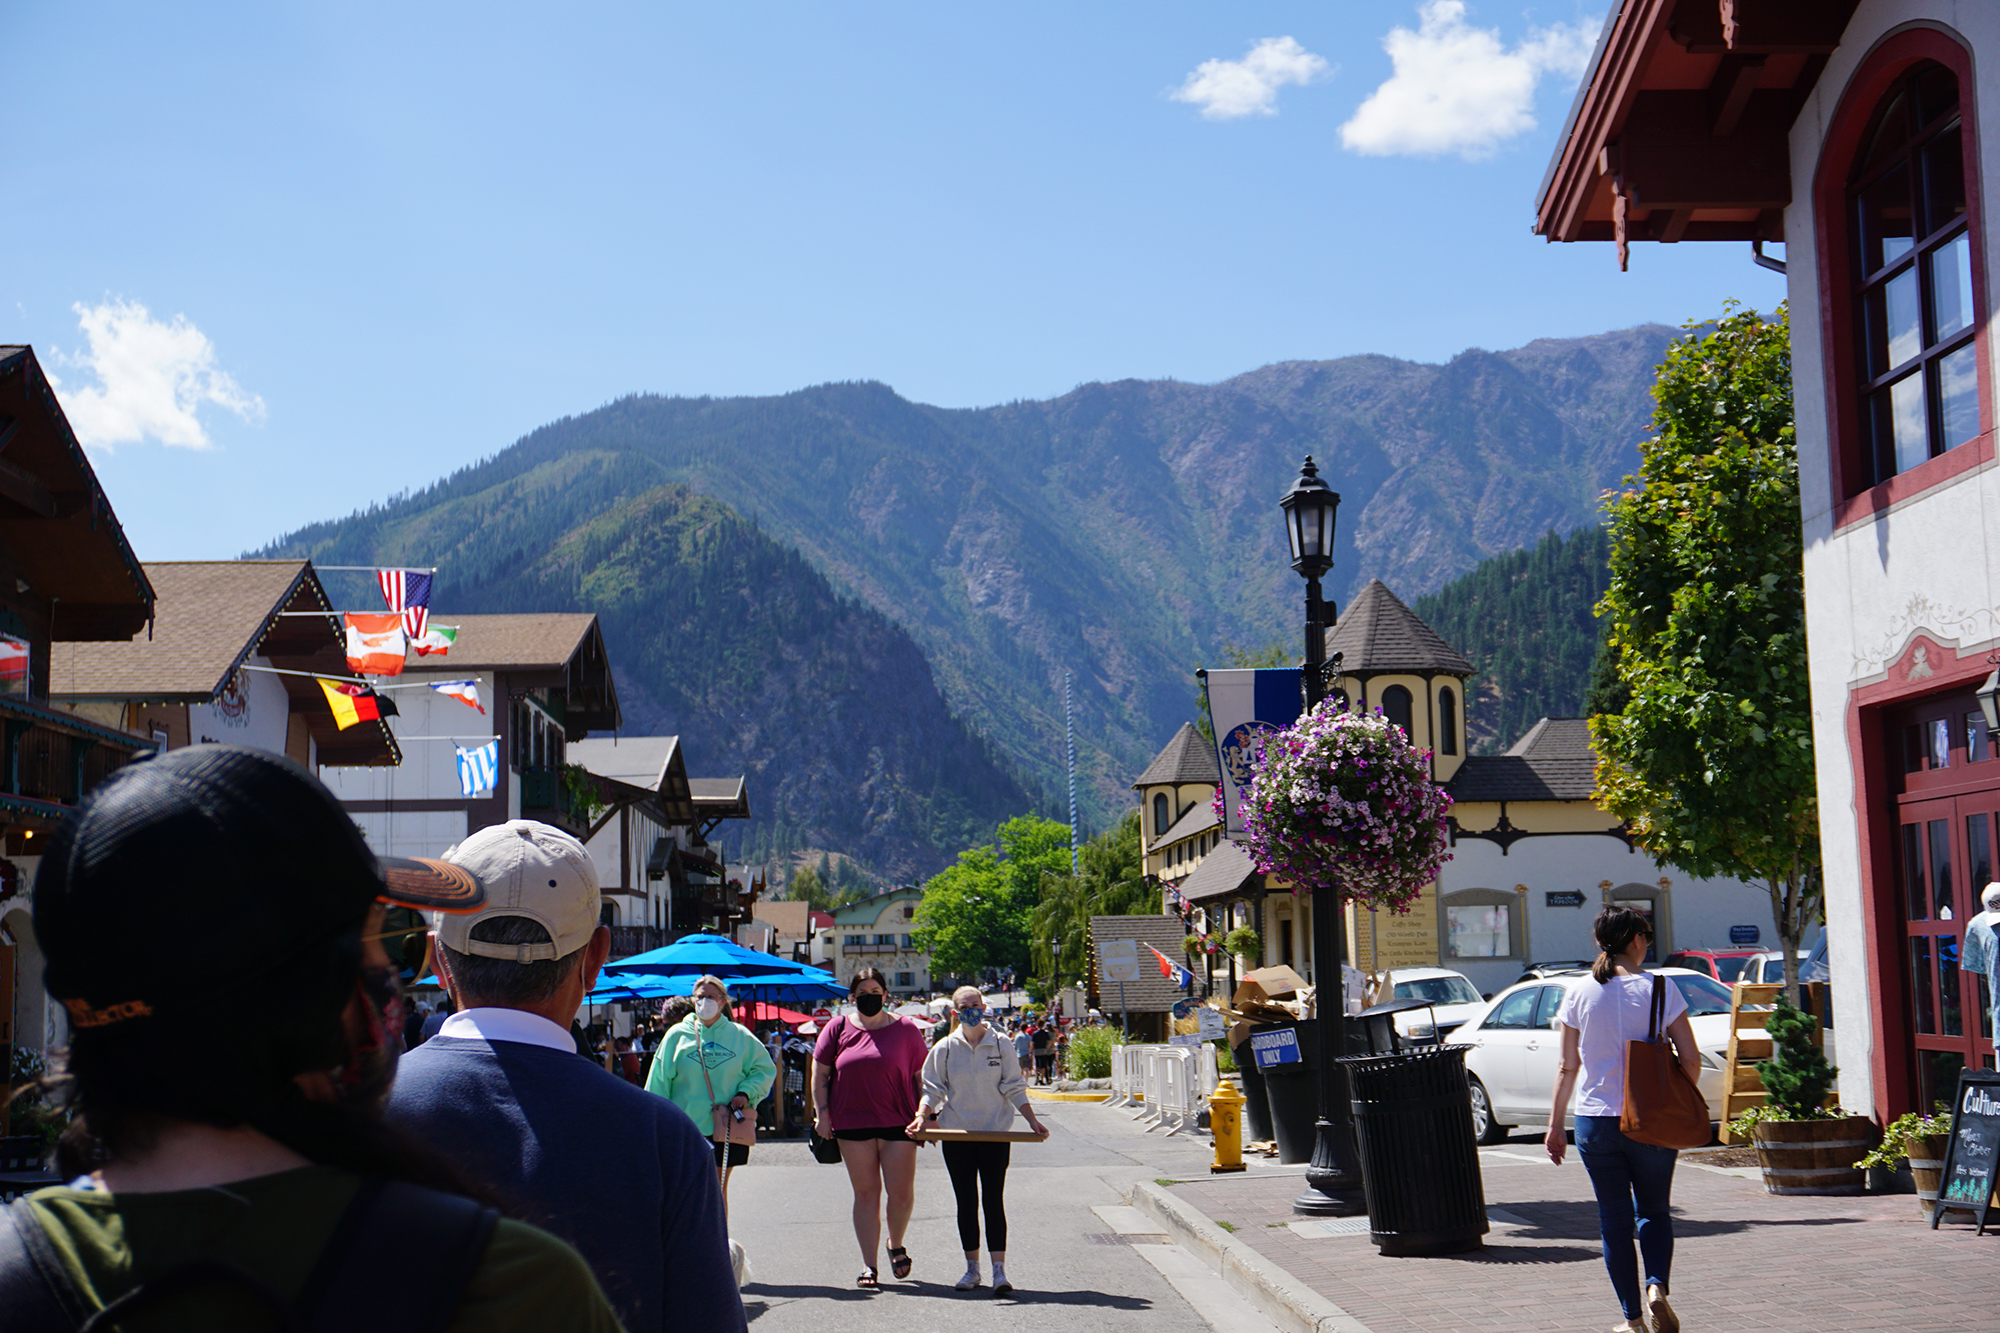
Leavenworth Washington: A German Town in The Cascades
Nestled in the heart of Washington State, Leavenworth is a quaint German-inspired town known for its Alpine-style architecture and vibrant cultural...
-
Seattle to Glacier National Park Road Trip: Camping, Hiking, and Scenic Views
Unforgettable Seattle to Glacier National Park Road Trip: Camping, Hiking, and Scenic Views Glacier National Park in Montana is a dream destination...
-
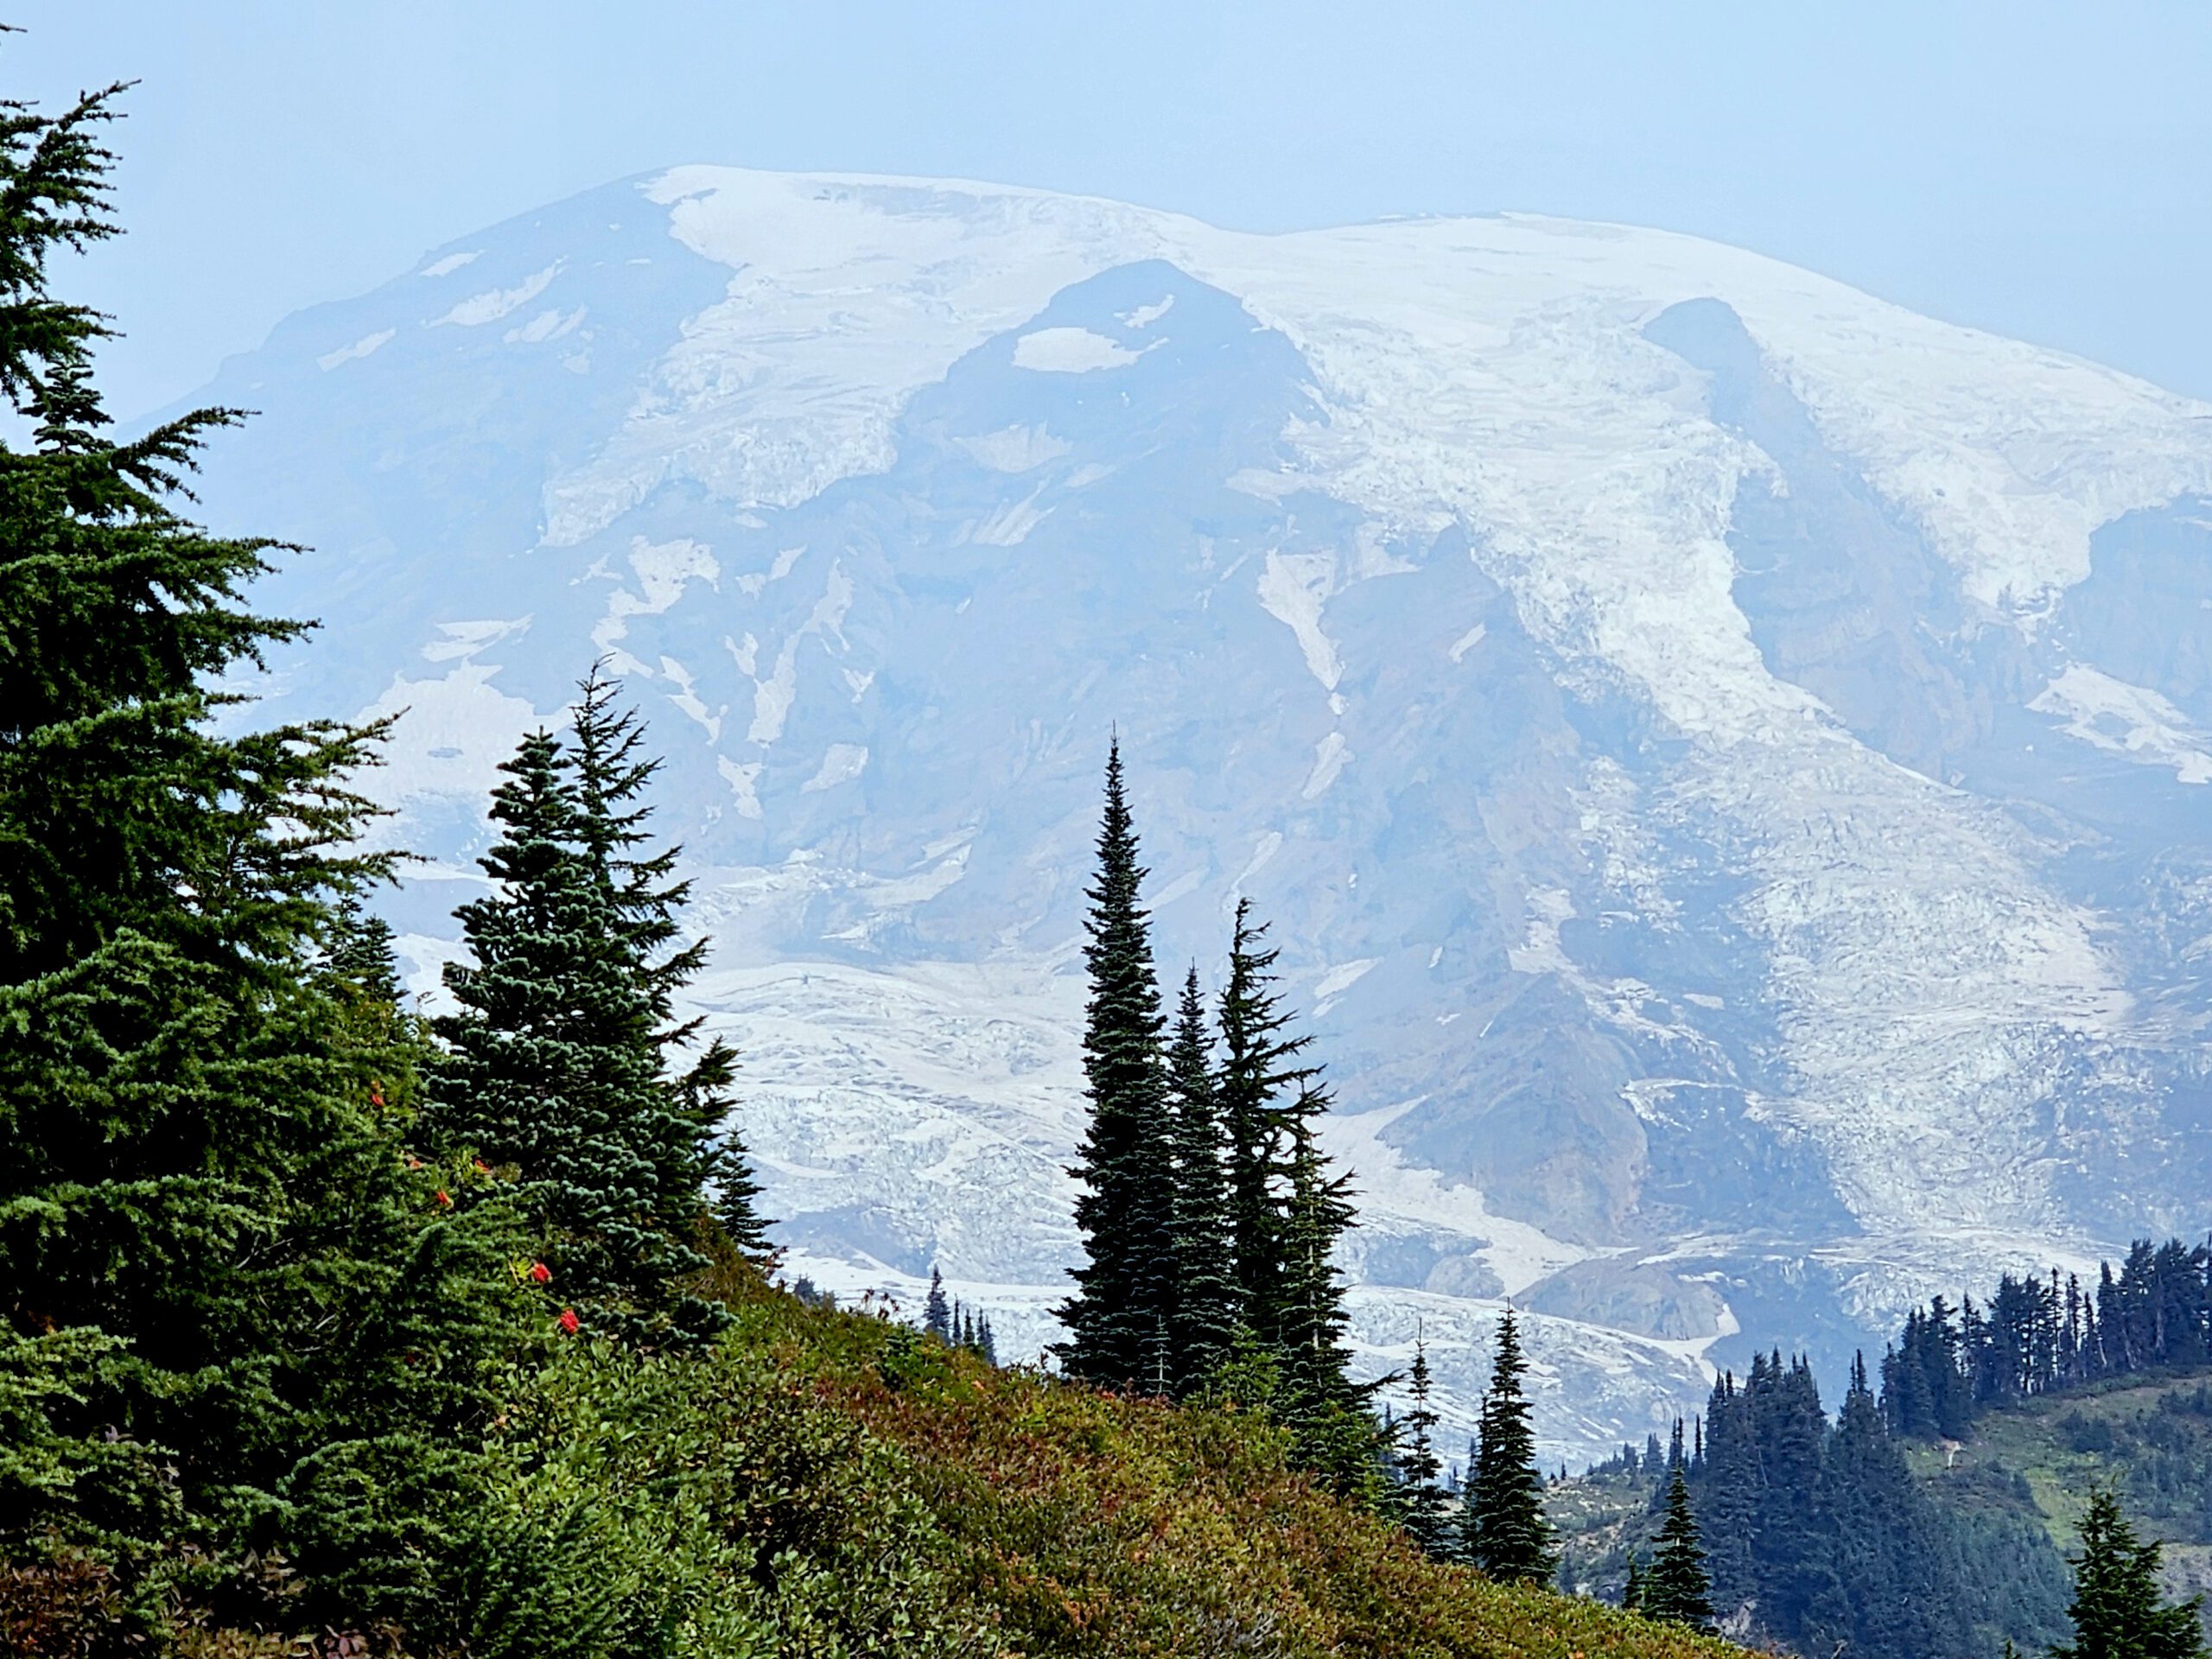
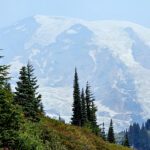
Mount Rainier’s Skyline Loop Trail: An Unforgettable Hike from Paradise
[pac_divi_table_of_contents included_headings="on|on|on|on|on|on" title_container_bg_color="#0C71C3" _builder_version="4.23.4"...